Build plans / Metric Measuring Sticks
Metric Measuring Sticks
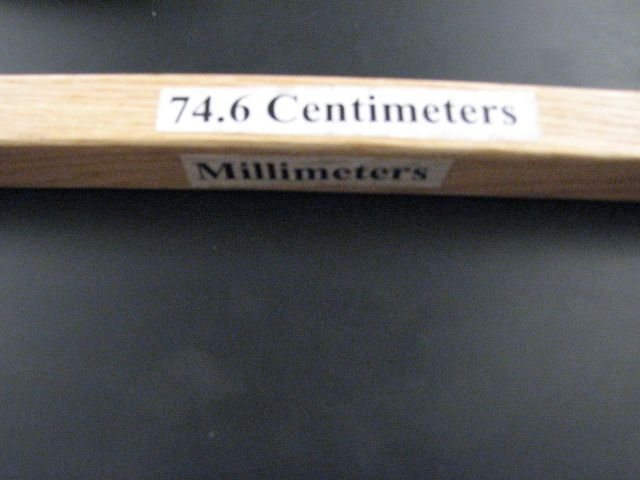
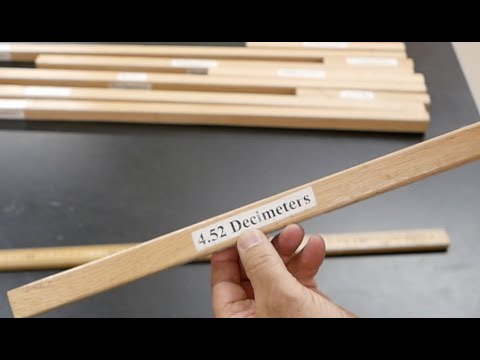
Ten square wooden sticks of different lengths have one metric unit printed on each of their four sides: meters, decimeters, centimeters and millimeters. Some sticks show every conversion, some show only a few, some are blank, and one has an error. Students use the finished sticks as a guide to moving the decimal point, then measure and convert the rest.
Written from Bruce's original workshop handout. Bruce's final review of this plan is in progress.
What it shows
Ten wooden sticks, four metric units per stick, and one deliberate mistake for students to catch.
Key ideas: metric prefixes, unit conversion, decimal place value, measuring length
Build it
Cut the sticks
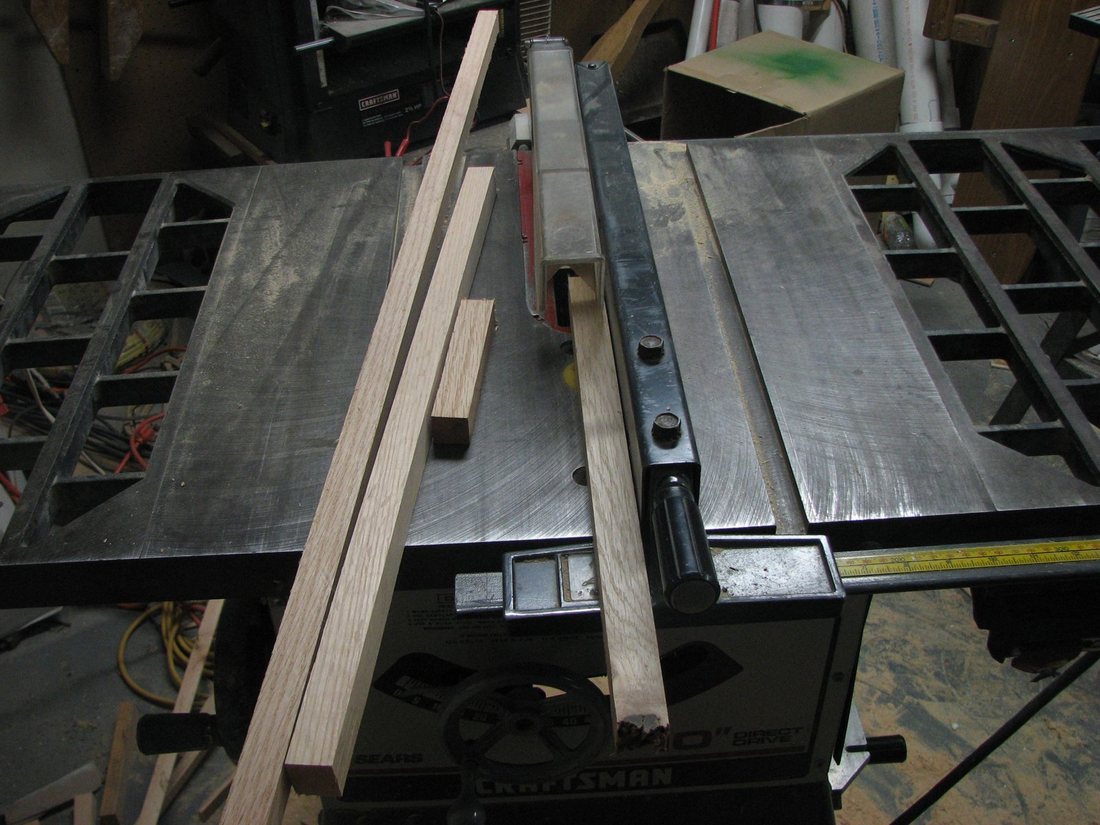
Rip scrap wood into square sticks and cut ten of them to different lengths, from 24.2 cm up to 167.6 cm. Make sure a few are longer than one meter.
Sand them smooth
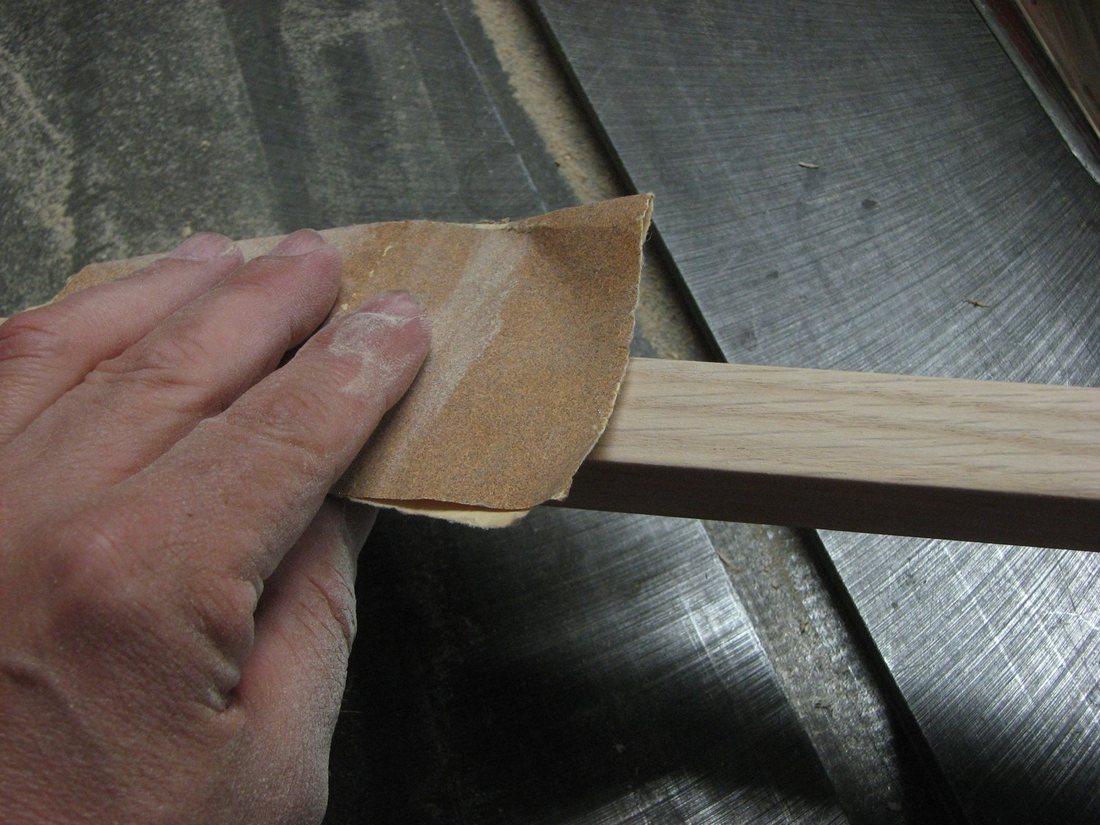
Sand all four faces and the ends so the sticks are comfortable to handle and take a finish well.
Measure each stick
Measure each stick carefully with a meter stick to the nearest millimeter and record its length. Number the ends of each stick to match the worksheet.
Plan the labels
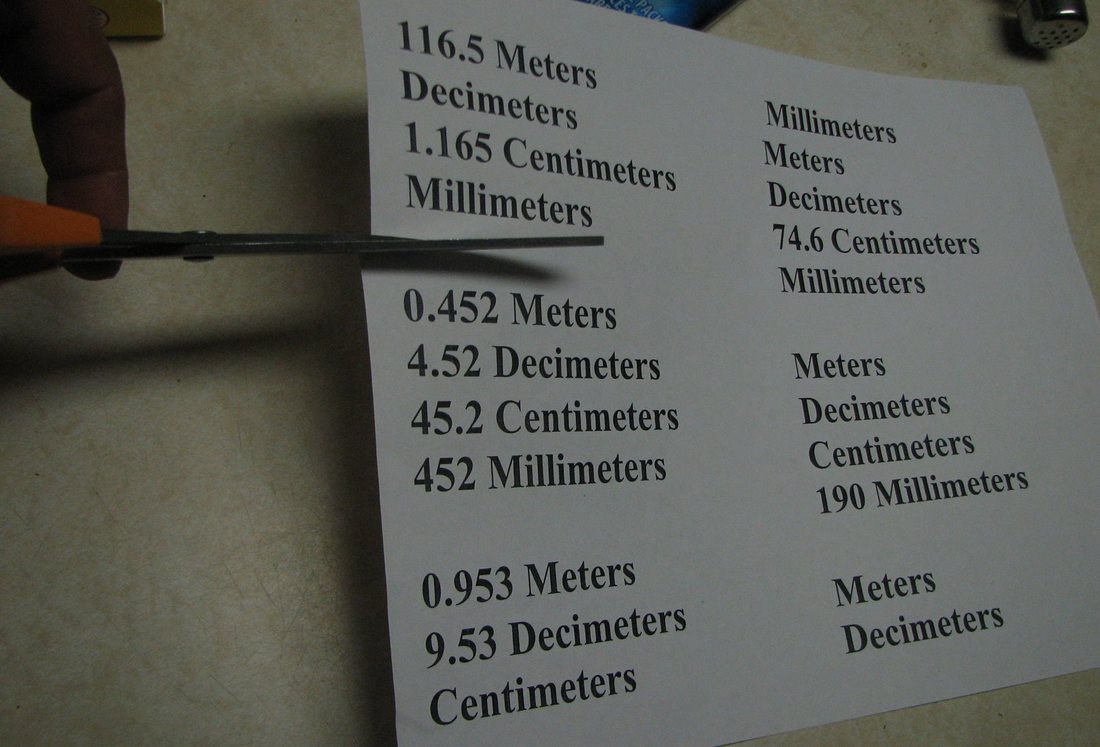
Decide which sticks get which labels. Stick 1 shows all four units; stick 2 shows two of the four; stick 3 two of the four; sticks 4 and 5 show just one; the rest show only the unit names with no numbers. One extra stick is the mistake stick.
Print and cut the labels
Print the numbers and unit names in large bold type and cut them apart, one label per face. A simpler option is to write them on the wood with a permanent marker.
Make the mistake stick
Label one stick with one correct measurement and one wrong one, for example a decimal point in the wrong place, so it is obviously impossible. Add a label reading FIND THE MISTAKE!
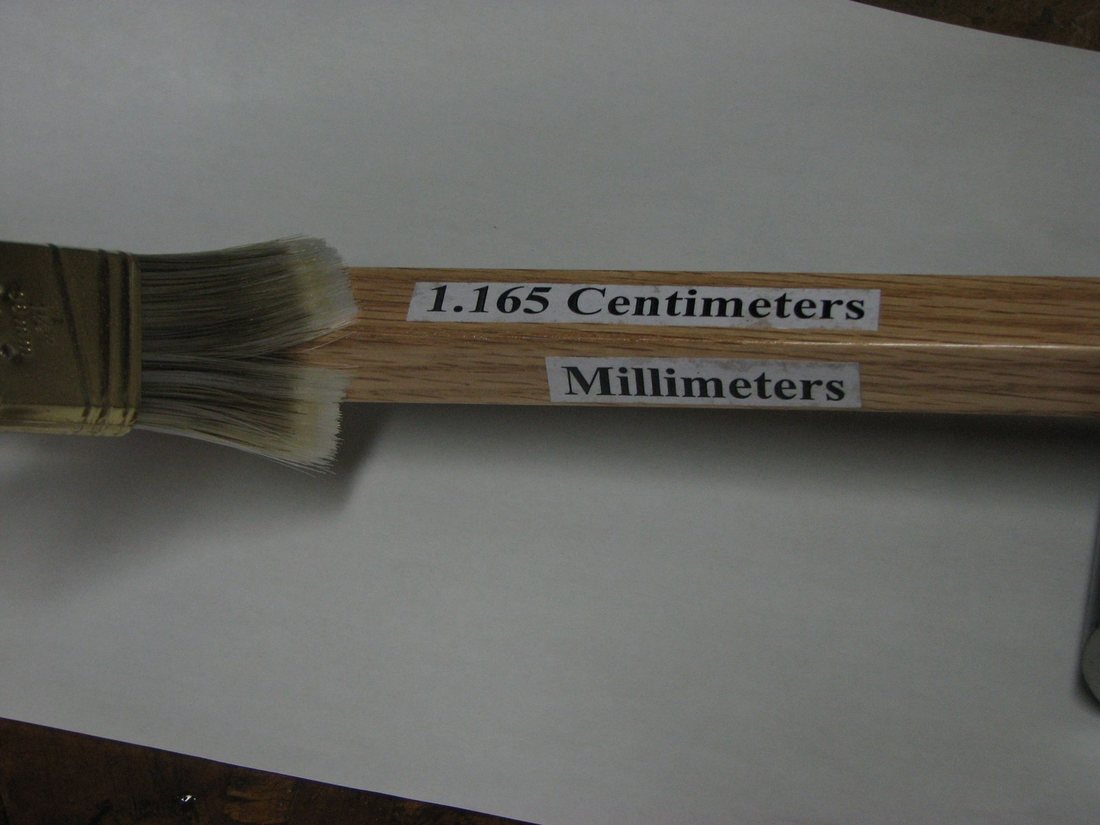
Varnish on the labels
Brush varnish on one face, lay the label on the wet varnish, and let it dry. Repeat for each face, then add a few more coats over the paper to seal it.
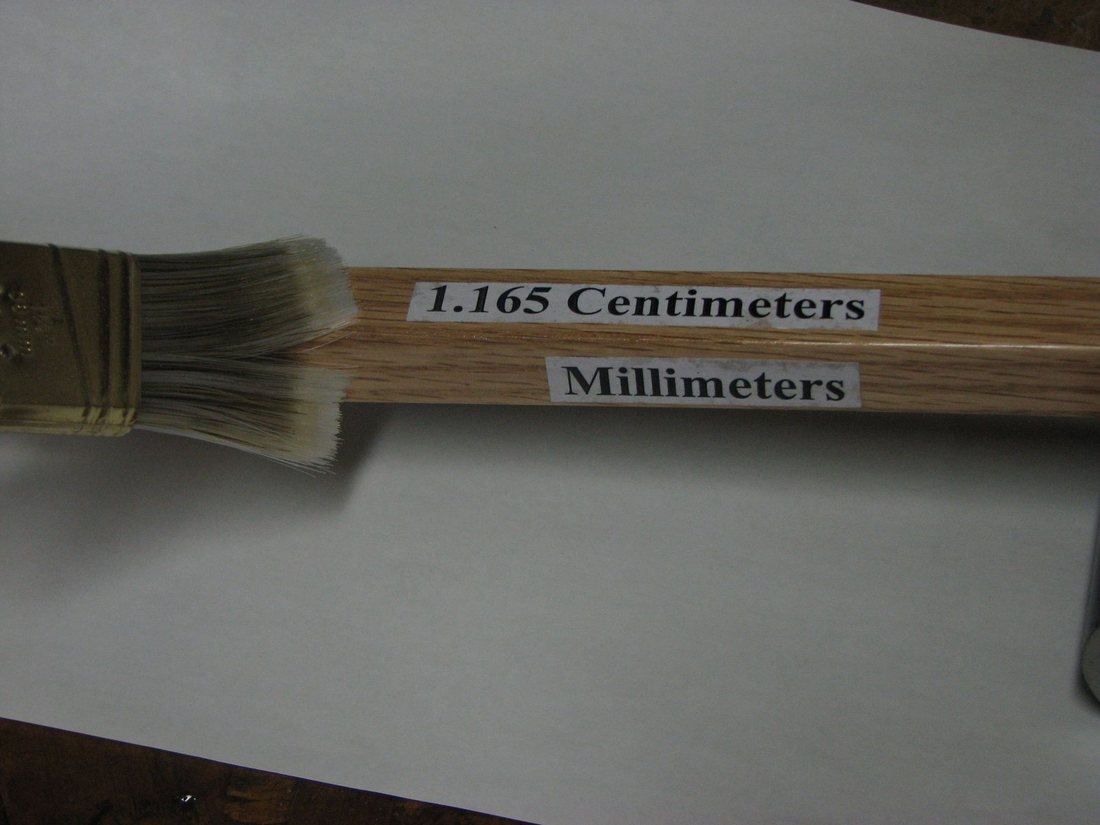
Prepare the worksheet
Make a worksheet listing each stick by number with blanks for meters, decimeters, centimeters and millimeters, filled in to match the labels on each stick.
How it works
Each metric length unit is ten times the next smaller one: 1 meter = 10 decimeters = 100 centimeters = 1000 millimeters.
Changing from one unit to the next just moves the decimal point one place. A stick that is 0.452 m long is also 4.52 dm, 45.2 cm and 452 mm, and seeing all four on one stick makes the pattern concrete.
Any length can also be broken into its parts: 2.456 m is 2 meters + 4 decimeters + 5 centimeters + 6 millimeters.
Using it
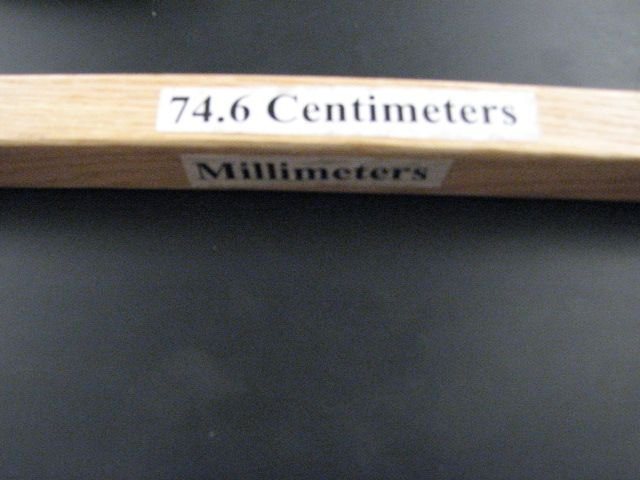
- Students fill in the missing units for the labeled sticks, using stick 1 as their guide: stick 2 (0.953 m, 9.53 dm) is 95.3 cm and 953 mm; stick 3 (1.165 m, 116.5 cm) is 11.65 dm and 1165 mm; stick 4 (74.6 cm) is 0.746 m, 7.46 dm and 746 mm; stick 5 (190 mm) is 0.190 m, 1.90 dm and 19.0 cm.
- For the blank sticks, students measure with a meter stick and record the length in all four units.
- Find the mistake: students explain why the mistake stick's labels cannot be right and correct them.
- Measurement stations: measure a table, a sheet of paper's thickness, your cubit, fathom and stride; time a falling flat sheet and a crumpled one with a partner; read spring scales in newtons.
- Design challenge: students build their own device to measure length, volume, mass, temperature, force or time, test it on four unknowns against known values, and calculate percent accuracy. For extra credit they invent a new unit and show how to convert it to metric.
Variations
- Make the sticks from cardboard strips for a quick student-made version.
- Add an English-units worksheet (inches, feet, yards, furlongs, miles) to show how much easier the metric conversions are.
- Bruce's measuring-device project uses these ranges: time 0-200 seconds, length 0-1 meter, mass 0-500 grams, temperature 0-100 degrees Celsius, volume 0-1000 milliliters, force 0-10 newtons. He grades it on materials, design, appearance, suitability to the range, and function on all four trials.
Troubleshooting
More build plans

© Bruce Yeany · Homemade Science with Bruce Yeany · youtube.com/@YeanyScience
Free for personal and classroom use. Please don't resell or republish. Build and use at your own risk; follow the safety notes and supervise children.