Teachers / Lesson plans / Pulley Power
Lesson plan · Grades 3-8Can a string and two wheels make you stronger?
Students rig a small pulley system on a broomstick or dowel between two chairs and lift a half-full gallon jug of water, first with a single fixed pulley and then with a moving pulley (and, for older students, three strands). They measure the effort force with a spring or luggage scale and the length of cord pulled, and discover that pulleys trade force for distance.
Adding a second wheel to the rope makes the same jug feel about half as heavy. Where does the 'extra strength' come from, and what does it cost?
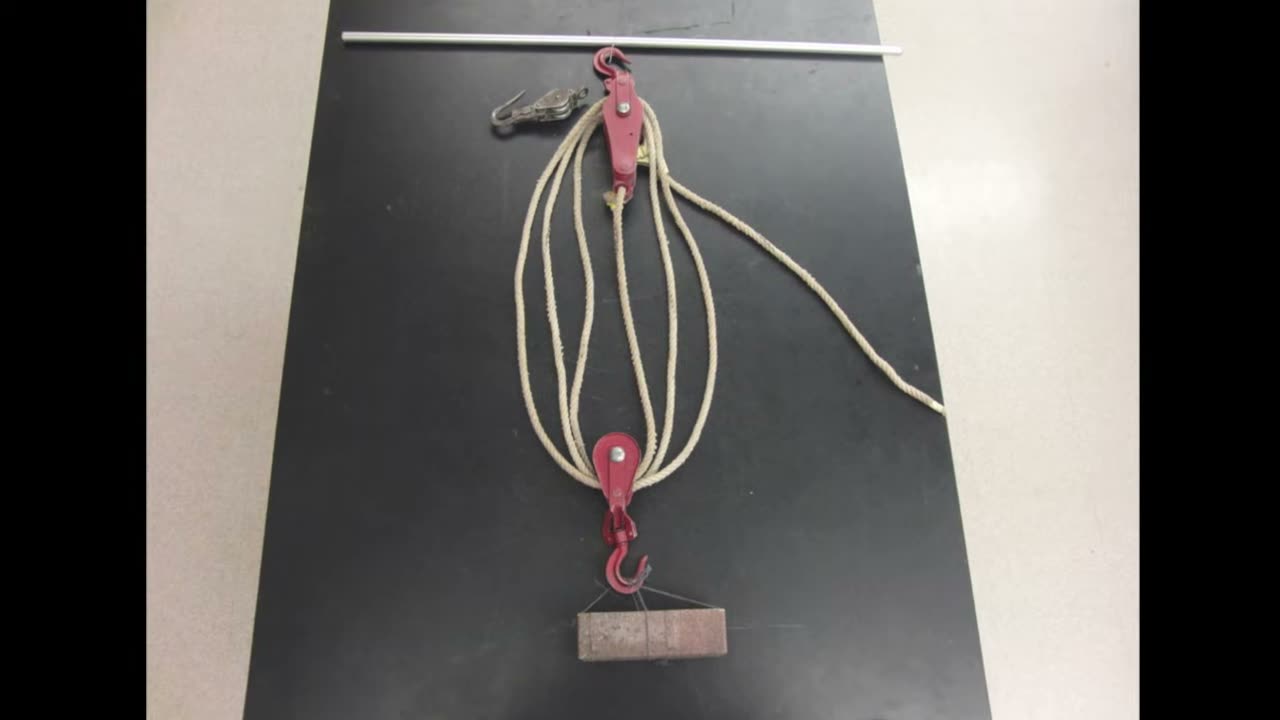
Learning objectives
- Students will be able to measure the effort force needed to lift a load with a fixed pulley and with a moving pulley.
- Students will be able to compare the distance the effort cord moves with the distance the load rises.
- Students will be able to explain that a pulley system reduces force by increasing distance, and that mechanical advantage is about equal to the number of supporting strands.
- Students will be able to calculate work in and work out and explain why they are not equal.
Lesson flow (5E)
Have a volunteer lift the jug by hand, then with a single fixed pulley. Ask: did the pulley make it easier, or just change direction? Students predict what a second pulley will do.
Groups weigh the jug, rig the fixed pulley and measure the effort, then add the moving pulley and measure again. For each set-up they mark the cord with tape and measure how far it moves for a 6-inch (15 cm) lift. Older groups add the 3-strand rig. Record results on the age worksheet.
Groups share readings. Draw each rig and count the strands holding the moving pulley. Introduce mechanical advantage (load / effort) and the trade of force for distance; show the 2:00-2:30 section of Bruce's video where he balances one weight against two.
Compute work in and work out for the two-pulley rig. Discuss where the difference goes (friction, the moving pulley's weight) and why spool pulleys lose more.
Exit ticket: sketch a pulley rig with a mechanical advantage of 2, label the strands, and state how far you must pull to lift the load 10 cm.
Discussion questions
- If a single fixed pulley doesn't reduce the force, why do flagpoles and window blinds use one?
- How many strands were holding up the jug in each set-up? How does that compare with your scale readings?
- Why did you have to pull more cord when the force got smaller?
- Why was your measured mechanical advantage lower than the strand count?
- Can a pulley system ever give you more work out than you put in? Why not?
- In the video, why does the principal need less force when he pulls the rope himself?
Common misconceptions
Assessment
- Completed data table with effort force and cord pulled for each set-up, from the age-band worksheet.
- Exit ticket: diagram of a mechanical-advantage-2 rig with strands labeled and the pull distance for a 10 cm lift.
- Performance task: rig the pulleys to make the scale read about one-third of the load, and explain the strand count.
- Short written explanation of why work in is greater than work out.
Differentiation
Support: Pre-rig the fixed pulley and have students only add the moving pulley; use a feel test (easier/harder) and a simple tally of cord length instead of scale readings.
Extend: Measure in newtons and meters, calculate efficiency for each set-up, compare spool and store pulleys, and design a rig for a mechanical advantage of 4 using borrowed double pulleys.