Experiments / Pulley Power
Pulley Power
Can a string and two wheels make you stronger?
Hang a jug of water from a broomstick, then add one more pulley and watch the pull you need drop to about half.
New home version. Bruce's original demonstration is in the video; these home instructions were adapted for this site and are still being test-built.
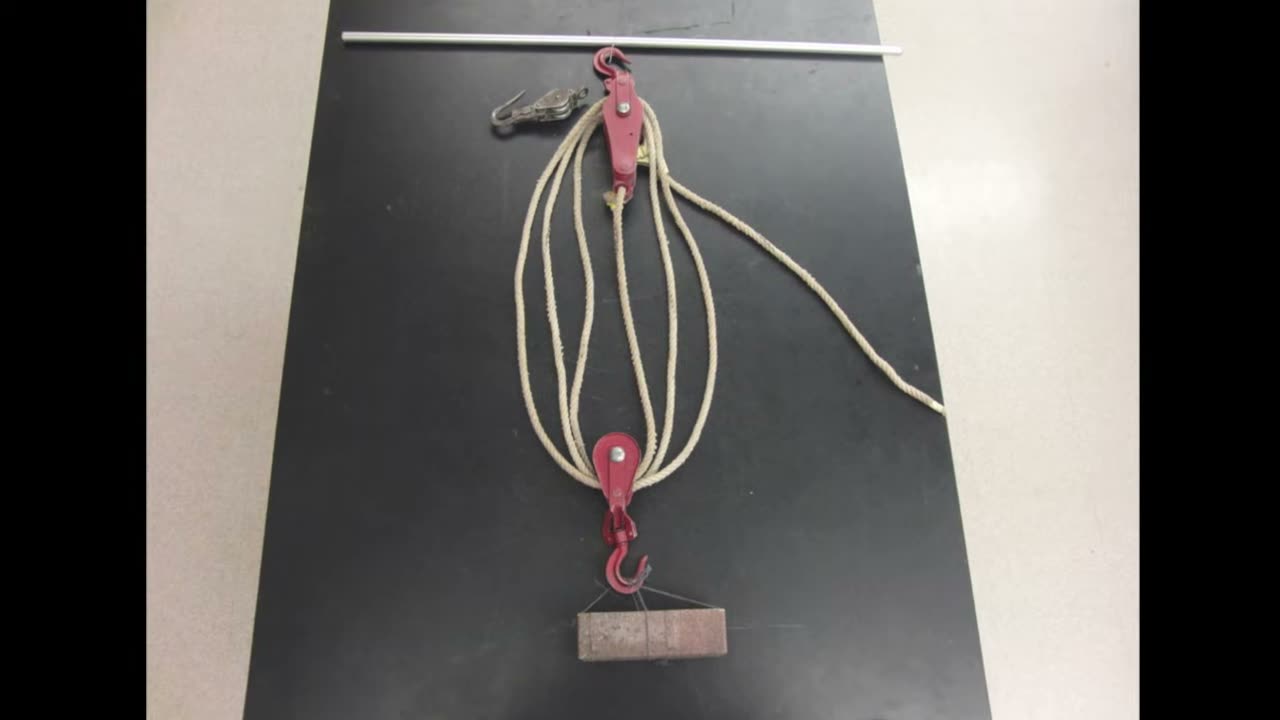
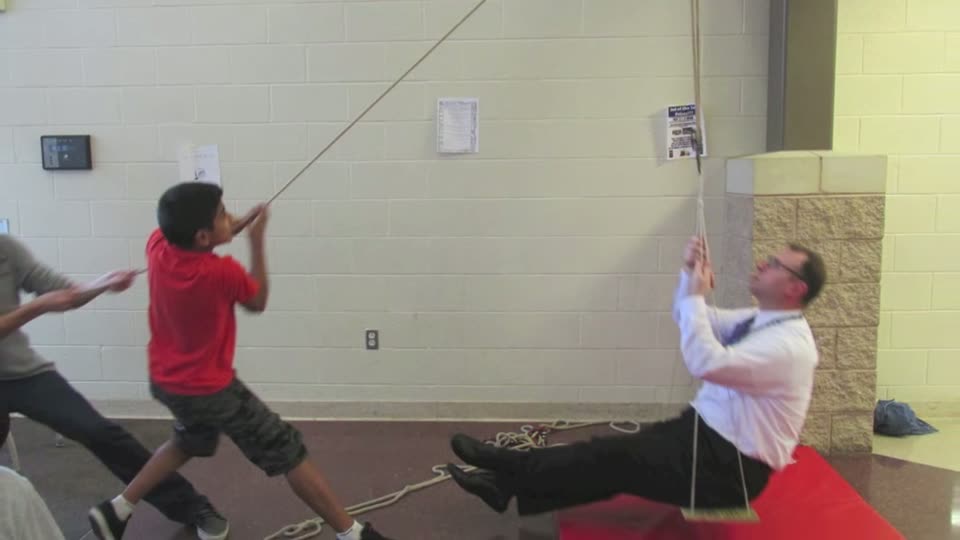
In the video, Bruce's class rigs bigger and bigger pulley systems in a school building until a single student can lift the principal. That stunt used a ceiling anchor, safety gear and a teacher in charge, so it is not a home project. At home you'll build a small, safe version: two pulleys on a broomstick between two chairs, lifting a jug of water a few inches. A scale shows you exactly how much easier each pulley makes the lift, and a tape measure shows you what it costs. A detailed build plan for a bigger classroom rig (still small loads only) is also on the site.
“The reason why this pulley system, and all pulley systems, makes it easier to lift is that you're trading force for distance.”
Build it
Grown-up: Stand two sturdy chairs back to back, about 2 feet (60 cm) apart.
Put a heavy stack of books on each chair seat so the chairs can't tip.
Lay the broomstick across the tops of the two chair backs, and tape each end down with masking tape so it can't roll.
Hook the jug handle on the scale, lift it a little, and write down the reading. This is how hard you must pull to lift the jug straight up.
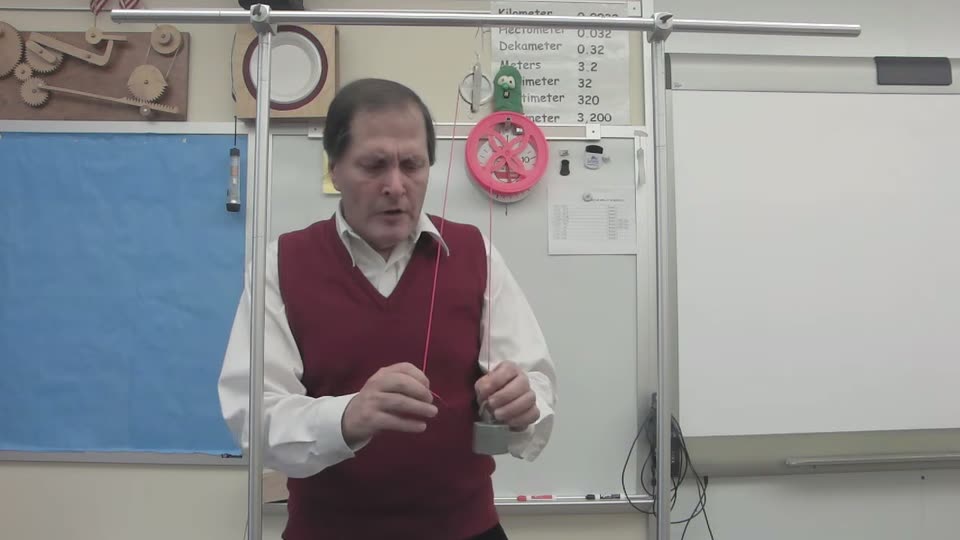
Tie one short string through the hook of a pulley and hang it from the middle of the broomstick, a few inches below it. This is your fixed pulley. (Spool pulley: tie the string to both ends of its pencil.)
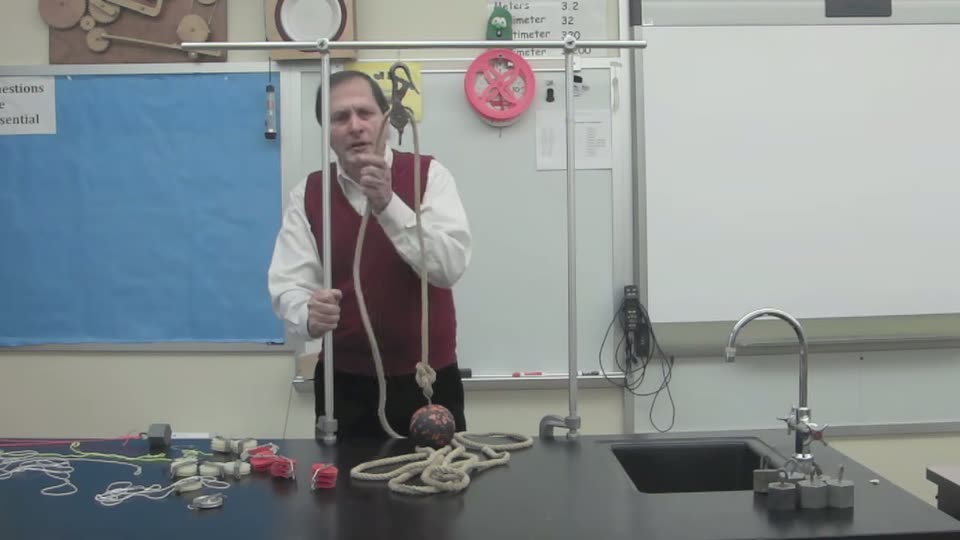
Tie one end of the long cord to the jug handle, run the cord up and over the fixed pulley, and tie a small loop in the free end.
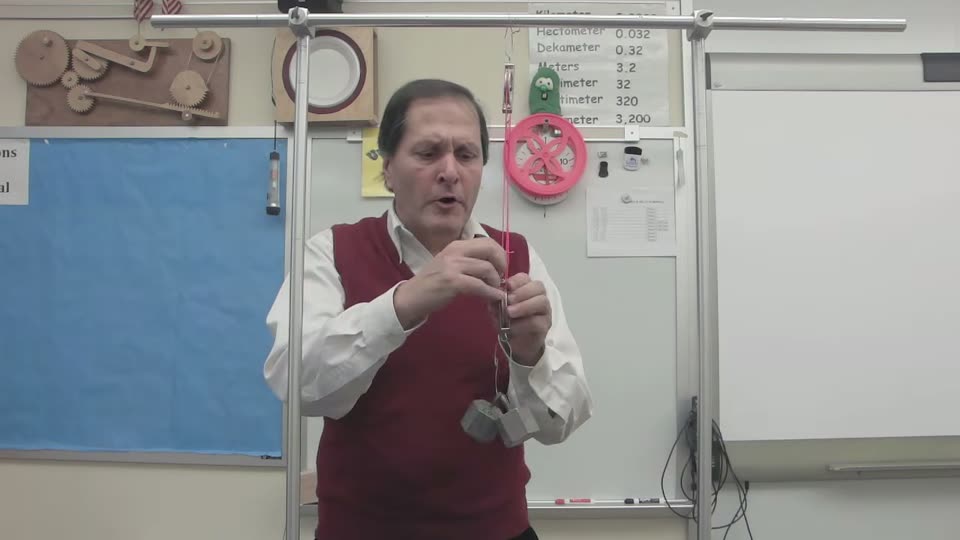
Hook the scale in the loop, pull straight down slowly until the jug lifts, and write down the reading.
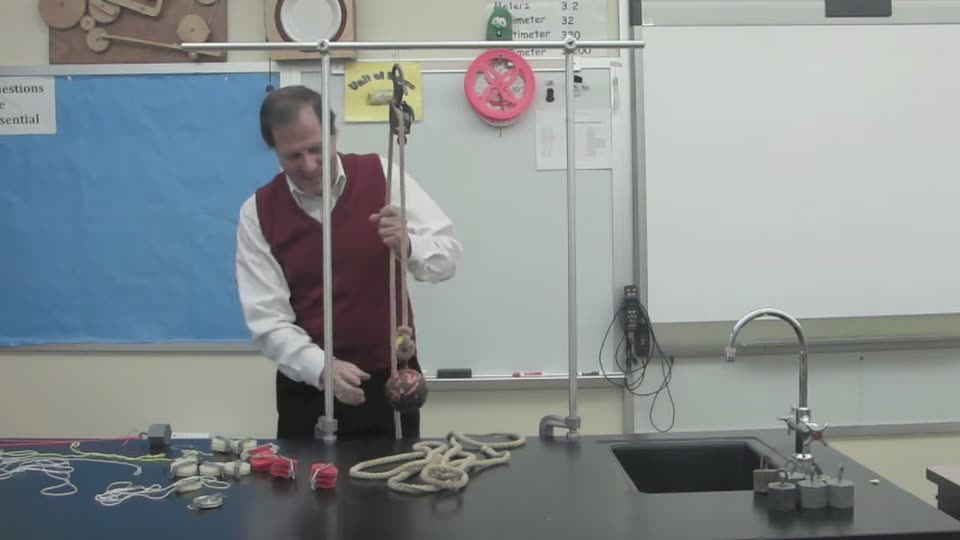
Lower the jug, untie the cord from its handle, and hang the second pulley from the jug handle with the other short string. This is your moving pulley.
Tie the cord's end to the broomstick right beside the fixed pulley. Run the cord down under the moving pulley, then back up and over the fixed pulley.
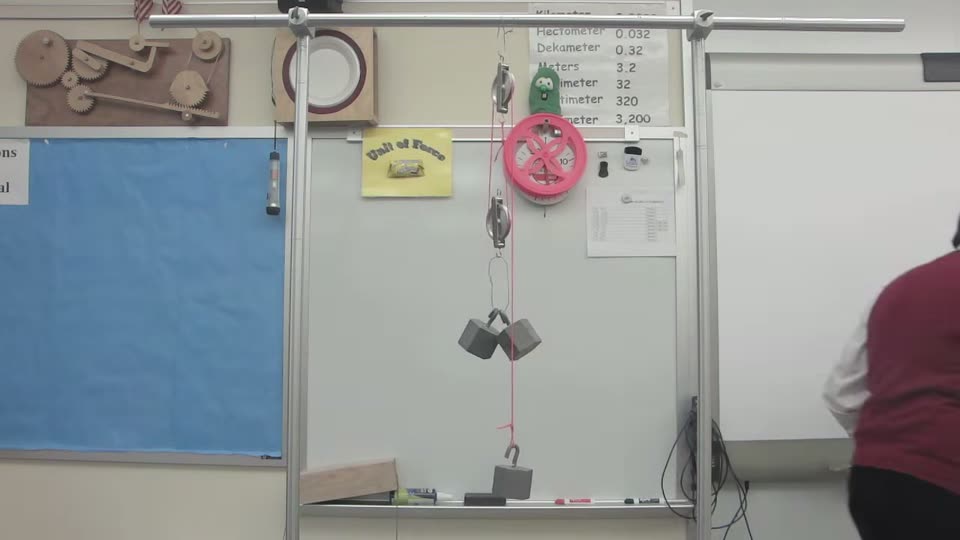
Hook the scale in the loop again, pull straight down slowly, and write down the new reading.
Try it & notice
What's going on?
For young scientists
A single pulley tied to the broomstick doesn't make the jug any lighter. It only changes direction: you pull down, and the jug goes up. That can still be handy, because pulling down is easier for your body, but the scale reads about the same as lifting the jug by hand.
The moving pulley rides up with the jug, and now two strands of cord hold the jug up, one on each side. Each strand carries about half the weight, and you only pull on one of them. So you need about half the force.
There is a catch. To raise the jug 6 inches, both strands must get 6 inches shorter, so you have to pull 12 inches of cord. A pulley system trades force for distance: you pull with less force, but over a longer distance. Bruce's biggest set-up had six strands, so one person could lift a lot but had to pull six times as much rope.
For grown-ups & teachers
This is the mechanical advantage of a simple machine. For an ideal pulley system, the mechanical advantage (load force divided by effort force) equals the number of rope strands supporting the moving block. A single fixed pulley has a mechanical advantage of 1: it only redirects the force, which is what Bruce shows by balancing equal weights on either side. Adding a moving pulley gives 2; the two-single-pulley arrangement with the rope tied to the moving pulley and pulled upward gives 3; Bruce's double and triple blocks give 4 and 6.
Energy is conserved, so the effort force times the distance pulled (work in) is at least the load times the height lifted (work out). With 2 supporting strands you pull about half as hard but twice as far. Real readings come out higher than ideal because of friction in the pulleys and because the moving pulley's own weight is lifted too. Spool-on-pencil pulleys have a lot of friction, so expect bigger losses with them; that's a good discussion point, not a failure. Efficiency = work out / work in.
A common misconception is that the number of pulleys sets the advantage. It is the number of strands holding the moving part that counts, and the direction of the final pull matters: in the 3-strand rig the pulling strand itself goes up from the moving pulley and helps hold the load. That is why, at the end of the video, the principal pulling on the rope himself has 7 supporting strands on a mechanical-advantage-6 rig, and needs only about one-seventh of his weight.
To extend it, measure in newtons and meters and calculate work in and work out for each set-up, graph effort force against number of strands, or borrow a pair of double pulleys to reach 4 strands. Scale the load down rather than up: the physics is the same at 4 pounds as at 200, and the broomstick rig is not built for heavy loads.
NGSS performance expectations
- 3-PS2-1 Plan and conduct an investigation to provide evidence of the effects of balanced and unbalanced forces on the motion of an object.
- MS-PS2-2 Plan an investigation to provide evidence that the change in an object's motion depends on the sum of the forces on the object and the mass of the object.
- 3-5-ETS1-2 Generate and compare multiple possible solutions to a problem based on how well each is likely to meet the criteria and constraints of the problem.
Science words
Tips from 41 years of teaching it
Bruce has rigged pulley systems in his classroom for years, starting from a simple workbench write-up. Here is what he learned.
- Bruce found that kids want to feel the change in effort for themselves, so let everyone pull each set-up before anyone reads the scale.
- He works up in order: a single pulley, then a mechanical advantage of 2, then 3, then 4, measuring with a meter stick each time how far the load rises and how far the pull rope travels.
- He starts with the single pulley on purpose, because it changes neither force nor distance, and uses it to kick off a short discussion about force.
- His pulleys came from a home-improvement store and have a locking catch on each hook, so nothing can slip off while it's loaded.
- Rope disappears fast: Bruce's 50-foot rope gets used up quickly at a mechanical advantage of 6. Every strand you add multiplies the cord you need.
- In his work labs, students measure force with a spring scale in newtons and distance in meters, then multiply them to get work in joules.
More to try
- Bruce's compound machine project: design and build a homemade toy or machine that does a useful job using at least three different simple machines, one of them with a mechanical advantage you can calculate, then draw a labeled diagram of it.
Make it a challenge
Three strands
Tie the cord to the moving pulley (or the jug handle) instead of the broomstick, run it over the fixed pulley and back under the moving one, then pull up. Does the scale read about a third of the jug's weight?
Spools vs. pulleys
Build the same two-pulley rig with thread spools on pencils and then with store pulleys. Which one gets closer to half the jug's weight, and why?
Balance it
Bruce hangs two weights on a moving pulley and balances them with just one of the same weights on the pull rope. Hang a smaller water bottle on the free end of your cord. How much water does it take to hold the jug up?
Double pulleys
Bruce uses double pulleys on top and bottom to get four strands. If you can borrow two small double pulleys, try it with the same jug and measure how far you must pull.