Teachers / Lesson plans / Siphons
Lesson plan · Grades 3-8How can water climb up and out of a jar?
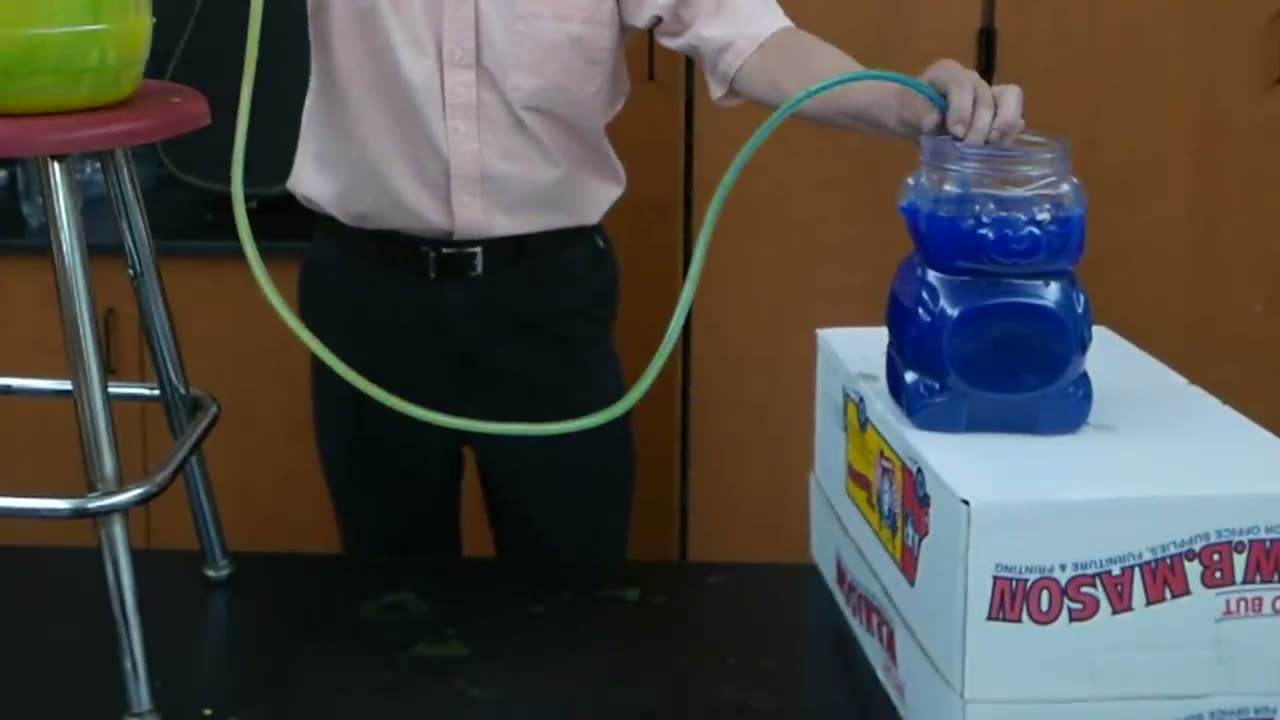
Students start a siphon with a water-filled tube, watch water climb up and over the rim of a raised jar, and then test which way it flows when the jar heights are swapped. They use gravity and air pressure to explain why a siphon always runs toward the lower water surface and stops when the levels match or the tube end is uncovered.
How can water travel up and over the rim of a jar all by itself, and why does it turn around when the jars swap places?
Learning objectives
- Students will be able to start a siphon without mouth suction and identify the conditions it needs to keep flowing.
- Students will be able to predict the direction of flow from the relative heights of the two water surfaces.
- Students will be able to explain siphon flow using gravity on the longer column and air pressure on the reservoir.
- Students will be able to measure and compare flow rate at different height differences in a fair test.
Lesson flow (5E)
Run the teacher demo without explaining it: colored water climbs out of the high jar, over the rim and down into the low one. Lift the low jar above the other and let students see the flow reverse. Ask them to write one sentence guessing what makes the water climb.
Groups fill their tube by coiling it under water, thumb one end, move it to the low jar and release. They predict whether the high jar will empty, watch where the flow stops, then time how long it takes to fill one cup with the low jar at two or three heights. A designated student lifts the full jar to test reversal, keeping both tube ends under water.
Groups share what had to be true for the siphon to work. Draw a siphon on the board and build the explanation together: gravity pulls water down the longer outlet side, leaving reduced pressure at the top of the bend, and air pressure on the reservoir pushes water up to replace it. Introduce the chain model and why Bruce calls it flawed: siphons still run with gaps in the liquid.
Groups lift the middle of the tube high above the jars, loop it around a chair leg, or let a short air bubble in by lifting the inlet end for a moment, and record what happens. Share Bruce's siphon lifted about 18 feet and the 10.3 m (33.9 ft) limit set by air pressure, and connect to aquarium cleaning, irrigation and flushing toilets.
Exit ticket: draw a siphon with arrows showing which way the water moves and label where pressure is lower. Students state one condition that stops a siphon.
Discussion questions
- What did you have to do before the water would start flowing?
- Why did the water stop flowing before the high jar was empty?
- When the jars swapped heights, why did the water turn around in the same tube?
- Does the height of the bend change whether it works, how fast it runs, or both? What is your evidence?
- If a siphon is just water being pulled like a chain, why does it still work with gaps in the water?
- Why can't a water siphon lift water over a bend higher than about 10 m (34 ft), even with a perfect tube?
Common misconceptions
Assessment
- Exit ticket: a labeled siphon diagram with flow arrows and the low-pressure region marked.
- Use the age-matched worksheet (8-10 'Siphon Test Lab' or 11-14 'Explaining the Siphon') and its answer key to check flow-direction predictions and the fair-test design.
- Performance task: give a group a new jar arrangement and have them predict the flow direction and stopping point before they start the siphon.
- Short written response: explain the siphon using the words gravity and air pressure.
Differentiation
Support: Pre-fill tubes for younger students and have them focus only on which way the water goes and whether it went up over the rim; use the 5-7 worksheet with drawing and circling.
Extend: Have older students graph flow rate against height difference, compare tube diameters, and estimate outlet speed from the square root of 2gh, then discuss why the measured speed is lower (friction).