Teachers / Lesson plans / Tumbling Toy
Lesson plan · Grades 3-6How can a marble make a tube flip end over end?
Students build a paper-tube tumbler with a marble sealed inside and watch it flip end over end down a cardboard ramp with no push. They investigate how the moving marble shifts the toy's weight past its lower end and how ramp angle affects the motion, then explain the toy in terms of balance, turning force and energy from height.
A plain paper tube, set at the top of a ramp, flips end over end all the way to the bottom by itself, while an empty tube just slides or sits still. What is happening inside that makes it tumble?
Learning objectives
- Students will be able to explain that the tumbler flips because the marble moves the toy's weight (center of mass) past the lower end, which acts as a pivot.
- Students will be able to identify gravitational potential energy from the ramp's height as the energy source for the motion.
- Students will be able to measure and compare run times or flip counts when one variable, such as ramp height, is changed.
- Students will be able to predict how the tumbler behaves on a flat surface, a ramp that is too shallow, and a ramp that is too steep.
Lesson flow (5E)
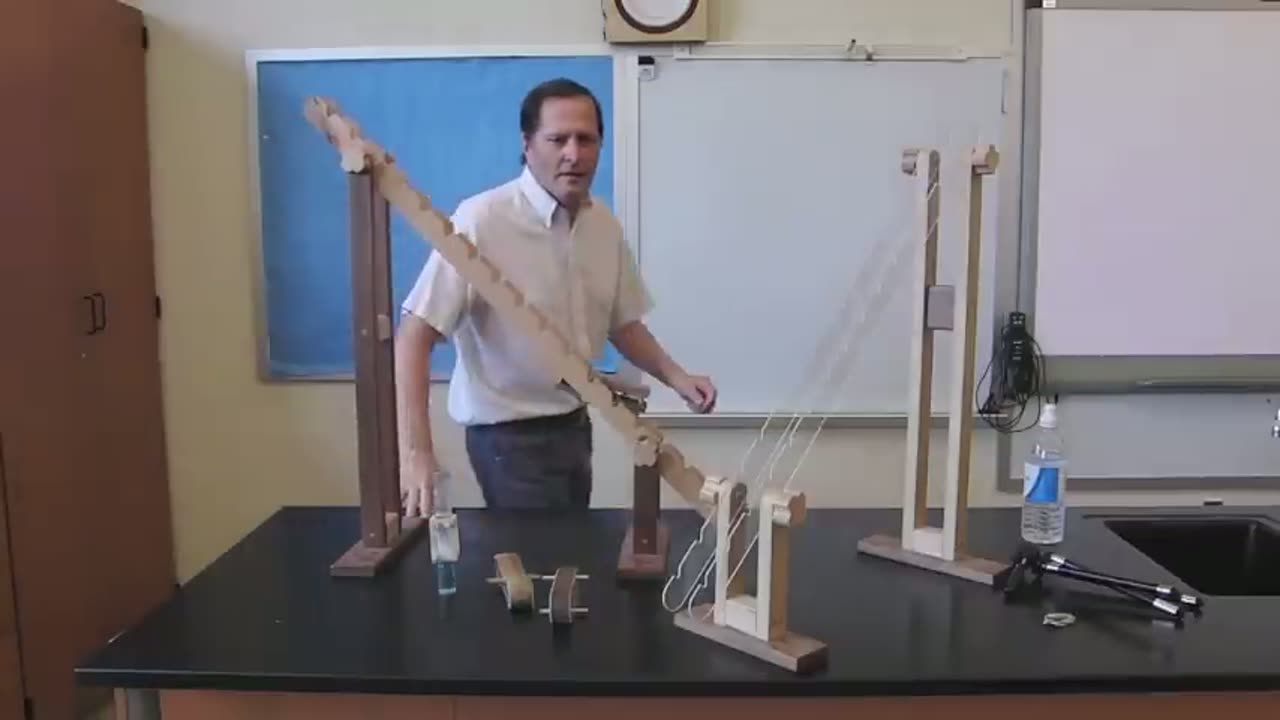
Day 1. Release an empty paper tube on the demo ramp, then the demo tumbler, and let students describe the difference. Ask them to predict what is inside and why it matters, and record predictions on the board.
Day 1. Pairs build their tumblers following the project steps, adding a strip of masking tape over each glued end so the toy can be tested before the glue fully dries. Pairs test on the ramps, watching where the marble is just before each flip, and adjust ramp height until the tumbler flips reliably. Collect the toys at the end so the glue can dry overnight.
Day 2. Run the clear-window tumbler slowly so the class can see the marble. Explain that when the marble rolls to the lower end, the toy's weight moves past the end touching the ramp, gravity makes a turning force (torque) around that point, and the toy rotates half a turn. The old top end becomes the new bottom end, and the cycle repeats. Connect the energy to height: each flip moves the toy lower on the ramp, and on a flat table it stops.
Day 2. Pairs run a fair test: change only the ramp height (for example 2, 3 and 4 books), time three runs at each height, and record any slides or tip-offs. Discuss the results, including the angle that is too low to flip and the angle where it slides or skids. Show the dish-soap time-lapse and ask how a thick liquid could still make a toy tumble with no hard impact.
Students complete the exit ticket or the key items on their age-band worksheet: sketch the tumbler just before a flip, mark the marble and the pivot point, and explain where the energy comes from.
Discussion questions
- What was different between the empty tube and the tube with a marble inside?
- Where was the marble just before each flip, and what part of the tube stayed on the ramp while it turned?
- What happened when you made the ramp flatter or steeper? Why is there a best range?
- Why does the tumbler stop on a flat table even though the marble can still roll?
- Some people say the click of the marble hitting the end is what flips the toy. How could the dish-soap tumbler help us test that idea?
- How would a tumbler filled with many tiny beads behave differently from one with a single marble, and why?
Common misconceptions
Assessment
- Exit ticket: draw the tumbler on the ramp just before a flip, mark the marble and the pivot point with arrows, and write one sentence about where the energy comes from.
- Use the age-band worksheet (My Tumbling Toy, Tumbler Test Lab, or Tumbler Science: Explain & Extend) and check against the answer key.
- Review each pair's ramp-height data table: is only one variable changed, are there repeated trials, and does their conclusion match their numbers?
- Quick performance task: give a pair a ramp that is too flat and ask them to fix it and explain why the change worked.
Differentiation
Support: Provide tubes already rolled and cut to length, with the end strips pre-marked, and let students focus on sealing in the marble and testing. Use the 5-7 worksheet and the words balance, flip and downhill.
Extend: Students graph run time against ramp height, test tube length or the number and size of balls inside (one marble versus several small beads), or compare a clear bottle tumbler filled with water and one with dish soap built by the teacher, relating the slower motion to viscosity.