Teachers / Lesson plans / Upside-Down Water Glass
Lesson plan · Grades 2-8How can a paper card hold up a cup of water?
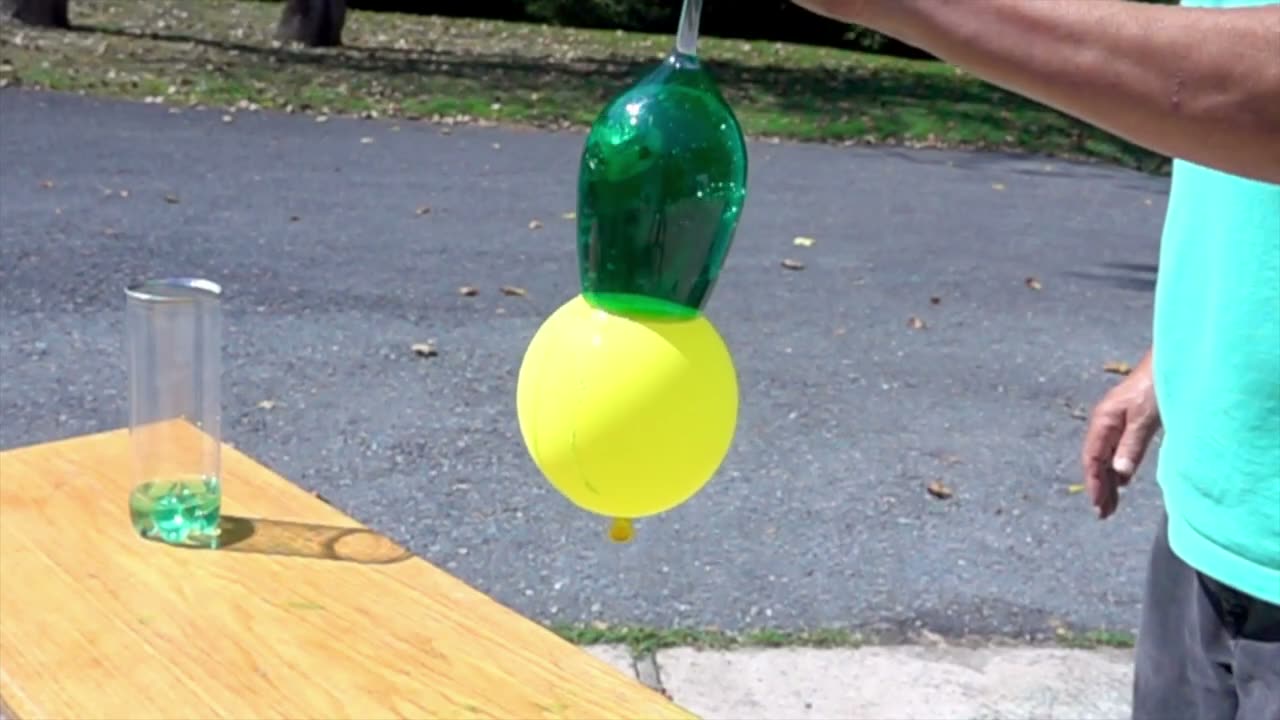
Students fill a cup with water, cover it with a card, turn it upside down and let go, and the water stays in. They then run a fair test of different covers, compare water with dry sand, and tip the cup until air gets in, building an explanation based on air pressure, cohesion and the need for air to replace any water that leaves.
A cup full of water is turned upside down with only a paper card under it. When the hand is taken away, the water stays in. What is holding it up?
Learning objectives
- Students will be able to predict and observe what happens when a covered, full cup of water is turned upside down.
- Students will be able to explain that air exerts pressure in all directions and that water cannot leave the cup unless air gets in to take its place.
- Students will be able to compare how well different covers hold the water using a fair test.
- Students will be able to explain why dry sand falls out while water stays, using the idea of cohesion.
Lesson flow (5E)
Over a tub, fill a clear cup to the brim, cover it with a card, and ask students to predict what will happen when you flip it and let go. Do it. Then tip the cup sideways until the water falls out, and ask what changed.
Groups try the basic trick over their tubs, then test each cover on the same cup filled to the brim, recording whether it holds and for how many seconds (up to 30). They also try a half-full cup and tip the cup slowly to see the moment it fails.
Use student observations to build the explanation: air presses on everything from every direction, including up on the card. Water sticks to itself (cohesion), so it acts as one plug, and it cannot fall out unless air gets in to fill the space. Demonstrate dry sand falling straight out, since sand does not stick together and air slips between the grains. When the cup tips and a bubble enters, the air inside pushes too and the water's weight wins.
Groups try the straw challenge: finger over the top, lift the straw out, then lift the finger. Show the screen-covered cup holding water once the card slides away, and connect both to surface tension blocking air from entering. For older students, share Bruce's finding that the pressure at the top of the trapped water is lower than the outside air, and that the drop depends on the height of the water, not the amount.
Students complete the worksheet conclusion or an exit ticket explaining why the water stays in and why it falls when air gets in. Clean up the stations.
Discussion questions
- What did you predict would happen, and what actually happened?
- Which cover worked best, and what made it better than the others?
- What happened the moment a bubble of air got into the cup?
- Why does dry sand fall out when water stays in?
- How is a straw with your finger on top like the upside-down cup?
- Bruce first said the water pushes down on the card, then tested it and changed his explanation. What does his gauge show, and why is testing your sources important?
Common misconceptions
Assessment
- Exit ticket: "Draw the upside-down cup with arrows showing where the air pushes, and write one sentence explaining why the water stays in."
- Check the cover table on the 8-10 worksheet for a fair test (same cup, same water level, one cover changed at a time) and a conclusion that matches the data.
- Ask students to predict what will happen if the upside-down cup is tipped until one edge of the card lifts, then demonstrate it and have them explain the result.
- For older students, use the narrow versus wide tube question on the 11-14 worksheet.
Differentiation
Support: Use the 5-7 worksheet, do the flip together step by step, and limit the cover test to two covers (card and balloon). Focus on the idea that air pushes and the water needs air to get in before it can fall.
Extend: Measure how far the cup can tilt before it fails, test cups of different sizes as a fair test, or stretch a balloon over the top of a tall tube to see it pull inward as the water rises. Research why the effect could in principle work up to about 33 feet (10 m) of water.