Teachers / Lesson plans / Slow-Wave Loops
Lesson plan · Grades 4-8Why do waves crawl on a spinning rope?
Students compare waves on a still, hanging loop of rope or ribbon with waves on the same loop driven by a small motor. They discover that a wave moving against the rope's motion crawls while one moving with it races away, and use the idea of relative motion (frames of reference) to explain it.
On a spinning loop of ribbon, a flick makes a wave that creeps down so slowly it seems to hang in the air, while on the other side the ribbon acts stiff as a stick. Why would moving the rope change how fast a wave crawls along it?
Learning objectives
- Students will be able to identify the wave on a rope as a transverse wave and describe how the material moves.
- Students will be able to predict and compare how fast a wave appears to travel on a still loop and on each side of a moving loop.
- Students will be able to explain the slow wave using relative motion: wave speed through the rope combined with the rope's own speed.
- Students will be able to measure the speed of the moving loop from its length and the time for ten trips.
Lesson flow (5E)
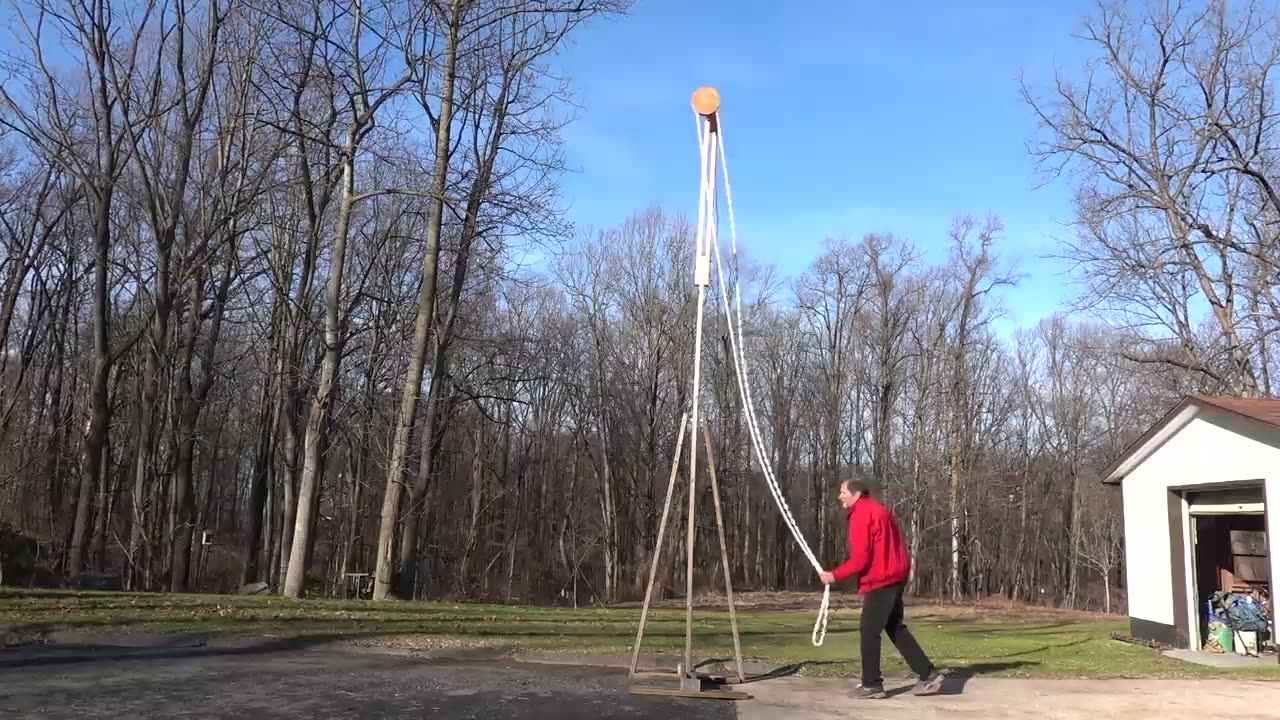
Show a few seconds of Bruce's giant loop with the slow waves (no sound). Ask: what is strange about these waves? Students write a quick prediction: will a wave on a moving rope be faster, slower or the same?
Warm up with a still rope on the floor or a Slinky to see a normal transverse wave. Then groups hang their loops, flick with the motor off, then on, testing both sides and timing waves from top to bottom. They mark on a sketch which way each side moves.
Collect results on the board. Introduce relative motion with Bruce's river analogy (ripples with and against a current) and a moving-walkway example: wave speed through the rope minus rope speed on one side, plus on the other. Draw the loop with arrows.
Groups measure their loop's speed (length divided by time for one trip, from ten trips) and compare it with how fast a wave moved on the still loop. The teacher demo shows that a faster loop makes a slower wave.
Exit ticket: draw a moving loop, label the side where waves look slow, and explain why in one or two sentences.
Discussion questions
- What does each bit of ribbon do as a wave passes? What kind of wave is that?
- On which side of the moving loop did waves look slow? Which way was the ribbon moving there?
- Why did the side moving down act stiff when you tried to flick it?
- Did the motor change the wave itself, or only how we see it from the floor?
- What would happen to the slow wave if the loop moved faster still? Could a wave ever look like it stands still?
- Where else do we see speeds adding or subtracting like this?
Common misconceptions
Assessment
- Exit ticket: labeled drawing of the moving loop with the slow-wave side and a one-sentence explanation.
- Use the 8-10 or 11-14 worksheet; check the prediction, data table and the relative-motion explanation.
- Quick performance task: each group demonstrates a slow wave on cue and points to the side and direction of rope motion.
- Older students: compute the loop speed correctly from their timing data.
Differentiation
Support: Focus on observing and comparing: still loop versus moving loop, up side versus down side. Use the moving-walkway analogy with students walking on a 'conveyor' of classmates passing a ball, and sentence starters such as 'The wave looked slow because the ribbon was moving ___.'
Extend: Have students estimate the wave speed on the still loop and the loop speed, then test whether the slow wave's speed matches the difference. Discuss why tension, and so wave speed, changes with height in a hanging rope, and research the 'lasso' or chain-fountain effect.