Build plans / Dynamics Carts and Crashing Blocks
Dynamics Carts and Crashing Blocks
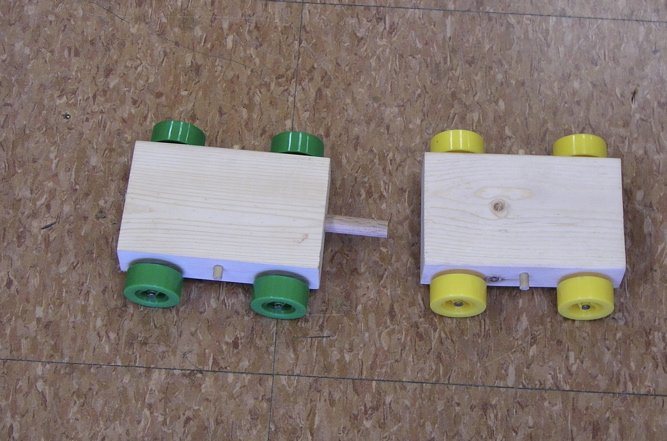
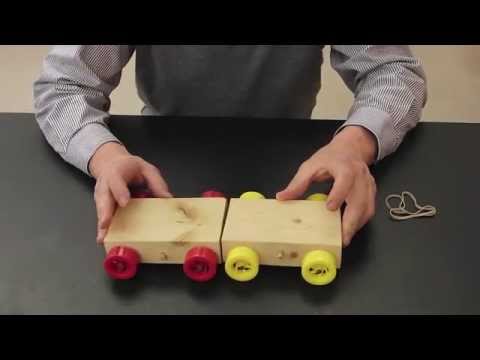
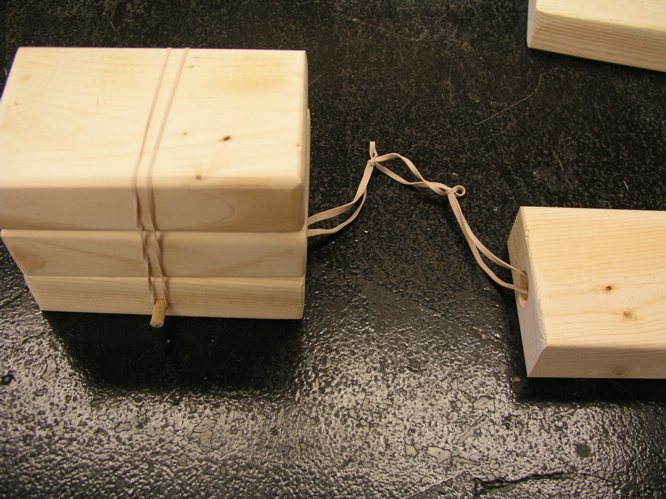
Two wooden carts cut from a 2 x 4 carry a spring-loaded dowel plunger. Pressed together and released, they push each other apart, showing that forces come in equal and opposite pairs. A simpler wheel-free version joins two blocks with a long rubber band so they race toward each other and meet in the middle. Stack extra blocks on either one to explore how mass affects acceleration, or leave a block loose on top to demonstrate inertia.
Written from Bruce's original workshop handout. Bruce's final review of this plan is in progress.
What it shows
Release two carts pressed together and they shoot apart at the same speed; triple the mass of one and it moves only a third as fast.
Key ideas: Newton's third law, Newton's second law, inertia, momentum, mass and acceleration
Build it
Cut and mark the blocks
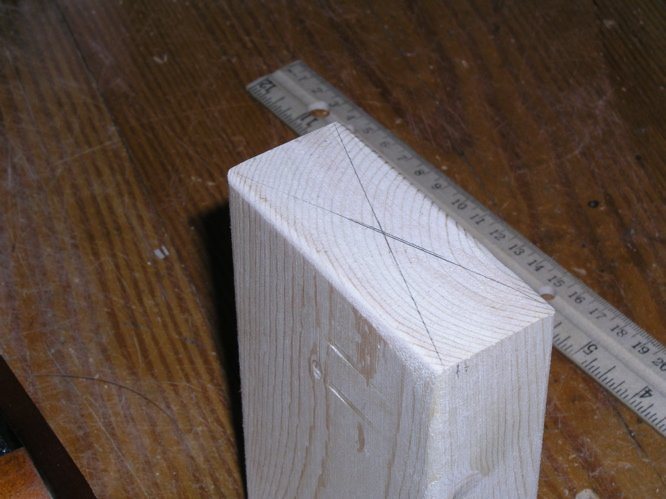
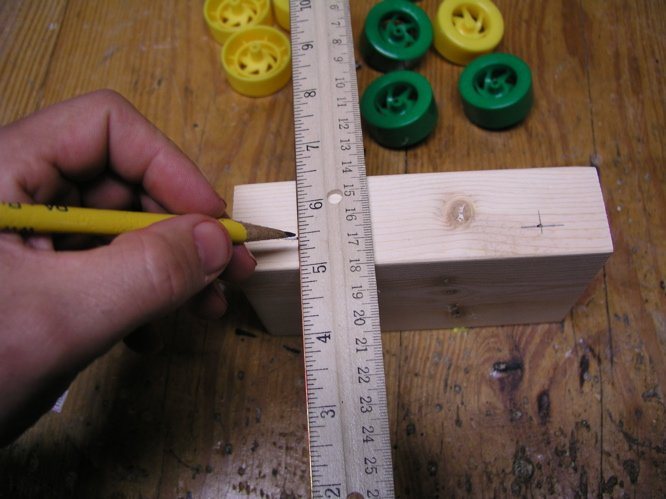
Cut the 2 x 4 into 6 in blocks. On one end of a cart block, draw diagonals from corner to corner to find the center.
Drill the plunger hole
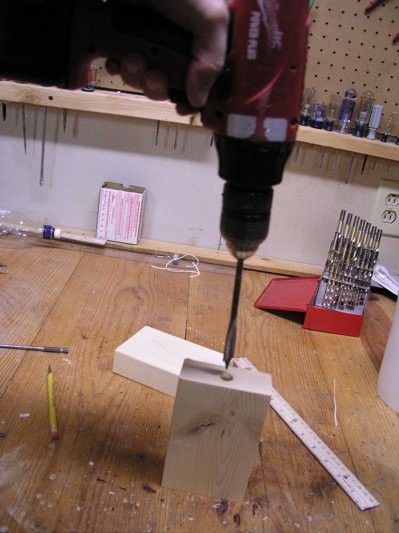
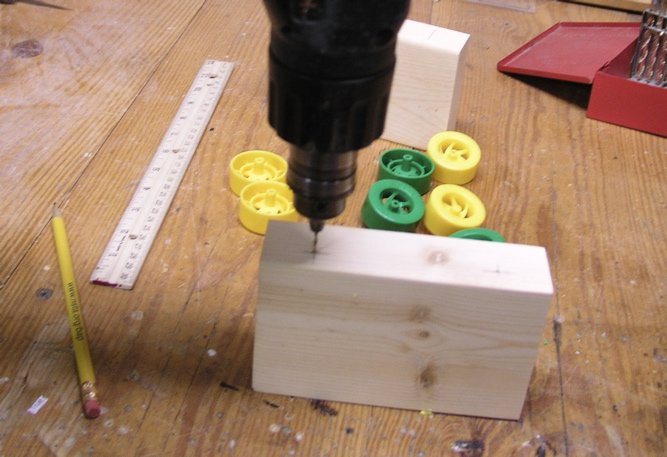
Drill a 1/2 in hole at the center mark, as deep as the bit allows; a deeper hole keeps the plunger straighter. Sand the hole or the dowel until the dowel slides in and out easily.
Drill the string hole
From the opposite end, drill a 1/8 in hole straight through to meet the bottom of the 1/2 in hole.
Make the plunger
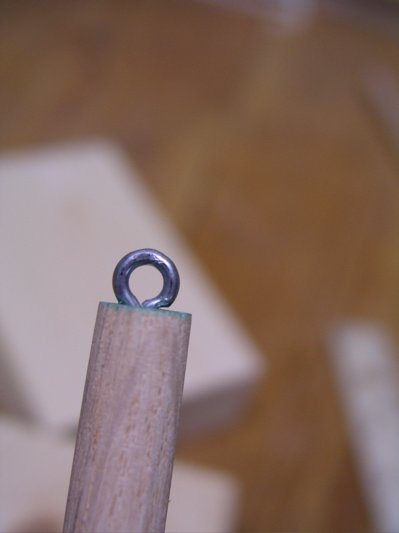
Screw a small screw eye into one end of the 1/2 in dowel. Drop the spring into the hole, push the dowel in on top, mark it flush with the block face, and cut it so it disappears completely into the hole when the spring is compressed.
String the plunger
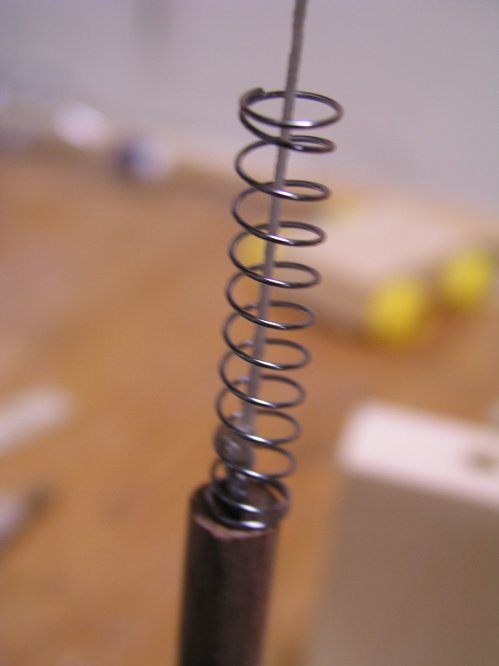
Tie a string to the screw eye and thread it through the spring. Feed the string down the hole and out the 1/8 in hole at the back (a thin wire helps fish it through).
Set the plunger travel
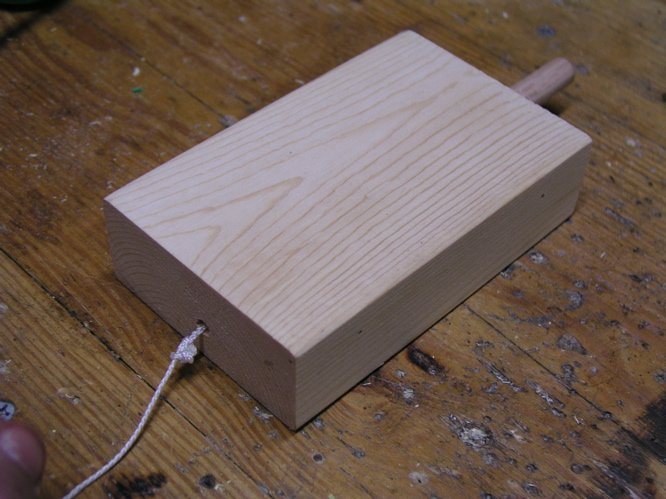
Let the spring push the plunger out to the extension you want, then tie a knot in the string snug against the back of the block. The plunger can now be pushed in but cannot fly out of the hole.
Mark and drill the axle holes
Carefully mark the wheel positions so they are identical on both carts, and drill small pilot holes for the nail axles.
Attach the wheels
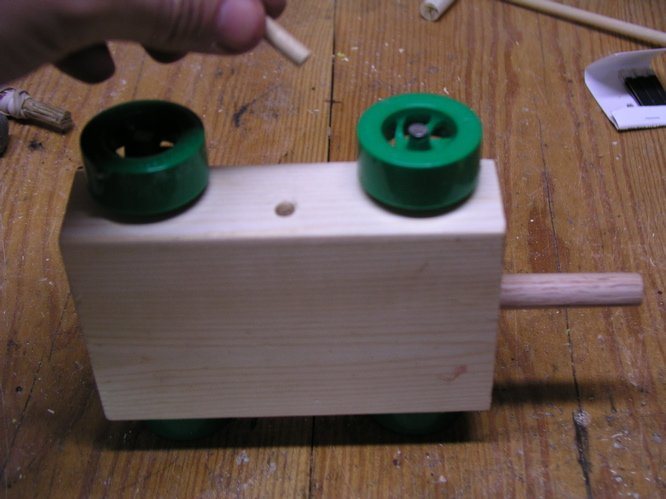
Drive a nail through each wheel into its hole, stopping while the wheel still turns freely.
Add the side pegs
Drill 1/4 in holes in the sides of each cart and glue in short dowel pegs (nails also work). Rubber bands stretched between the pegs hold extra blocks on top.
Build the rubber-band blocks
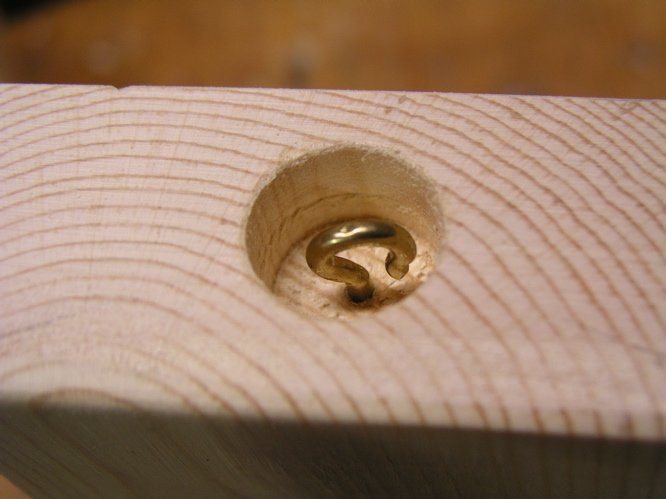
For the wheel-free version, find the center of one end of two more 6 in blocks and drill a shallow recess there. Screw an open hook into each recess, loop the rubber band over it, then tighten the hook so the band is locked in place below the surface.
Peg the blocks
Add short dowel pegs to the sides of these blocks too, so extra blocks can be strapped on.
How it works
When the spring pushes on one cart, it pushes just as hard on the other in the opposite direction: Newton's third law. The forces are equal and act for the same time, so the carts receive equal and opposite pushes.
Newton's second law says acceleration equals force divided by mass. With equal masses, the carts leave at equal speeds. Strap two extra blocks onto one cart (three times the mass) and it moves off at about one-third the speed of the lighter cart, while their momenta (mass times velocity) stay equal and opposite.
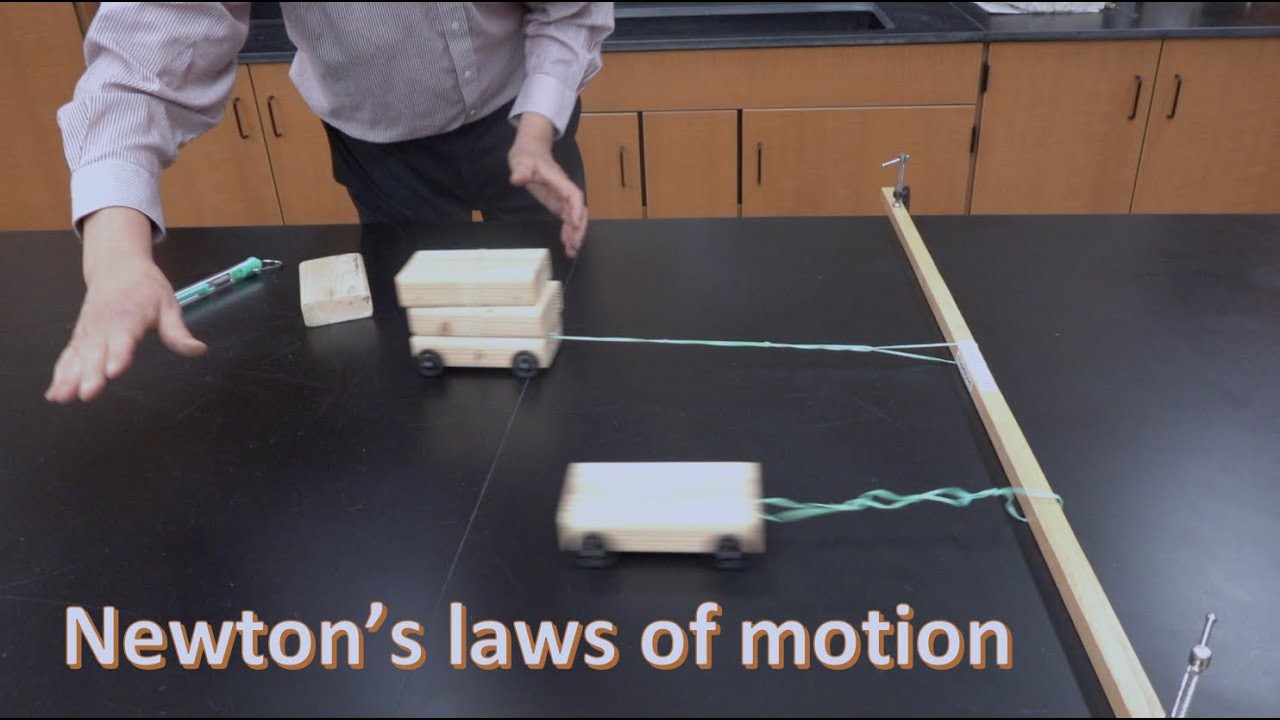
The rubber-band blocks show the same law in reverse. The stretched band pulls both blocks equally, so equal blocks meet in the middle; a heavier block accelerates less and the meeting point shifts toward it.
The loose-block trick shows inertia: when the bottom block is yanked away suddenly, friction is too small to accelerate the top block as quickly, so it gets left behind.
Using it
- Press the two carts together so the plunger is fully inside and the blocks touch, then let go. Compare the distances they roll.
- Strap one, two or three extra blocks onto one cart and compare speeds or distances with the mass ratio.
- Rubber-band blocks: lay a meterstick flat, pull the blocks to the 20 cm and 80 cm marks, and release. Equal blocks collide at the 50 cm mark. Add mass to one and predict the new meeting point.
- Inertia: set a loose block on top of one rubber-band block (not strapped), stretch, and release only that block. The bottom block shoots away and the top block is left behind.
- Ask: if I push a book, does it push me back? Why does the book move and not me?
Variations
- Bruce shows three variations of these blocks and carts in his video, using the same 6 in block size throughout so the masses are easy to multiply.
Troubleshooting
More build plans
Balancing Nails Challenge
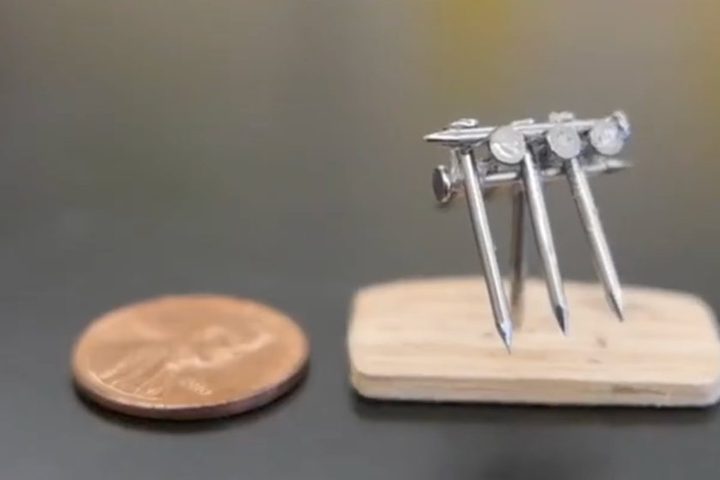
Twelve big nails balanced on one nail head looks impossible. Then Bruce doubles it.
Bar Pendulum vs. Simple Pendulum
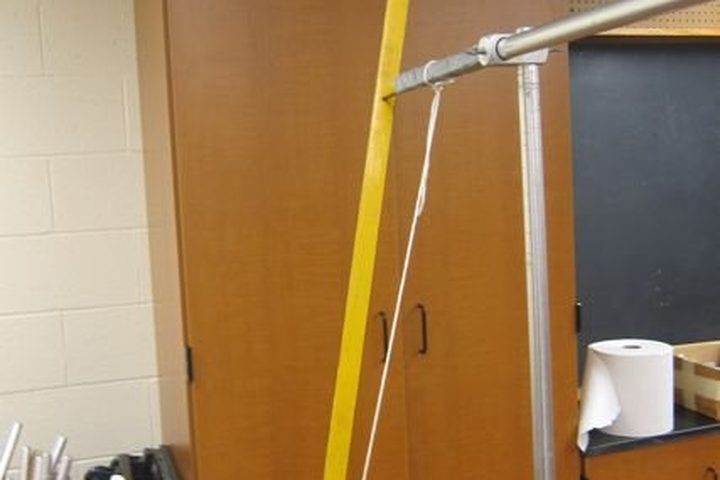
A swinging meterstick keeps the same beat whether it hangs from its end or from a point a third of the way down. Why?
Block Stacking Challenges
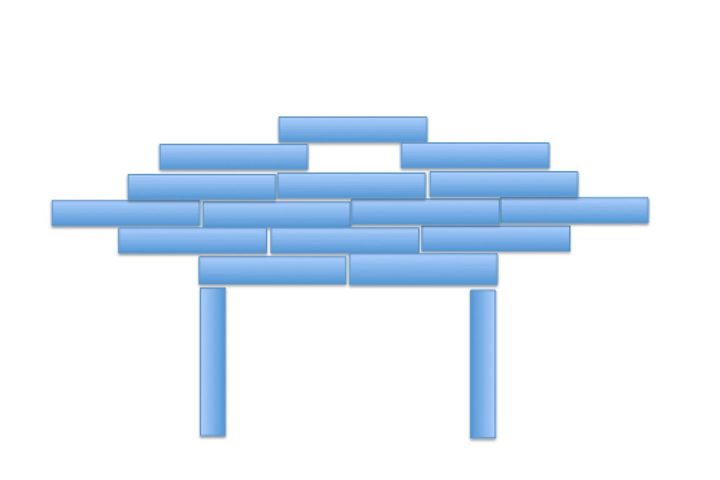
How few blocks does it take to make the top block hang completely past the edge of the bottom one?
© Bruce Yeany · Homemade Science with Bruce Yeany · youtube.com/@YeanyScience
Free for personal and classroom use. Please don't resell or republish. Build and use at your own risk; follow the safety notes and supervise children.