Build plans / Identical Curved Tracks
Identical Curved Tracks
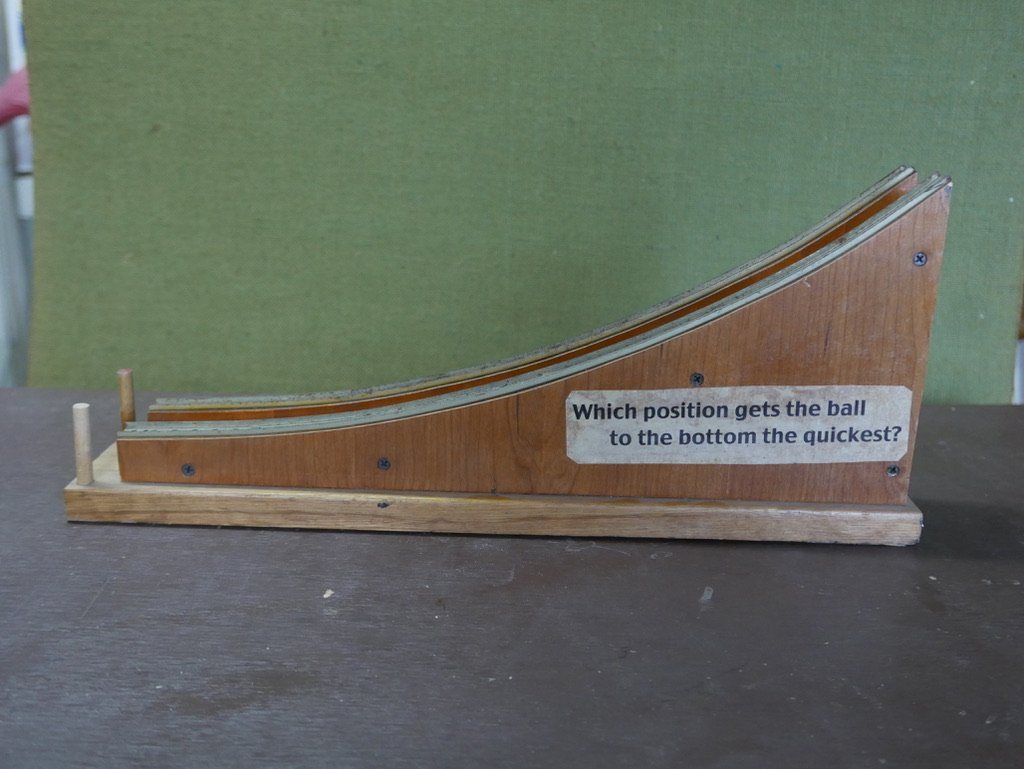
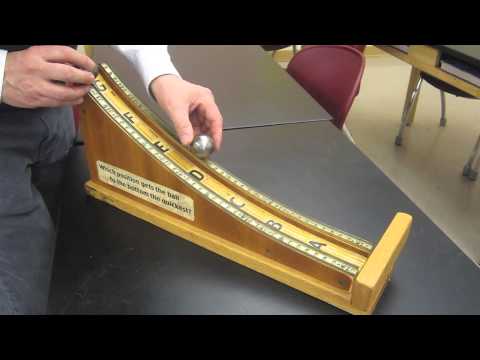
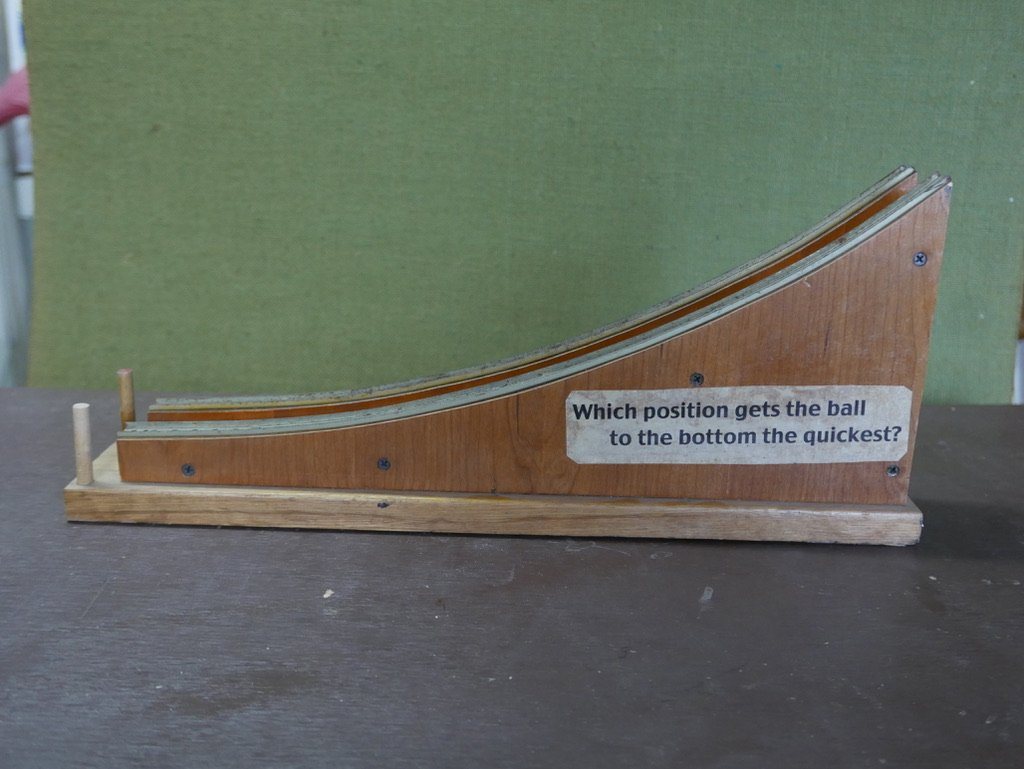
Two identical curved tracks sit side by side, each marked with letters along its length. The question printed on the side asks which starting point gets a ball to the bottom first. Releasing two balls from different letters shows that the time is nearly the same from every point, the same property that makes a pendulum keep steady time.
Written from Bruce's original workshop handout. Bruce's final review of this plan is in progress.
What it shows
Release one ball from near the top of a curved track and another from near the bottom, and they hit the end at the same moment.
Key ideas: acceleration, pendulum motion, isochronism, potential and kinetic energy
Build it
Draw the curve
Use a string and pencil pinned at a center point to draw an arc with a radius of 3 to 4 ft. Use only about a 25 degree section of the circle, starting from the lowest point.
Cut the curved supports
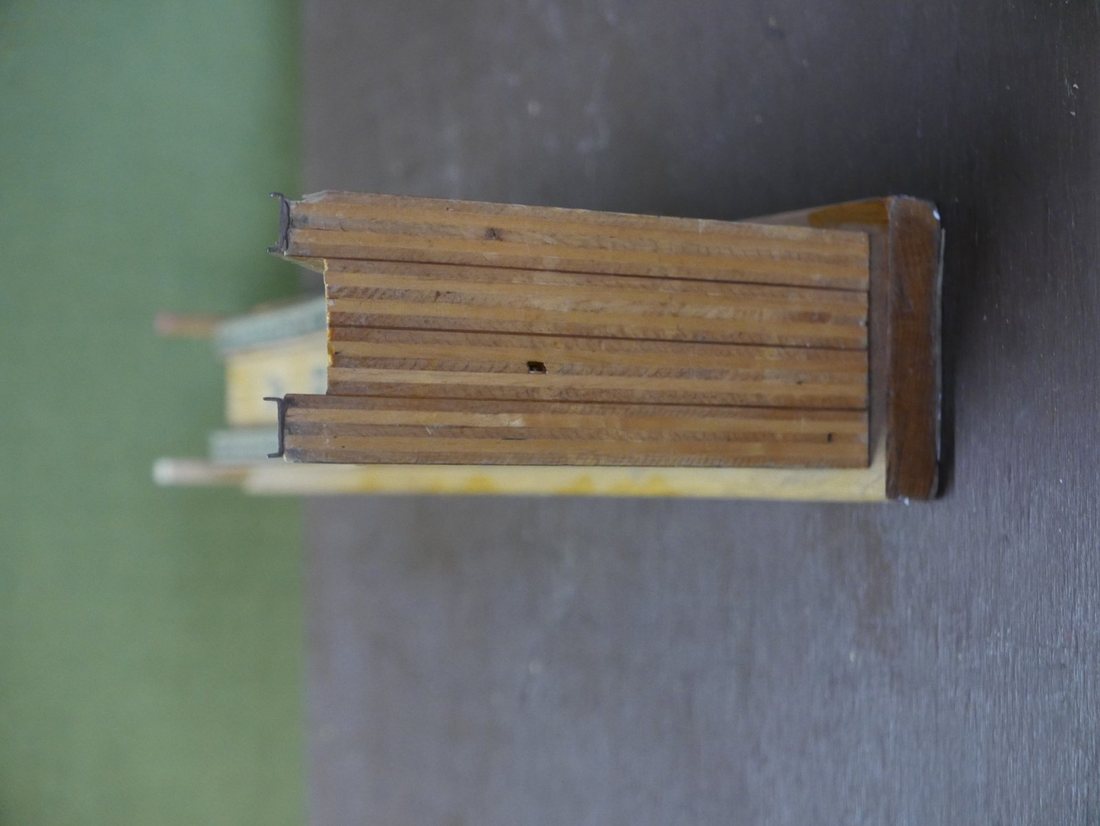
Cut the uprights from plywood with a band saw or saber saw. If your saw is big enough, screw all the pieces together and cut them at once; otherwise cut one and use it as the pattern for the rest.
Keep the curves identical
The two tracks must have exactly the same curve. Sand the pieces smooth but don't change the shape of the original curve while sanding.
Mount the supports
Fasten the two curved supports side by side on the base, far enough apart that the balls won't touch.
Attach the tracks
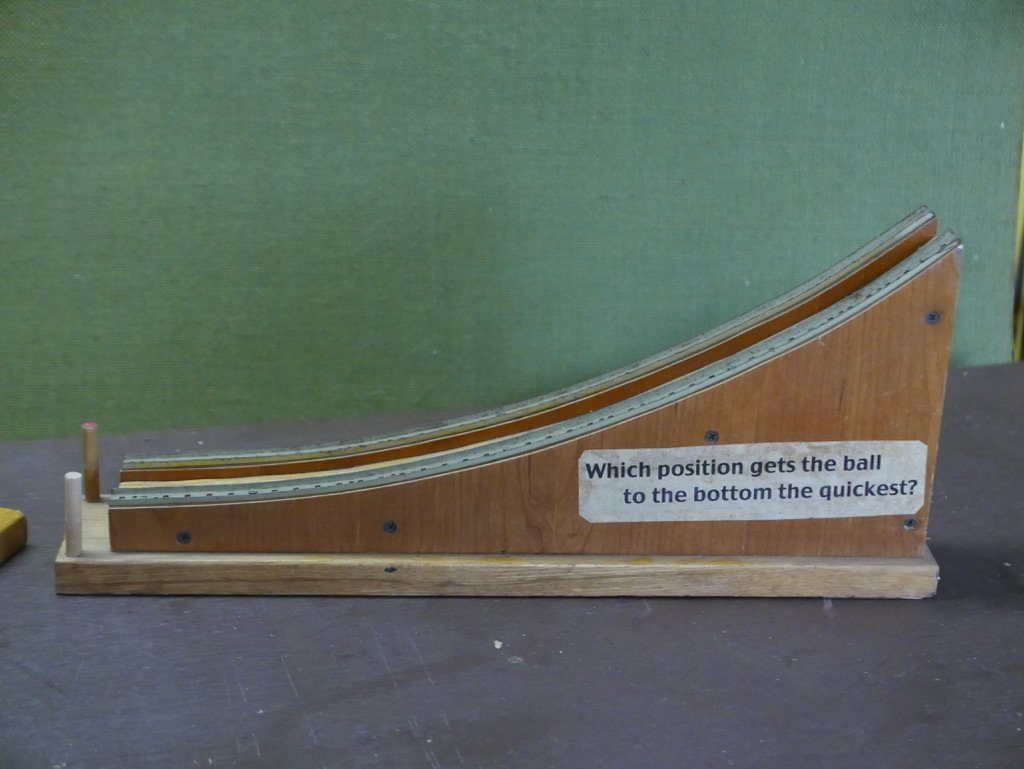
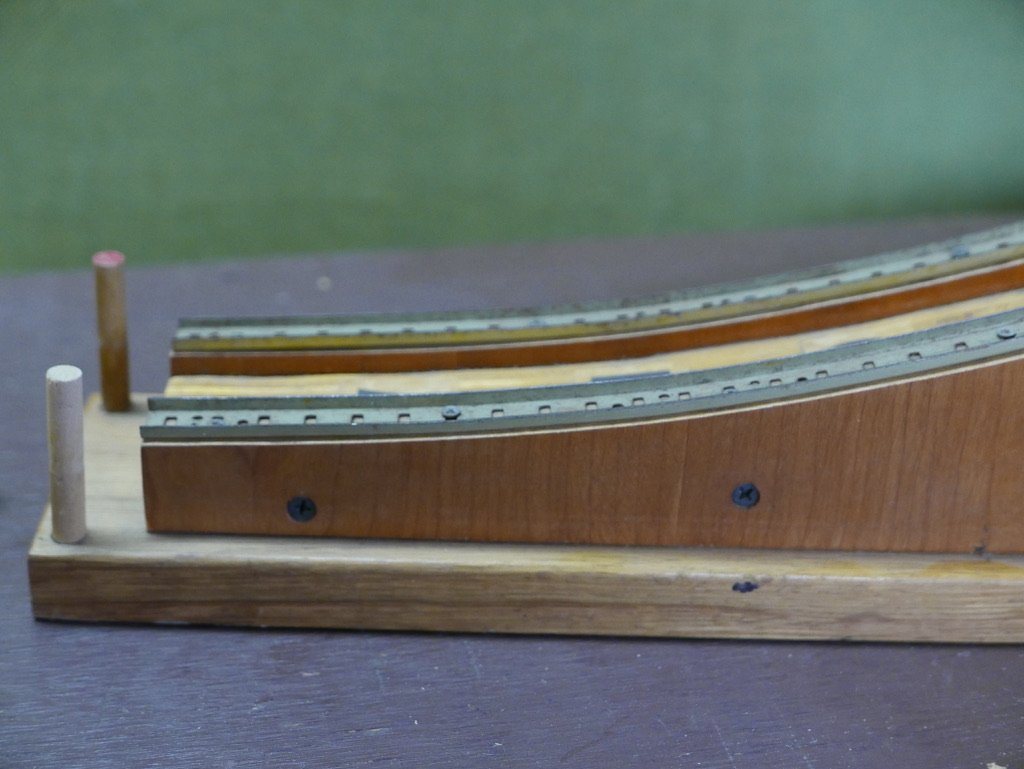
Cut two pieces of shelving track to length. Bend each to the curve and fasten it with small screws; the screws pull the track tight against the wood.
Smooth the tracks
Sand and polish the track surfaces so the balls roll smoothly.
Add the letters
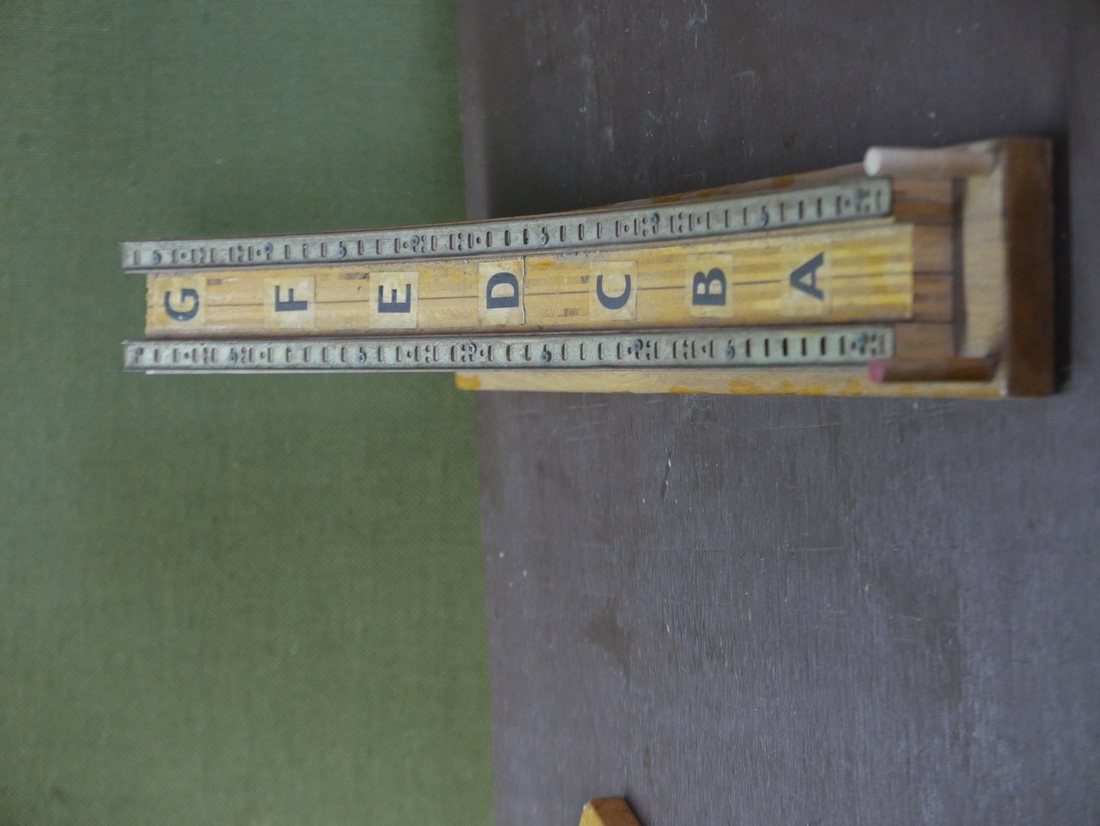
Glue the letters along each track at matching positions, A at the bottom to the highest letter at the top, then varnish over them.
Make the removable stop
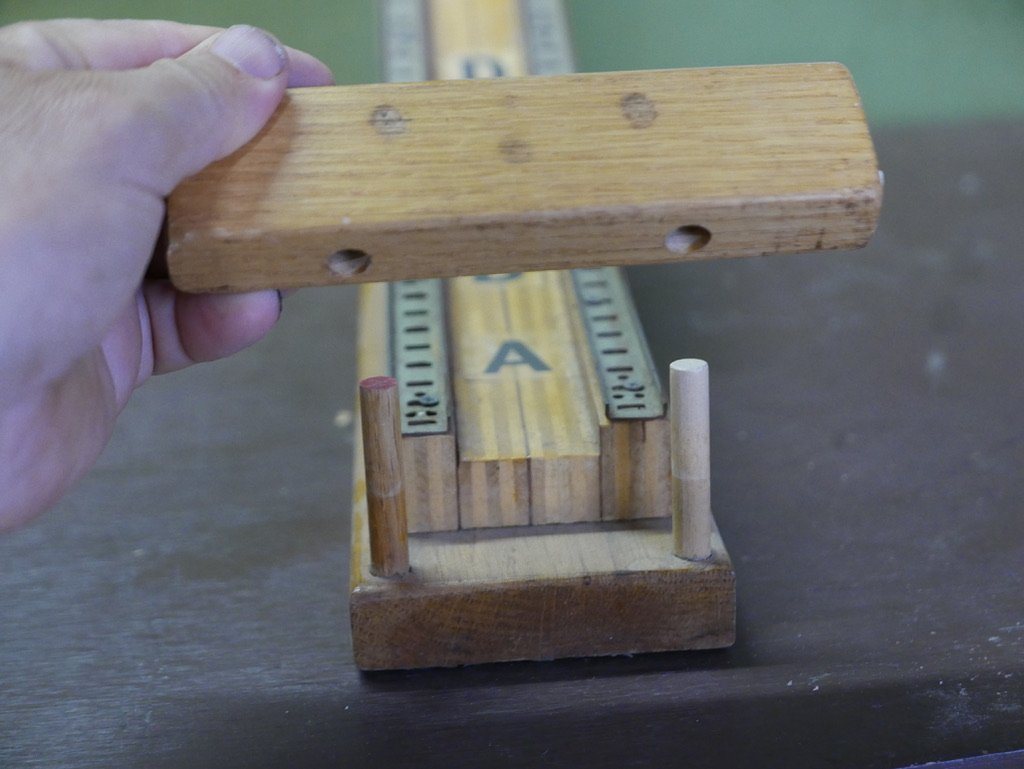
Make a wooden stop block that sits on two pins at the bottom end so the balls strike it with a click. Keep it removable for experiments where the balls need to roll off.
Post the question
Print the question 'Which position gets the ball to the bottom the quickest?' and fix it to the side of the support.
How it works
A ball released high on the curve has farther to go, but it starts on a steeper part of the track, so it accelerates harder and reaches a higher speed. A ball released low has a short trip but a gentle slope and a slow start.
On a curve shaped like part of a circle, these effects nearly cancel. The ball behaves like the bob of a pendulum whose string is as long as the radius of the curve, and a pendulum takes nearly the same time to swing down to the bottom whether it is pulled back a little or a lot.
The match is not perfect. For a 25 degree arc, a release from the top takes about one percent longer than a release from near the bottom, which is far too little to hear. A curve called a cycloid would make the times exactly equal.
Because the balls roll, they move more slowly than a sliding object would, but both balls are slowed by the same proportion, so the comparison still works.
Using it
- Read the question on the side aloud and ask students to vote for a letter before testing.
- Release two balls together from different letters and listen for the clicks as they hit the stop.
- Try every pair of letters. Then ask why the higher ball doesn't win or lose.
- Connect it to a pendulum: swing a bob with small and large pulls and time ten swings each.
- Remove the stop block and use the track for speed measurements at the bottom from each letter.
Variations
- Straight-track comparison: build the same device with straight diagonal tracks. On a straight incline, the ball released higher takes noticeably longer.
- Ball-size race board: two straight twin-rail tracks on a slope show that different-sized balls roll down together when the rail spacing is in the same proportion to each ball's diameter. Students can also notice that the smaller ball spins faster, and race brass against aluminum balls.
- Galileo's track and the high road, low road tracks use the same shelving-track construction.
Troubleshooting
More build plans
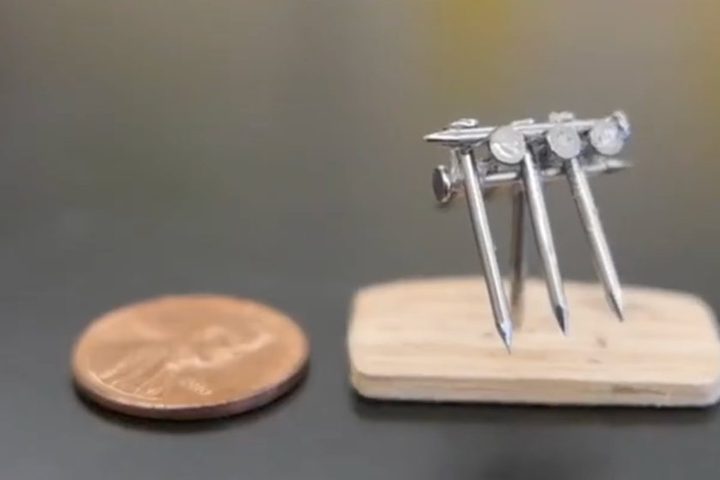
Balancing Nails Challenge
Twelve big nails balanced on one nail head looks impossible. Then Bruce doubles it.
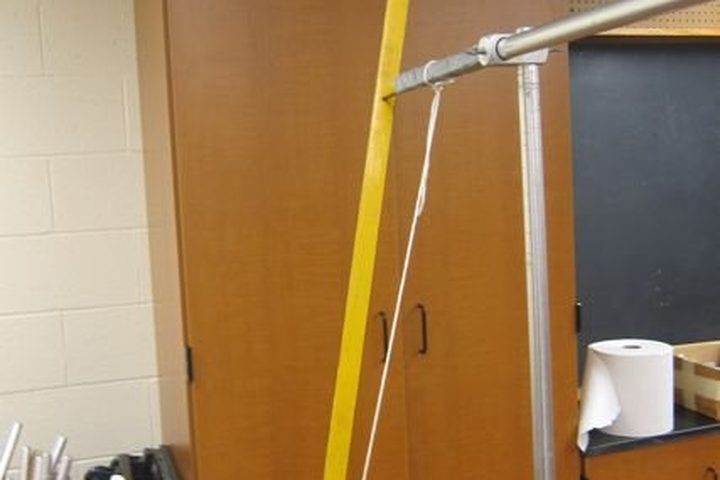
Bar Pendulum vs. Simple Pendulum
A swinging meterstick keeps the same beat whether it hangs from its end or from a point a third of the way down. Why?
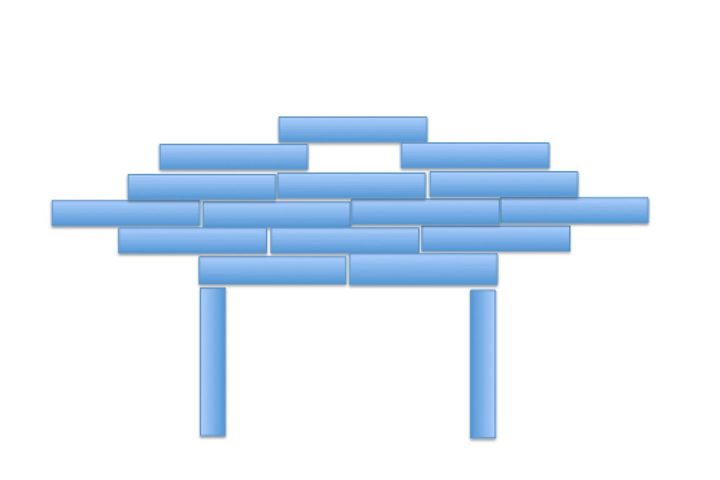
Block Stacking Challenges
How few blocks does it take to make the top block hang completely past the edge of the bottom one?
© Bruce Yeany · Homemade Science with Bruce Yeany · youtube.com/@YeanyScience
Free for personal and classroom use. Please don't resell or republish. Build and use at your own risk; follow the safety notes and supervise children.