Build plans / B-2 Model Hovercraft
B-2 Model Hovercraft
One motor blows air down under a foam tray to lift the craft; a second, swiveling motor pushes it forward and steers it. It shows how an air cushion nearly removes friction, and it is cheap enough for every student team to build one and race them.
Written from Bruce's original workshop handout. Bruce's final review of this plan is in progress.
What it shows
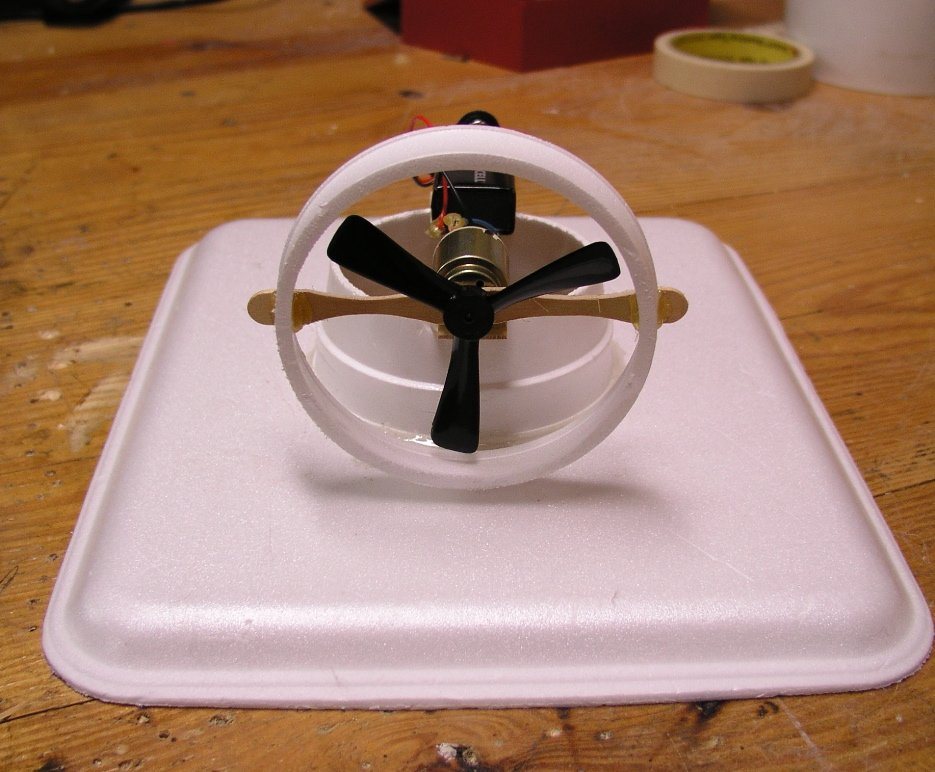
A foam meat tray, two cups and a pair of toy motors become a hovercraft that floats on a cushion of air and glides across the floor.
Key ideas: friction, air pressure, Newton's third law, thrust, series circuits
Build it
Mark the lift hole
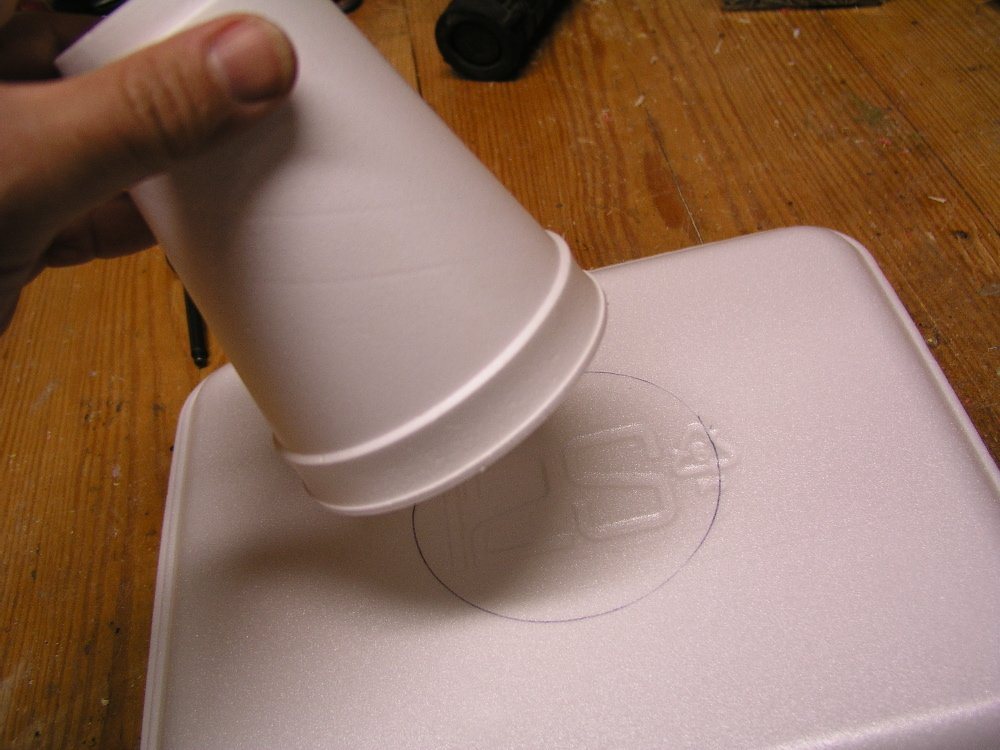
Find the center of the meat tray. Turn a foam cup upside down on that spot and trace around its rim to draw a circle.
Cut the hole
With a craft knife, cut out a circle slightly smaller than the one you drew, so the cup section will sit on the tray without falling through.
Cut the lift duct
Cut the top of a cup off to make a ring about 2 1/2 in tall. Check it against your motor and propeller: the lift propeller should sit just inside the lip, and the ring must be tall enough that the thrust motor (mounted on top later) will not touch the tray.
Glue the duct to the tray
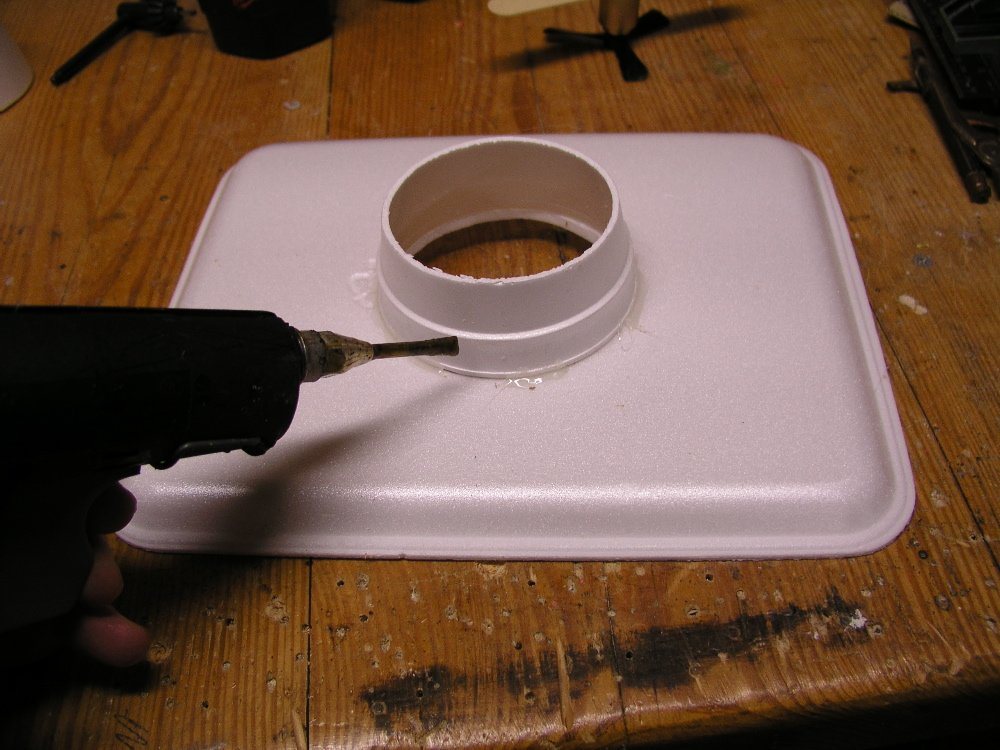
Center the ring over the hole and attach it with four small globs of hot glue rather than a bead all the way around. If the tray cracks later, you can pop the duct off and move it to a new tray.
Mount the lift motor
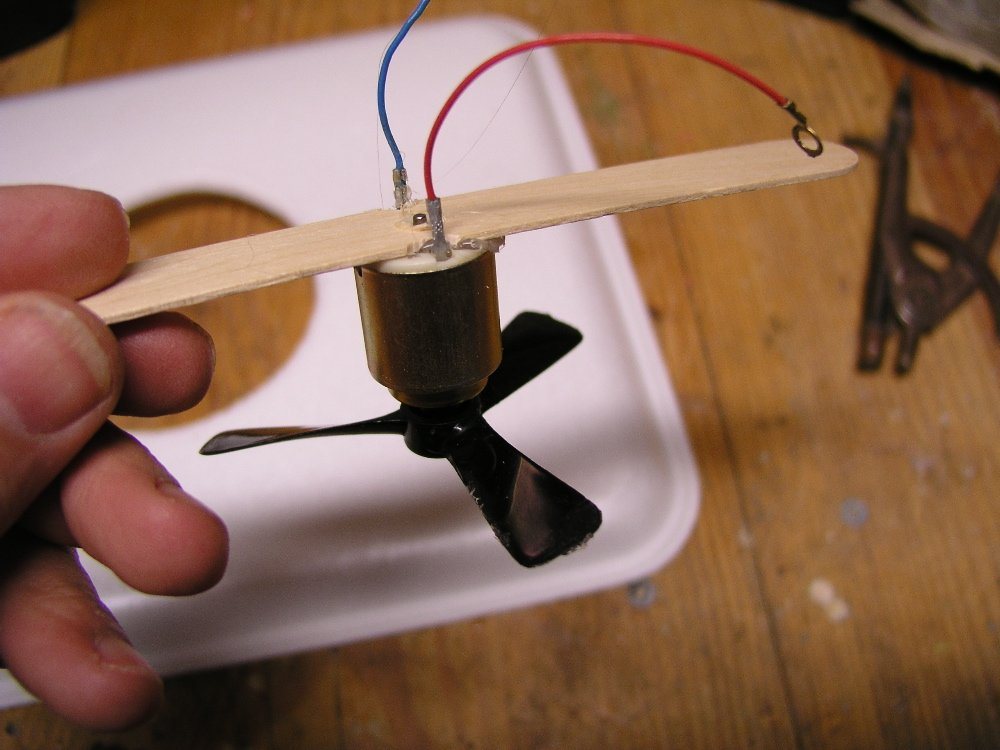
Drill a 1/4 in hole through the center of a tongue depressor so it fits over the raised boss on the back of the motor; notch the wood if the motor wires need room. Press the stick flat against the motor with a small dab of hot glue between them.
Fit the lift motor in the duct
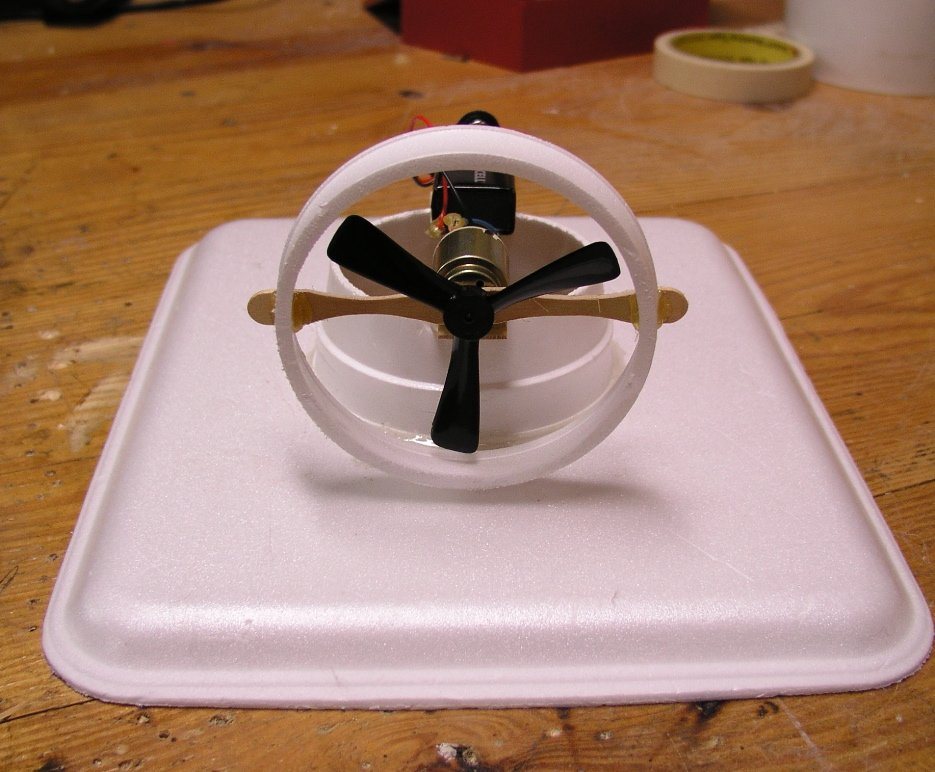
Put the propeller on the motor, set the assembly across the top of the ring with the propeller hanging inside, and center it so the blades do not rub. Mark the stick about 1/4 in past the ring on each side, trim the extra, then hot glue it in place.
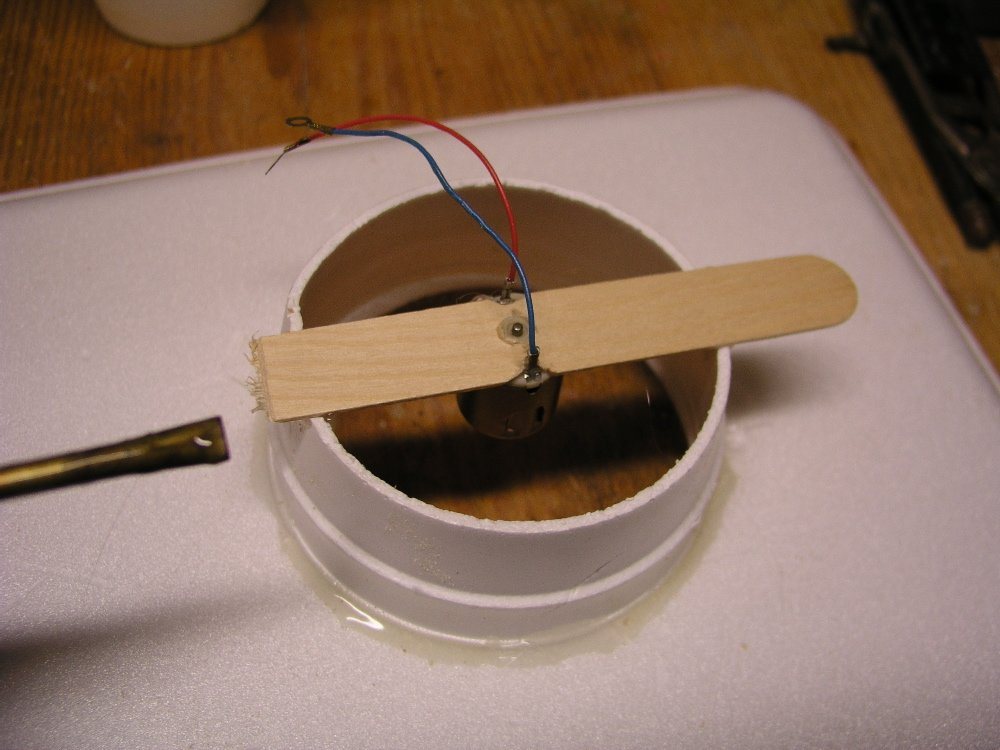
Close the gap around the lift propeller
The lift propeller must fit as snugly as possible inside the duct. Any gap lets air leak back up instead of pushing down, and the craft loses lift. If the gap is large, glue a thin ring cut from another cup inside the duct to narrow it; Bruce's best versions were so tight the blades cut small grooves in the foam on the first run.
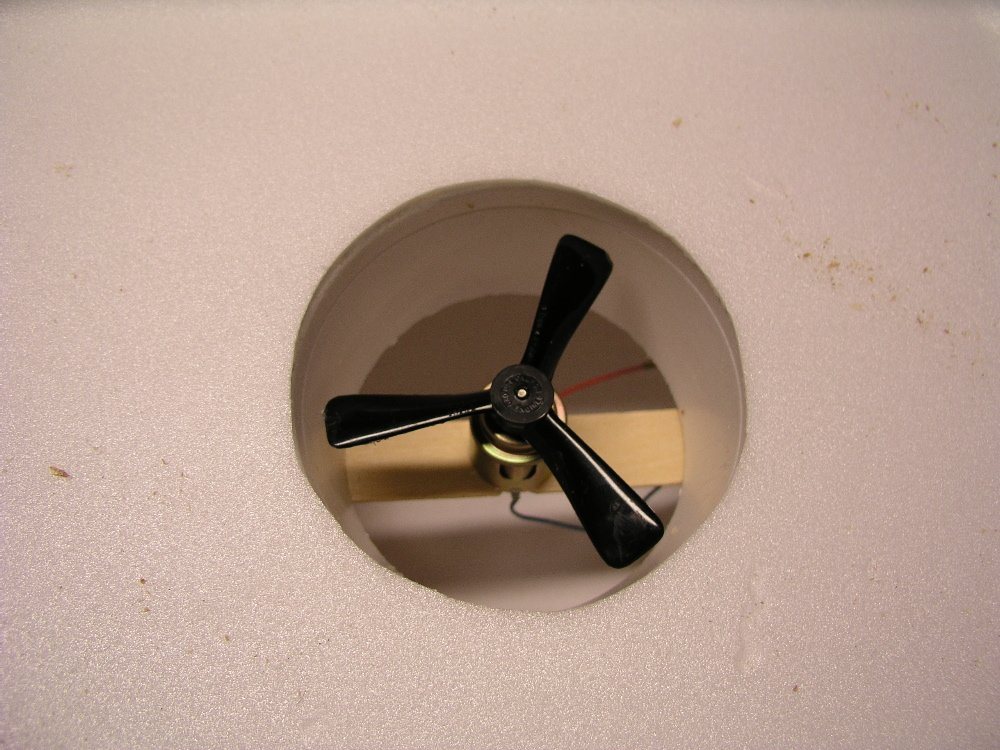
Make the thrust motor mount
Cut a 2 in piece from the second tongue depressor and drill the bolt hole in it first (drilling after gluing can crack it). Glue the thrust motor to this piece so the motor will hang about 1 in past the edge of the lift stick.
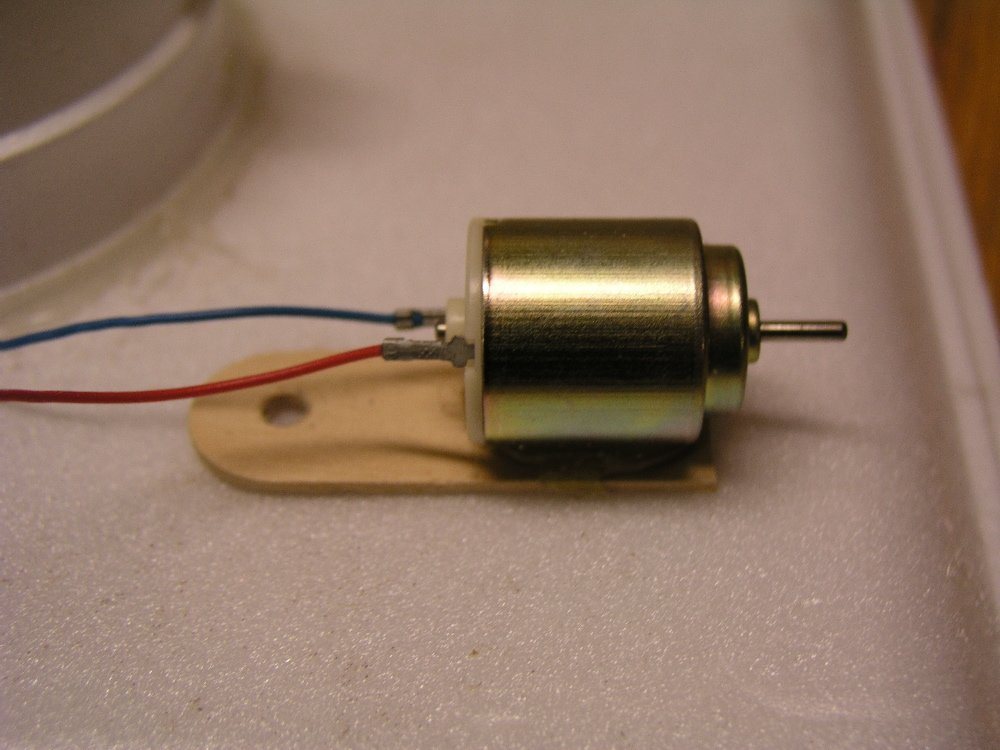
Build the cowling (strongly recommended)
Cut the rim off the second cup with a razor blade or craft knife to get a ring just wide enough to cover the edge of the spinning thrust propeller. Drill a Popsicle stick to fit over the front boss of the thrust motor (go slowly, it splits easily), sand it thinner if you like, then glue it across the ring with the propeller in place.
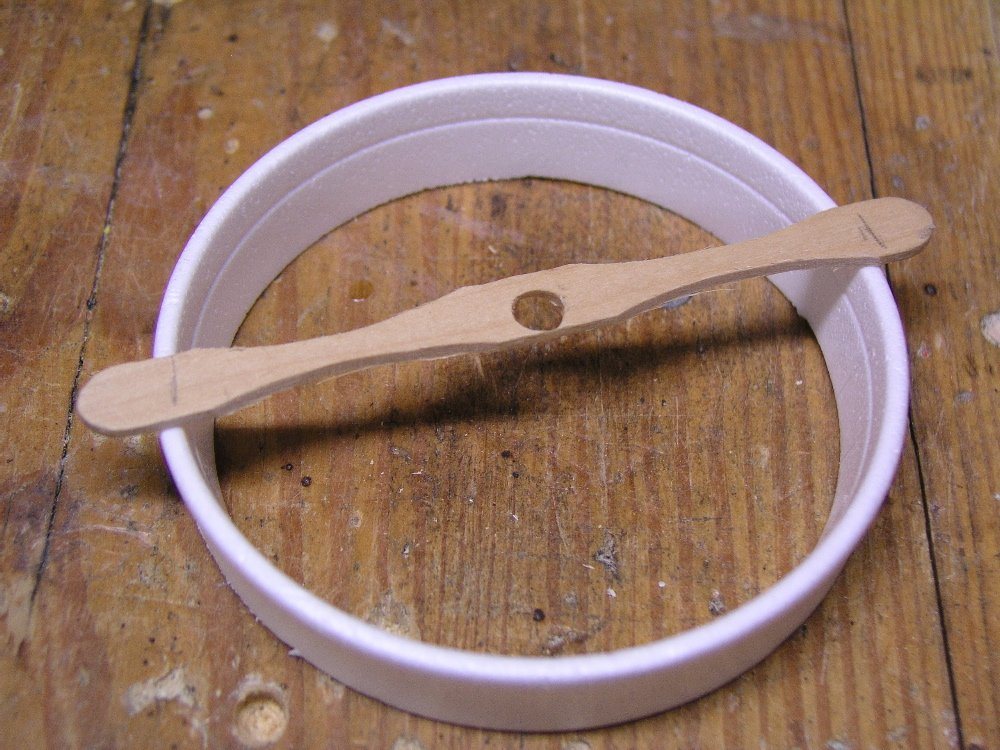
Attach the thrust motor
Line the thrust assembly up on the lift stick, mark the bolt position, and drill the matching hole. Bolt the two together snug but not tight, so the thrust motor can swivel left and right for steering.
Test-wire in series
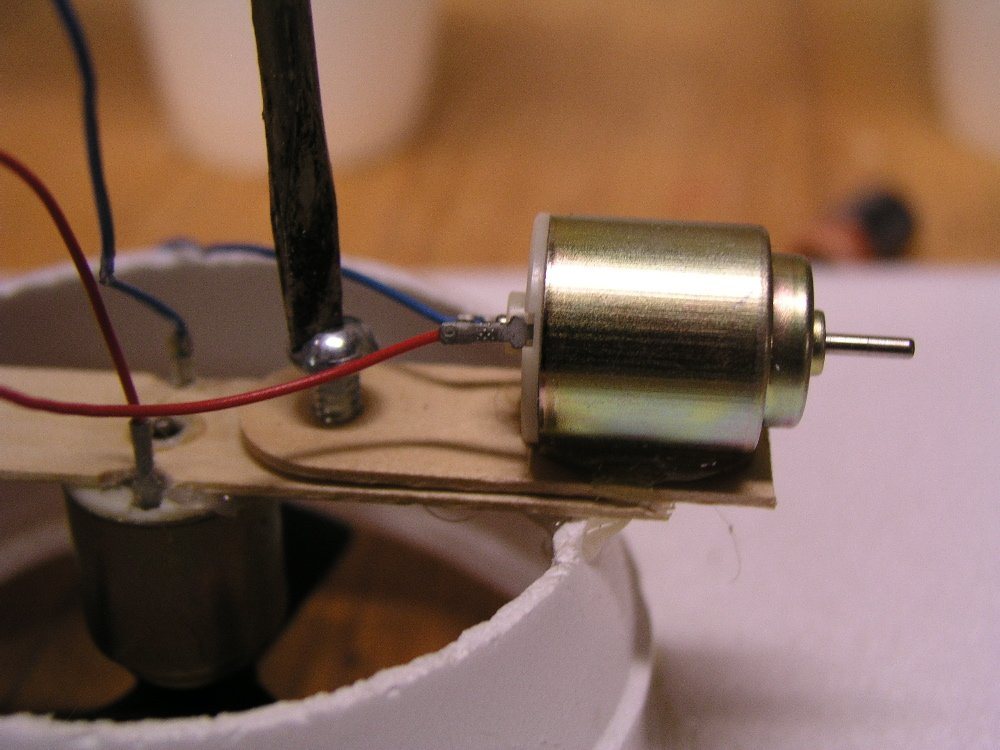
Twist the wires together temporarily first. Join one red and one blue wire from the two motors; connect the remaining red motor wire to the red battery lead and the remaining blue motor wire to the black lead. The motors must be in series so each gets about half of the 9 volts; wired in parallel they each get the full 9 volts and burn out within minutes. Check that the lift motor blows down and the thrust motor blows backward; if both run backward, swap the battery leads.
Make the wiring permanent
Once everything runs the right way, shorten the extra wire, strip the ends, twist the bare wires back together, and cover each joint with a dab of hot glue (or electrical tape). Bruce found soldering unnecessary.
Mount the battery and switch it on
Tape the battery to the tray with a strip of folded-over tape. Push one side of the snap connector onto the battery; to switch on, twist it so the other contact touches, and twist it away to stop. Slide the battery around while the motors run until the craft sits level.
Add a skirt (optional)
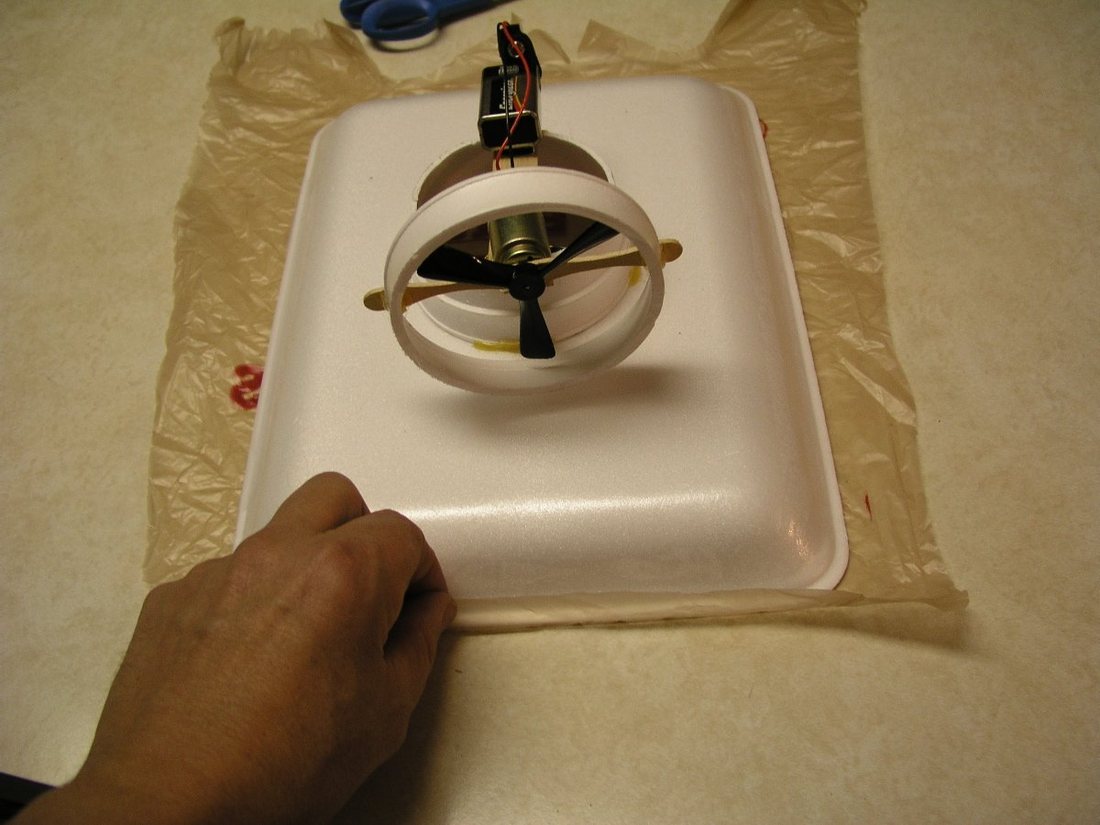
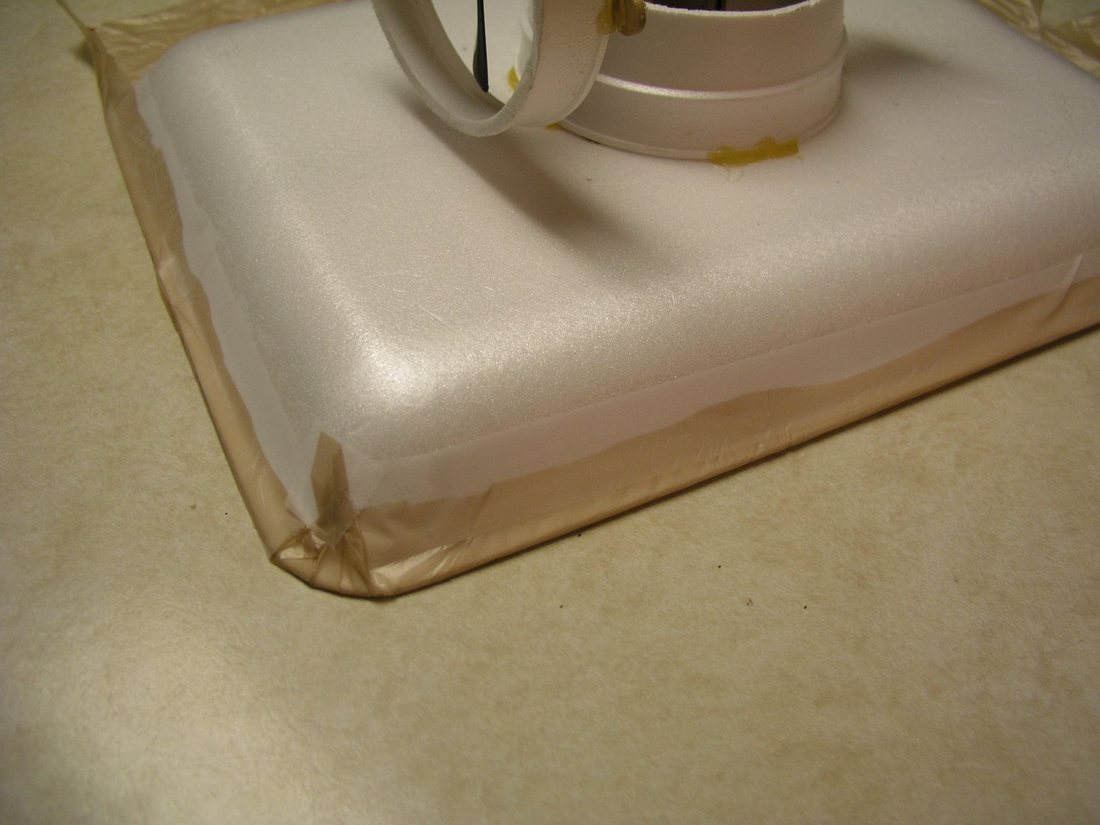
Cut a piece of shopping bag a little larger than the tray bottom. Fold its edge about 1/2 in up over the tray rim and tape it all the way around, folding the corners neatly, without letting tape reach the bottom edge where it would rub the floor.
Trim and loosen the skirt
Cut out the middle of the plastic, leaving a band about 1 in wide inside the tray edge. Gently stretch the plastic at each corner so it can flex and seal against the floor. When the motors run, the skirt should hang at an even height all the way around.
How it works
The lift propeller pushes air down into the space under the tray faster than it can leak out around the edges. That raises the air pressure underneath slightly above the room's air pressure, and the extra pressure acting over the whole underside of the tray is enough to support the light craft.
Riding on that thin layer of air, the tray barely touches the floor, so sliding friction almost disappears. A very small push from the thrust propeller, which throws air backward and is pushed forward in return (Newton's third law), is enough to keep it gliding.
Anything that lets air escape the easy way costs lift: a gap around the lift propeller lets air recirculate upward, and a warped tray leaks air on one side and makes the craft tilt and veer. The plastic skirt flexes to seal those leaks.
Wiring the two motors in series splits the battery's 9 volts between them, roughly 4.5 volts each, which protects motors designed for lower voltages.
Using it
- Push the tray across the floor with the motors off, then with them on. Ask students to describe what changed and why.
- Swivel the thrust motor to different angles and record whether the craft runs straight, curves or loops.
- Hold a team competition: straightest run, fastest run over a set distance, or a figure-eight course.
- Compare the craft with and without the skirt, or on different floors (tile, wood, carpet), and explain the difference in terms of air leaking out.
- Time runs with a fresh battery and a half-used one to show how lift falls off as voltage drops.
Variations
- Add a small on/off switch. Bruce leaves it out because it adds cost, weight and complexity, but it is handy for younger builders.
- Use two plastic coffee stirrers glued on either side of the thrust motor shaft instead of the drilled Popsicle stick for the cowling.
- Let teams vary the tray size, duct height or skirt design and measure the effect on hover height or speed.
Troubleshooting
More build plans
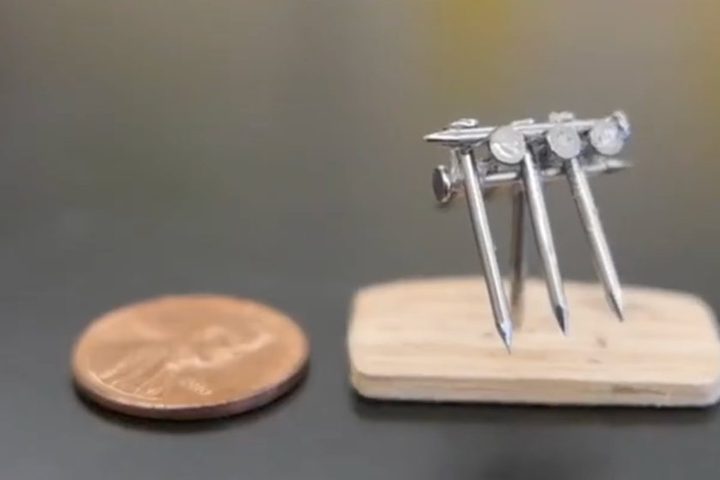
Balancing Nails Challenge
Twelve big nails balanced on one nail head looks impossible. Then Bruce doubles it.
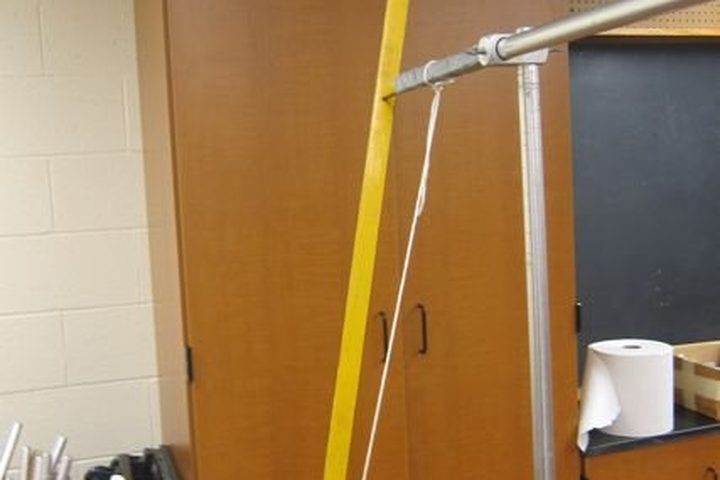
Bar Pendulum vs. Simple Pendulum
A swinging meterstick keeps the same beat whether it hangs from its end or from a point a third of the way down. Why?
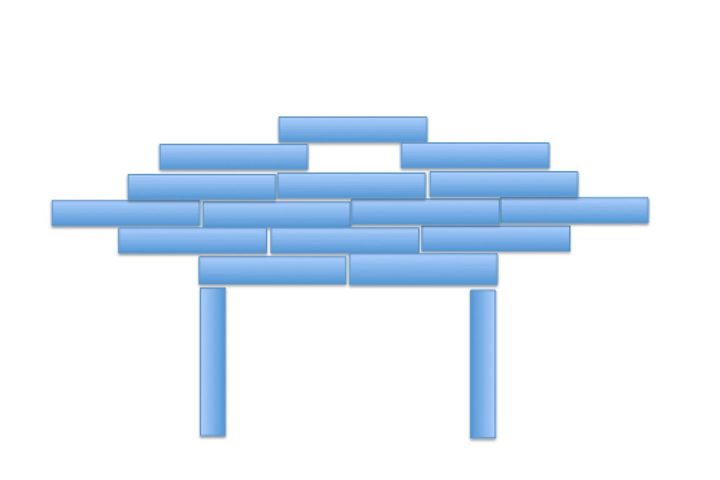
Block Stacking Challenges
How few blocks does it take to make the top block hang completely past the edge of the bottom one?
© Bruce Yeany · Homemade Science with Bruce Yeany · youtube.com/@YeanyScience
Free for personal and classroom use. Please don't resell or republish. Build and use at your own risk; follow the safety notes and supervise children.