Build plans / Projectile Curve Model
Projectile Curve Model
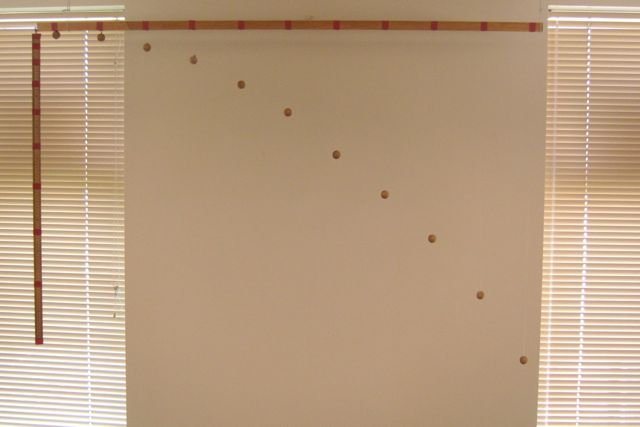
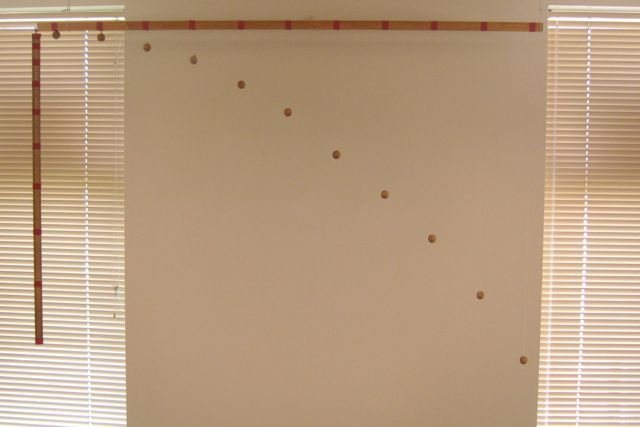
Balls hang from evenly spaced points on a long bar on strings whose lengths grow as the square numbers (0, 1, 4, 9 ... 100 cm). Together they freeze a projectile's parabolic path, showing steady forward motion combined with accelerating fall. It makes a permanent classroom display and a starting point for velocity calculations.
Written from Bruce's original workshop handout. Bruce's final review of this plan is in progress.
What it shows
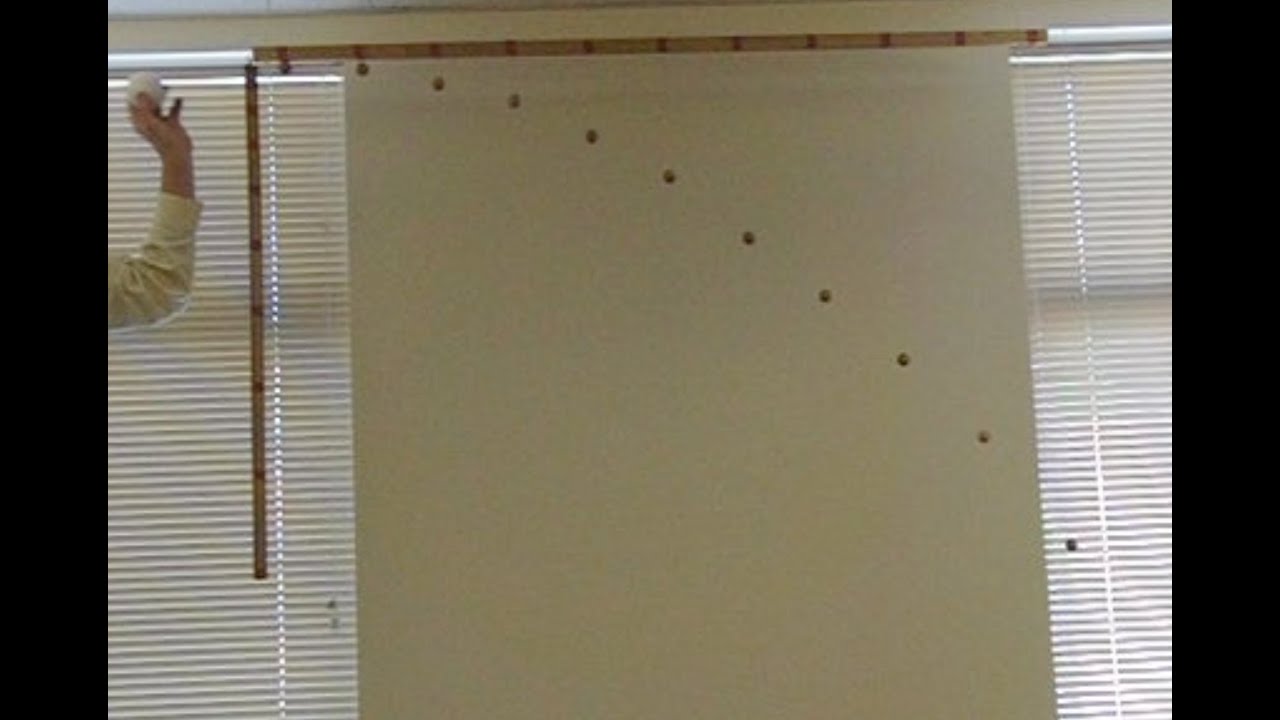
Eleven balls hanging from a ceiling bar trace the exact curve of a thrown ball, and you can throw a real one right alongside it.
Key ideas: projectile motion, parabola, acceleration due to gravity, independence of horizontal and vertical motion
Build it
Mark the time positions
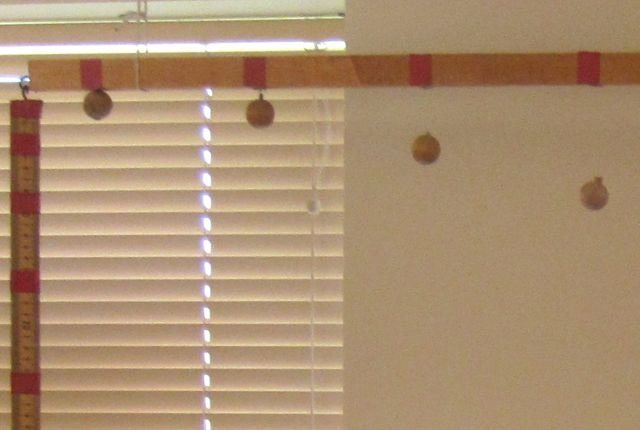
Mark 11 evenly spaced positions along the bar and flag each with a small piece of red tape. Each space stands for the distance the projectile travels forward in one equal moment of time. In Bruce's worked example the first and last positions are 1.4 m apart.
Add hooks
Screw a small hook or screw eye into the underside of the bar at each mark.
Cut and tie the strings
Tie a string to each ball. Measure each string so the distance from the bar to the ball matches the table: ball 1 = 0 cm, 2 = 1 cm, 3 = 4 cm, 4 = 9 cm, 5 = 16 cm, 6 = 25 cm, 7 = 36 cm, 8 = 49 cm, 9 = 64 cm, 10 = 81 cm, 11 = 100 cm. These are the whole numbers 0 to 10 squared.
Hang the balls
Tie each string to its hook in order, starting with ball 1 (fixed right against the bar) at one end. Ball 1 represents the launch point, moving horizontally with no downward speed yet.
Make the vertical scale
Put red tape marks on a meter stick at 1, 4, 9, 16, 25, 36, 49, 64, 81 and 100 cm. Hang it vertically from the bar at the launch end; it shows how far the ball has dropped after each moment of time.
Mount the display
Hang the bar level from the ceiling or from wall-mounted supports. Bruce's hangs about 1/2 m below the ceiling, close to a wall, so students do not walk under or through it.
How it works
A projectile's motion can be split into two independent parts. Sideways, nothing pushes or pulls it (ignoring air resistance), so it covers the same distance in each moment of time. That is why the hanging points are evenly spaced.
Downward, gravity makes it speed up steadily. Starting from rest, the total distance fallen grows with the square of the time: after 1, 2, 3, 4 moments it has fallen 1, 4, 9, 16 units. That is why the strings follow the square numbers.
Put the two motions together and the balls trace a parabola. A faster sideways speed stretches the curve out; a slower one makes it drop more steeply.
You can work out the speed the model represents. The last ball has fallen 1 m, which takes t = sqrt(2y/g) = sqrt(2 x 1 m / 9.8 m/s2), about 0.45 s. If it has also traveled 1.4 m forward, its horizontal speed is 1.4 m / 0.45 s, about 3.1 m/s.
Using it
- With a little practice, toss a tennis ball from the launch end so it follows the line of balls. That takes a forward speed of about 3 m/s.
- Ask: how would the curve change with a faster or slower throw? With weaker gravity, or none? If the ball reached terminal velocity?
- Tilt the bar at an angle to show the path of a projectile launched upward at an angle, and try matching it with a throw.
- Have students calculate the horizontal speed for their own spacing, as shown above.
- Remind students the model is ideal: in real flight, air resistance slowly reduces the forward speed.
Variations
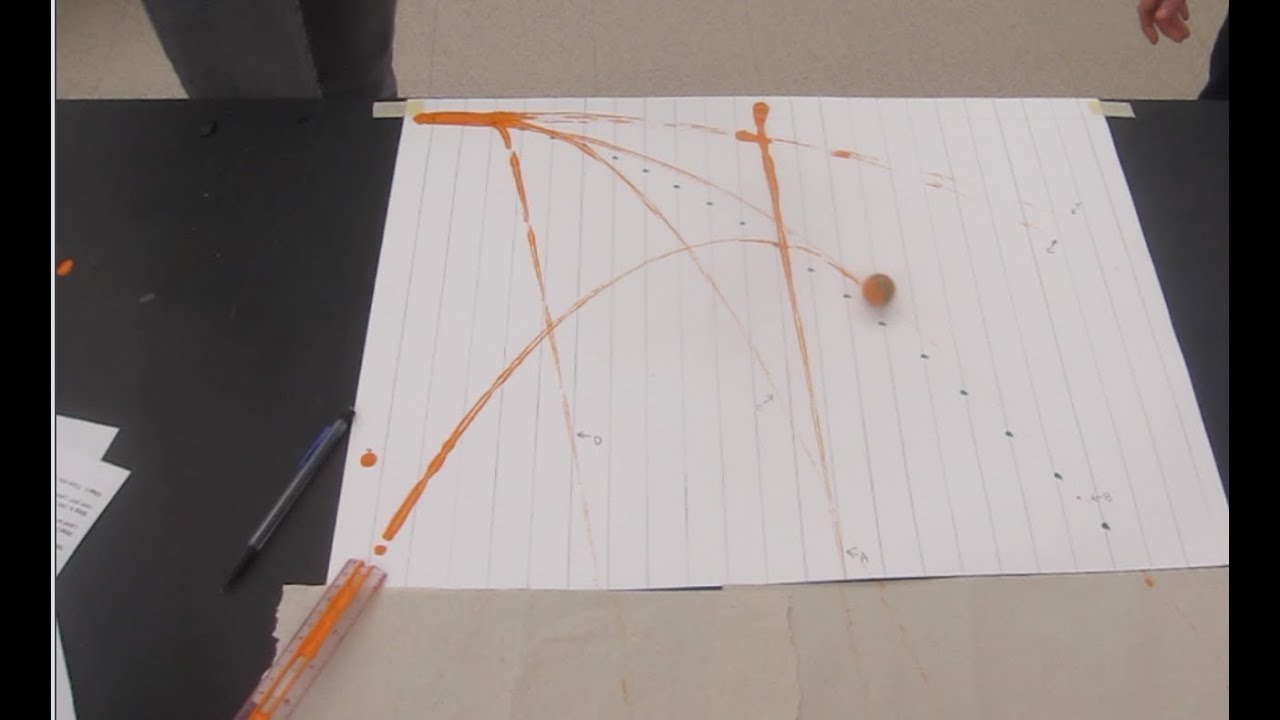
- Rolling-ball version: prop up one end of a table, dip a steel ball in thin tempera paint and roll it across the slope on large paper to record a parabola, including upward launches.
- Video version: film a ball dropped by someone riding a skateboard and trace its path on the screen with a washable marker; discuss how the path looks to the rider versus a bystander.
Troubleshooting
More build plans
Balancing Nails Challenge
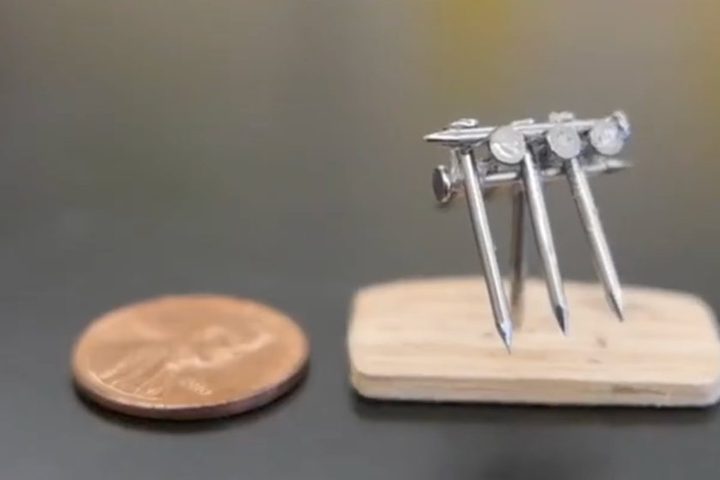
Twelve big nails balanced on one nail head looks impossible. Then Bruce doubles it.
Bar Pendulum vs. Simple Pendulum
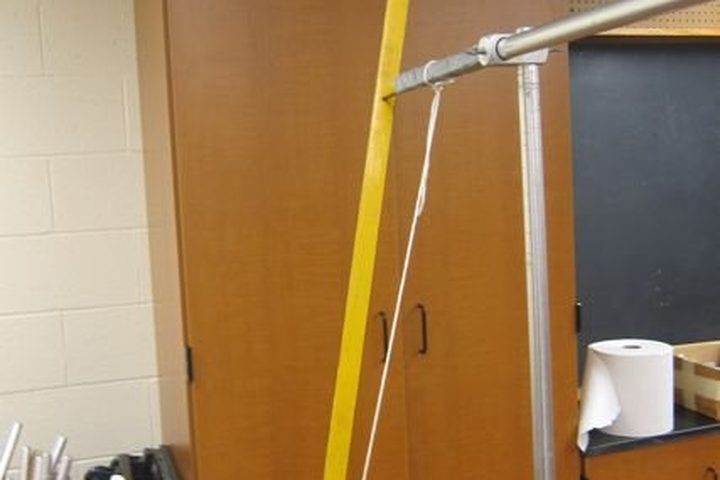
A swinging meterstick keeps the same beat whether it hangs from its end or from a point a third of the way down. Why?
Block Stacking Challenges
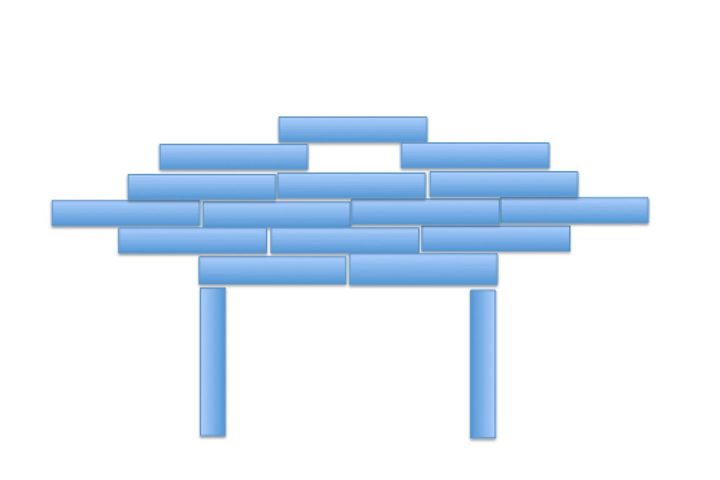
How few blocks does it take to make the top block hang completely past the edge of the bottom one?
© Bruce Yeany · Homemade Science with Bruce Yeany · youtube.com/@YeanyScience
Free for personal and classroom use. Please don't resell or republish. Build and use at your own risk; follow the safety notes and supervise children.