Build plans / Tape Measure Racer
Tape Measure Racer
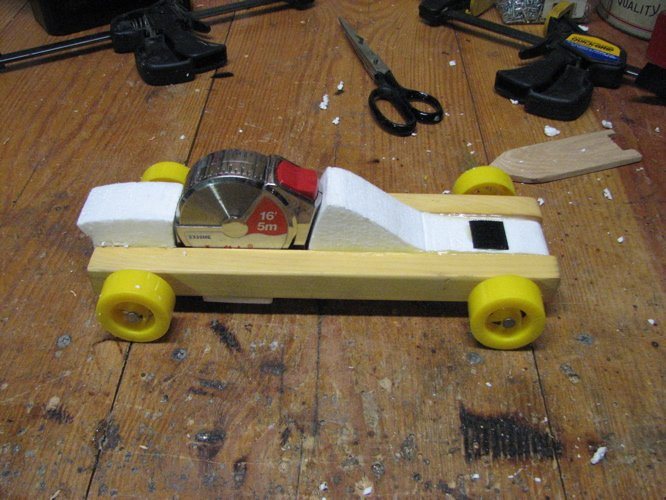
A small car built around an ordinary 12 ft retractable tape measure. The tape's hook catches on a block taped to the floor; as the spring rewinds the tape, it pulls the car forward, then the hook slips free and the car coasts. It is a hands-on way to explore force, mass and acceleration, like a mousetrap car with a cheaper motor.
Written from Bruce's original workshop handout. Bruce's final review of this plan is in progress.
What it shows
Pull a tape measure out 12 feet, let go, and the spring that rewinds the tape launches your car another 25 feet past the start.
Key ideas: Newton's second law, force, mass and acceleration, elastic potential energy, friction
Build it
Gather the parts
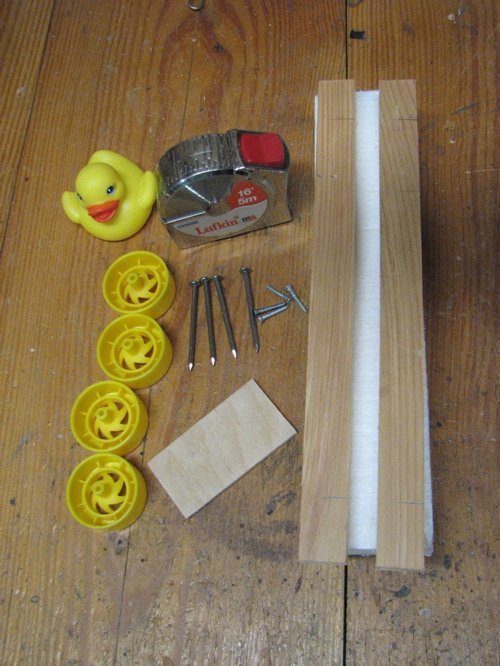
You need a tape measure, two pine strips, a foam block, four wheels, four nails and scraps of thin wood.
Remove the belt clip
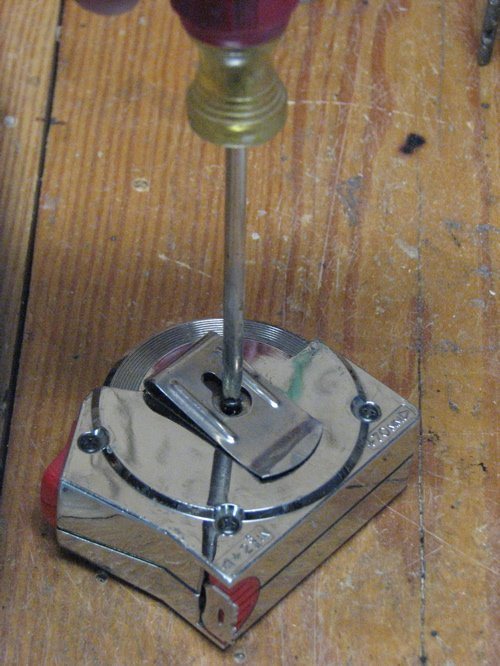
Unscrew the belt clip from the back of the tape measure so it sits flat in the car.
Mark the tape's pocket
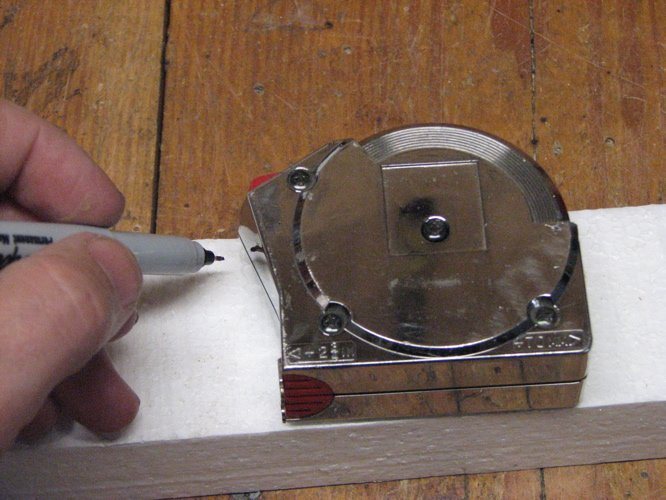
Set the tape measure on the foam block and trace around it. Cut out the pocket so the tape measure sits low in the body.
Lay out the car
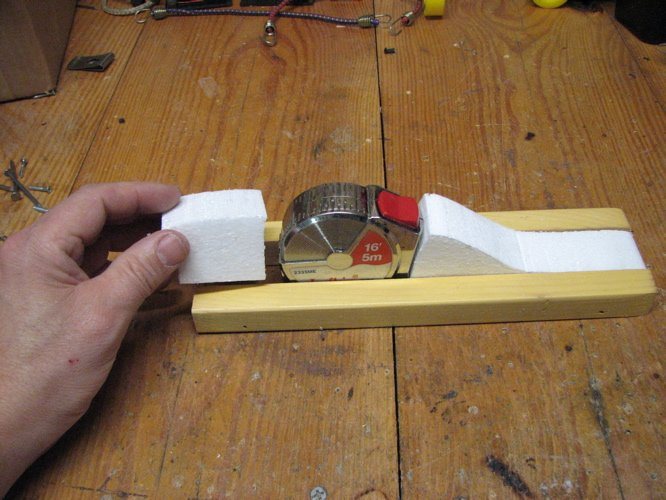
Arrange the foam body pieces and the tape measure between the two pine rails. The tape should face the back of the car, where it will feed out.
Drill the axle holes
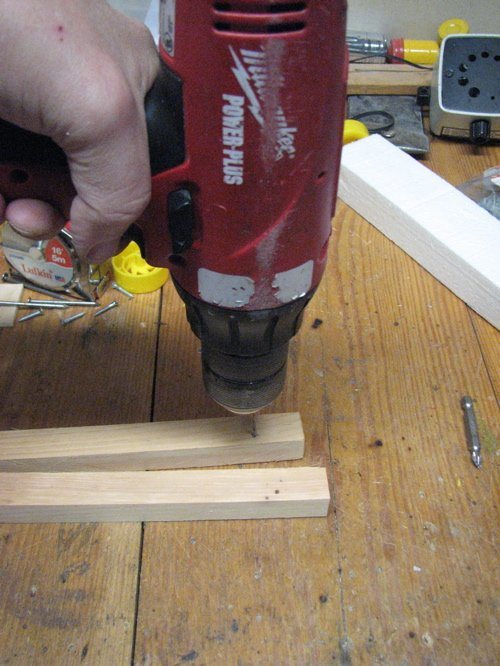
Drill holes near each end of both rails for the nail axles. Line the holes up carefully so the car will roll straight.
Mount the wheels
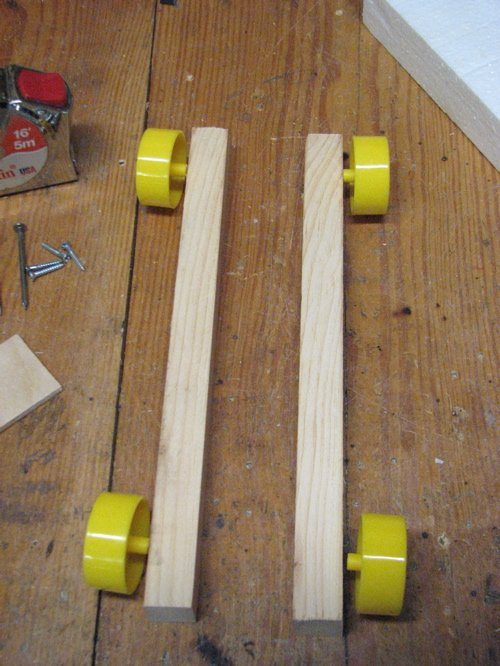
Push a nail through each wheel and into its hole. Leave a little play so the wheels spin freely.
Glue up the body
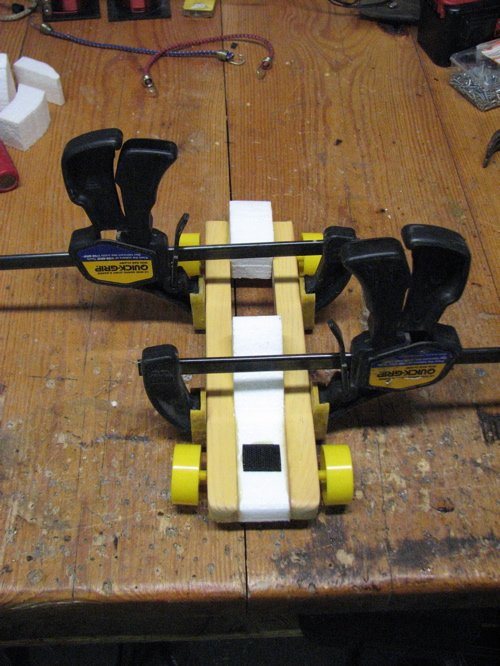
Glue the foam pieces and the rails together and clamp them. Bruce's students started with wood glue and switched to hot glue because it was faster.
Add the base plate
Glue a thin plywood plate across the rails as a seat for the tape measure.
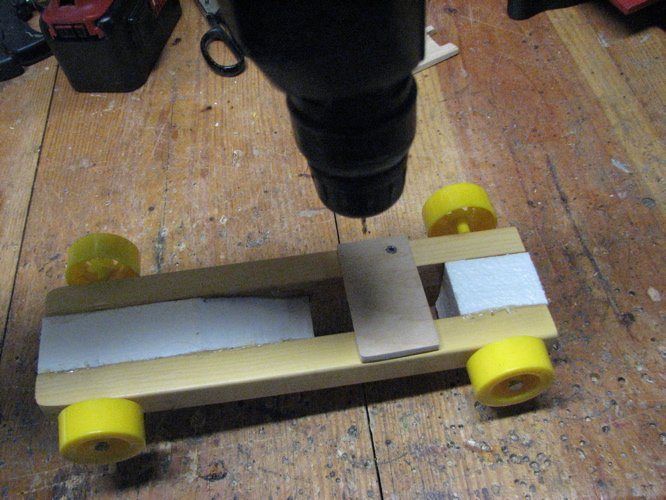
Taper the foam
Shape the foam behind the tape measure into a ramp so the tape feeds out and back without catching.
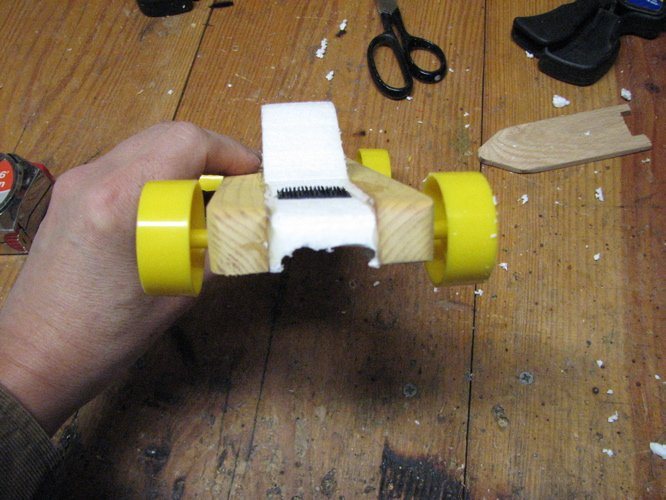
Make the launch catch
Cut a thin, flat piece of wood with a notch in one end and a pointed nose on the other. Tape it to the floor: the tape slides into the notch and its hook catches on the end.
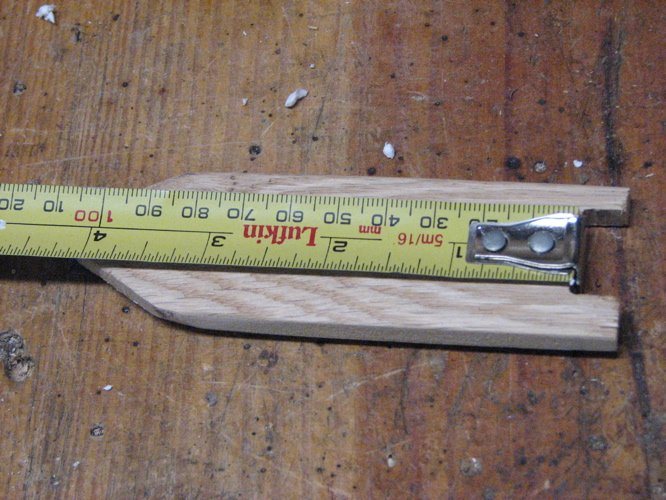
Launch
Hook the tape on the catch, hold the car and walk it back until the tape is fully out, then let go. The tape rewinds, pulling the car toward the catch; the car passes over it, the hook slips off, and the car coasts.
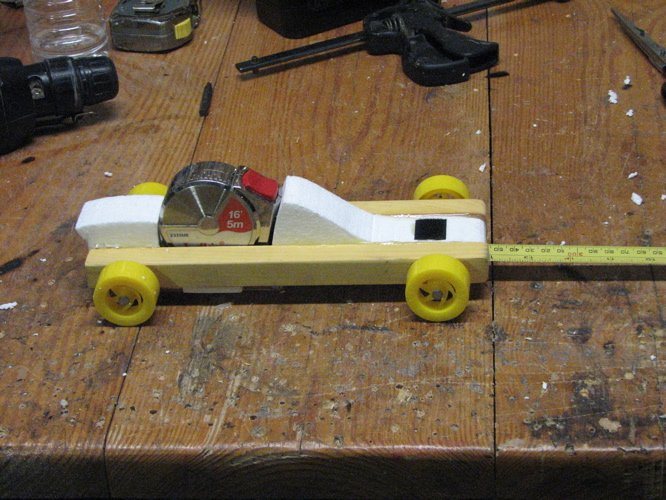
How it works
Pulling out the tape winds the coiled steel spring inside the case, storing elastic potential energy. When you let go, the spring pulls the tape back in. Because the tape's end is hooked to the floor, the spring pulls the whole car toward the hook instead.
The pull of the spring is the unbalanced force that accelerates the car. Newton's second law says the acceleration equals that force divided by the mass, so a lighter car speeds up faster with the same tape measure.
When the tape is fully rewound, the hook unhooks as the car rolls over the catch. With no more push, the car coasts until friction in the axles and the rolling wheels brings it to a stop. Bruce's sample car coasted a good 25 ft past the catch.
Using it
- Distance challenge: who can build the car that coasts farthest past the catch?
- Race challenge: clip the end of the tape to the edge of a table, pull the cars back, and release them side by side.
- Add measured masses to the same car and time the run. Graph acceleration against mass.
- Compare tape measures of different lengths or widths: which provides more force?
- Discuss where the energy goes: spring, motion, sound and heat from friction.
Variations
- Coasting car: built to travel as far as possible after the hook releases.
- Drag racer: the tape is clipped to a table edge and pulls the car the whole way, for head-to-head races.
- Try different wheel sizes and axle materials to cut friction.
Troubleshooting
More build plans
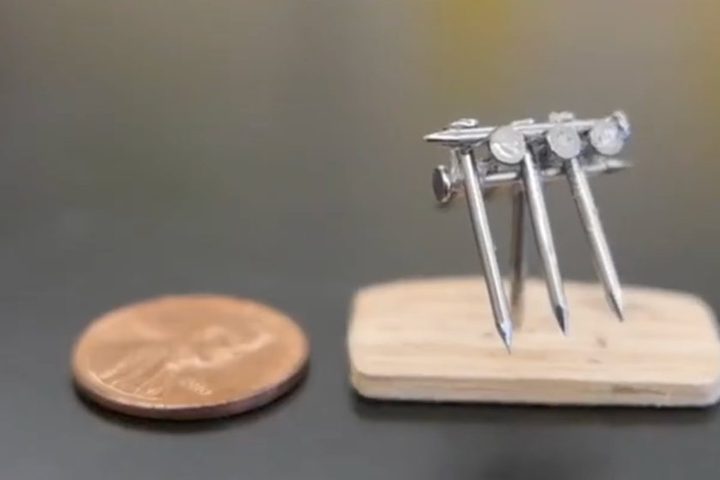
Balancing Nails Challenge
Twelve big nails balanced on one nail head looks impossible. Then Bruce doubles it.
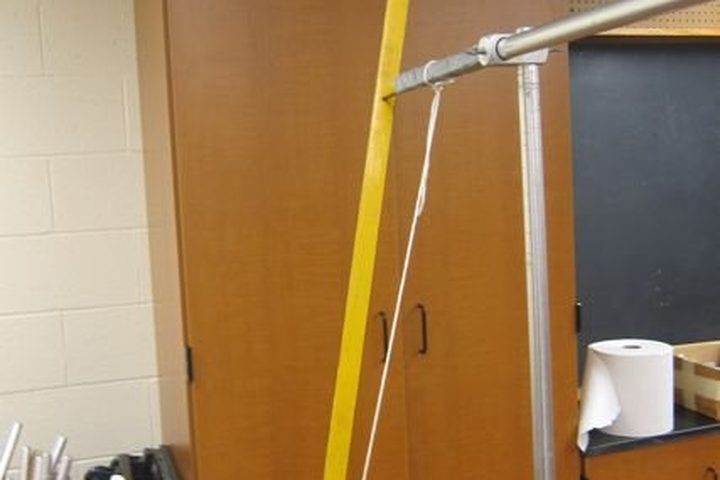
Bar Pendulum vs. Simple Pendulum
A swinging meterstick keeps the same beat whether it hangs from its end or from a point a third of the way down. Why?
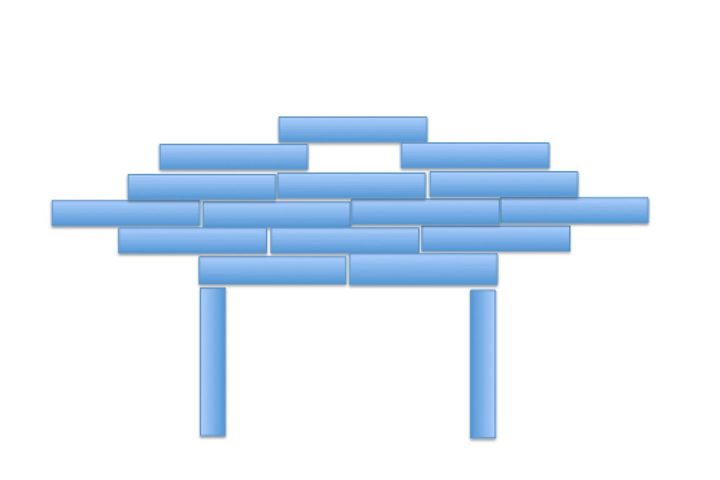
Block Stacking Challenges
How few blocks does it take to make the top block hang completely past the edge of the bottom one?
© Bruce Yeany · Homemade Science with Bruce Yeany · youtube.com/@YeanyScience
Free for personal and classroom use. Please don't resell or republish. Build and use at your own risk; follow the safety notes and supervise children.