Build plans / Air-Powered String Shooter
Air-Powered String Shooter
A length of PVC pipe on a shop vacuum's blower end, with a carefully shaped side hole, drags a loop of yarn through the pipe and flings it out in a long, moving loop. It shows how moving air drags objects along and how a constriction lowers pressure at the feed hole (Bernoulli's principle).
Written from Bruce's original workshop handout. Bruce's final review of this plan is in progress.
What it shows
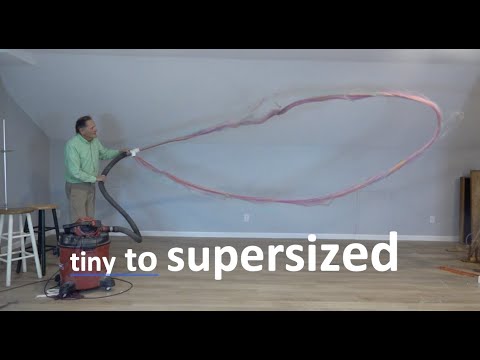
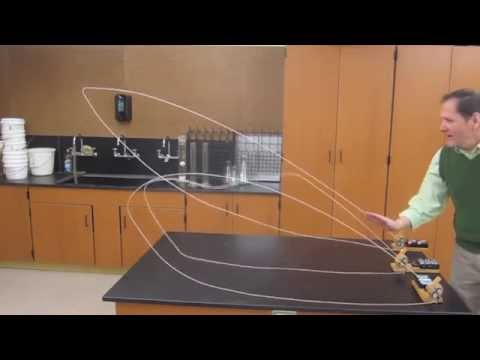
A loop of yarn shoots out of a PVC pipe and snakes through the air in a self-supporting arc, driven by nothing but a shop vac's exhaust.
Key ideas: Bernoulli's principle, air drag, inertia, pressure
Build it
Choose the yarn
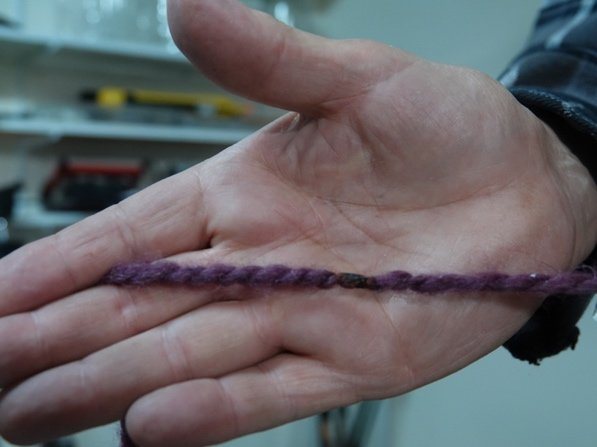
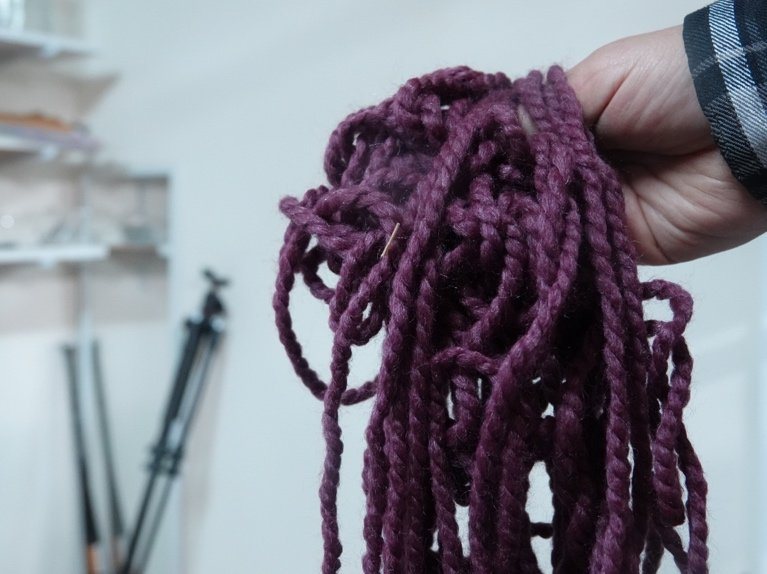
Pick a soft, fluffy yarn that is light for its thickness. Bruce used a roughly 5/16 in yarn with synthetic fiber in it, which makes the ends easy to join.
Drill a starter hole
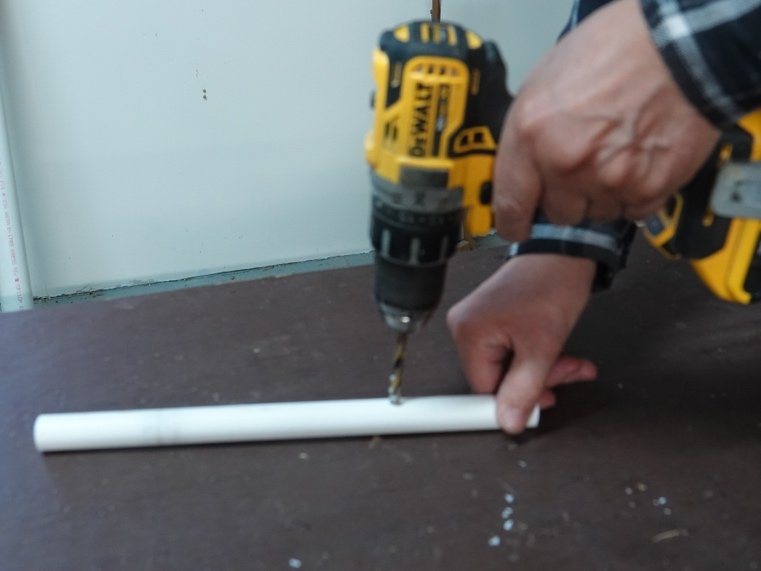
Drill a 1/4 in hole straight into the side of the pipe. On its own this hole does not work well, because the yarn snags on its sharp inner edge.
Angle the hole
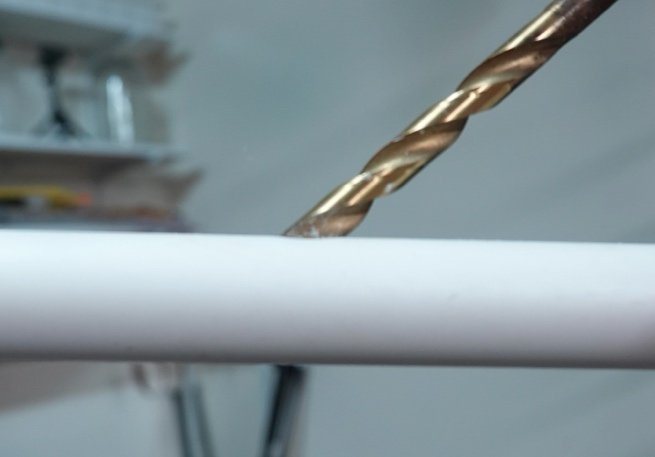
With the bit still in the hole, tilt the drill toward the direction the yarn will travel (toward the outlet end) and work it back and forth. This stretches the hole into an oval and bevels the edge so the yarn slides in smoothly.
Smooth the edges
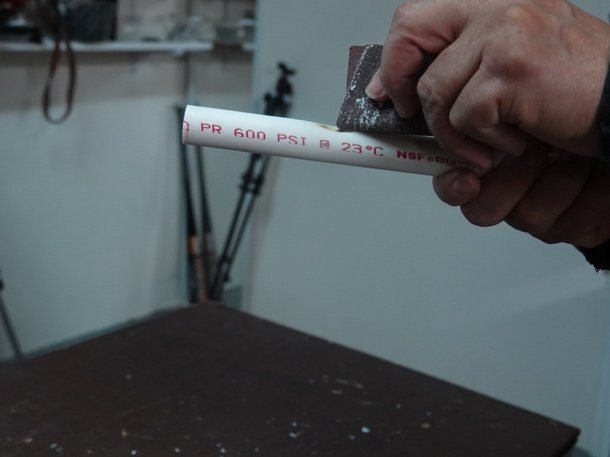
Sand the outside of the hole and remove any burrs of plastic.
Heat the back edge of the hole
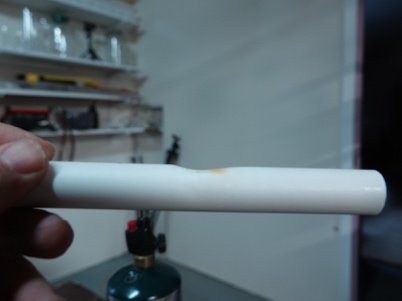
For the best performance, gently warm the pipe just behind the hole (the side toward the shop vac) with a candle or small torch until it softens. Keep the flame back so the plastic warms without scorching.
Press in a constriction
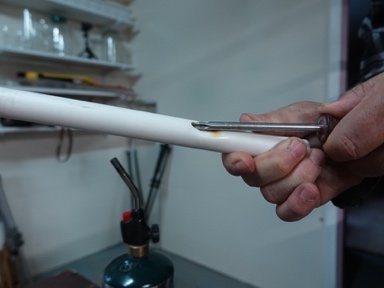
Push the softened edge inward with a screwdriver and hold it until the plastic cools. The small hump inside the pipe makes the air speed up as it passes the hole. Sand smooth.
Thread the yarn
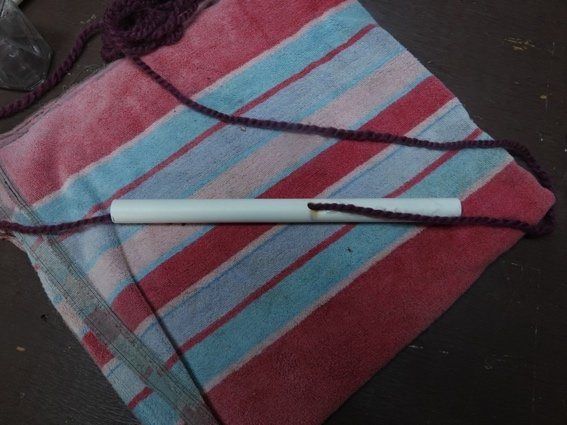
Feed one end of the yarn in through the side hole and out the end of the pipe.
Join the yarn into a loop
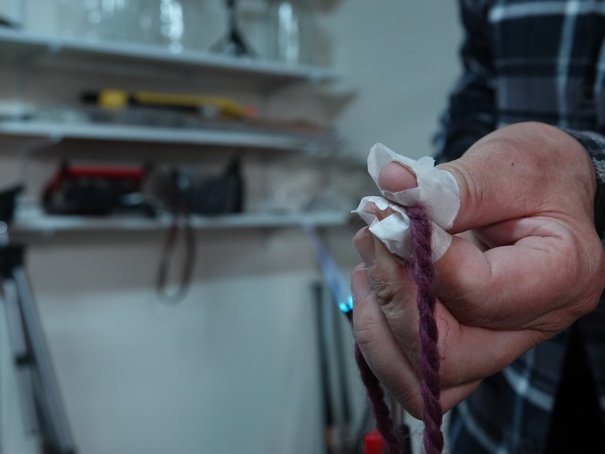
Knots catch in the pipe, so join the ends smoothly. Either glue them end to end with super glue, or (adult) heat the synthetic ends over a small flame, push them together while hot, and roll the joint between taped fingertips to make it smooth. The joint does not need to be strong.
Check the joint
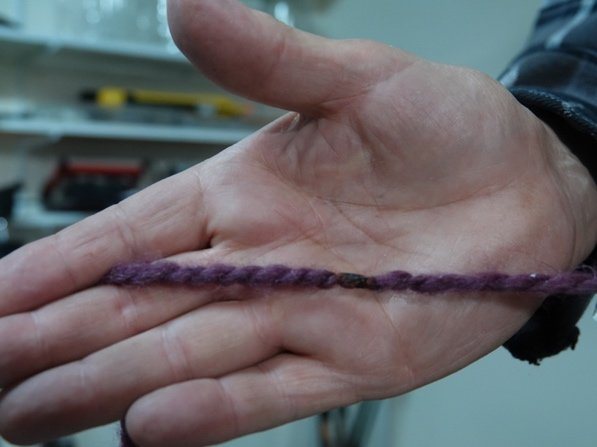
Once cool, the joint should be about the same thickness as the yarn so it slides through the hole and pipe without snagging.
Connect the air and launch
Fit the pipe onto the shop vac's exhaust port, using an adapter if needed. Hold the loose loop clear of the vacuum, switch on, and let the yarn feed itself through the pipe and out in a moving loop.
How it works
Air from the shop vac rushes down the pipe and rubs against the yarn inside it. That drag pulls the yarn along and throws it out of the open end. Because the yarn is a continuous loop, the yarn leaving the pipe pulls the rest of the loop back in through the side hole.
Normally, air under pressure in the pipe would blow out of any side hole. The dent behind the hole forms a constriction: the air speeds up as it squeezes past, and faster-moving air has lower pressure (Bernoulli's principle). That keeps the pressure at the hole low, so air and yarn are drawn in rather than blown out.
Once outside, the moving yarn keeps going thanks to its inertia, and the loop holds an arching shape in the air as long as the yarn keeps moving fast enough.
Using it
- Run it with and without the constriction (or with a straight-drilled hole) and compare how well the yarn feeds.
- Try different yarns. Which are too heavy? Which are too thin? Why does rope not work?
- Change the loop length and see how far the loop reaches before it falls.
- Hold a strip of tissue at the side hole before threading the yarn to show air going in, not out.
- Ask: where does the energy that holds the loop up come from?
Variations
- Use 3/4 in PVC pipe with a correspondingly thicker yarn.
- Bruce's other string shooters use spinning wheels instead of air; see the string launcher video.
Troubleshooting
More build plans
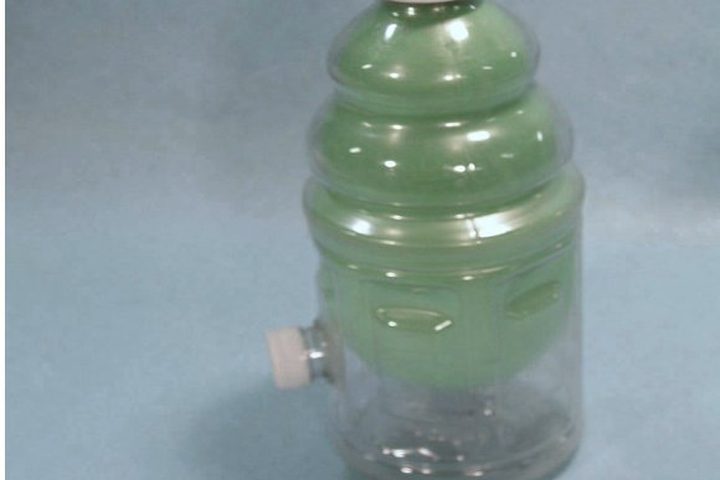
Balloon in a Bottle
Blow up a balloon inside a bottle and it stays inflated with its mouth wide open.
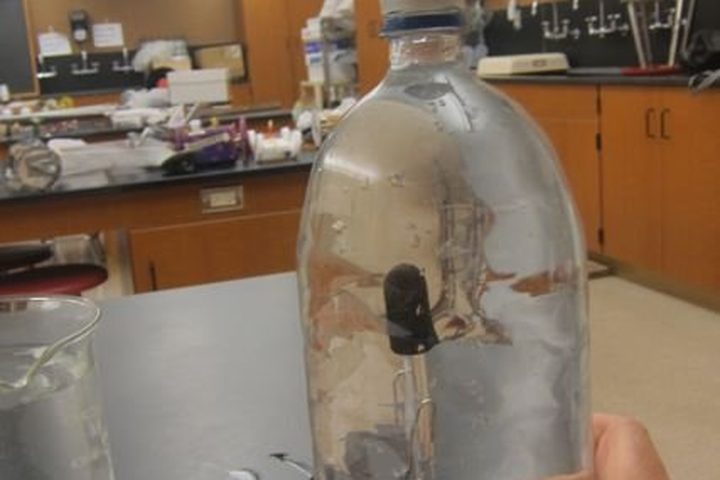
Cartesian Diver Collection
Squeeze a sealed bottle and a little diver sinks on command; let go and it floats back up.
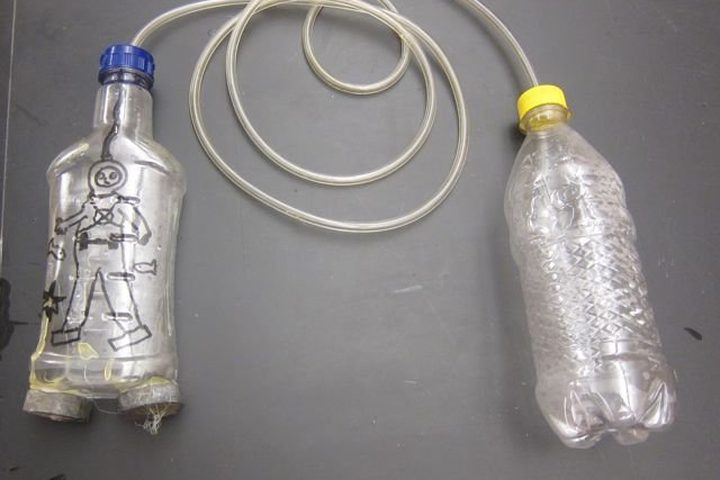
Diving Dan Remote Bottle Diver
Squeeze a bottle on the pool deck and a diver 10 feet down rises to the surface.
© Bruce Yeany · Homemade Science with Bruce Yeany · youtube.com/@YeanyScience
Free for personal and classroom use. Please don't resell or republish. Build and use at your own risk; follow the safety notes and supervise children.