Build plans / Cartesian Diver Collection
Cartesian Diver Collection
A Cartesian diver is a small floating object with a trapped air bubble, sealed inside a bottle of water. Squeezing the bottle raises the pressure, shrinks the bubble and sends the diver down. Start with an eye dropper and a paper clip, then build Bruce's permanent sealed divers, a spinning diver, a reverse diver and a remote-controlled pair.
Written from Bruce's original workshop handout. Bruce's final review of this plan is in progress.
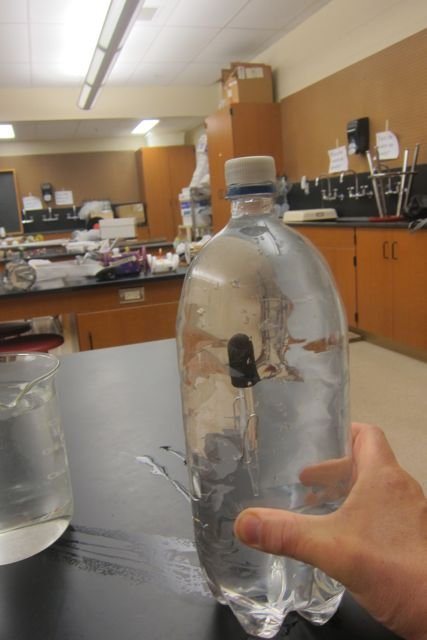
What it shows
Squeeze a sealed bottle and a little diver sinks on command; let go and it floats back up.
Key ideas: Pascal's principle, density, buoyancy, Archimedes' principle, compressibility of air
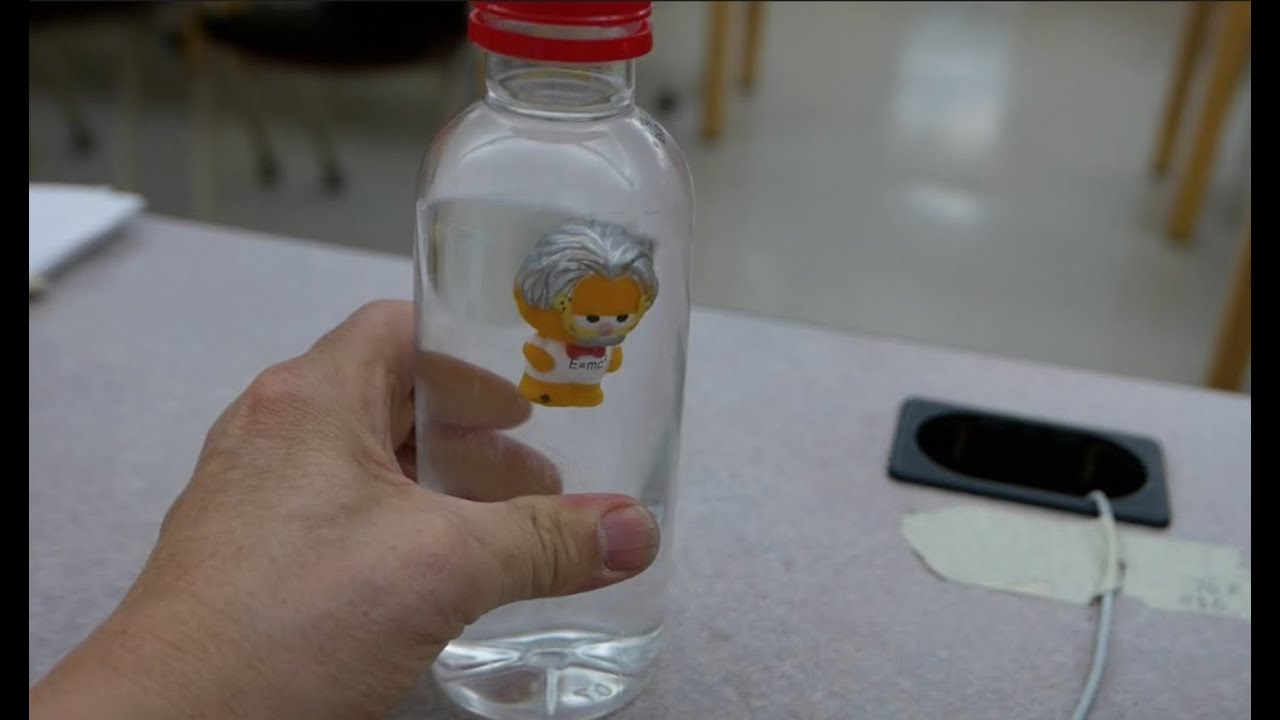
Build it
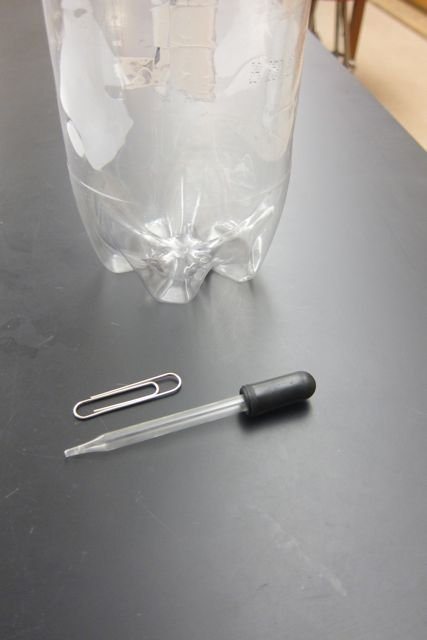
Gather the basic diver parts
The classic diver is a glass eye dropper with a large paper clip slipped over the glass tube. The clip adds mass so the dropper needs less water inside, which keeps the moving water level down in the clear glass where you can see it instead of hidden in the black bulb.
Tune the diver in a test container
Squeeze the bulb, put the tip in water and release to draw some water in. Float the dropper in a cup or beaker. Adjust the amount of water until the dropper and clip just barely float, with only the top of the bulb above the surface.
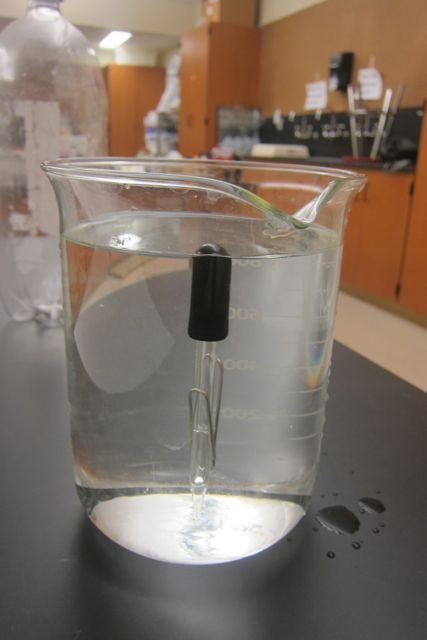
Color the water (optional)
Draw a little food-colored water into the dropper instead of plain water. The colored level is much easier to watch as it rises and falls. The dye slowly mixes with the bottle water each time you squeeze, so re-tint it now and then.
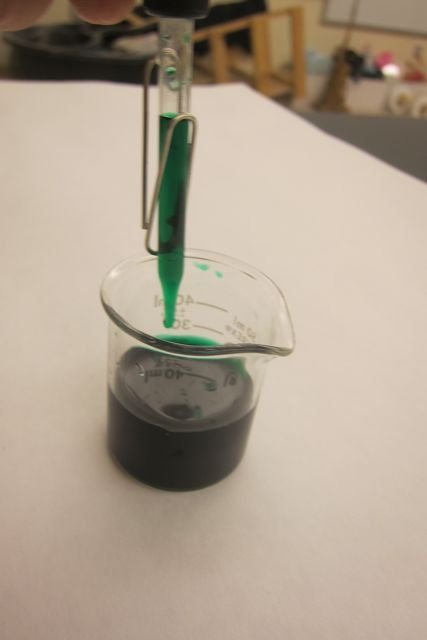
Load the bottle
Fill the bottle with water right to the brim so there is little or no air at the top. Slide the tuned diver in, top up the water if needed, and screw the cap on tightly.
Squeeze and release
Squeeze the sides of the bottle and the diver sinks. Relax your grip and it rises again. With practice you can make it hover partway down.
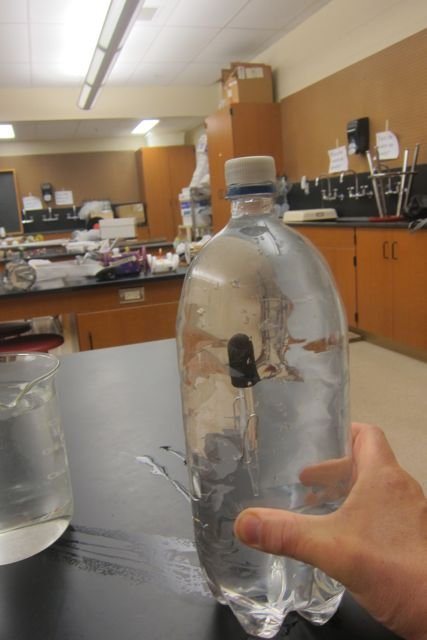
Start a permanent sealed diver
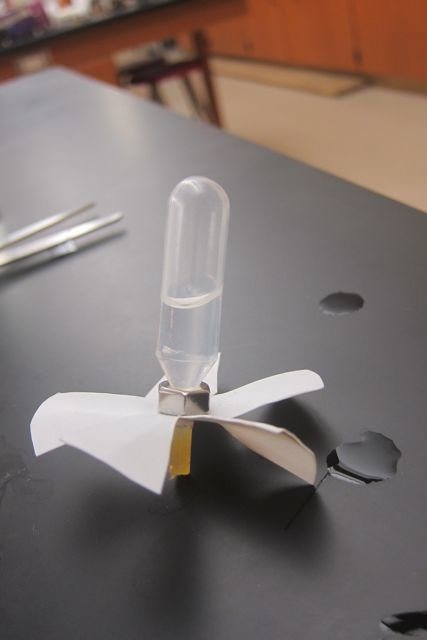
For a diver that never needs re-adjusting, use a plastic transfer pipet, a stainless steel or brass nut and a hot glue gun. Cut off most of the long pipet stem, leaving a short tube on the bulb.
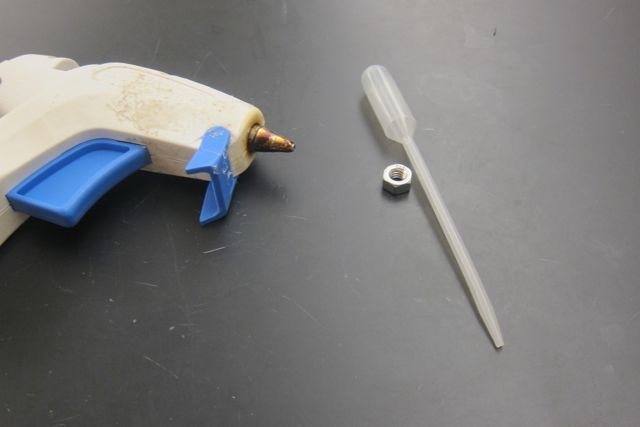
Add the nut
Push the nut onto the short stem next to the bulb. If it is loose, wedge a scrap of the cut-off pipet tip between the nut and the stem to tighten it.
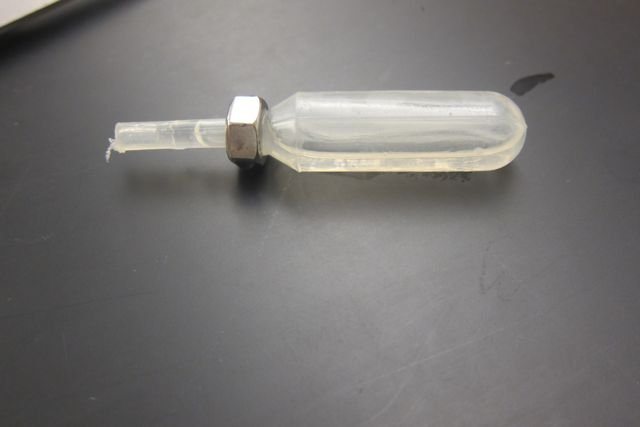
Tune and seal it
Draw in water until the pipet just barely floats. Turn it stem-up and tap it on the table (or blow into it) to move the water down into the bulb, then seal the open stem with a blob of hot glue. Dip it in water so the glue cools and sets.
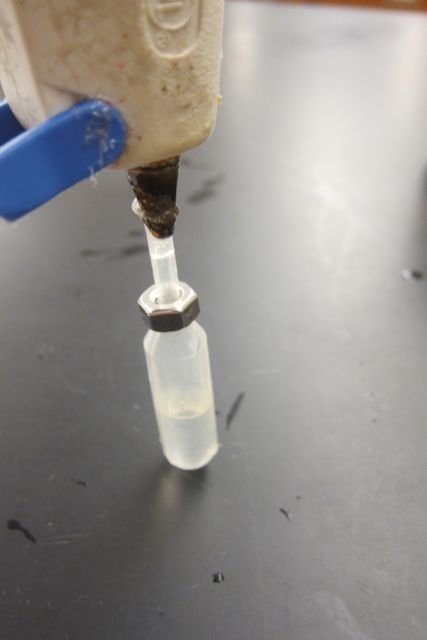
Test before it goes in the bottle
Check that the sealed diver still just barely floats in a jar or bucket. If it sinks, pull off the glue plug, remove a little water and seal again. It is much easier to fix now than after it is inside the bottle.
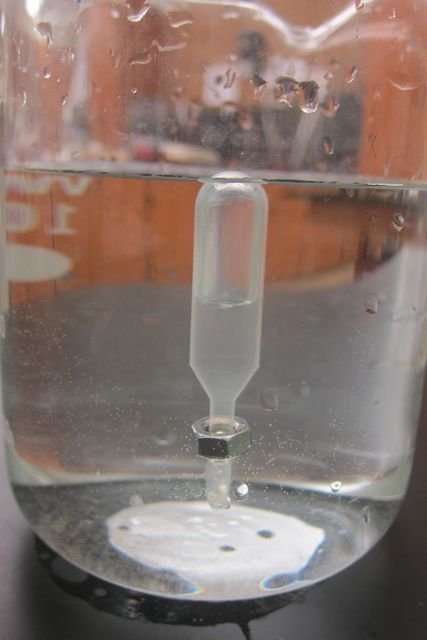
Cut a fan blank for a spinning diver
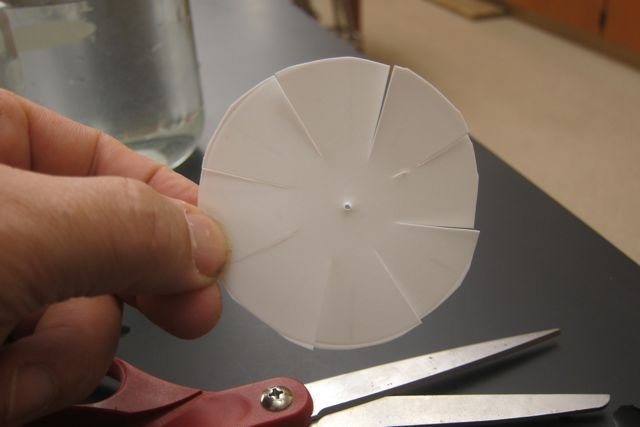
Draw a circle on a flat panel of a milk jug, a few inches smaller in diameter than the bottle the diver will go into. Cut it out.
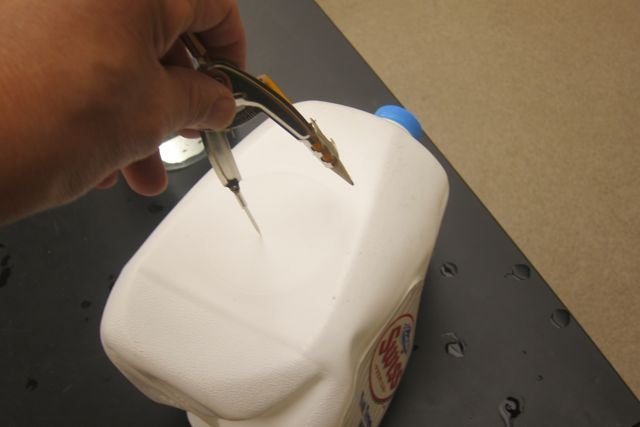
Cut the vanes
Poke the compass point through the center of the disc. Make four to eight straight cuts from the edge toward the center to form vanes, stopping short of the middle.
Twist the vanes with gentle heat
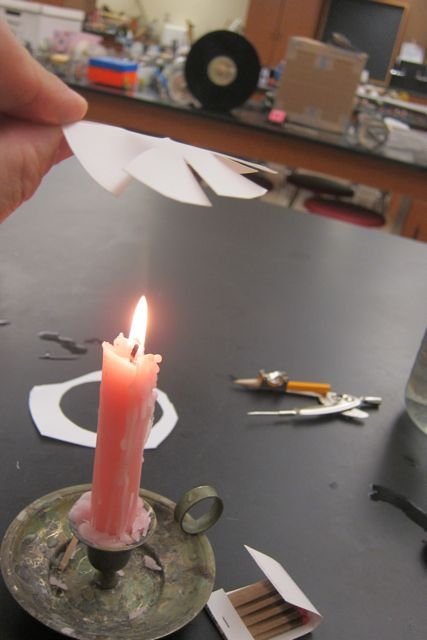
An adult warms one or two vanes at a time high above a candle flame until the plastic softens, then bends them, all in the same direction, and lets them cool. While the plastic is warm, widen the center hole with the compass point so it fits over the pipet stem.
Fit the fan to the diver
Slide the finished fan onto the sealed diver's stem, either before or after the nut. Test it in a bucket again, since the fan adds a little weight.
Install the spinning diver
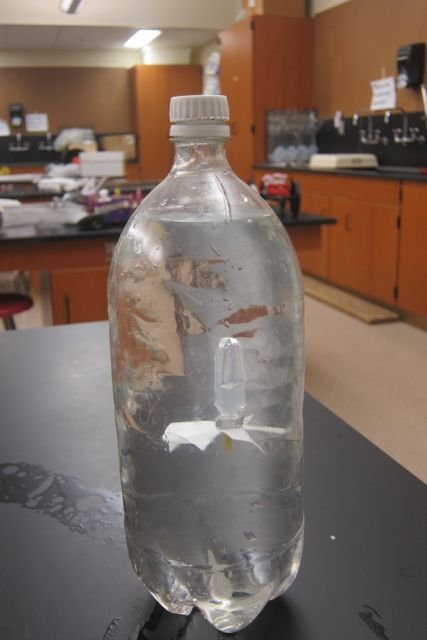
Push the diver into a 2 or 3 liter bottle filled to the brim and cap it. When you squeeze, it turns two or three times on the way down and turns the other way as it rises.
How it works
Squeezing the bottle raises the pressure of the water inside it, and by Pascal's principle that extra pressure is felt everywhere in the bottle, including at the bubble of air trapped in the diver. Water barely compresses, but air does, so the bubble shrinks and water moves into the diver to fill the space.
The diver's outside volume stays the same, but it now holds more water and less air, so its mass goes up. More mass in the same volume means greater density. Once the diver is denser than the water around it, the buoyant force (the weight of the water it displaces) is less than its weight, and it sinks.
Releasing the bottle lowers the pressure, the bubble expands, pushes some water back out, and the diver becomes less dense than water and rises. In the sealed pipet diver no water can enter; instead the soft bulb itself is squeezed thinner, which shrinks its volume and has the same effect.
Water pressure also increases with depth, about 1 pound per square inch for every 2.3 feet. In a very tall tube, a diver that sinks more than about 2 feet gets squeezed so much by the water above it that it cannot come back up when you let go.
Using it
- Ask students to watch the water level inside the diver as you squeeze. What has to happen to the air for the diver to sink?
- Does it matter where you squeeze the bottle? Try the top, middle and bottom and explain the result with Pascal's principle.
- Hand out droppers, clips and bottles as an inquiry lab: the challenge is to tune a diver that sinks with the lightest possible squeeze.
- With two connected bottles (see Variations), ask: which bottle has the greater pressure when you squeeze one of them? (Neither; they are the same.)
- Have students compare an open dropper diver with a sealed pipet diver and describe how each one changes when squeezed.
Variations
- Reverse diver: put a dropper diver tuned to just barely sink into a clean, oblong dish-soap bottle. Squeezing the narrow sides pushes the bottle toward a rounder shape, which increases its volume and lowers the pressure, so the diver rises. Squeezing the wide faces front to back does not work the same way.
- Condiment-packet divers: ketchup, mustard, soy sauce and duck sauce packets often contain a small air bubble. Test them in a cup; the sinkers will not work, but floaters can be tuned with a small paper clip or two, folded and slid into a bottle.
- Aluminum foil diver: squeeze a piece of foil very hard into a cigar shape (pressing it against the table helps), test it in a jar, then use it in a bottle.
- Test tube and balloon diver: push a small balloon into a test tube with a pencil so it seals the open end. Tune it upside down in a bucket of water. It holds its bubble even when tipped and shows the water level clearly.
- Remote-controlled divers: put a diver in each of two water-filled bottles and join the caps with a water-filled hose. Bruce drills each cap one size smaller than the outside diameter of the hose so friction holds it and seals it. Squeezing either bottle controls both divers; he uses about 25 feet of hose to work a diver from across the room.
- Deep diver: Bruce's class put a diver in a homemade 4-foot clear tube with a rubber balloon membrane over the top. Below about 2 feet the diver stays on the bottom. Replacing the membrane with a stopper, hose and large syringe let them reduce the pressure enough to bring it back up, and gave fine control to make it sink, rise or hover at any height.
Troubleshooting
More build plans
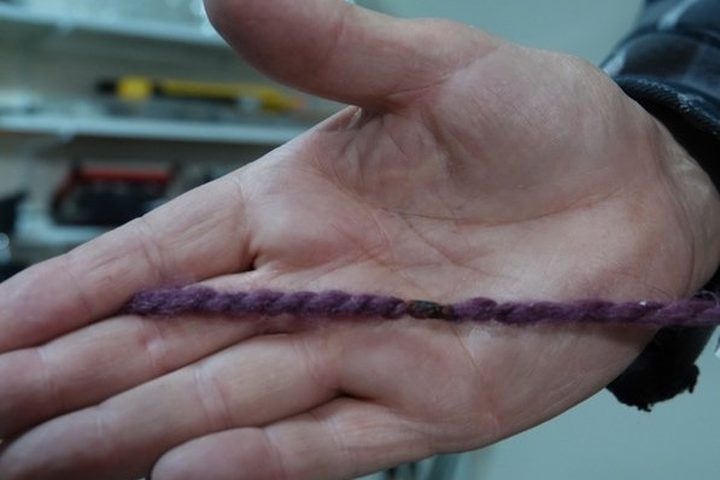
Air-Powered String Shooter
A loop of yarn shoots out of a PVC pipe and snakes through the air in a self-supporting arc, driven by nothing but a shop vac's exhaust.
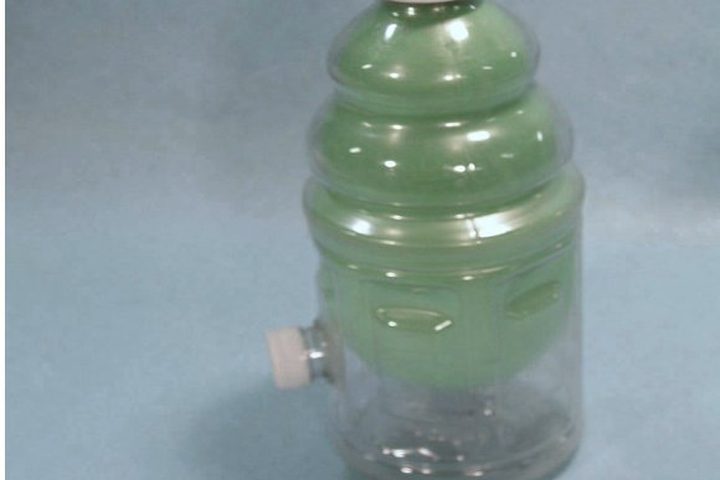
Balloon in a Bottle
Blow up a balloon inside a bottle and it stays inflated with its mouth wide open.
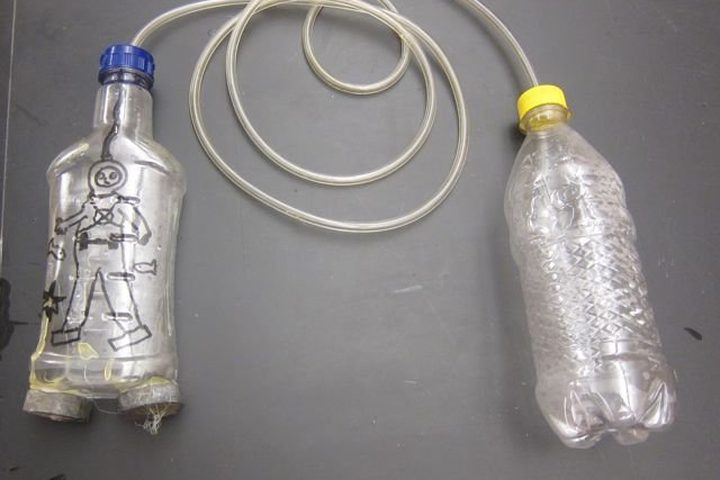
Diving Dan Remote Bottle Diver
Squeeze a bottle on the pool deck and a diver 10 feet down rises to the surface.
© Bruce Yeany · Homemade Science with Bruce Yeany · youtube.com/@YeanyScience
Free for personal and classroom use. Please don't resell or republish. Build and use at your own risk; follow the safety notes and supervise children.