Build plans / Cardboard Rubber Band Car
Cardboard Rubber Band Car
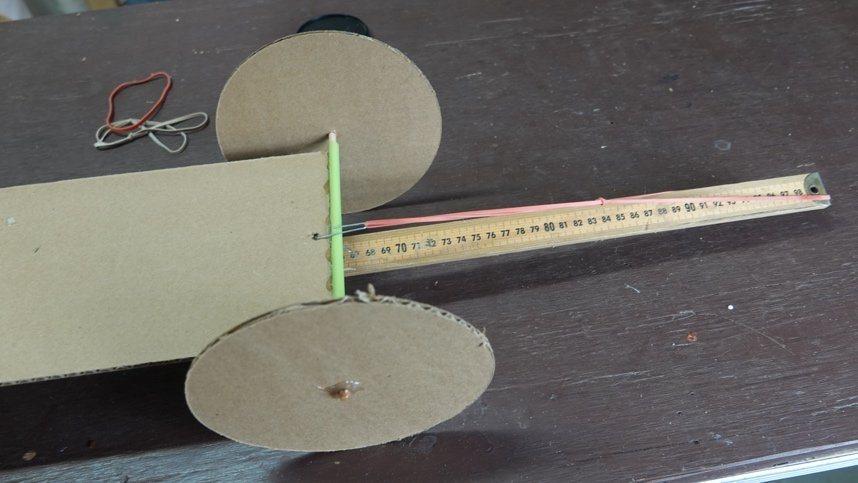
A simple car with a cardboard body, cardboard wheels and skewer axles turning inside straw bearings. It runs two ways: launched like a slingshot, or driven by a rubber band wound around the rear axle. Changing the wheel size turns it into a hands-on lesson in the wheel and axle.
Written from Bruce's original workshop handout. Bruce's final review of this plan is in progress.
What it shows
A shipping box, a few straws and a rubber band become a car that can roll more than 20 feet, and with giant wheels, more than 100.
Key ideas: wheel and axle, mechanical advantage, elastic potential energy, friction and traction
Build it
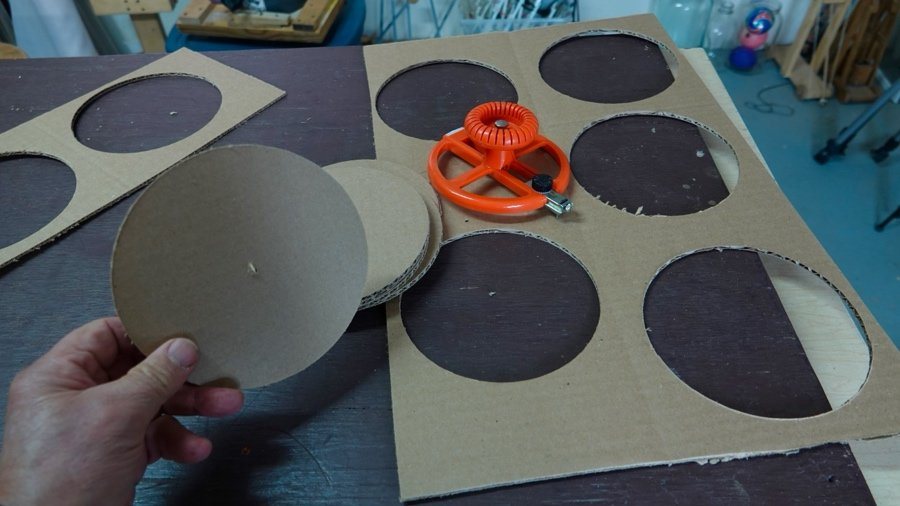
Cut the wheels
Cut four cardboard circles with a circle cutter. Don't try to cut through in one pass: score about halfway through first, then cut through on the second pass. It is easier to hold the cutter still and turn the cardboard.
Gather axles and straws
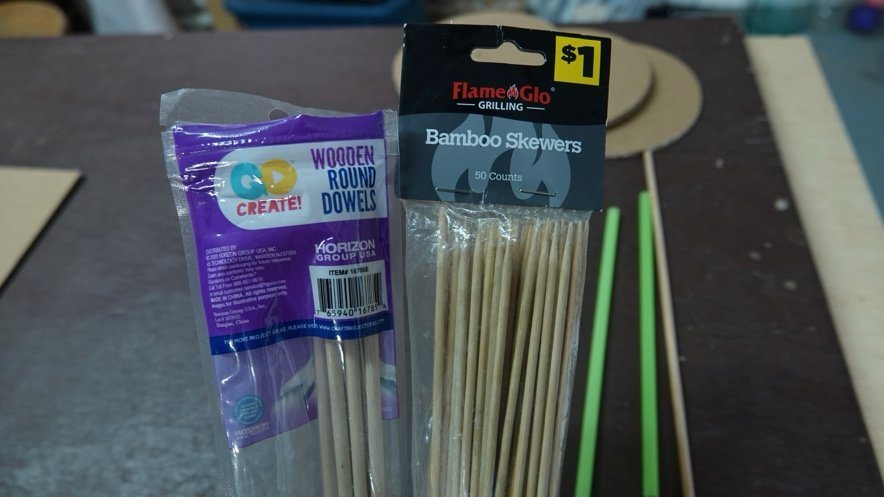
Dowels or bamboo skewers make good axles and plastic straws make the bearings. Both are inexpensive at a discount store.
Cut the body
Cut a cardboard base 5 in by 13 in.
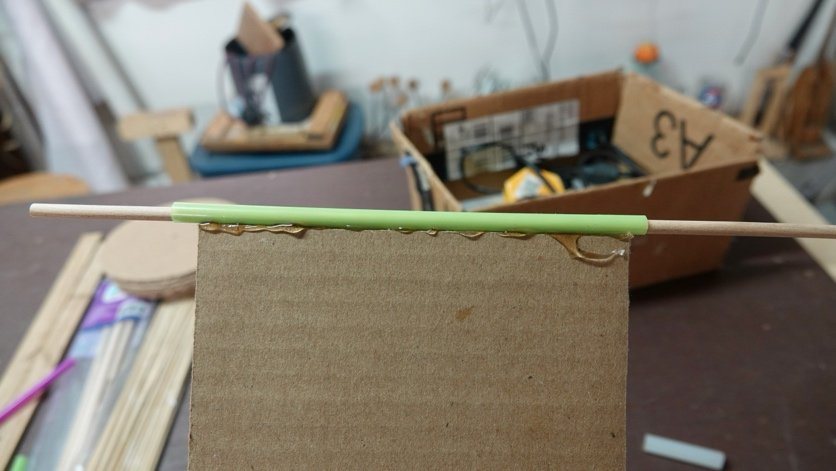
Glue on the straw bearings
Run a bead of hot glue along one short edge of the base, let it cool slightly so it won't melt the straw, and press a straw into it. Repeat at the other end.
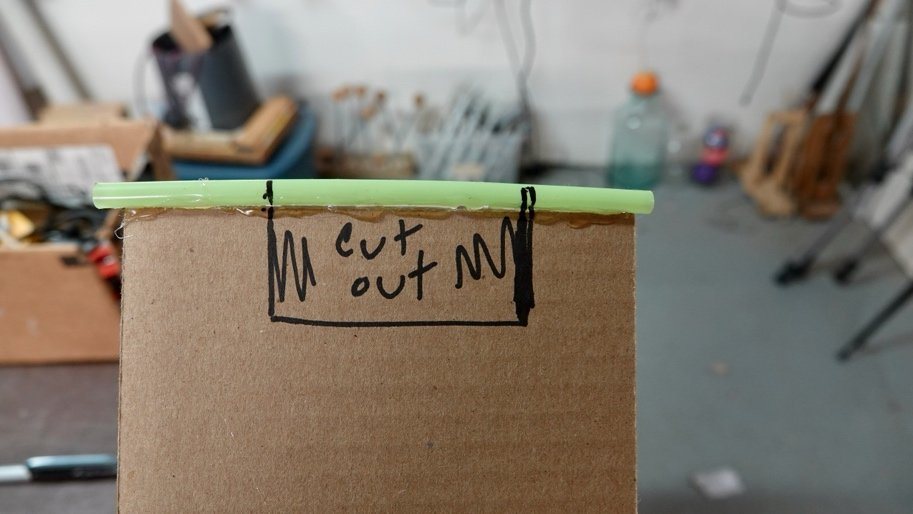
Notch for axle drive
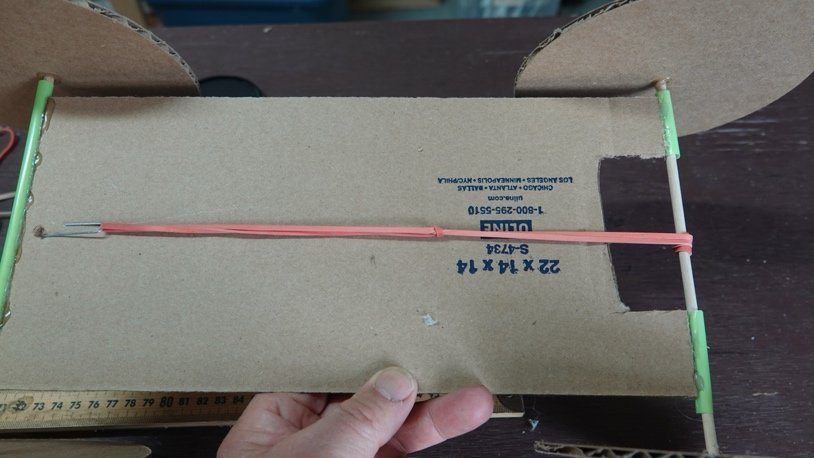
If you want to drive the car by winding a rubber band on the rear axle, cut a notch out of the base at the rear so the band can reach the middle of the axle.
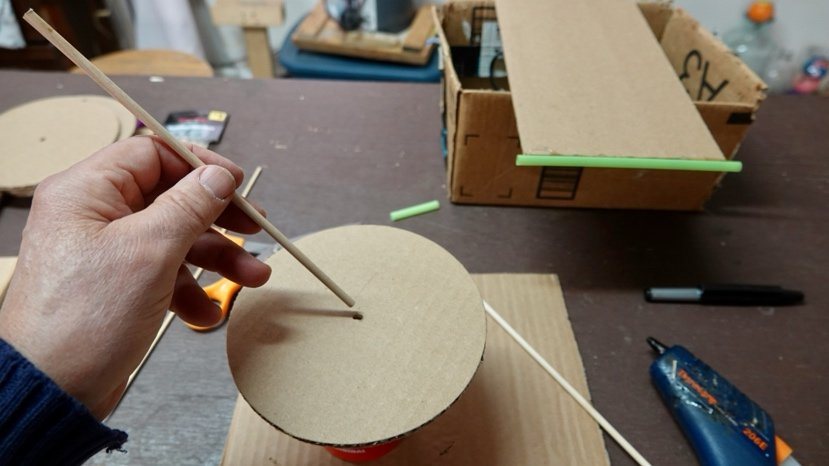
Mount the first wheels
Cut the axles to length. Push each axle through the center of a wheel and hot glue it, then add extra glue around the joint and let it cool.
Add the second wheels
Slide each axle through its straw and glue the second wheel on the other end. Check that the wheels are straight and turn freely.
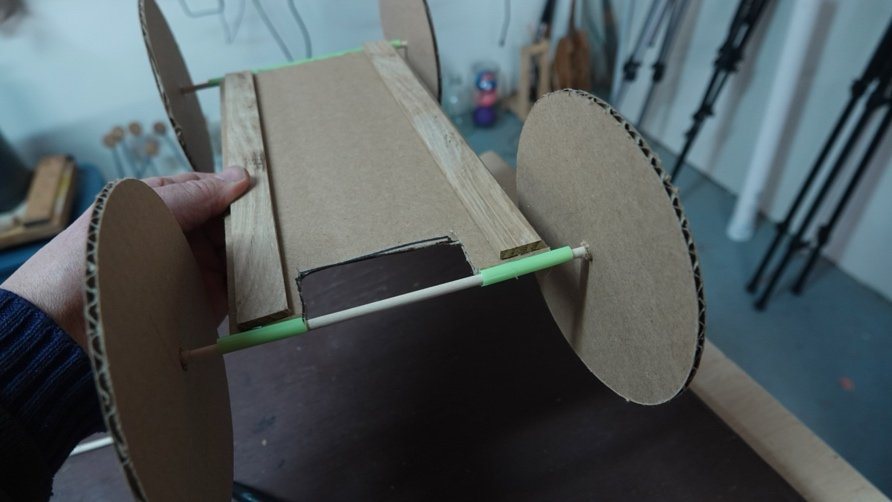
Stiffen the frame
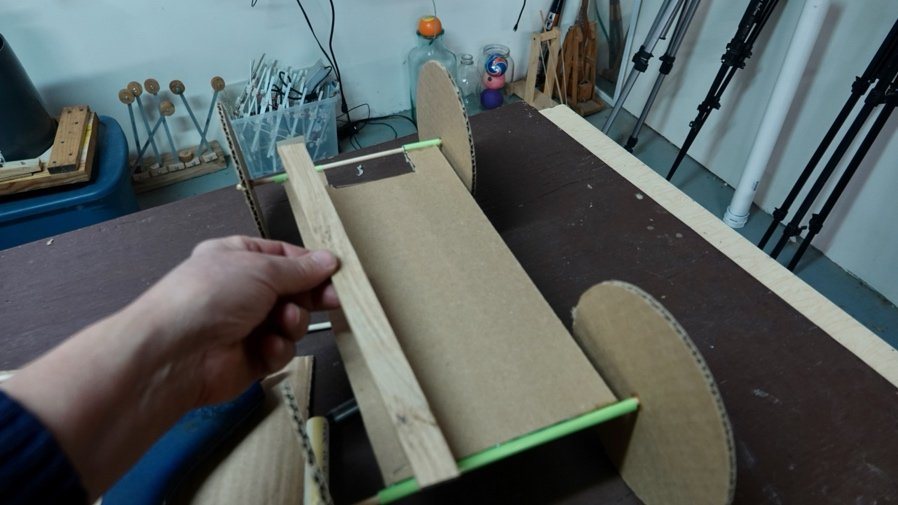
Hot glue two wood strips or old rulers along the base so the cardboard doesn't bend when the rubber band pulls on it.
Add the anchor
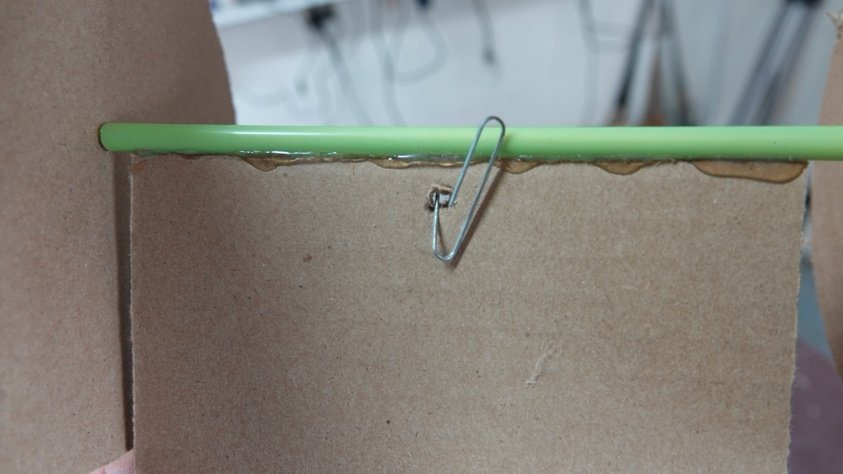
Poke a hole through the cardboard and push one end of a paper clip through it. The rubber band hooks onto this.
Power option 1: slingshot
Hook a rubber band to the anchor, stretch it forward around a fixed post or a friend's fingers, pull the car back and let go. Bruce's car traveled about 24 ft this way.
Power option 2: axle drive
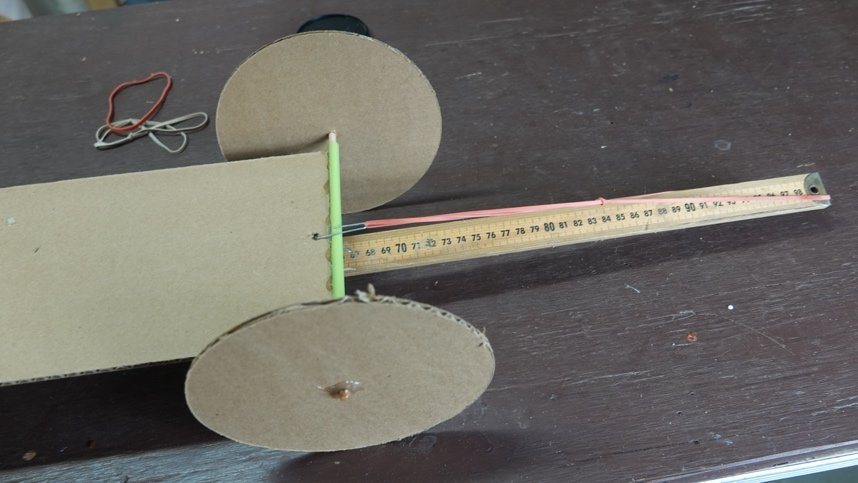
Hook the band to the anchor, stretch it back to the rear axle and wind it around the axle by turning the wheels backward. Set the car down and release.
Stretch it farther
Glue an extension stick to the front of the car so the band can be stretched a longer distance. You can also cut the rubber band into a single long strip.
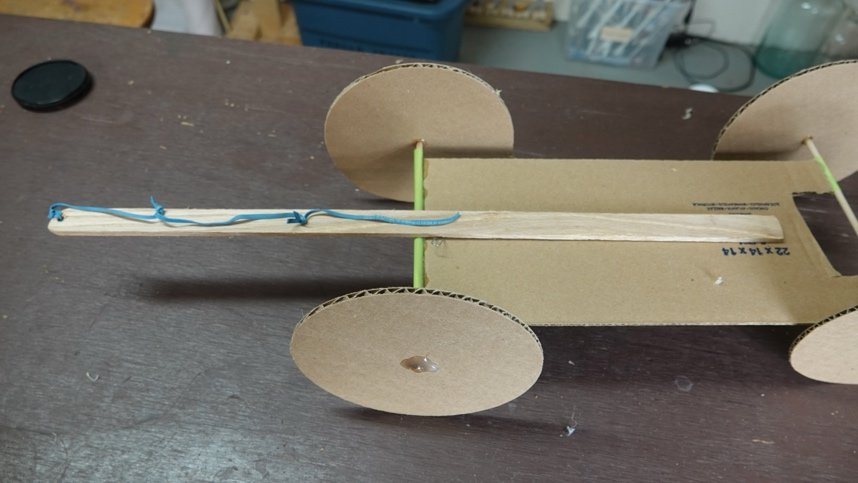
How it works
Stretching or winding the rubber band stores elastic potential energy. As the band relaxes it either pulls the car forward directly (slingshot) or turns the rear axle, which turns the wheels (axle drive).
With axle drive, the car is a wheel and axle. The band pulls on the small axle, and the wheel turns that into motion at the much larger rim. A big wheel gives a smaller push on the floor but covers more distance with every turn of the axle.
If the wheels are too small, the push at the rim is large and the wheels spin and lose traction, wasting energy. Larger wheels turn more slowly, grip better and carry the car farther. Bruce's students have built wheels as large as 2 ft across that went over 100 ft on three small rubber bands.
Using it
- Compare the two power methods: which goes farther and why?
- Build sets of wheels in several sizes and measure the distance traveled with the same rubber band.
- Watch for wheel spin at the start with small wheels, and discuss traction.
- Use it as a three-rubber-band design challenge: farthest distance wins.
- Measure how far the band is stretched and graph distance traveled against stretch.
Variations
- Giant wheels: wheels up to 2 ft across for long-distance runs.
- Long stretch: an extension arm at the front and a single cut strip of rubber band for a longer pull.
- The same chassis can be fitted with other power sources, such as a balloon.
Troubleshooting
More build plans

Classroom Pulley System (Small-Load Version)
Lift the same bucket of sand with one pulley, then two, three and four, and feel the pull get easier while you measure exactly what it costs you in rope.
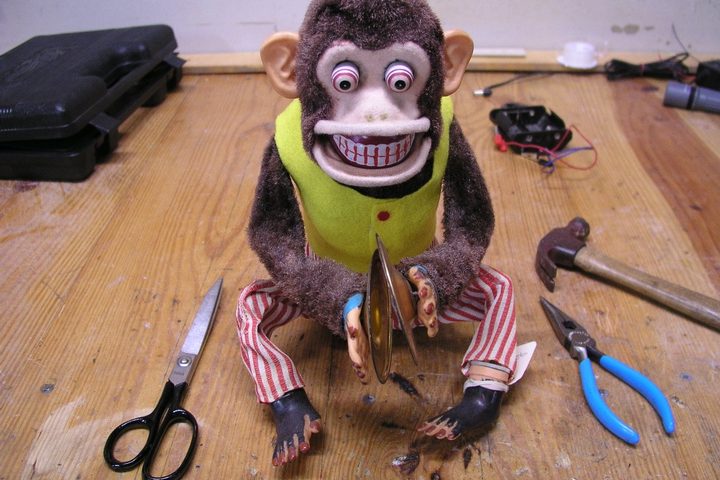
Toy Dissection Lab and Display
Take apart a broken toy to find the gears, levers and cams hiding inside, then put it back together as a see-through display.

Homemade Gears
With a compass, a ruler and a little arithmetic you can make working gears from cardboard or wood and see exactly how they trade speed for force.
© Bruce Yeany · Homemade Science with Bruce Yeany · youtube.com/@YeanyScience
Free for personal and classroom use. Please don't resell or republish. Build and use at your own risk; follow the safety notes and supervise children.