Build plans / Toy Dissection Lab and Display
Toy Dissection Lab and Display
Old, broken toys and small appliances make perfect 'mechanical cadavers' for learning about simple and compound machines. Students predict what's inside, take it apart, diagram the machines they find and trace the flow of energy. A dissected toy can even be rebuilt with its insides showing as a permanent classroom display.
Written from Bruce's original workshop handout. Bruce's final review of this plan is in progress.
What it shows
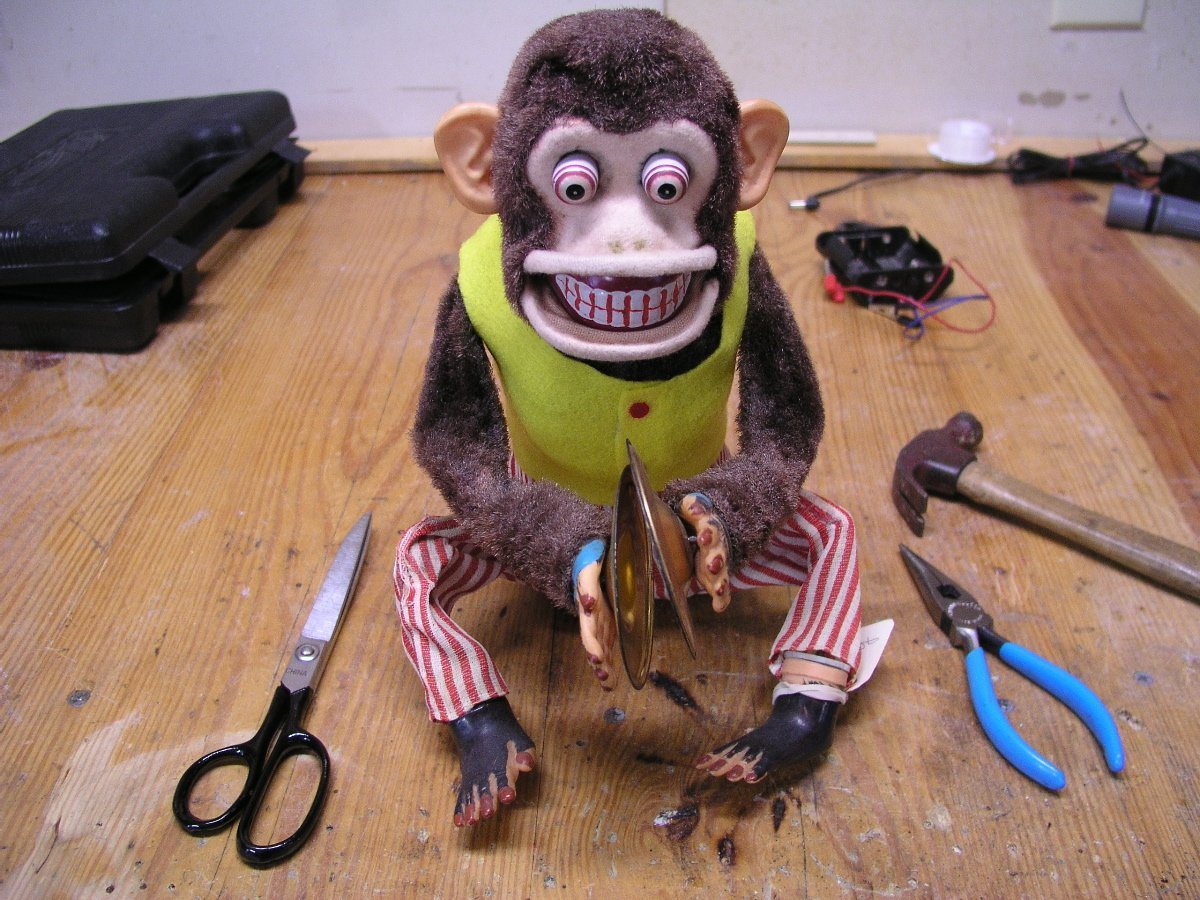
Take apart a broken toy to find the gears, levers and cams hiding inside, then put it back together as a see-through display.
Key ideas: simple machines, compound machines, gears, energy transfer, efficiency
Build it
Collect the 'cadavers'
Ask around for broken toys and small mechanical devices, or have students bring one in. Moving toys with several actions are best.
Make it safe
An adult cuts off any wall-plug cord and removes all batteries before the device goes to students. Set aside anything with large capacitors or other hidden hazards.
Predict
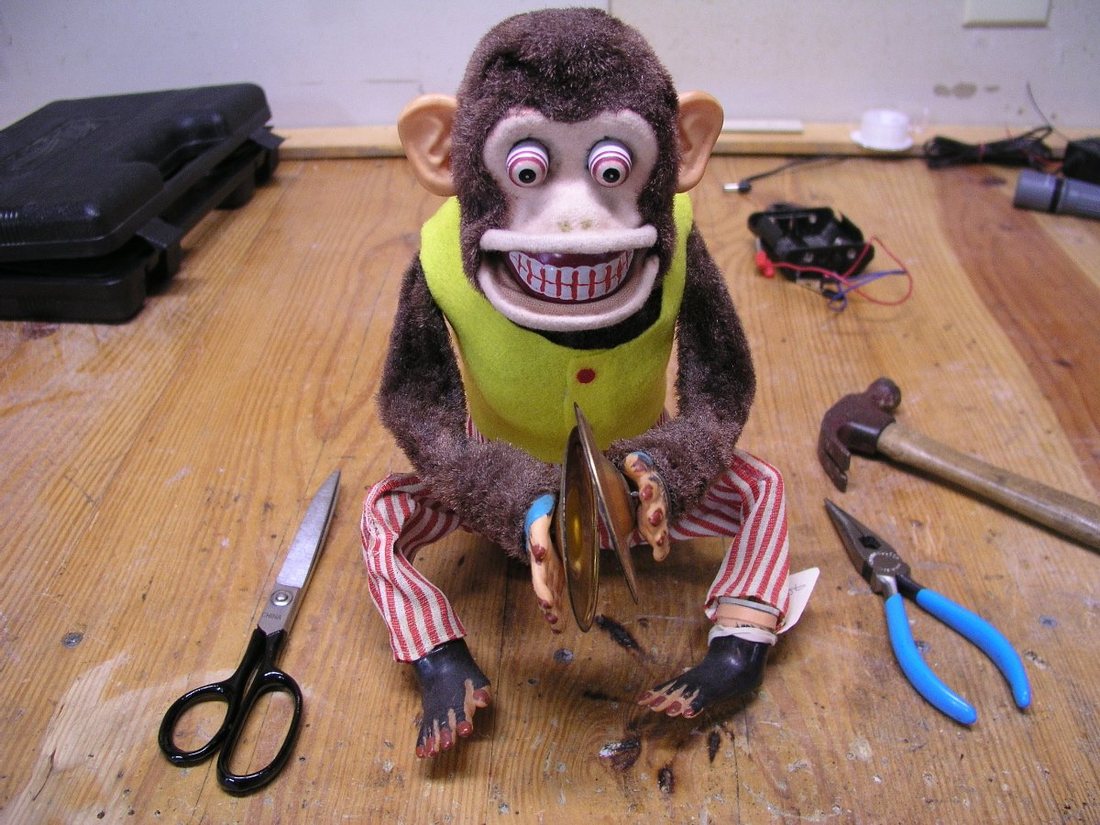
Before opening it, have students watch the toy (or a video of one like it) and guess what parts inside create each action.
Dissect carefully
Remove screws and panels a few at a time, bagging and labeling screws from each stage. Take photos or sketches as you go so it can be reassembled.
Find the simple machines
Diagram and label every simple machine found: levers, wheels and axles, gears, pulleys, screws, wedges, inclined planes, plus cams and cranks.
Trace the energy
Follow the path of energy from the source (spring, battery, motor or hand) through each part to the final motion or sound, and have students explain each step in writing.
Measure (older students)
Count gear teeth to calculate speed and force changes, or measure forces and distances through a sequence of parts to estimate efficiency.
Rebuild as a display (optional)
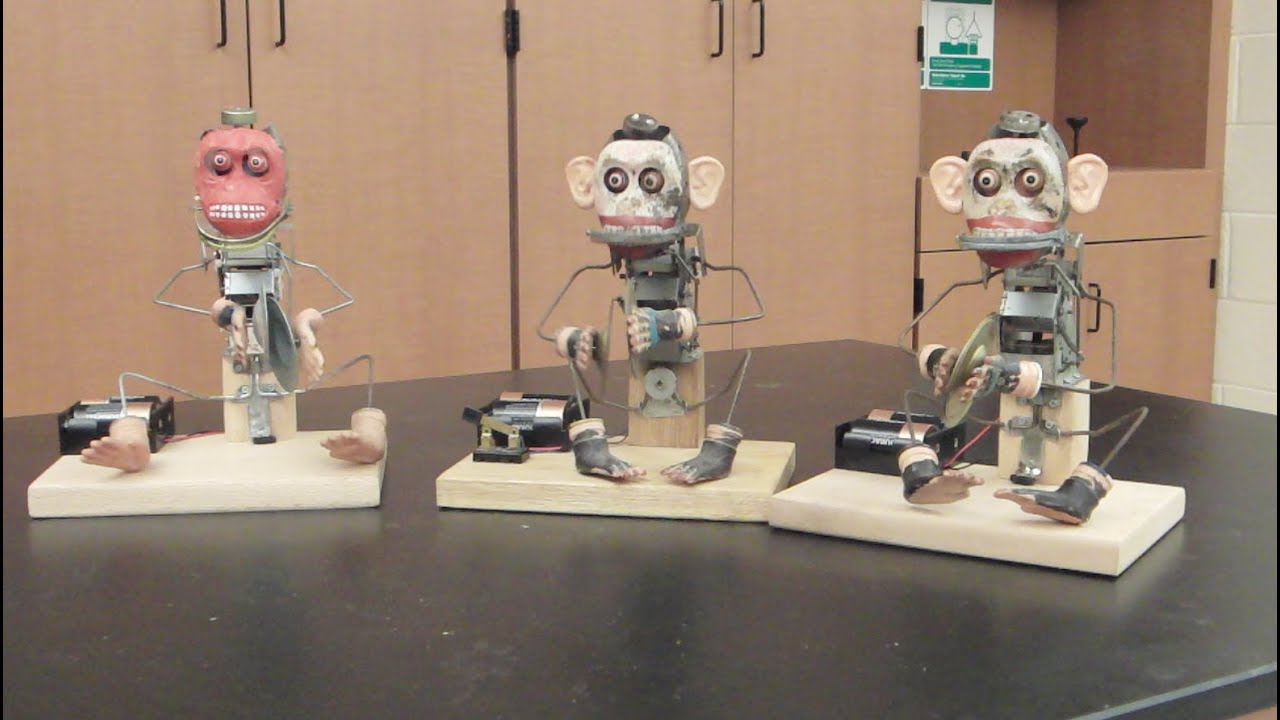
Put the mechanism back into working order without its outer covering, and mount it on a wooden base so the 'guts' show while it runs.
How it works
Most moving toys turn one simple motion, the spin of a small motor or the unwinding of a spring, into several different actions. They do it with chains of simple machines: gears to slow the motor down and increase its turning force, cams and cranks to turn rotation into back-and-forth motion, and levers to move arms, heads and eyes.
Linking simple machines this way makes a compound machine. Following the chain shows how energy is passed from part to part, and how some is lost to friction and sound along the way.
Using it
- Have groups present 'autopsy reports' explaining how their toy produced each action.
- Compare the predictions made before the dissection with what was actually found.
- Count teeth on a gear train and calculate the overall gear ratio.
- Challenge students to build a new, simple machine from the salvaged parts.
Variations
- Bruce's 'terminator monkey': a cymbal-playing toy monkey that moves its arms and head, bulges its eyes and screeches, was dissected, repaired and mounted on a new base with its inner workings exposed.
Troubleshooting
More build plans
Cardboard Rubber Band Car
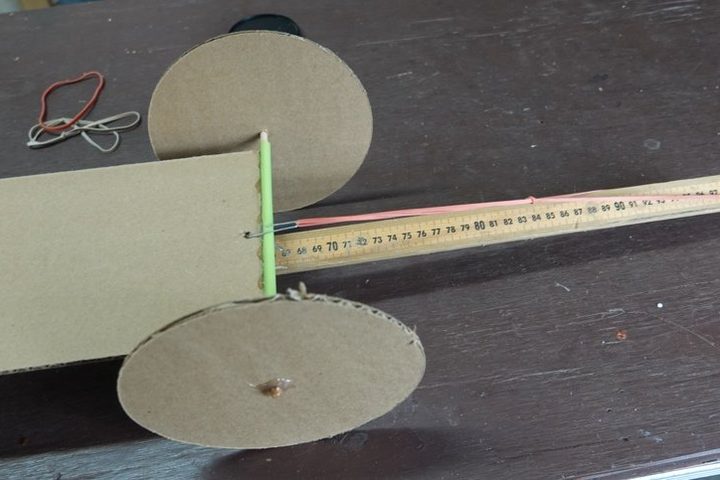
A shipping box, a few straws and a rubber band become a car that can roll more than 20 feet, and with giant wheels, more than 100.
Classroom Pulley System (Small-Load Version)
Lift the same bucket of sand with one pulley, then two, three and four, and feel the pull get easier while you measure exactly what it costs you in rope.

Homemade Gears
With a compass, a ruler and a little arithmetic you can make working gears from cardboard or wood and see exactly how they trade speed for force.
© Bruce Yeany · Homemade Science with Bruce Yeany · youtube.com/@YeanyScience
Free for personal and classroom use. Please don't resell or republish. Build and use at your own risk; follow the safety notes and supervise children.