Build plans / Homemade Gears
Homemade Gears
Bruce's method for designing gears by hand: pick the number of teeth, turn that into a circumference and a diameter, and mark out the teeth with a compass. Matching gears made this way show how gears change direction, speed and force according to their tooth ratio.
Written from Bruce's original workshop handout. Bruce's final review of this plan is in progress.

What it shows
With a compass, a ruler and a little arithmetic you can make working gears from cardboard or wood and see exactly how they trade speed for force.
Key ideas: gears, gear ratio, mechanical advantage, circumference and diameter
Build it
Choose the tooth size and count
Decide how many teeth each gear needs and how big each tooth step will be. All gears that mesh must use the same tooth step. Bruce's example: 30 teeth at 1 cm each.
Find the circumference
Multiply the number of teeth by the tooth step: 30 teeth x 1 cm = 30 cm around.
Find the diameter
Divide the circumference by 3.14: 30 cm / 3.14 = about 9.55 cm. Set the compass to half of that (about 4.8 cm) and draw the circle on your material.
Draw the tooth-depth circle
Draw a second, smaller circle from the same center to set how deep the gaps between teeth will be (for 1 cm teeth, about 0.5 cm inside the first circle works well).
Mark the teeth
Divide the circle into equal parts: 360 degrees divided by the number of teeth (12 degrees for 30 teeth). Mark these points with a protractor, then sketch a tooth and a gap in each step, running from the outer circle down to the inner one.
Make a partner gear
Repeat with a different number of teeth but the same tooth step, for example 15 teeth, to get a 2-to-1 ratio.
Cut out the gears
Cut cardboard with a craft knife; cut wood or plastic on a scroll saw. Round off the tips of the teeth slightly so they mesh more smoothly, and drill a hole at the exact center.
Mount and test
Fix axles in a base board so the gears' centers are apart by the sum of their two radii, adjusting slightly until the teeth mesh without binding. Mark one tooth on each gear and turn them to count rotations.
How it works
Meshing teeth force both gear edges to move the same distance. A gear with twice as many teeth has twice the circumference, so it turns only half as fast as its smaller partner.
What a gear gives up in speed it gains in turning force (torque), and vice versa. Driving a big gear with a small one trades speed for force; driving a small gear with a big one trades force for speed.
Two meshing gears always turn in opposite directions. Adding a third gear in between (an idler) makes the first and last turn the same way without changing the ratio.
Using it
- Count turns: if the 15-tooth gear turns 10 times, how many times does the 30-tooth gear turn?
- Use the gears in student machine projects that need to slow down a motor or change direction.
- Add an idler gear and predict the direction of the last gear before turning.
- Relate the math to real machines: bicycle gears, hand drills and clocks.
Variations
- Bruce's students have made gears from several layers of glued cardboard, plastic and wood. A school shop class can help with power-tool cutting.
- Make a gear train of three or more gears and calculate the overall ratio.
Troubleshooting
More build plans
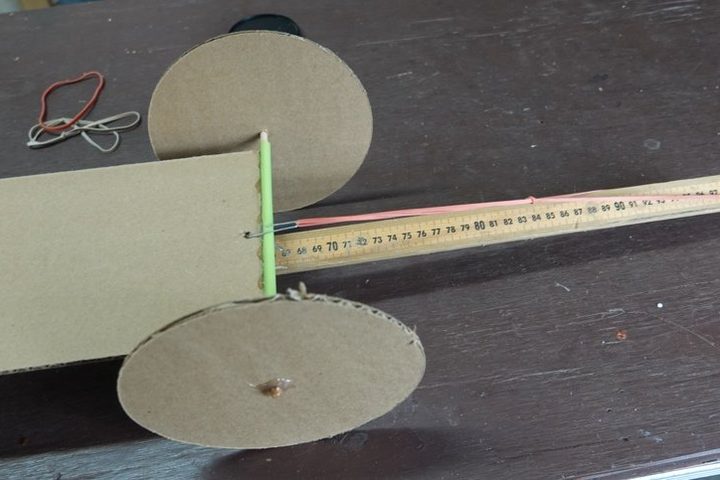
Cardboard Rubber Band Car
A shipping box, a few straws and a rubber band become a car that can roll more than 20 feet, and with giant wheels, more than 100.

Classroom Pulley System (Small-Load Version)
Lift the same bucket of sand with one pulley, then two, three and four, and feel the pull get easier while you measure exactly what it costs you in rope.

Toy Dissection Lab and Display
Take apart a broken toy to find the gears, levers and cams hiding inside, then put it back together as a see-through display.
© Bruce Yeany · Homemade Science with Bruce Yeany · youtube.com/@YeanyScience
Free for personal and classroom use. Please don't resell or republish. Build and use at your own risk; follow the safety notes and supervise children.