Build plans / Homemade Battery Tester (Simple Galvanometer)
Homemade Battery Tester (Simple Galvanometer)
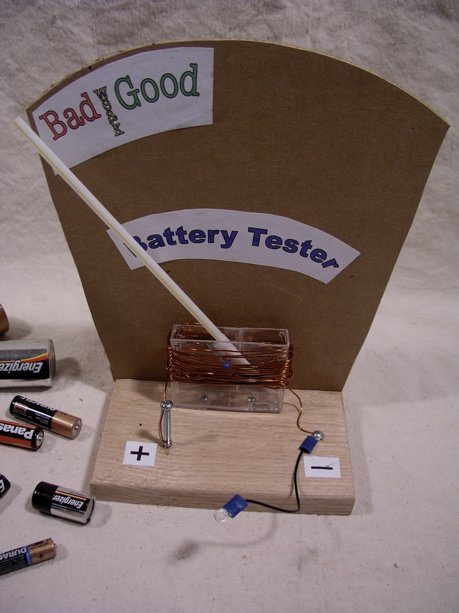
This tester is a simple galvanometer: a magnet on a pivot hangs inside a coil of enameled wire, and a straw pointer swings across a printed scale when a battery drives current through the coil. Bruce built it in half of a cassette-tape case, but any small clear plastic box will work. It shows the principle behind every analog meter while doing a genuinely useful job.
Written from Bruce's original workshop handout. Bruce's final review of this plan is in progress.
What it shows
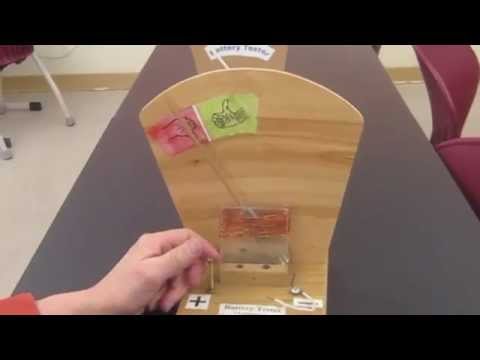
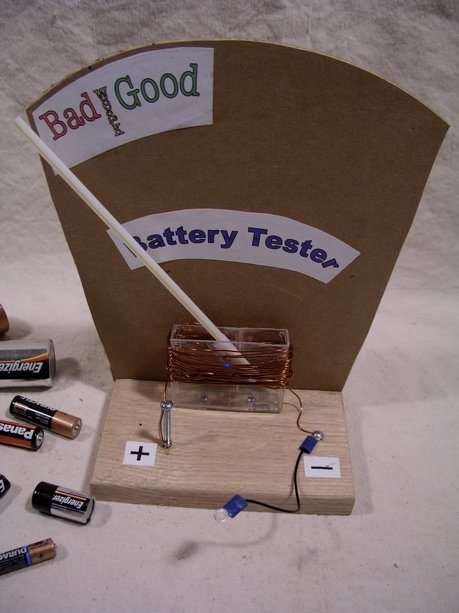
Touch a battery to the post and a straw needle swings up to tell you if it is good, weak or dead, using nothing but a coil of wire and a magnet.
Key ideas: electromagnetism, magnetic field of a current, galvanometer, meters, battery voltage
Build it
Prepare the case
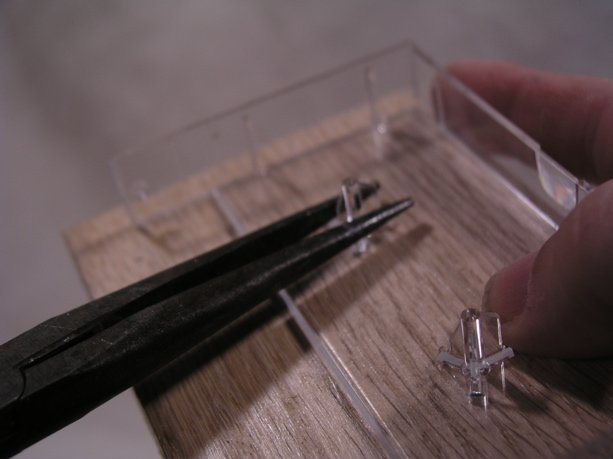
Take the cassette case apart and break off the tabs inside with pliers, sanding the plastic smooth if needed. Put it back together and seal the seams, inside and out, with clear tape.
Cut the case in half
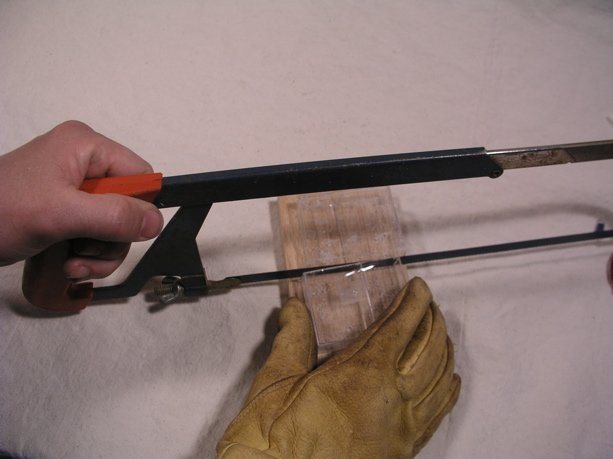
Saw the closed case in half crosswise and sand the cut edges smooth. One half becomes the coil form.
Mount it on the base
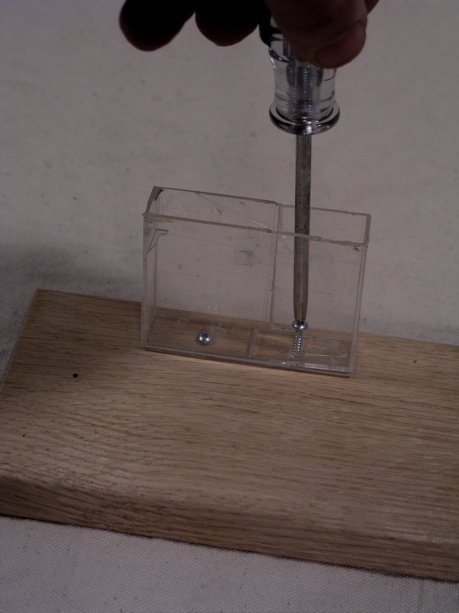
Drill two holes in the bottom of the half-case and matching pilot holes in the wood base, and screw the case down.
Build the pointer
Tape the cylinder magnet to the bottom of the straw with about three turns of tape at each end of the magnet. Push the straight pin through the tape and straw about two-thirds of the way up the magnet, so more of the magnet's weight hangs below the pin. Test it: the straw should rest at about 60-70 degrees from horizontal. If not, move the pin, adding tape if the first hole is too loose.
Drill the pivot holes
Drill a 1/16 in hole in each side of the case about 1/2 in below the top so the whole magnet hangs inside the case. If the magnet sits too high, drill a second pair 1/4 in lower. Remove the pointer while you wind the coil.
Drill anchor holes for the coil
Drill a column of small holes in the inside corners of the case, as close to the walls as possible: one at the very top and four or five more spaced down where the coil will go. Passing the wire through these every few turns keeps the coil neat and in place.
Wind the coil
Leave a 5 in tail, poke the wire through the lowest anchor hole and twist it around itself to lock it. Wind the wire around the case from the bottom up, feeding it through an anchor hole every 4-5 turns. Do not pull so tight that the plastic bends. At the top, run the wire back down and lock the end through a hole on the opposite side, again leaving a tail.
Install the pointer
Slip the pin through one pivot hole, through the pointer, and out the other side. Cut tiny pieces of coffee stirrer and slide them onto the pin on each side of the straw as spacers so it cannot rub the walls; tweezers help.
Find the polarity
Touch the coil ends to a battery. The pointer should swing upward to nearly vertical. If it swings down, reverse the battery. Note which coil end goes to the battery's positive terminal.
Add the battery post
On the positive side, drill a 1/8 in hole and install the bolt so a battery's positive nub can press against it. Sand about 1 in of enamel off the coil's end, wrap it around the bottom of the bolt, and solder the wraps together if you can.
Add the probe lead
Strip both ends of the 5 in black wire and crimp a ring connector on each end with pliers. Sand the enamel off the coil's other end, wrap it around a sheet-metal screw with one ring connector, and screw it into the base. The free ring end touches the battery's negative terminal.
Make the scale
Hold the cardboard behind the case, mark the arc the straw tip sweeps through, and cut it to shape. Fasten it to the base with screws through a scrap-wood strip.
Calibrate
Test several new batteries and mark where the pointer goes as 'good'. Do the same with partly used and nearly dead batteries for 'weak' and 'bad'. Print labels for the zones, a title and + and - markers, and glue them on.
How it works
Current flowing through a coil of wire makes a magnetic field, much like a bar magnet's, running through the middle of the coil. The magnet on the pointer is free to pivot, so it turns to line up with that field. The stronger the current, the stronger the field and the farther the magnet turns.
Gravity pulls the bottom-heavy pointer back toward its resting angle, so the pointer settles where the magnetic twist and the gravity twist balance. A fresh battery pushes more current through the coil and swings the pointer farther than a weak one.
This is the same principle as the moving-coil and moving-magnet meters in older analog instruments. If the battery is reversed, the coil's field reverses and the pointer swings the other way.
Using it
- Sort a pile of used batteries into good, weak and bad.
- Before showing the tester, have students make a simple galvanometer by wrapping several turns of wire around a compass and connecting a battery. Then ask how they could turn that into a meter.
- Reverse a battery and ask students to predict what the pointer will do.
- Add a small resistor or bulb in series as a load, which makes the reading closer to how the battery performs in real use and keeps the current smaller.
- Compare different battery sizes with the same voltage (AA, C, D) and discuss why their readings differ.
Variations
- Bruce's sturdier second model uses a thin wooden stick instead of a straw and two magnets instead of one, with the pivot at the center of the magnets and a little extra weight added below them. It works the same way.
Troubleshooting
More build plans
No-Magnet Motor (Double-Coil Motor)
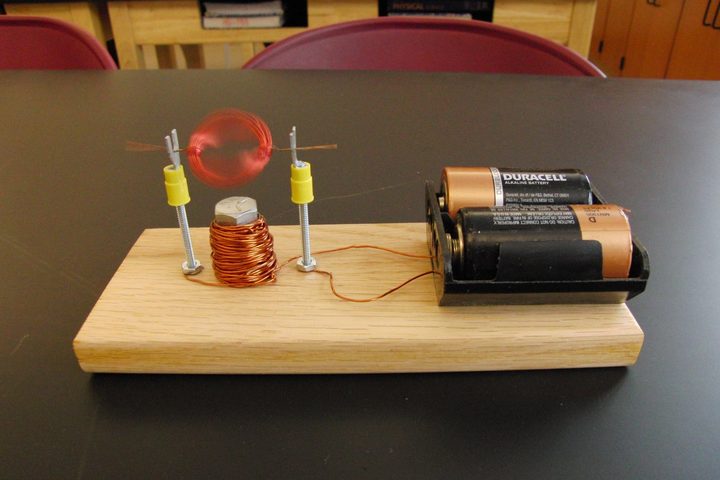
Students who have built the classic coil-and-magnet motor are always surprised that it still spins when the magnet is swapped for a coil of wire around a bolt.
Tangent Galvanometer
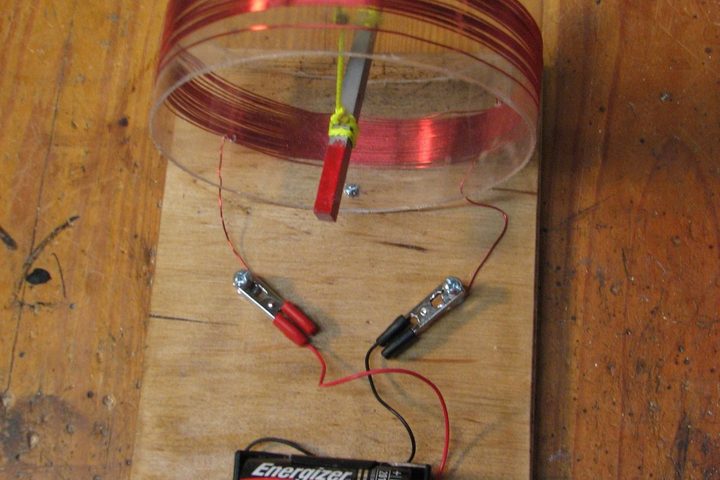
Clip on one wire and a hanging bar magnet swings to face across a ring of copper wire; reverse the battery and it spins all the way around.
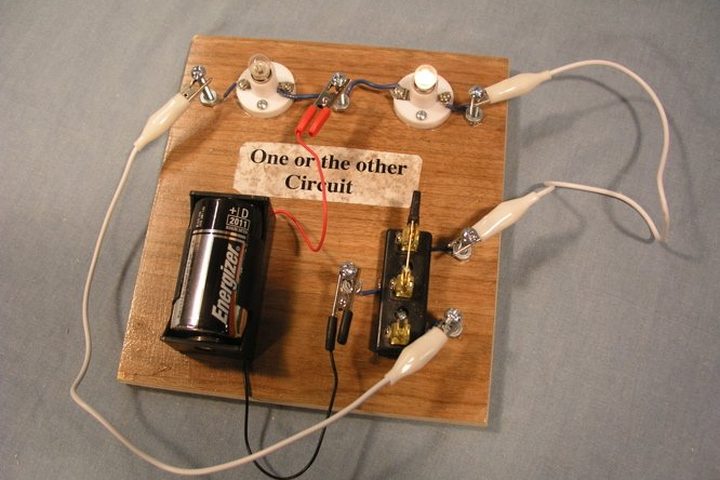
Circuit Demonstration Boards
Seven small wooden boards turn abstract circuit diagrams into bulbs that students can light, dim and puzzle over with their own hands.
© Bruce Yeany · Homemade Science with Bruce Yeany · youtube.com/@YeanyScience
Free for personal and classroom use. Please don't resell or republish. Build and use at your own risk; follow the safety notes and supervise children.