Build plans / Tangent Galvanometer
Tangent Galvanometer
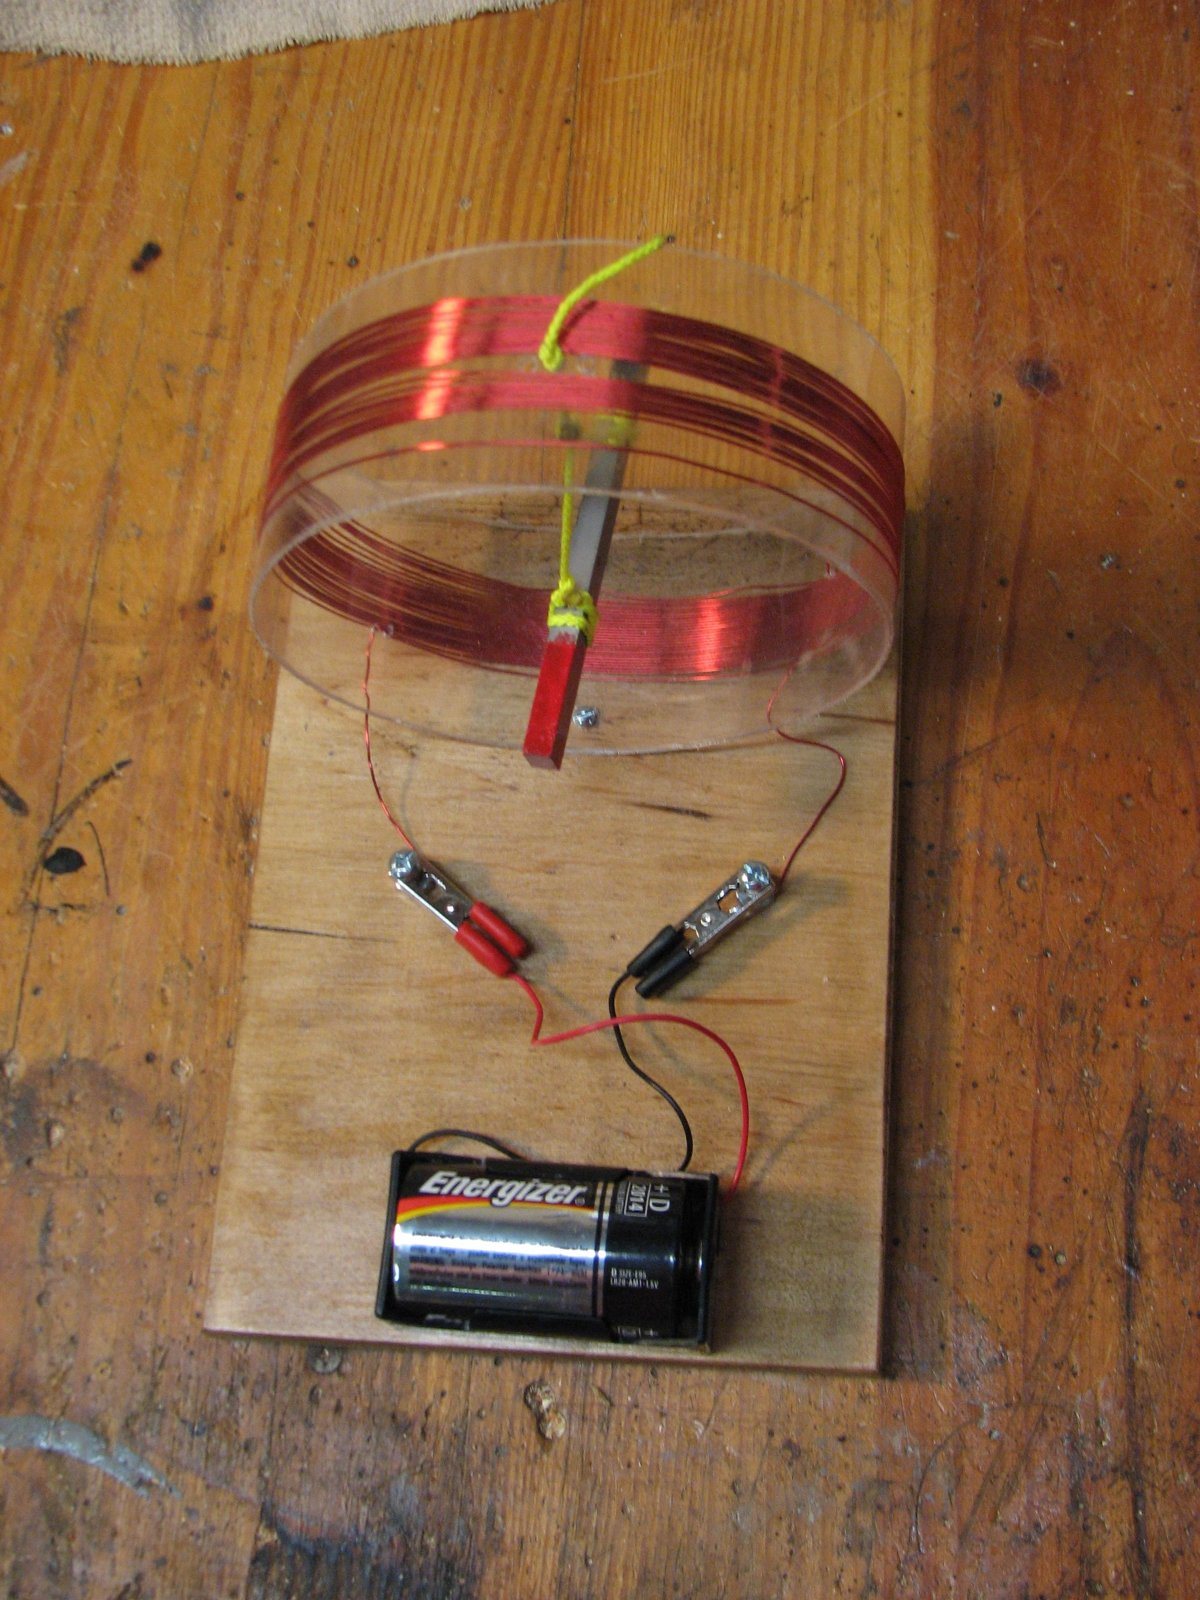
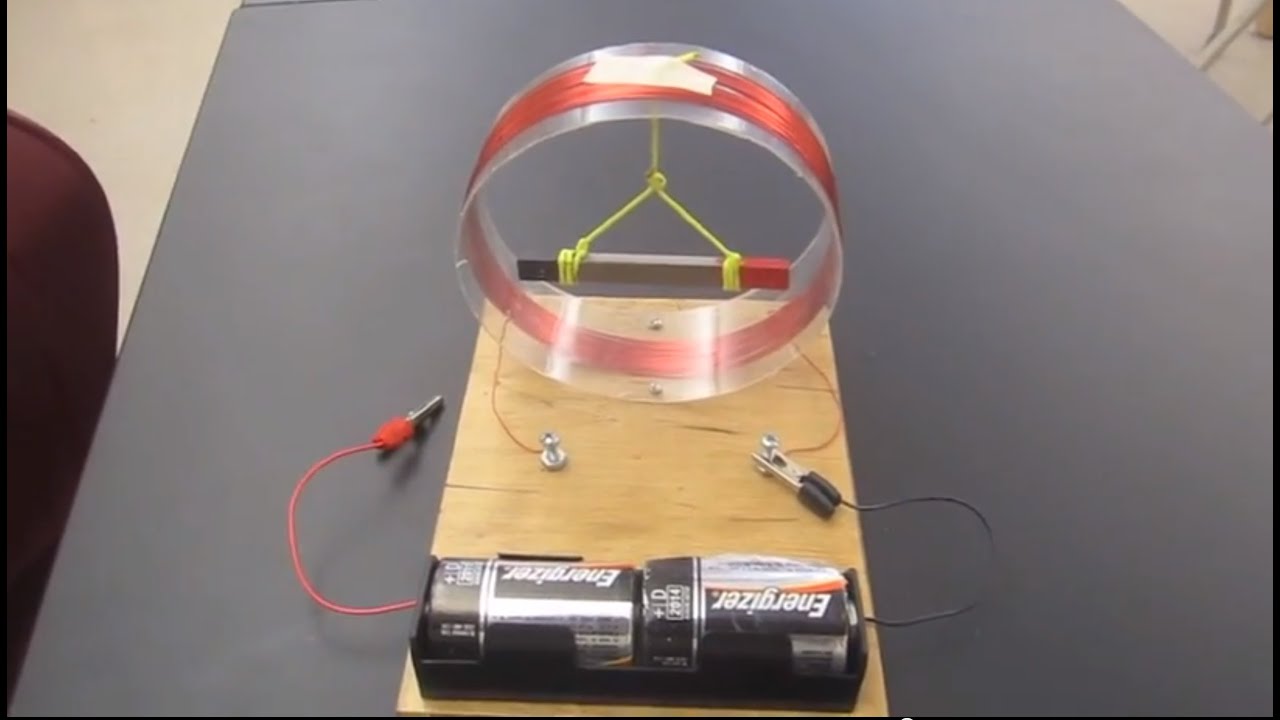
A classic 1800s instrument made from a ring cut from a plastic jar or soda bottle, about 20 turns of magnet wire and a bar magnet hanging on a string. Connecting a battery makes the coil an electromagnet, and the magnet turns to line up with its field. Reversing the current flips the field, and the magnet turns 180 degrees.
Written from Bruce's original workshop handout. Bruce's final review of this plan is in progress.
What it shows
Clip on one wire and a hanging bar magnet swings to face across a ring of copper wire; reverse the battery and it spins all the way around.
Key ideas: magnetic field of a current, electromagnets, magnetic poles, direction of current, galvanometer
Build it
Cut the ring
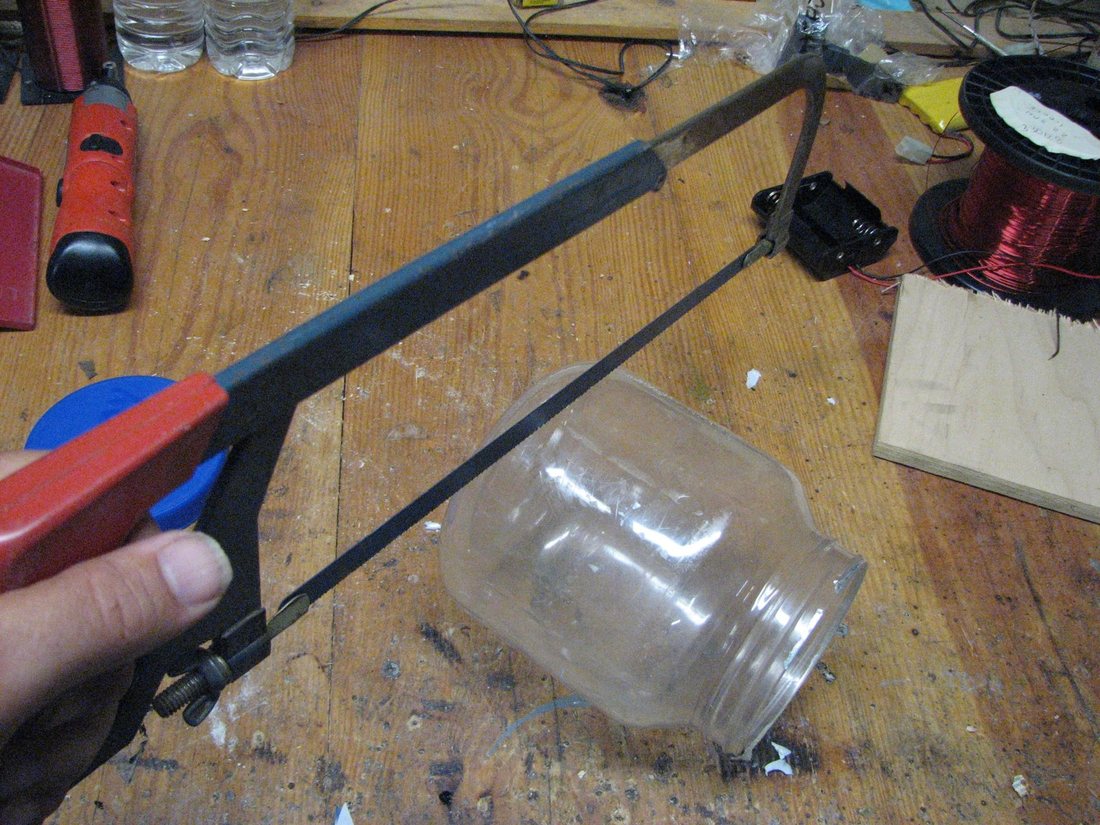
Cut a 3 in wide band from the jar or bottle. A soda bottle can be cut with scissors; a heavier jar may need a saw.
Drill the wire holes
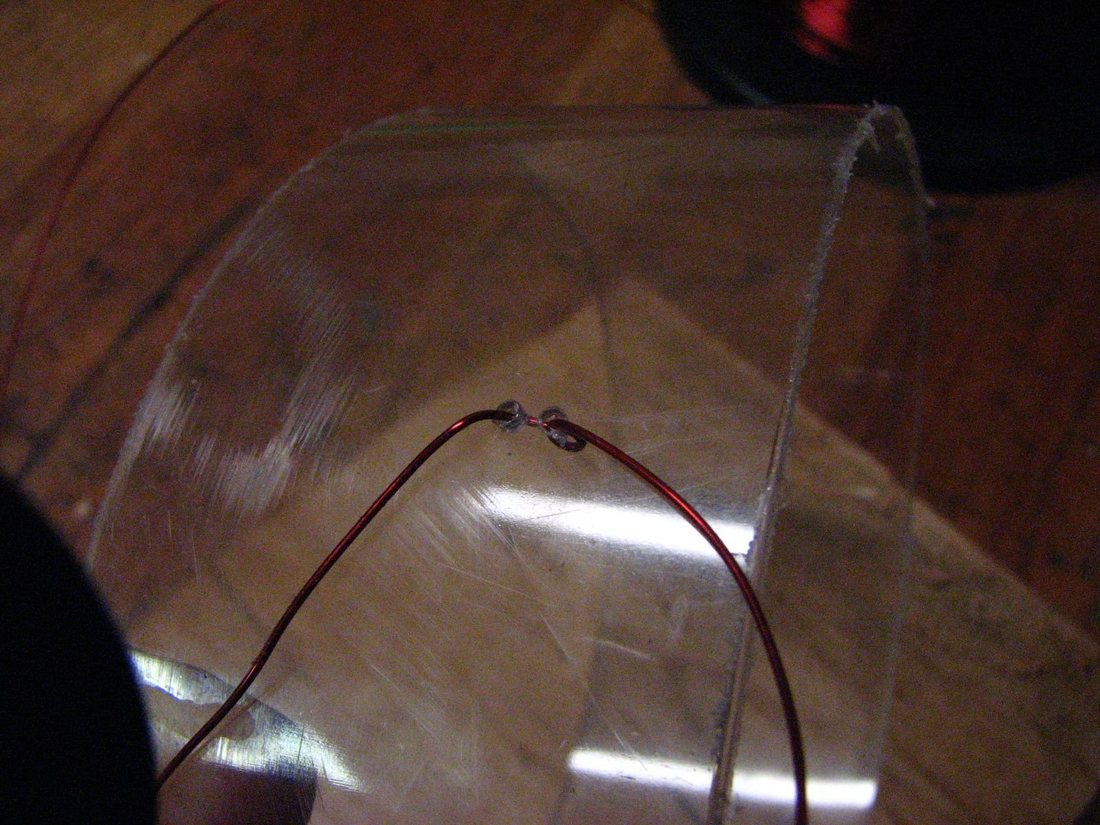
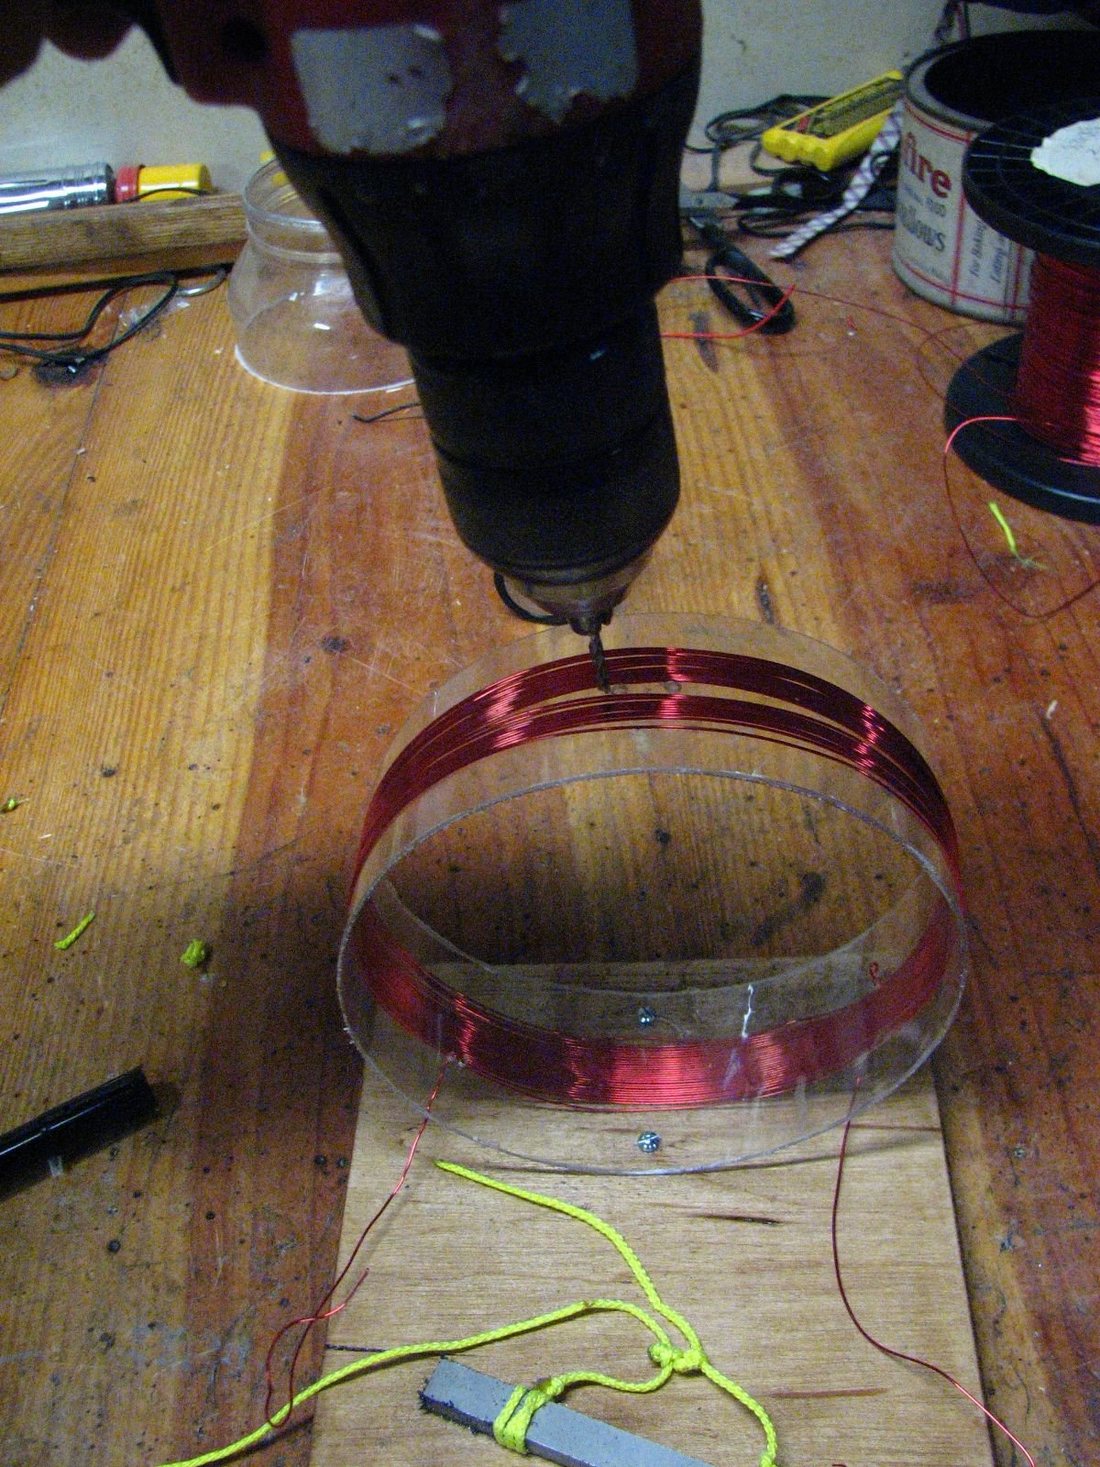
Drill two small holes near the top of the ring and thread the start of the wire through them to anchor it, leaving about 8 in free for connecting to a terminal bolt.
Wind the coil
Wrap the wire around the ring about 20 times, keeping the turns together in a neat band. Drill two more holes about 3 in from the first pair and thread the end of the wire through them to lock the last turn, again leaving a lead.
Mount the ring
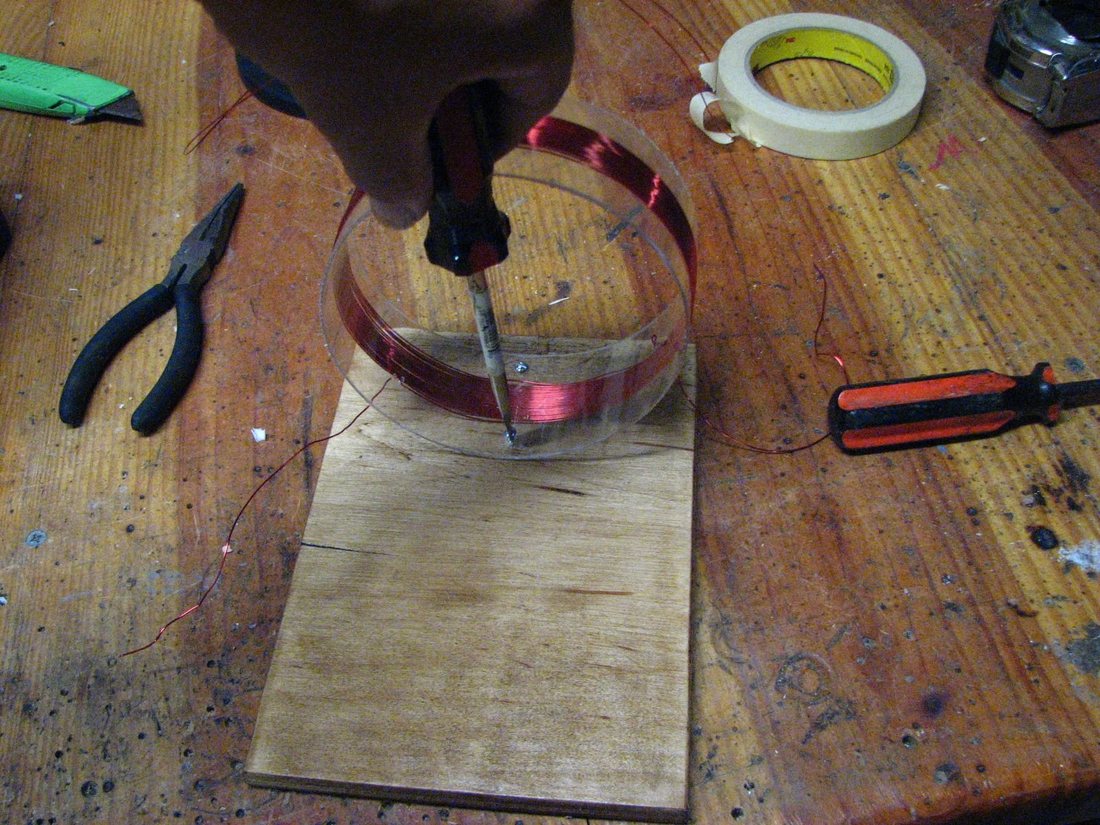
Screw the ring to the wood base with its wire ends near where the terminal bolts will go.
Add terminals
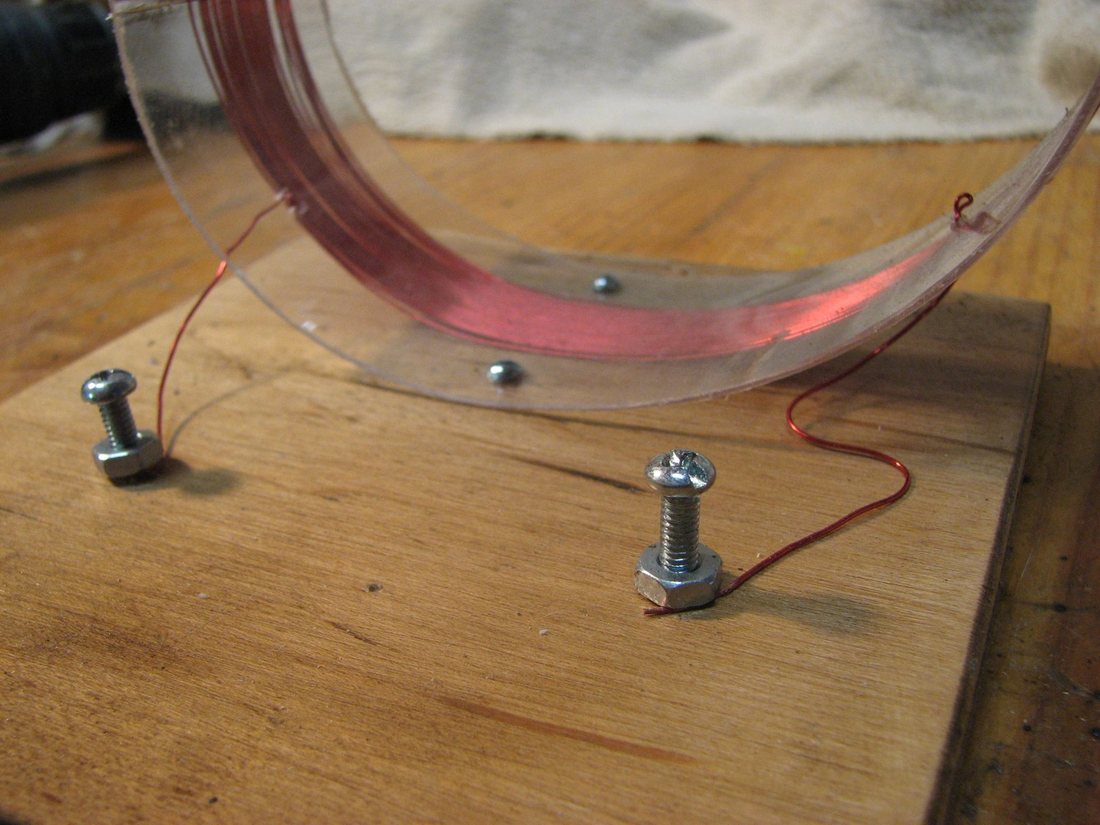
Drill holes for two bolts and screw them into the base. Sand the enamel off the ends of the coil wires, since the coating is an insulator, and wrap each end around a bolt.
Hang the magnet
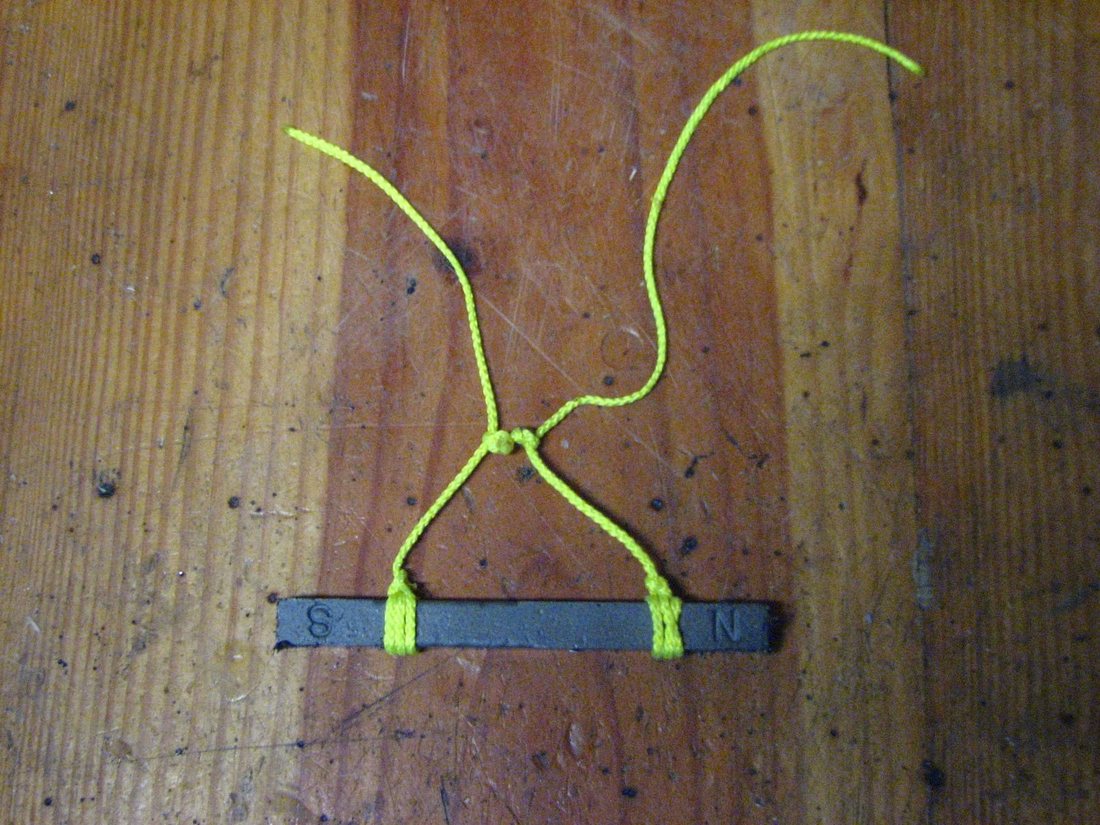
Tie the string around the bar magnet in a cradle so it hangs level. Push the coil wires aside at the top center of the ring and thread the string through the hole there so the magnet hangs in the middle of the coil.
Wire the battery
Solder alligator clips to the battery holder's leads and screw the holder to the base. Clip one lead to a terminal bolt and leave the other free until you are ready to demonstrate.
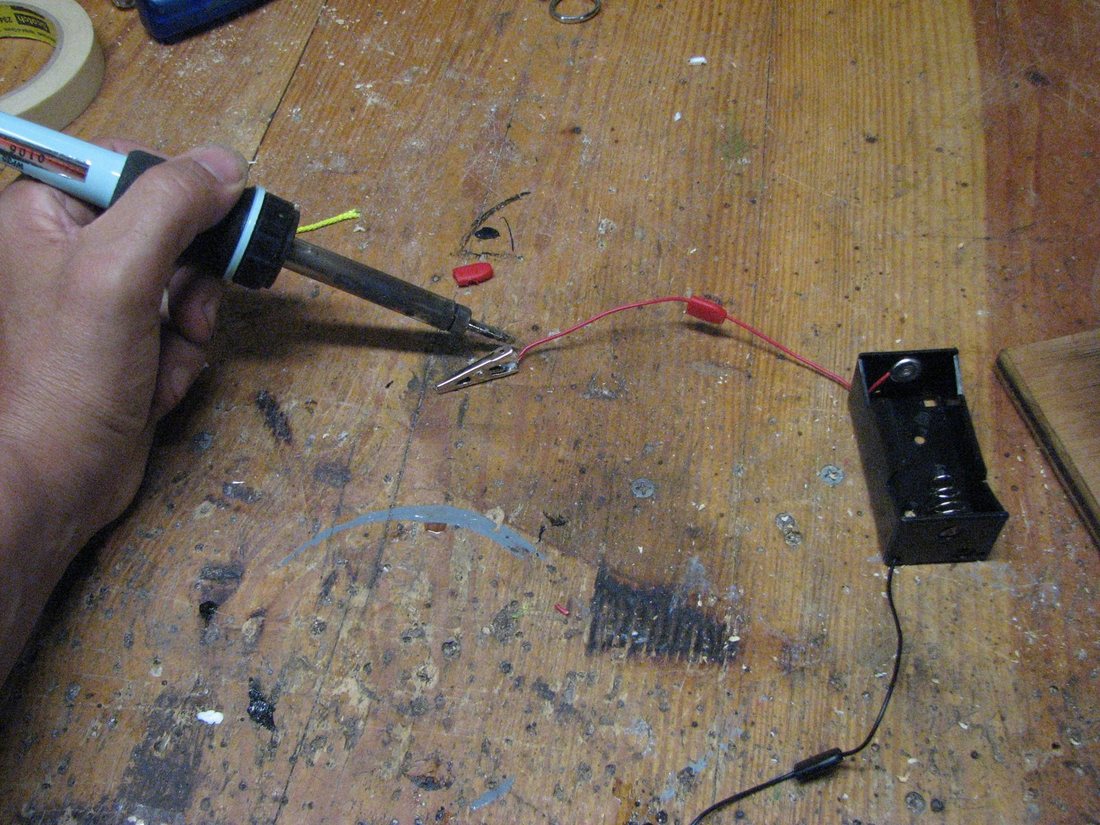
Test it
With no current, the magnet can be turned freely. Clip on the second lead and the magnet swings to sit across the ring. Lift and turn the string to adjust its resting position.
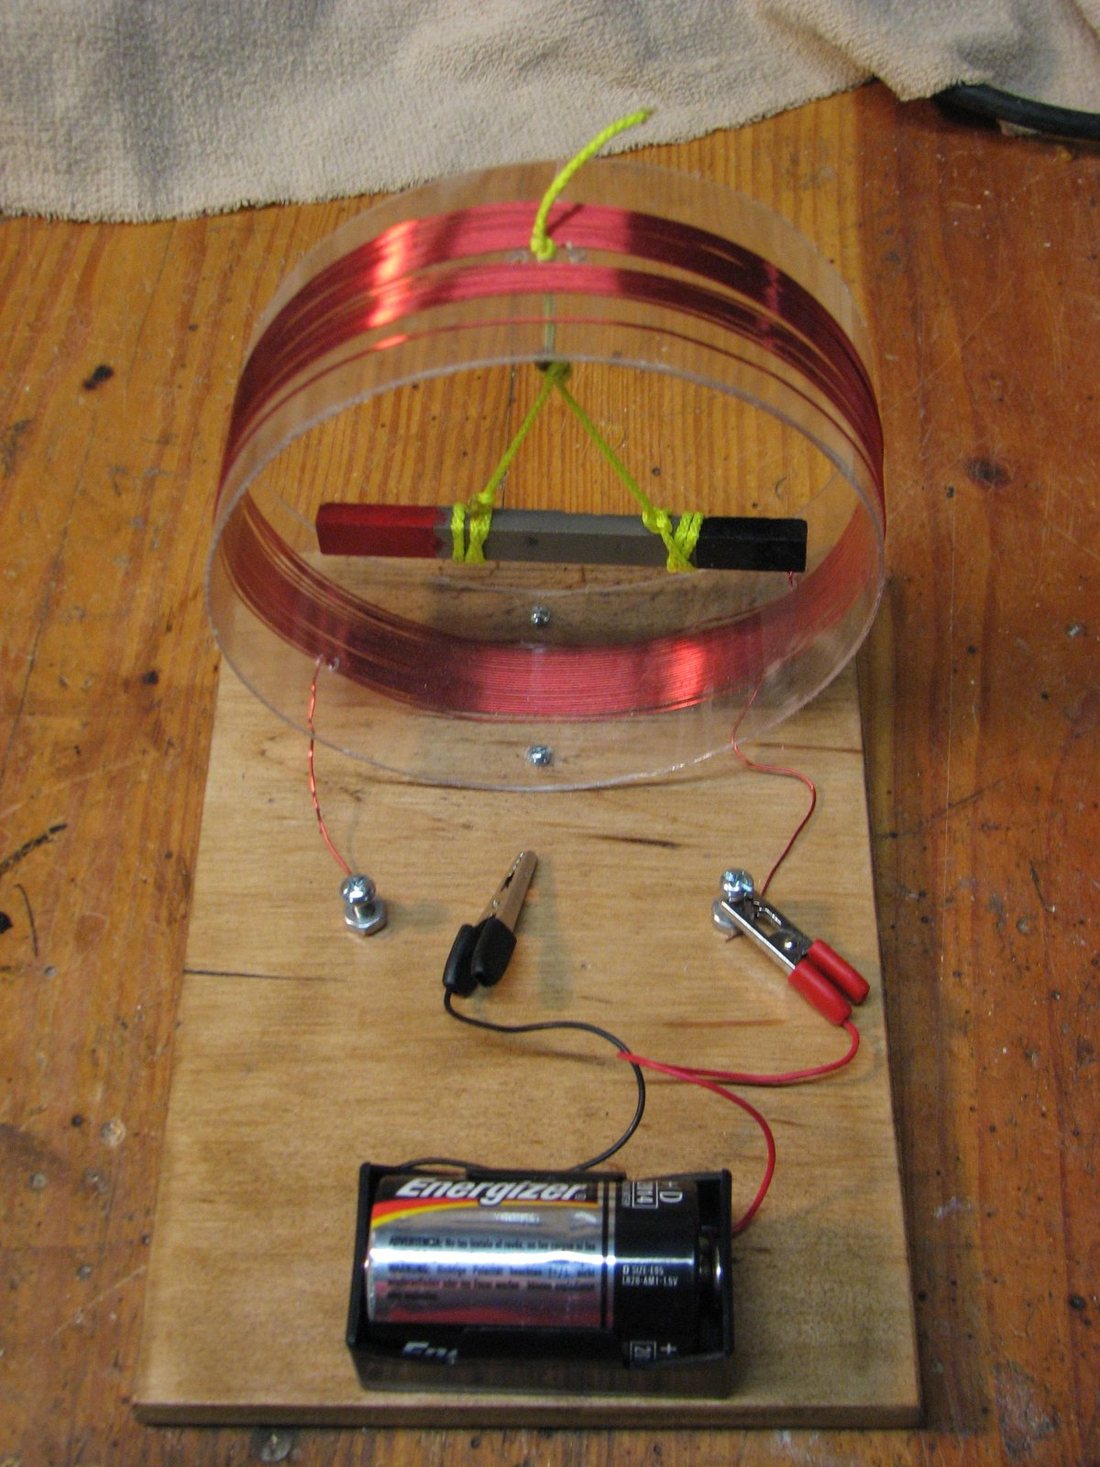
How it works
A current flowing around a loop of wire produces a magnetic field that runs straight through the center of the loop, at right angles to the plane of the coil. Twenty turns multiply that field twenty times. The coil behaves like a short, fat bar magnet with a north face on one side and a south face on the other.
The hanging magnet lines up with the field, so it turns until it points through the coil, perpendicular to the ring. Its south pole points toward the coil's north face and its north pole toward the south face.
Reverse the battery and the current runs the other way around the loop, so the coil's north and south faces swap. The bar magnet turns 180 degrees to match.
In a true tangent galvanometer, the coil is aligned north-south and the magnet is a small compass needle. The needle's deflection angle then depends on the balance between the coil's field and Earth's field: the tangent of the angle is proportional to the current, which gives the instrument its name. Bruce's demonstration uses a strong current so the coil's field dominates.
Using it
- Show the magnet turning freely with no current, then connect the battery. Ask: what made the magnet move?
- Before reversing the battery, ask students to predict what the magnet will do.
- Use a compass held near each face of the coil to find its north and south faces, and compare them with the bar magnet's marked poles.
- Turn the whole base so the coil faces north-south, swap the bar magnet for a compass, and use a weaker current (more resistance or fewer turns) to see the deflection angle change with current.
- Connect two batteries in series and compare how firmly the magnet snaps into position.
Variations
- Replace the bar magnet with a compass sitting at the center of the coil for a version closer to the historical instrument.
- Try different numbers of turns and compare how strongly the magnet responds.
Troubleshooting
More build plans
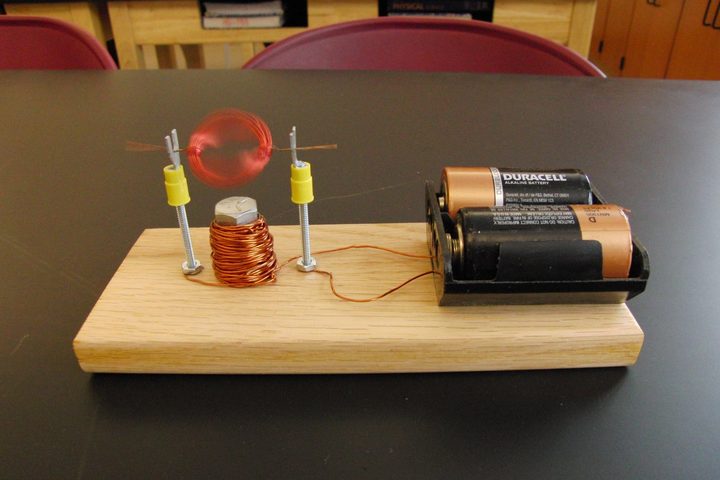
No-Magnet Motor (Double-Coil Motor)
Students who have built the classic coil-and-magnet motor are always surprised that it still spins when the magnet is swapped for a coil of wire around a bolt.
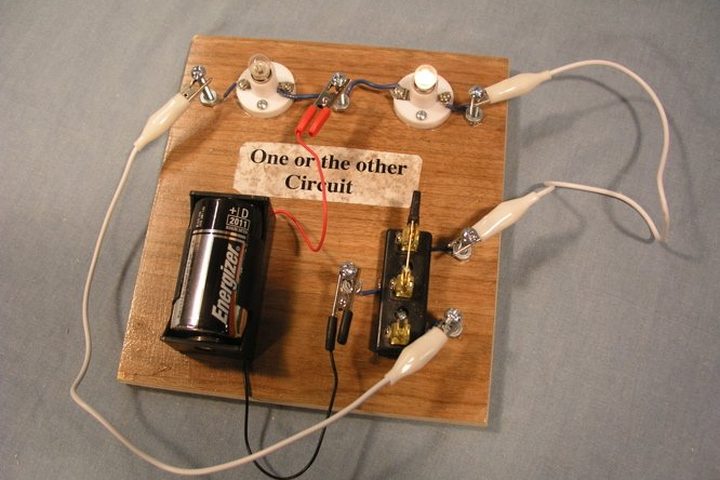
Circuit Demonstration Boards
Seven small wooden boards turn abstract circuit diagrams into bulbs that students can light, dim and puzzle over with their own hands.
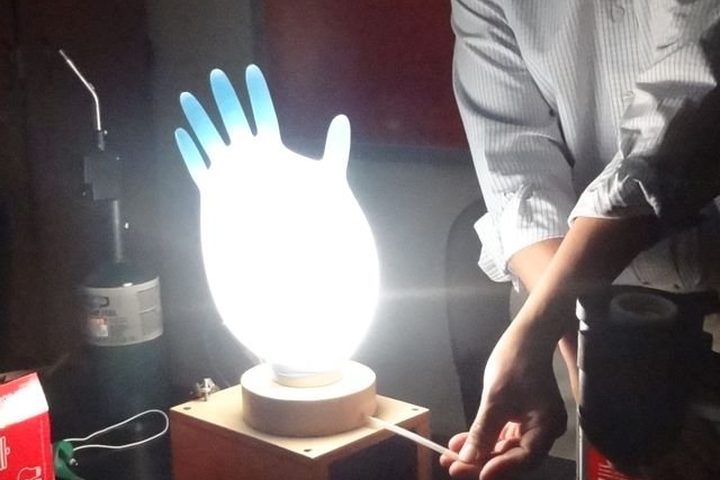
Glove Light Bulb
Who says a light bulb has to be made of glass? This one glows inside a rubber glove.
© Bruce Yeany · Homemade Science with Bruce Yeany · youtube.com/@YeanyScience
Free for personal and classroom use. Please don't resell or republish. Build and use at your own risk; follow the safety notes and supervise children.