Build plans / No-Magnet Motor (Double-Coil Motor)
No-Magnet Motor (Double-Coil Motor)
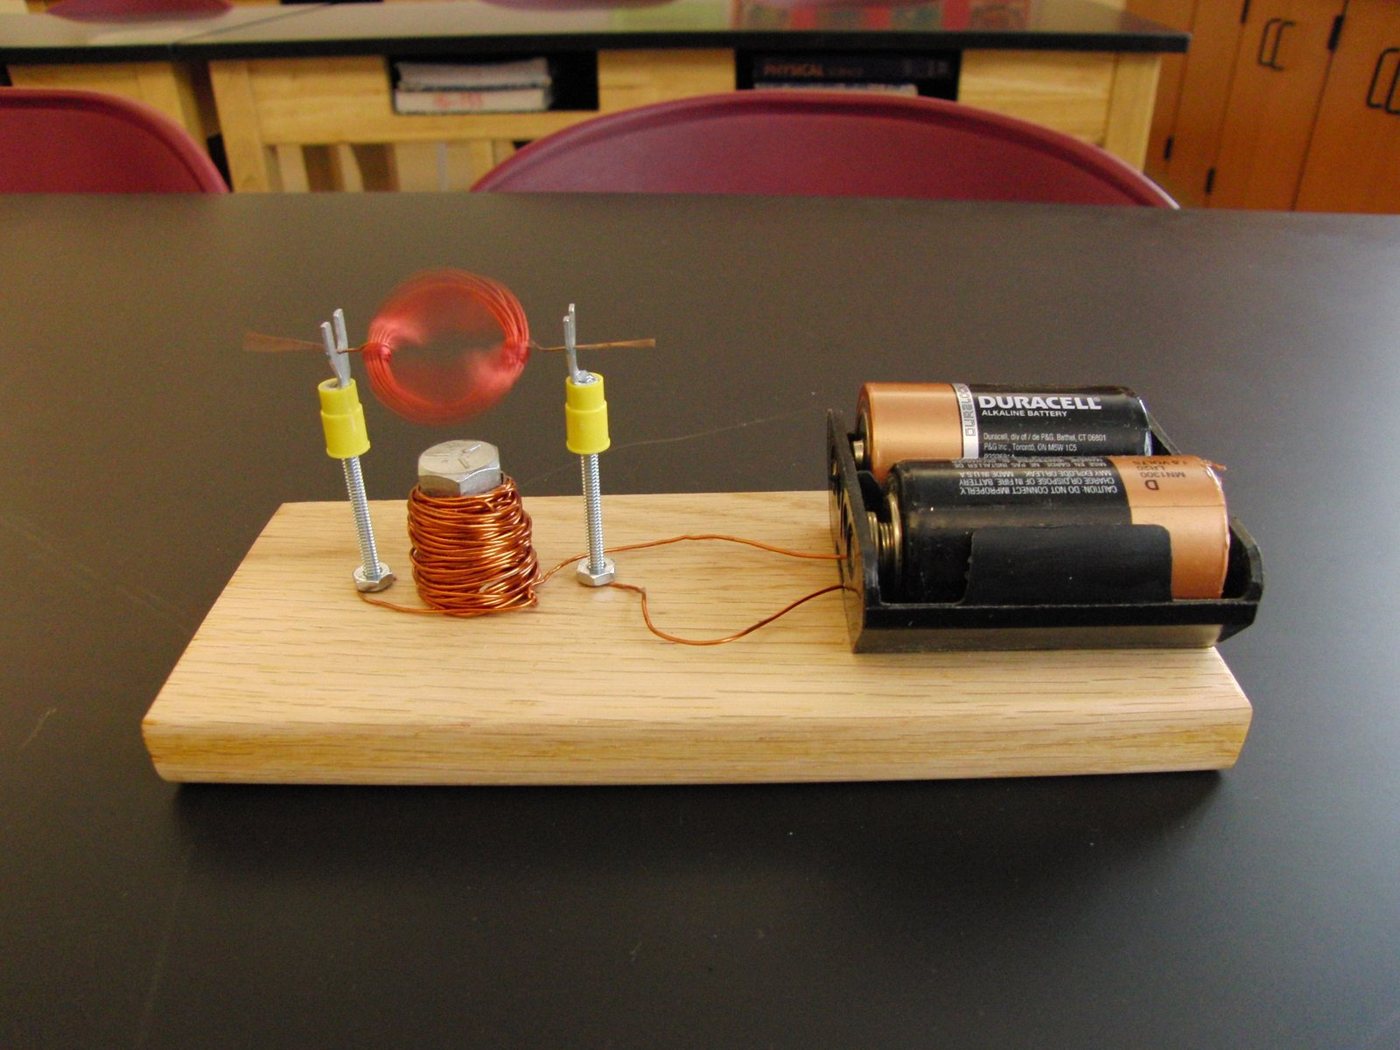
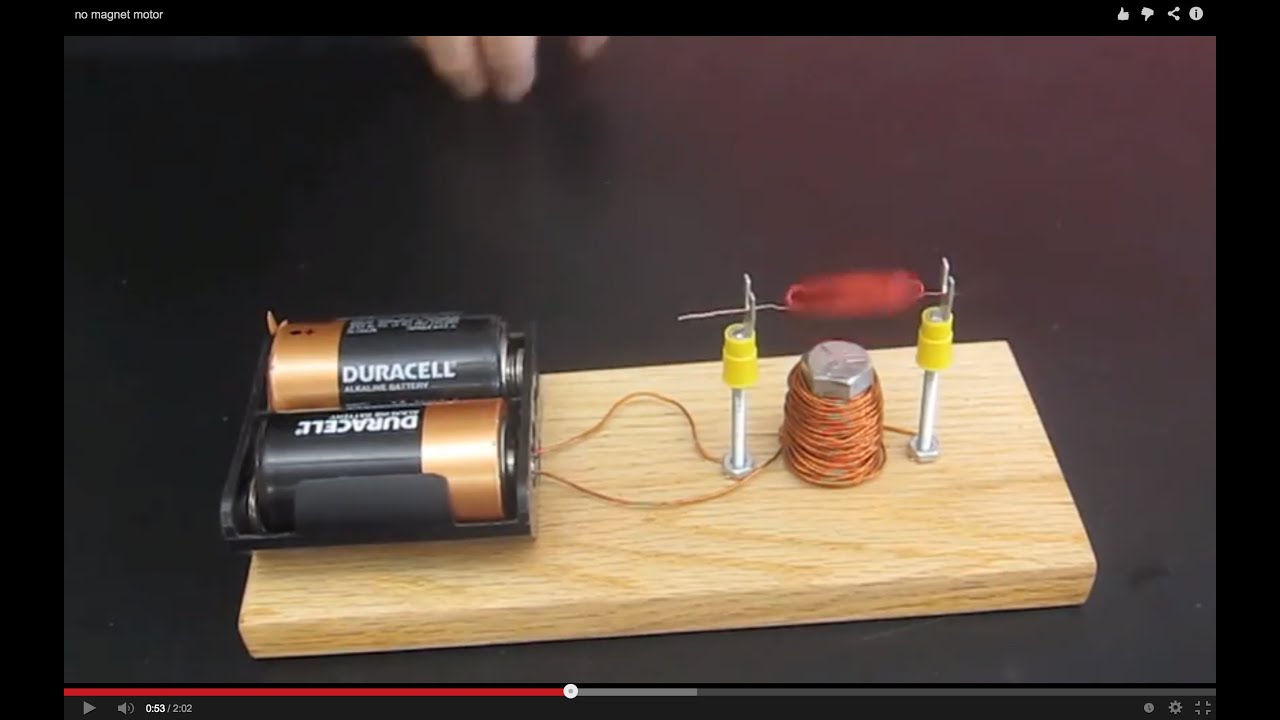
This plan covers two motors. The first is the familiar simple motor: a hand-wound wire coil spinning on two supports above a magnet. The second takes the magnet away and puts an electromagnet in its place, a coil wound around a bolt and wired in series with the spinning coil. Building both lets students compare permanent magnets and electromagnets directly.
Written from Bruce's original workshop handout. Bruce's final review of this plan is in progress.
What it shows
Students who have built the classic coil-and-magnet motor are always surprised that it still spins when the magnet is swapped for a coil of wire around a bolt.
Key ideas: electromagnets, electric motors, magnetic attraction and repulsion, series circuits, commutation
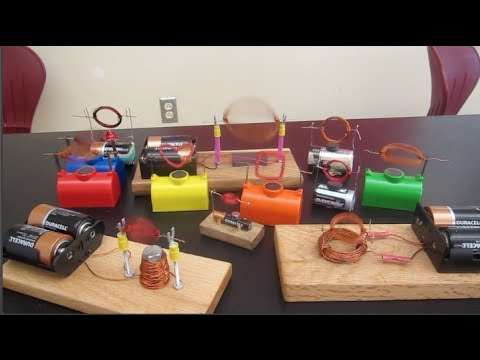
A version of this device appears in If You Build It, They Will Learn (NSTA Press).
About the bookBuild it
Wind the spinning coil
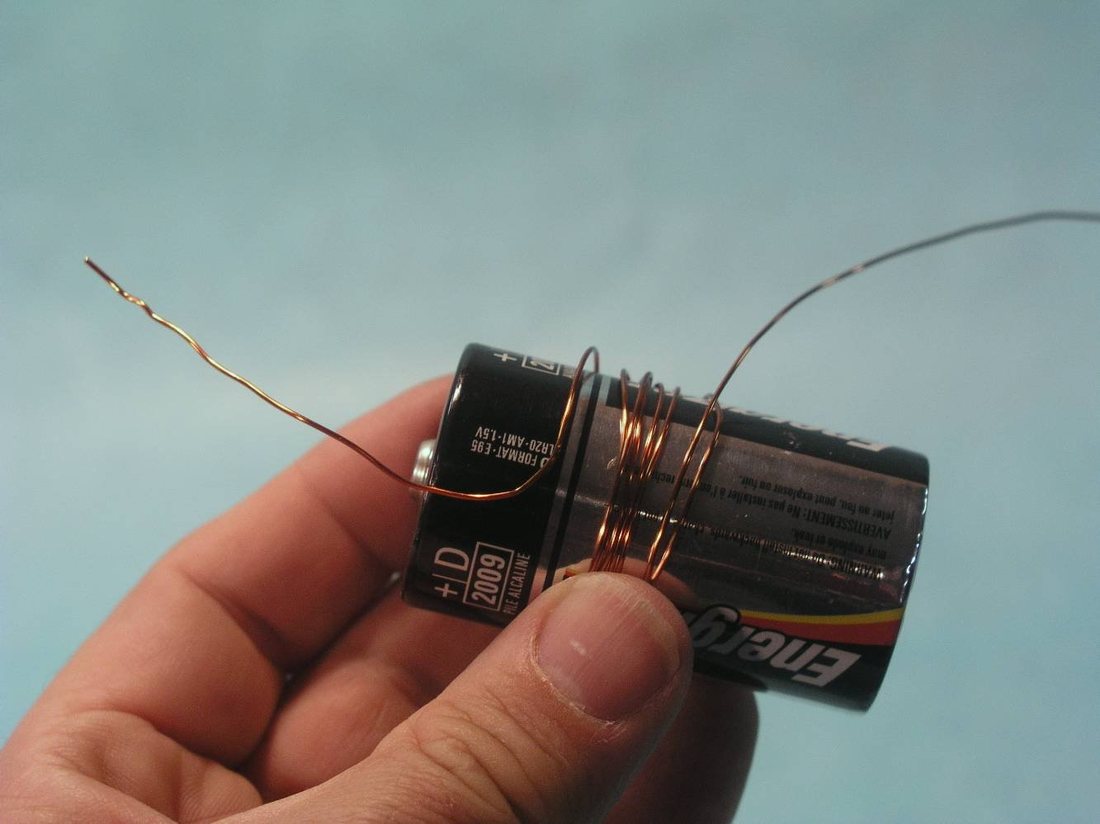
Straighten the wire. Bend the first 2 in to a right angle, hold that bent end against the side of a C cell with your thumb, and wrap the rest of the wire around the cell.
Tie off the coil
Slide the coil off the cell, pinching it together. Wrap the loose end two or three times around the coil to bind it, then wrap the starting end around the opposite side the same way, so the two ends stick straight out on opposite sides.
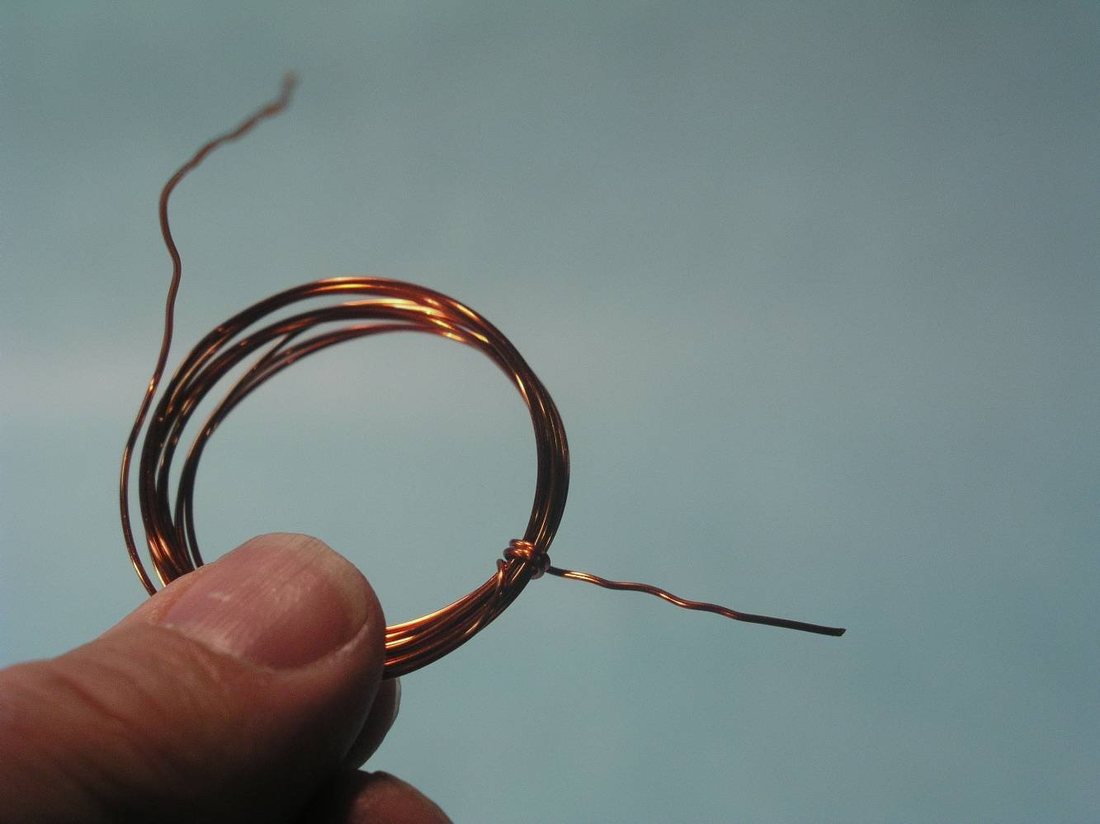
Straighten the axles
Check that the two ends line up directly across from each other. Trim them, or add an extra wrap, if they stick out more than about an inch, and straighten them carefully. Kinks make the coil wobble.
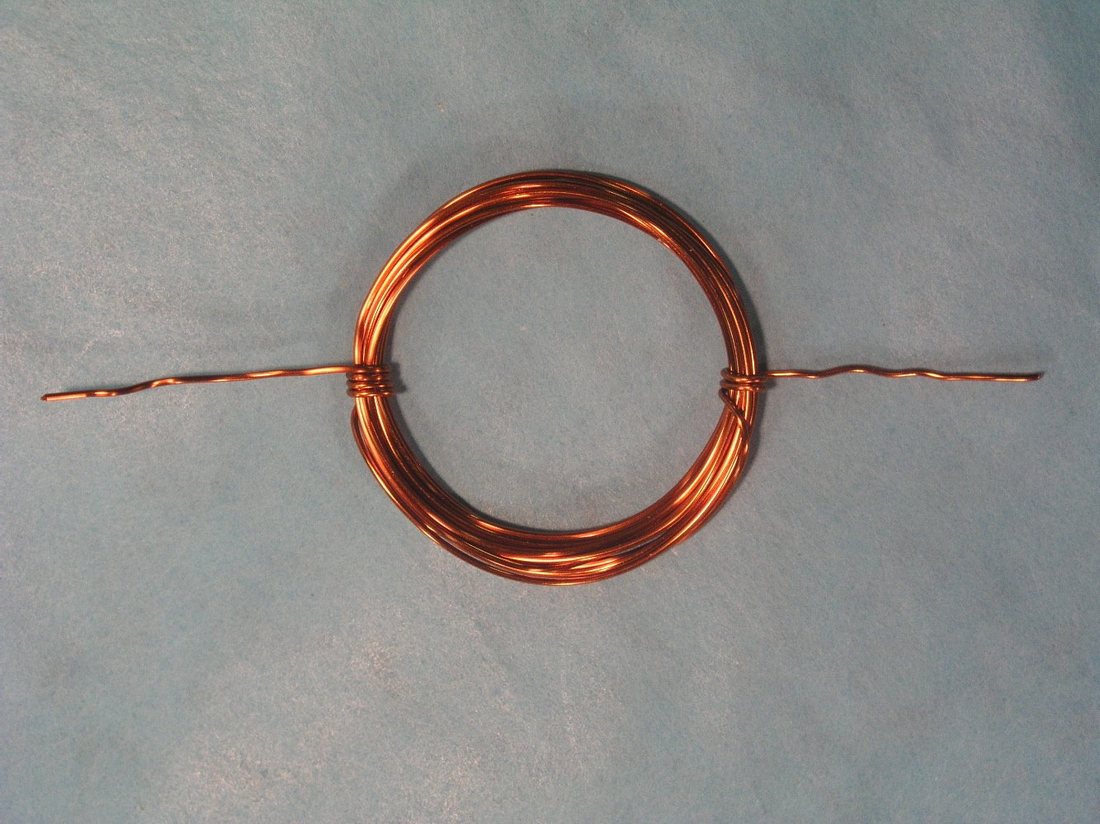
Scrape one axle completely
Lay one end flat on a hard surface and scrape all the enamel off its full length with the edge of the scissors, turning the coil as you go.
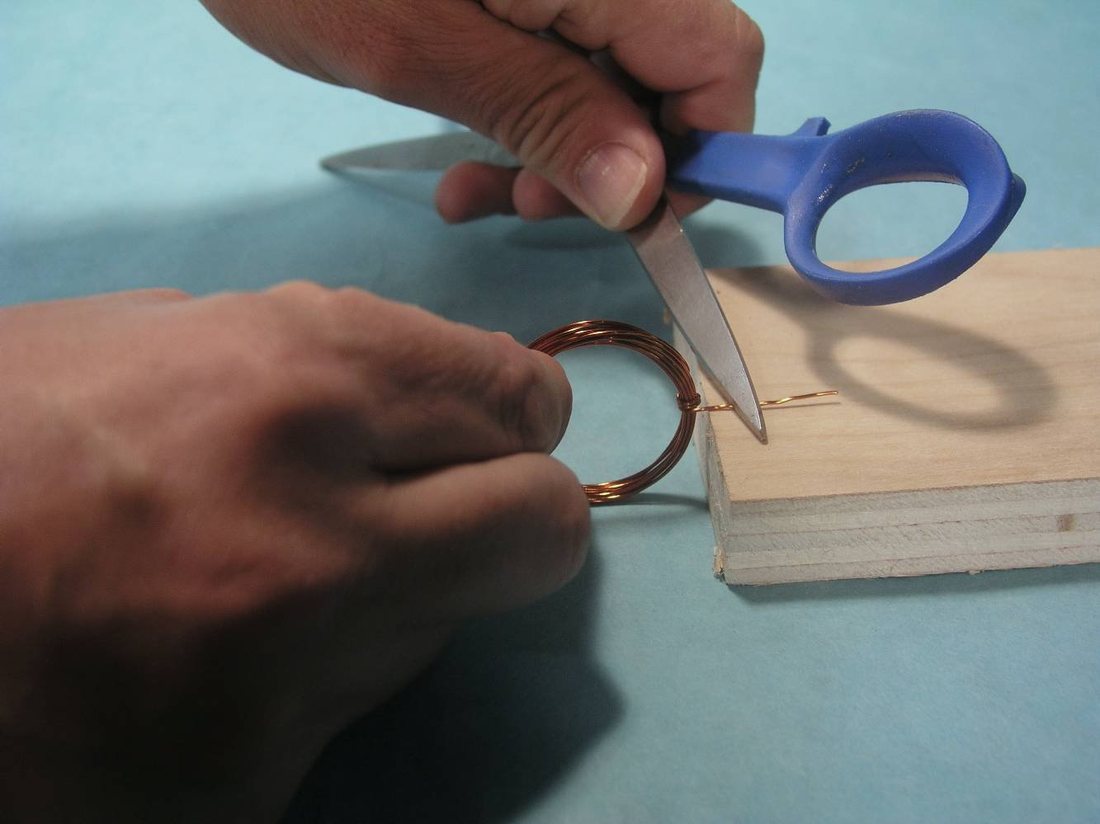
Scrape the other axle on one side only
Hold the coil upright and lay the other end on the hard surface. Scrape only the top half of this wire along its full length, leaving the bottom half coated. This half-scraped end is what makes the motor work.
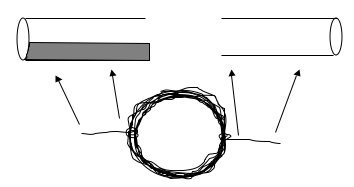
Make the bottom coil
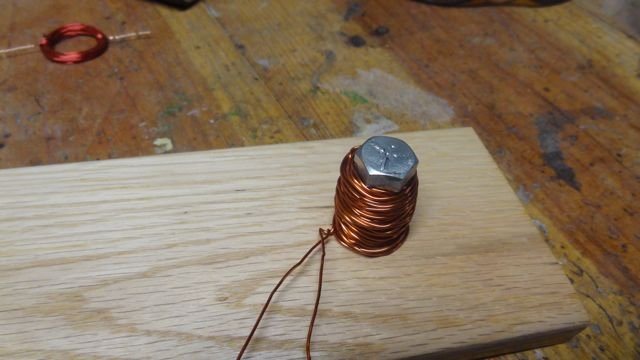
Drill a hole in the base and screw the 2 in bolt into it. Wind the 8 ft of wire around the bolt, leaving about 5 in free at each end, and scrape the enamel off both ends.
Mount the supports
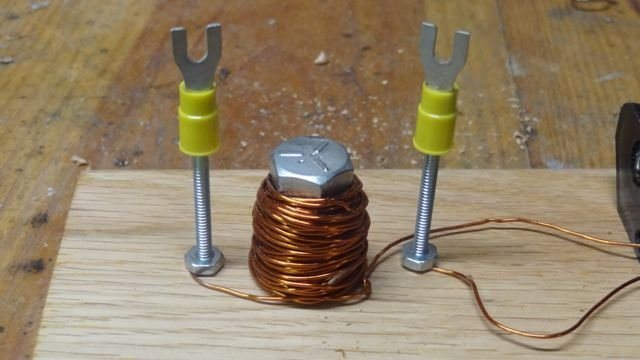
Drill two holes on either side of the bolt and screw in the two long bolts. Fasten a spade clip to the top of each one with its fork facing up to cradle the coil. Mount the battery holder on the base.
Wire the coils in series
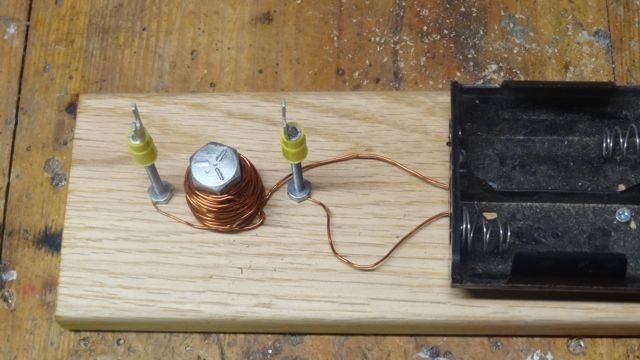
Connect one battery lead to one support. Connect the other battery lead to one end of the bottom coil. Connect the other end of the bottom coil to the second support. Current now flows through both coils in turn.
Set the coil and start it
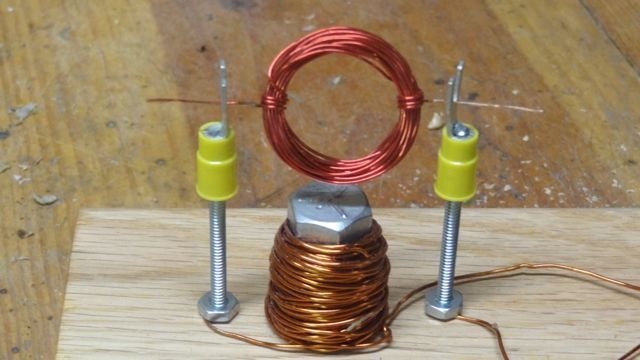
Rest the spinning coil's axles in the spade forks and adjust the supports so the coil sits level, close above the bolt without touching it. Give it a gentle spin to start it.
Try the classic version too
For the simple motor, set a ceramic magnet on the base under the coil and connect the battery straight to the two supports. Students should build and understand this version first.
How it works
When current flows through the spinning coil, it becomes an electromagnet with a north and a south face. The magnet below (or the bolt electromagnet) attracts one face and repels the other, giving the coil a push.
If the current stayed on all the time, the coil would just swing until its faces lined up with the magnet and stop. The half-scraped axle prevents that. For half of each turn the bare metal touches the support and the coil is pushed; for the other half the enamel insulates it, the current switches off, and the coil coasts around on its momentum until the bare side touches again. Real motors do the same job with a commutator.
In the double-coil motor, the bottom coil wound around a steel bolt is an electromagnet. Because the two coils are in series, the bottom coil is magnetized only during the same half-turn the top coil is, which is exactly when the push is needed.
Using it
- Build the simple motor first as a class activity. Bruce has used printed step handouts, a large step-by-step poster, a guided build where everyone does each step together, or simply a finished model and a pile of materials.
- Hold a contest to see whose motor runs longest. Coils tend to jump off their supports, so have students brainstorm and test ways to keep them seated.
- After the simple motor, ask: could the permanent magnet be replaced with another coil? Let students try their own designs before showing the double-coil motor; many will power the bottom coil from its own battery.
- Discussion questions: How are the two motors alike and different? Trace the path of the current through the double-coil motor from start to finish. What are the advantages and disadvantages of this design? Which motor needs more electricity to run?
Variations
- Students' own designs that use a separate battery to keep the bottom coil energized all the time.
- Try a bottom coil with more turns, or without the steel bolt, and compare how well the motor runs.
Troubleshooting
More build plans
Tangent Galvanometer
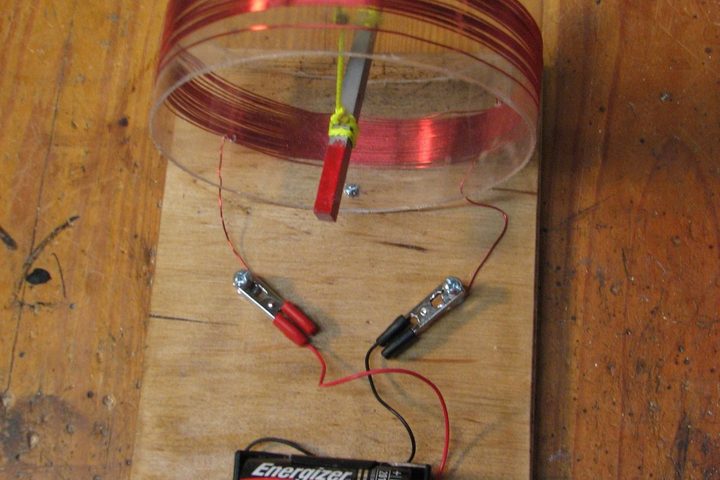
Clip on one wire and a hanging bar magnet swings to face across a ring of copper wire; reverse the battery and it spins all the way around.
Circuit Demonstration Boards
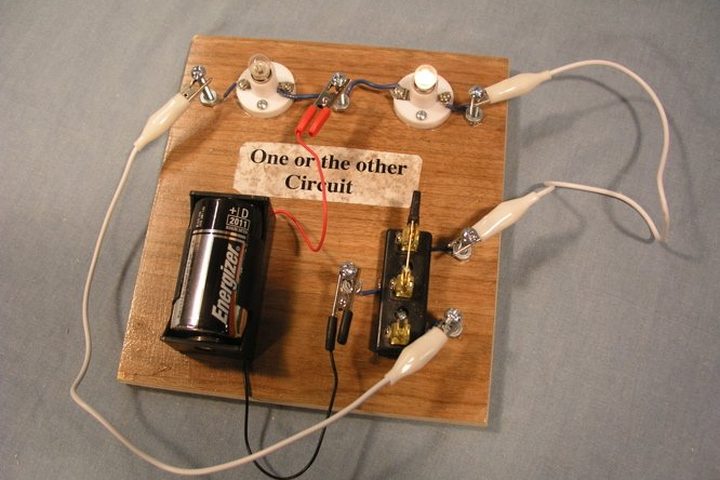
Seven small wooden boards turn abstract circuit diagrams into bulbs that students can light, dim and puzzle over with their own hands.
Glove Light Bulb
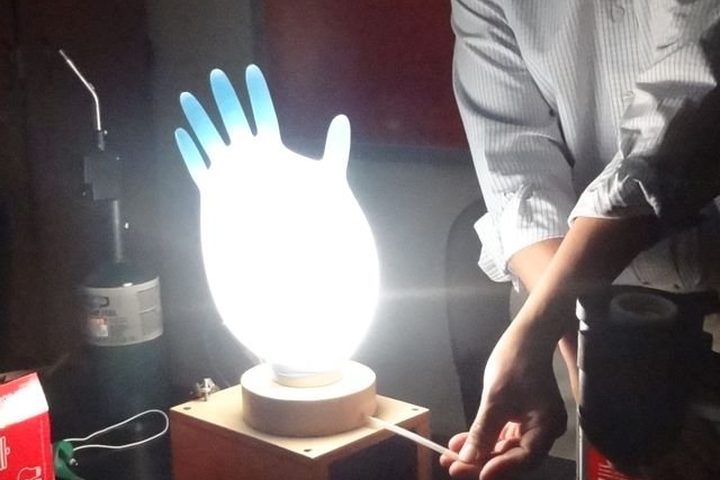
Who says a light bulb has to be made of glass? This one glows inside a rubber glove.
© Bruce Yeany · Homemade Science with Bruce Yeany · youtube.com/@YeanyScience
Free for personal and classroom use. Please don't resell or republish. Build and use at your own risk; follow the safety notes and supervise children.