Build plans / Glove Light Bulb
Glove Light Bulb
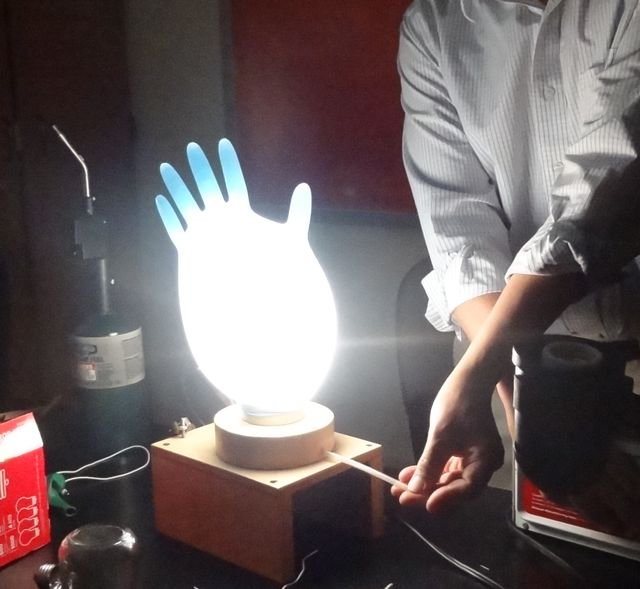
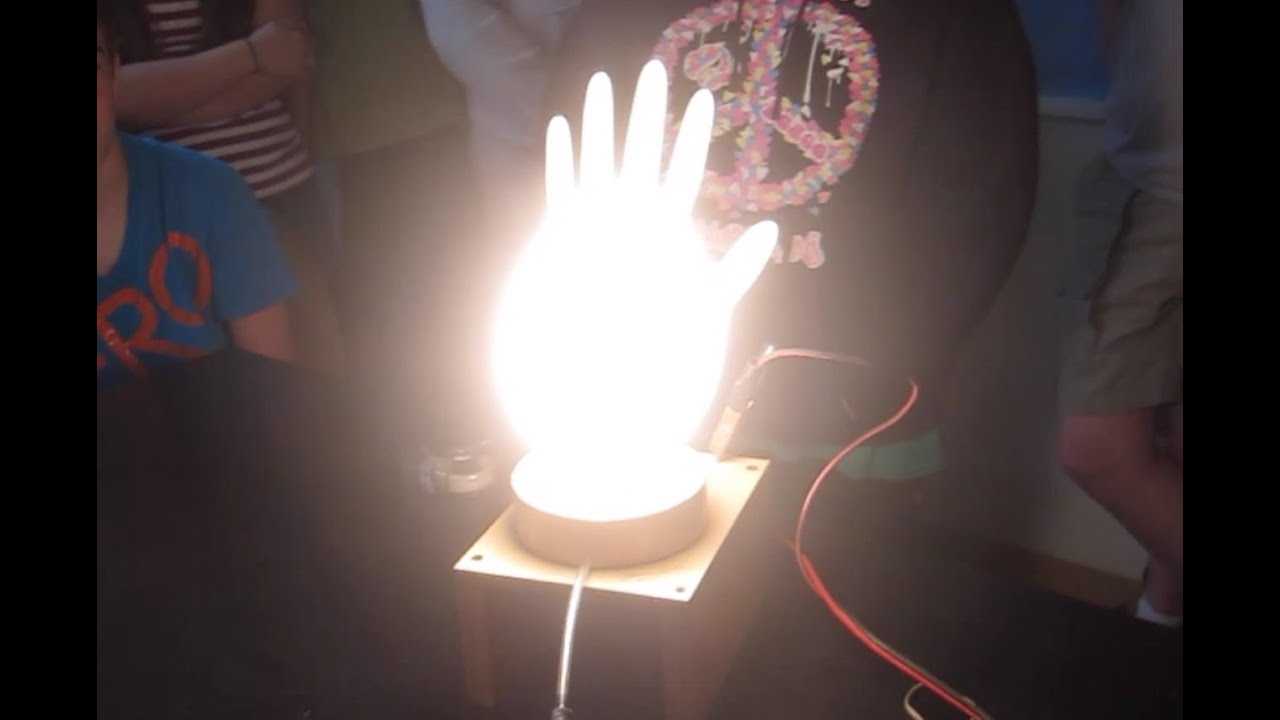
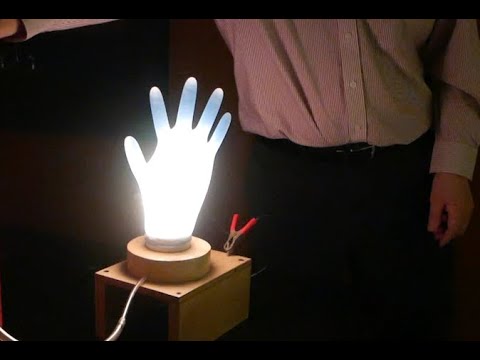
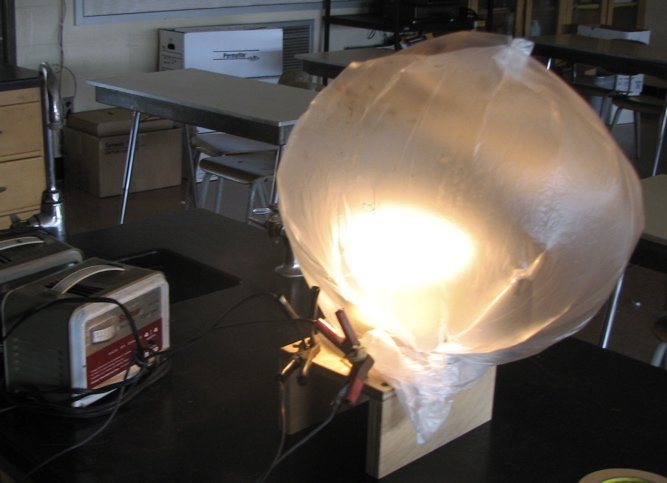
A pencil-lead filament glows white-hot inside a latex glove (or a plastic bag) filled with helium, powered by 12 volts. The wooden base holds the filament well away from the glove and lets you empty out the air and fill the glove with a gas that will not let the filament burn. It is a memorable way to show why real bulbs need their oxygen removed.
Written from Bruce's original workshop handout. Bruce's final review of this plan is in progress.
What it shows
Who says a light bulb has to be made of glass? This one glows inside a rubber glove.
Key ideas: electrical resistance, incandescence, combustion needs oxygen, inert gases, history of the light bulb
Build it
Cut the disk
Draw a 5 in circle on a piece of 2 x 6 framing lumber, cut it out and sand the edge smooth. The glove or bag will be gathered around this disk.
Drill the gas channel
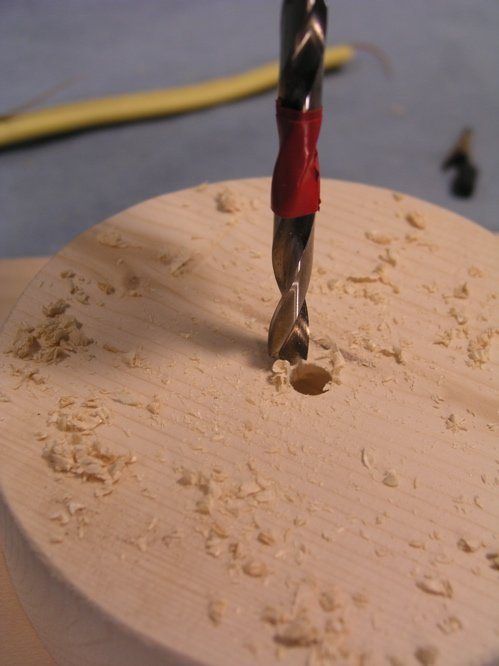
Drill a 3/8 in hole into the center of the disk, only halfway through. Then drill a 1/4 in hole in from the side of the disk to meet it. This channel lets you empty and fill the glove.
Build the frame
Screw the disk to the top board from underneath with three or four wood screws, then add sides about 4 in high to make a raised frame you can reach under.
Run the wires up through the base
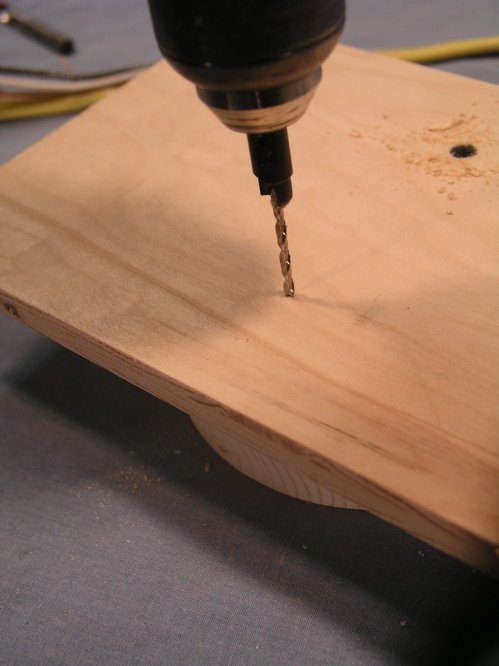
Drill two holes through the top board and the disk, sized so the house wire fits snugly. Push the two wires up through them so they stand 4-6 in above the disk, enough to hold the filament well away from the glove. Strip about 1/2 in from the top ends.
Add the power terminals
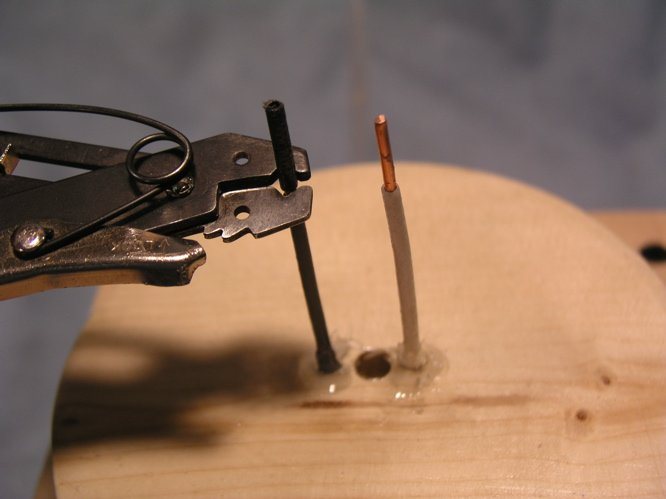
Drill two 1/8 in pilot holes up through the frame. Screw the two bolts most of the way in, wrap the stripped bottom ends of the wires around them, and drive the bolts home to clamp the wires.
Seal the wire holes
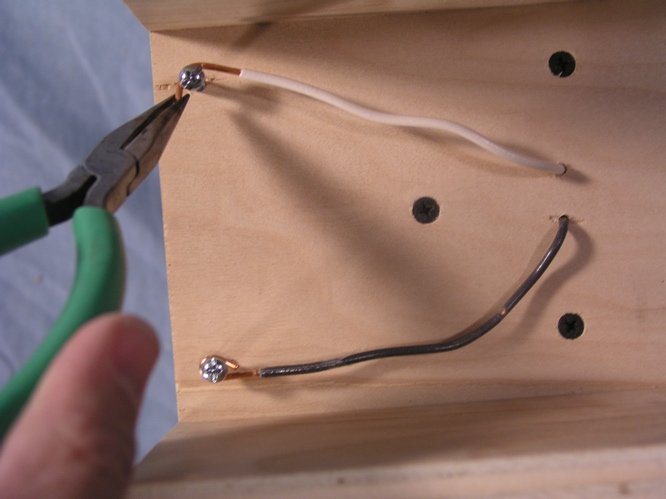
Run glue around the wires where they come out of the disk so the holes are airtight.
Add the gas port
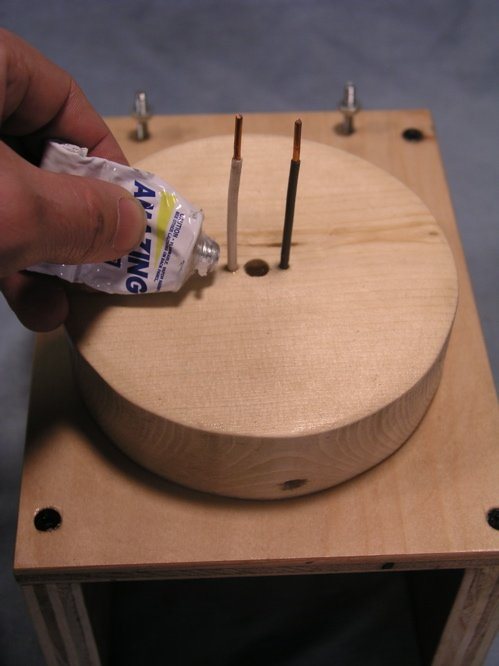
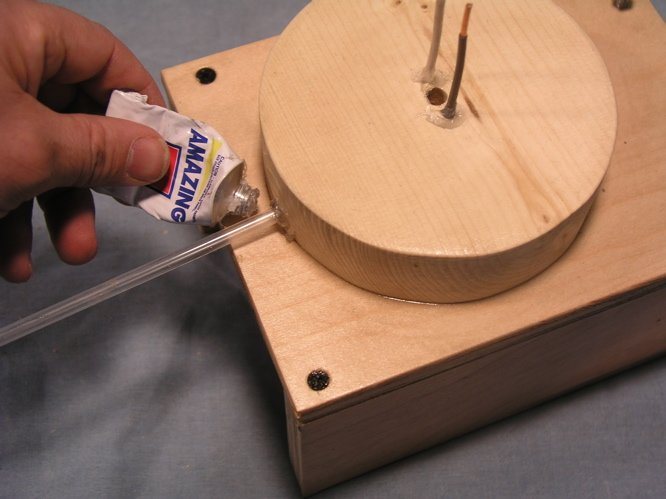
Smear glue on one end of the short piece of hose, push it into the side hole of the disk, and add more glue around the joint for an airtight seal.
Mount the filament
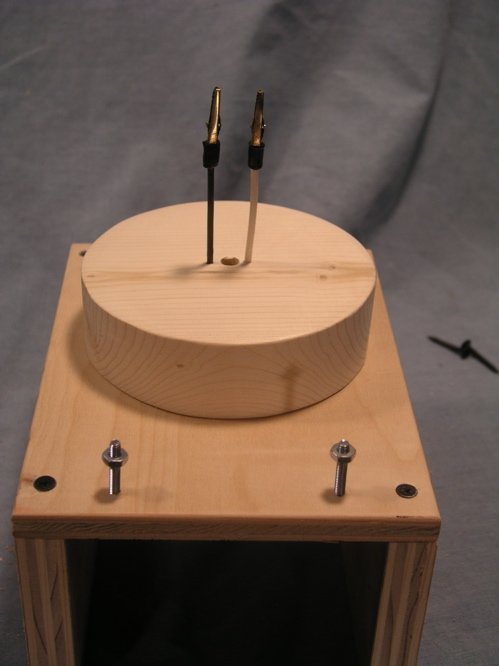
Slide an alligator clip snugly over the bare top end of each wire. Clip a piece of pencil lead between them.
Add a smaller ring for gloves
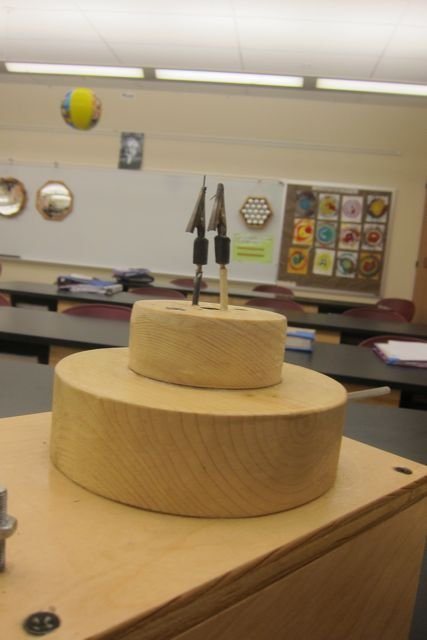
Gloves stretched over the 5 in disk tend to tear. Cut a smaller disk and fix it on top of the first so a glove fits without being stretched too tight; carry the wires and the gas channel up through it.
Fit the glove and empty it
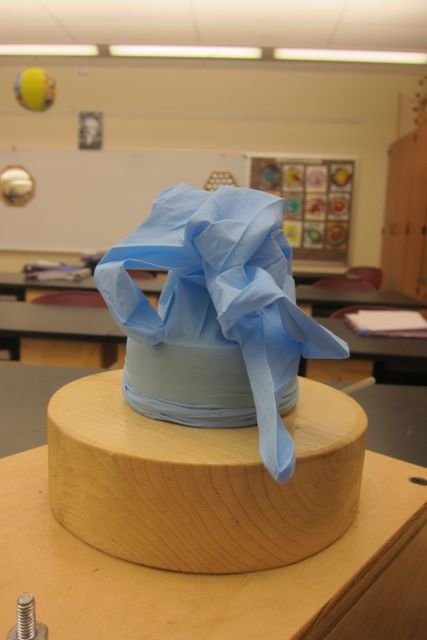
Pull the glove over the ring and hold it with a rubber band or two. Attach a longer hose to the gas port and draw out the air, by gently squeezing the glove flat or by suction, until it is fully deflated.
Fill with helium and light it
Fill the glove through the hose with helium, then clamp or fold the hose. Connect the 12 V supply to the two bolts and switch on: the pencil lead glows brightly inside the glove. Switch off after a short demonstration.
How it works
Pencil lead is mostly graphite, which conducts electricity but with much more resistance than copper. With 12 volts across a short piece, enough current flows to heat it until it glows. Anything hot enough gives off visible light; this is called incandescence.
In ordinary air, a glowing graphite filament reacts with oxygen and burns through in moments. Remove the air and surround the filament with a gas that will not react with it, and it can glow much longer. This was the central problem early inventors had to solve: their bulbs used a vacuum, and later bulbs were filled with inert gases such as argon.
The wooden base keeps the hot filament several inches from the glove, and the gas around it carries some heat away, so the thin latex does not melt during a short demonstration.
Using it
- First light a piece of pencil lead in open air so students see it flare and burn out. Then light one in the helium-filled glove and compare how long it lasts.
- Ask: why did Edison and others need to remove the air from their bulbs?
- Compare a glove with a plastic bag. The bag is easier to fill because it does not have to stretch, and it holds its gas better if the seal is not perfect.
- Try different leads (0.5 mm vs 0.7 mm, or HB vs 2B) and compare brightness and life.
- Connect it to the history of light bulbs: carbon filaments came before tungsten.
Variations
- Bruce has lit filaments inside many containers: soda and other bottles, a paper fast-food bag, balloons, a bread bag, even a doll's head. A balloon ring is possible but it is hard to fit the balloon without breaking the filament.
- A related build, the jelly-jar light bulb, is in Bruce's book.
Troubleshooting
More build plans
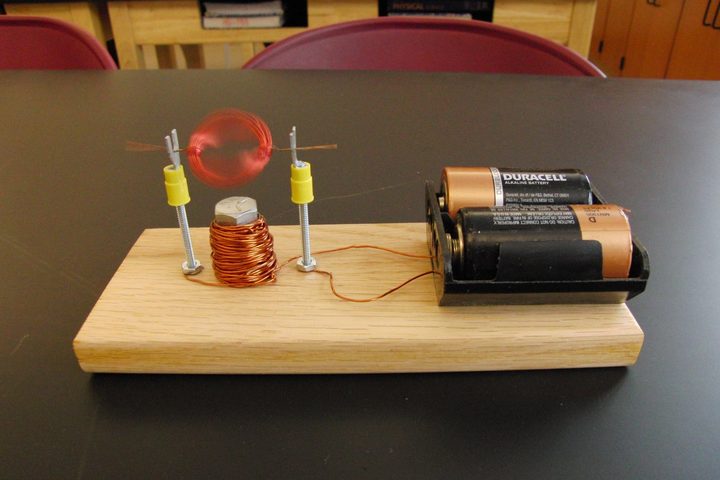
No-Magnet Motor (Double-Coil Motor)
Students who have built the classic coil-and-magnet motor are always surprised that it still spins when the magnet is swapped for a coil of wire around a bolt.
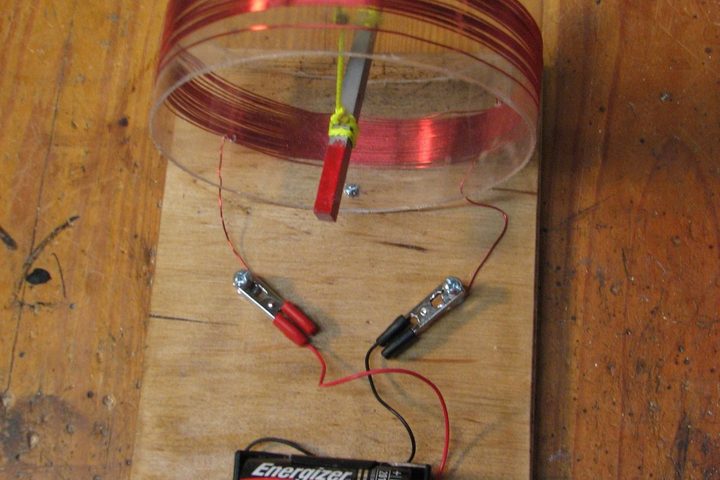
Tangent Galvanometer
Clip on one wire and a hanging bar magnet swings to face across a ring of copper wire; reverse the battery and it spins all the way around.
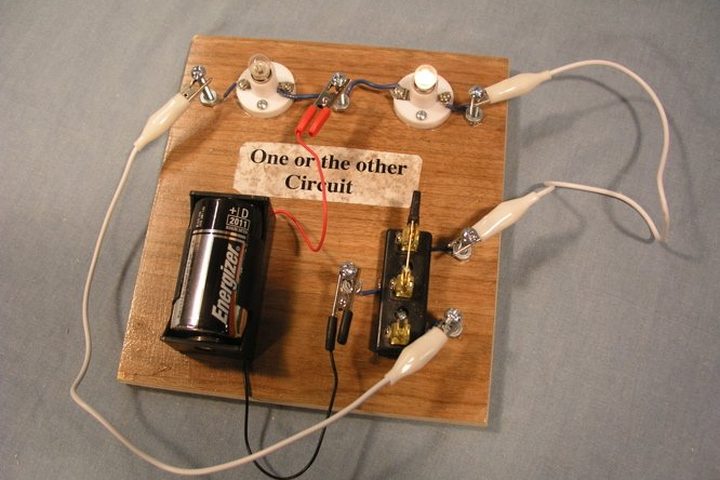
Circuit Demonstration Boards
Seven small wooden boards turn abstract circuit diagrams into bulbs that students can light, dim and puzzle over with their own hands.
© Bruce Yeany · Homemade Science with Bruce Yeany · youtube.com/@YeanyScience
Free for personal and classroom use. Please don't resell or republish. Build and use at your own risk; follow the safety notes and supervise children.