Build plans / Hand-Held Strobe Light
Hand-Held Strobe Light
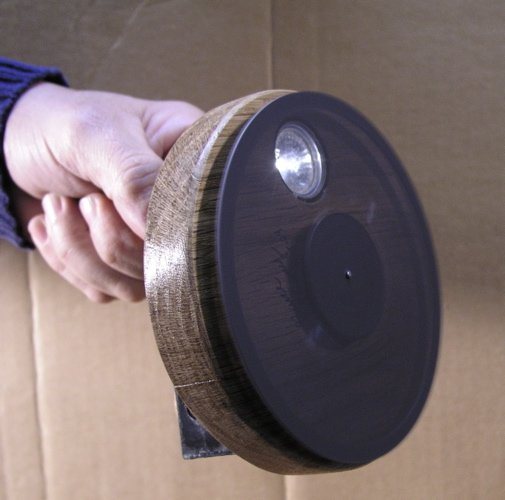
A toy motor spins a cardboard disk with a slot cut in it in front of a small flashlight, so the light comes out in quick, regular flashes. You set the flash rate simply by pressing your thumb lightly against the spinning disk. In a darkened room it makes fast, repeating motion appear to stand still or move in slow motion.
Written from Bruce's original workshop handout. Bruce's final review of this plan is in progress.
What it shows
A flashlight shining through a spinning slotted disk can freeze a dripping faucet, a vibrating string or a bouncing ball in mid-air.
Key ideas: stroboscopic effect, frequency, persistence of vision, periodic motion
Build it
Cut the wood disk
Cut a disk about 5 in across from a thick piece of wood. This is the body that holds the motor, flashlight and batteries.
Drill the motor hole
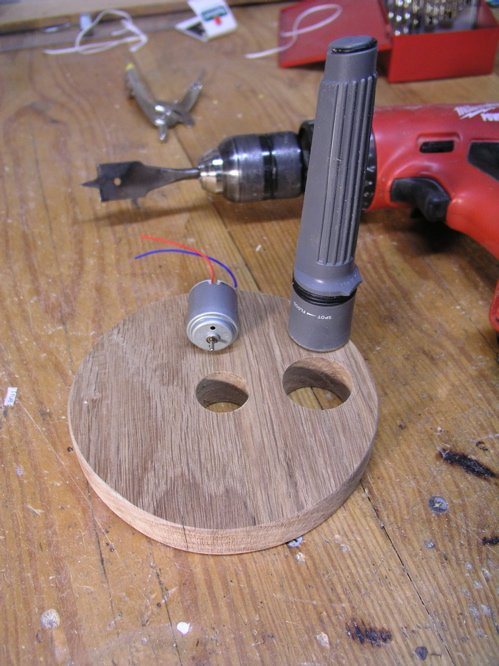
Drill a 15/16 in hole through the center for the motor; a 1 in bit works if you wrap a little tape around the motor so it fits snugly.
Drill the flashlight hole
Drill a second hole about 1/2 in in from the edge, sized so the front of the flashlight fits tightly. Wrap a few turns of tape around the flashlight if needed.
Install the motor
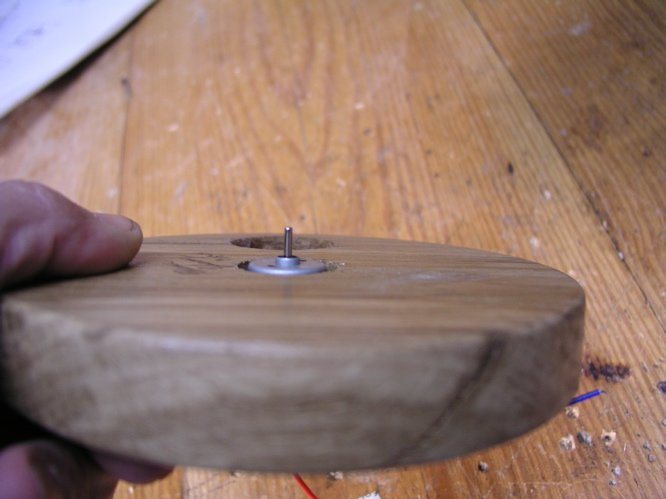
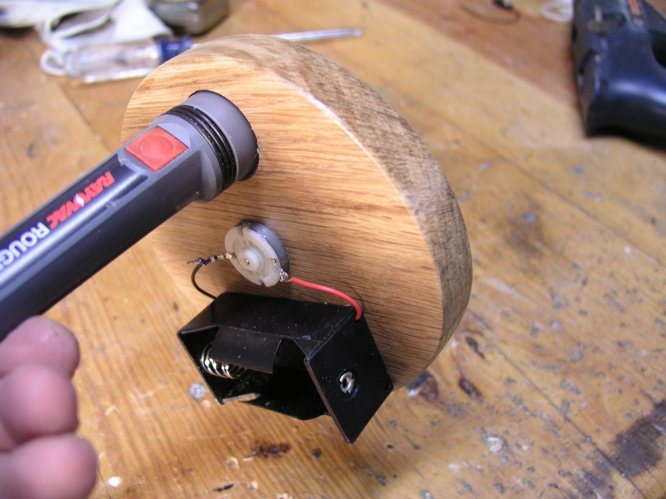
Push the motor into the center hole from the back so its shaft sticks out the front.
Add the batteries
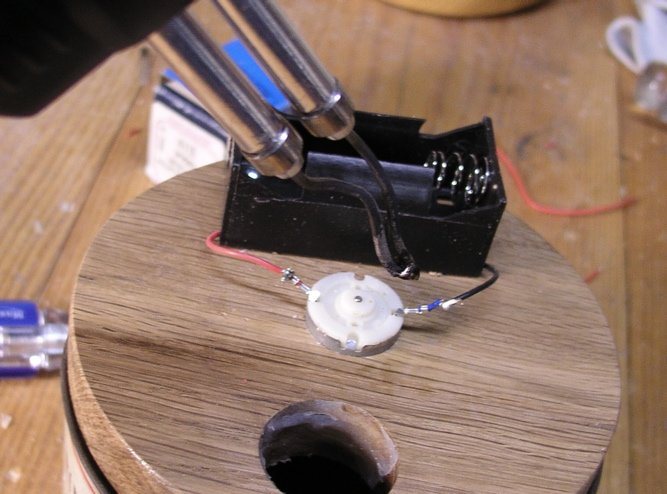
Screw a battery holder to the back of the wood disk. Join its wires to the motor leads by soldering, or by twisting them together and covering the joint with hot glue.
Mount the flashlight
Push the flashlight head into its hole from the back so it shines forward through the disk.
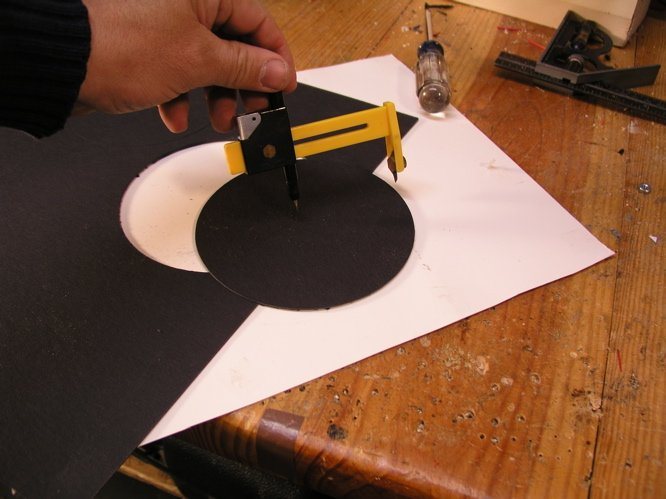
Cut a truly round spinning disk
Cut the cardboard disk as round as possible; Bruce uses a homemade circle cutter. An uneven edge makes the speed vary as your thumb presses on it, which spoils the strobe effect.
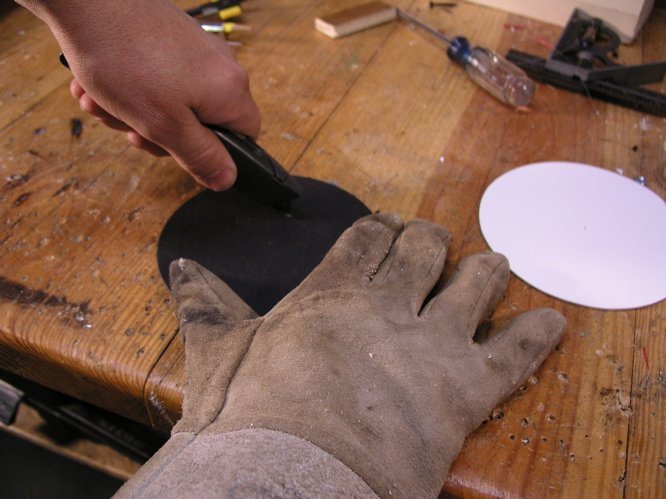
Cut the slot
Mark a slot 1 in wide where it will pass over the flashlight, using a scrap of wood or a ruler as a guide. Wearing a glove, cut it out carefully with a utility knife.
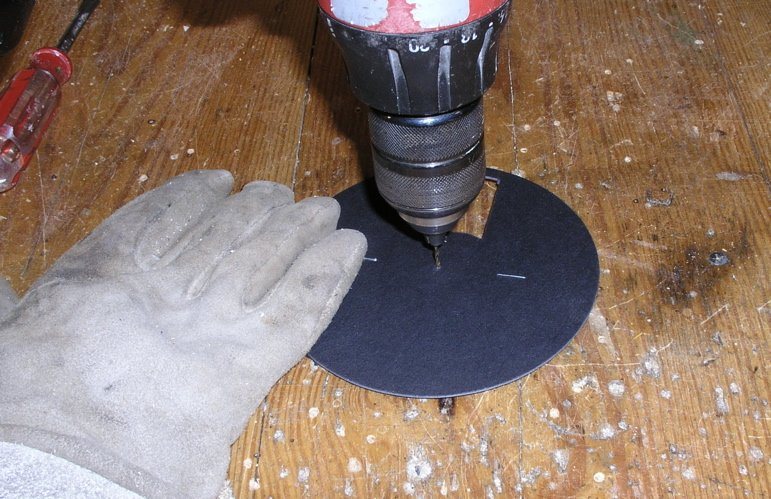
Stiffen the disk
Lay the thin wood strip across the back of the cardboard disk through its center and staple it on from the front with two staples. Drill a 1/16 in hole through the disk's center point (the compass hole) and the strip so the disk runs true.
Mount the spinning disk
Press the disk onto the motor shaft, wood side toward the body, as close as possible without touching. The flashlight should shine through the slot once per turn.
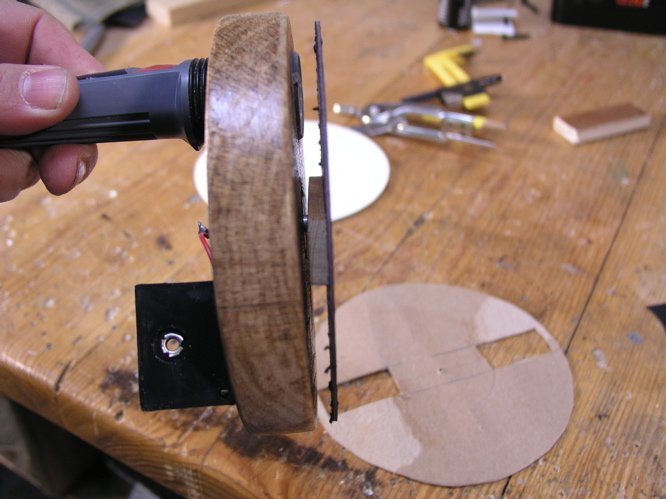
Test the strobe
Switch on the flashlight and the motor in a darkened room. Press your thumb lightly against the edge of the spinning disk to slow it until moving objects appear to freeze.
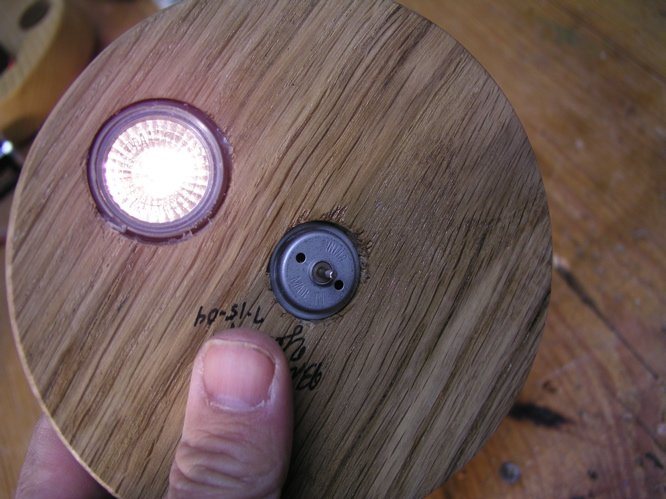
How it works
Each time the slot passes in front of the flashlight, a short flash of light gets through. Between flashes the room is dark, so you only see the moving object at the instants it is lit.
If an object repeats its motion at exactly the same rate as the flashes, such as a fan blade turning once per flash, it is in the same place every time it is lit, and it appears to stand still. If the flashes come slightly slower than the motion, the object is lit a little further along each time and seems to move slowly forward; slightly faster, and it seems to creep backward.
With a single slot, the flash rate equals the disk's rotation rate. Two slots double the number of flashes per turn, which lets you match faster motions. Your thumb acts as a brake that lowers the speed until the rates match.
Using it
- Freeze a stream of water drops from a dripping faucet or a pierced bottle, so they look like a string of beads hanging in the air.
- Light up a vibrating guitar string, a tuning fork or an electric toothbrush to see its motion slowed down.
- Photograph a bouncing ball with a long camera exposure under the strobe to capture a trail of images at equal time intervals, then measure the spacing to study its speed and acceleration.
- Spin a fan or a disk with a mark on it and slowly change the strobe rate; ask students to explain why it seems to stop, then turn backward.
- Compare with a commercial electronic strobe if one is available.
Variations
- Cut several interchangeable disks with one, two or more slots for different ranges of flash rates.
- Use a brighter LED flashlight for better long-exposure photographs.
Troubleshooting
More build plans
Adjustable Angle Mirrors
Close the angle between two mirrors and one line on a card becomes three, five, seven, even eleven copies.
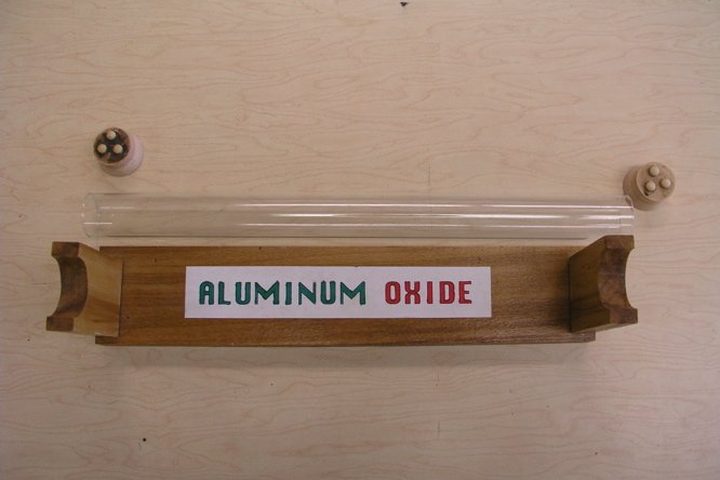
Water Lens Word Flip
Fill a clear tube with water and one word on the sign turns upside down while the word next to it stays perfectly readable.
Classroom Wall Mirrors
Three mirrors on the wall, three different versions of you: magnified, shrunk, and repeated twenty-one times.
© Bruce Yeany · Homemade Science with Bruce Yeany · youtube.com/@YeanyScience
Free for personal and classroom use. Please don't resell or republish. Build and use at your own risk; follow the safety notes and supervise children.