Build plans / Adjustable Angle Mirrors
Adjustable Angle Mirrors
Two mirrors glued to wooden blocks, one fixed to a base and one movable, let students set exact angles with cut-out angle cards and count the images that appear. The number of images follows a simple rule, which makes this a satisfying measure-predict-check activity on reflection.
Written from Bruce's original workshop handout. Bruce's final review of this plan is in progress.
What it shows
Close the angle between two mirrors and one line on a card becomes three, five, seven, even eleven copies.
Key ideas: plane mirror reflection, multiple images, angles, kaleidoscopes
Build it
Cut the blocks
Cut two identical wood blocks a little larger than your mirrors, so that once a mirror is attached no glass edge sticks out.
Attach the fixed block
Screw one block to the large base from underneath so it is held firmly and cannot shift.
Glue the mirrors
Glue a mirror to the face of each block, centered, and let the adhesive cure fully. The second block stays loose so it can be moved.
Make the angle cards
With a protractor, draw these angles on 3 x 5 cards: 30, 40, 45, 51, 60, 72 and 90 degrees. Cut each card along its angle lines to make a wedge-shaped corner.
Draw the target line
Draw a thick line across each card along the middle of the angle (the line that splits it in half). This is the object whose images you will count.
Set an angle
Place a card on the base with its corner at the hinge where the two mirror faces meet, then swing the movable mirror until both mirror faces touch the card's edges.
Count the images
Look into the mirrors and count the images of the line, not counting the real line itself. Repeat for each card and record the results.
How it works
Each mirror forms an image of the object. Light can also bounce from one mirror to the other and back again before reaching your eye, and each extra bounce creates another image.
The images lie on a circle around the hinge. When 360 degrees divided by the mirror angle is a whole number, the number of images you see is that number minus one. At 90 degrees, 360/90 = 4, so you see 3 images; at 60 degrees you see 5; at 45 degrees you see 7.
The smaller the angle, the more bounces fit before the light escapes, so the number of images grows quickly as the mirrors close. A kaleidoscope uses the same idea with mirrors at 60 degrees.
Using it
- Give students the angle cards and have them build a table of angle versus number of images, then look for the rule.
- Expected results: 90 degrees gives 3 images; 72 gives 4; 60 gives 5; 51 gives 6; 45 gives 7; 40 gives 8; 30 gives 11.
- Ask students to predict the count for an angle they have not tested, such as 36 degrees (9 images), then check.
- Put a small colored object or a drawn pattern between the mirrors instead of a line and watch the pattern repeat into a kaleidoscope design.
- Bring the mirrors to parallel and discuss why the number of images seems to become endless.
Variations
- Hinge the two blocks together with tape or a small hinge for a quick tabletop version.
- Use the 60-degree setting as the starting point for a student-built kaleidoscope.
Troubleshooting
More build plans
Water Lens Word Flip
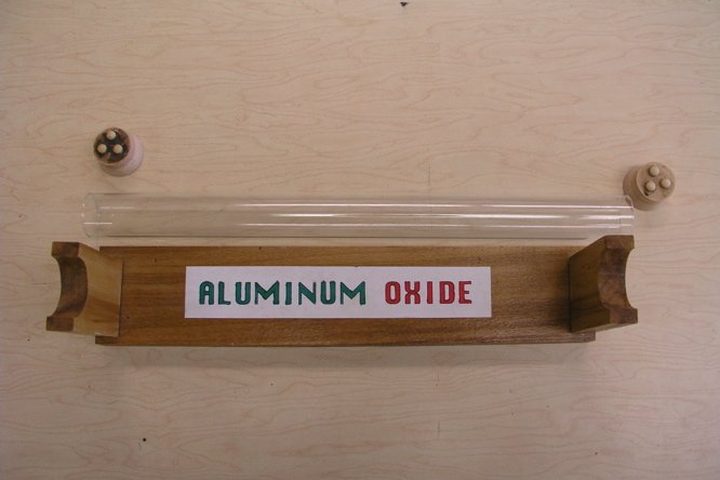
Fill a clear tube with water and one word on the sign turns upside down while the word next to it stays perfectly readable.
Classroom Wall Mirrors
Three mirrors on the wall, three different versions of you: magnified, shrunk, and repeated twenty-one times.
Hand-Held Strobe Light
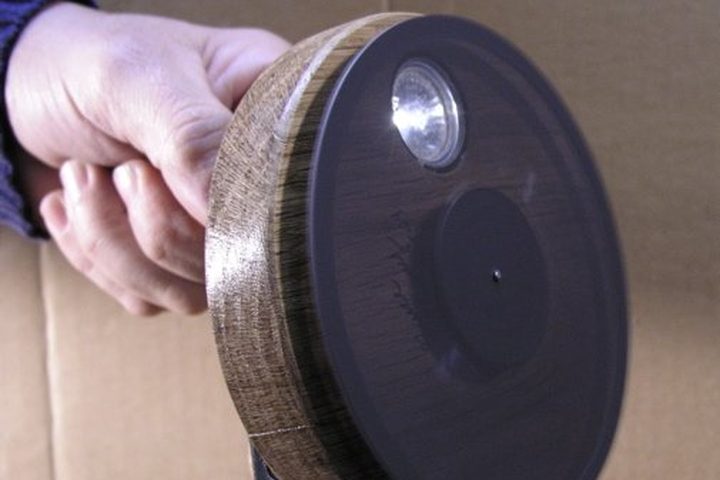
A flashlight shining through a spinning slotted disk can freeze a dripping faucet, a vibrating string or a bouncing ball in mid-air.
© Bruce Yeany · Homemade Science with Bruce Yeany · youtube.com/@YeanyScience
Free for personal and classroom use. Please don't resell or republish. Build and use at your own risk; follow the safety notes and supervise children.