Build plans / High Road, Low Road Tracks
High Road, Low Road Tracks
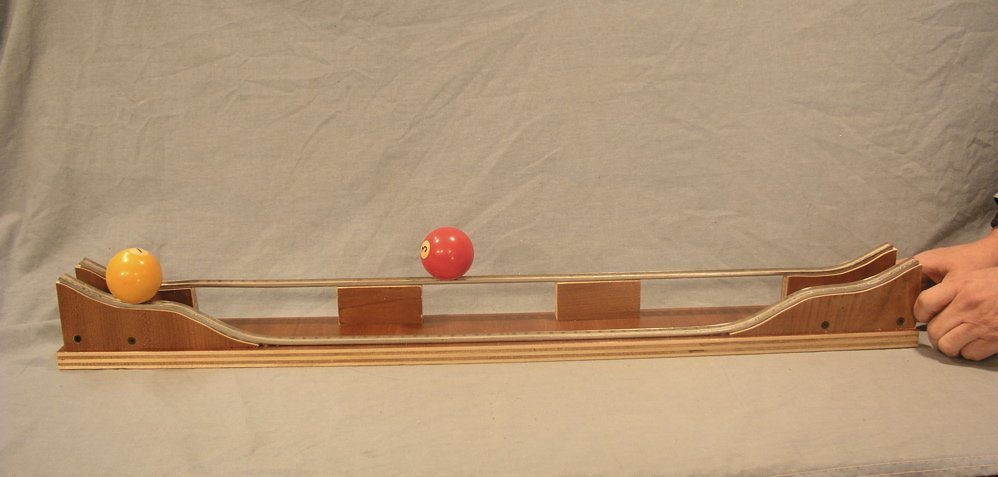
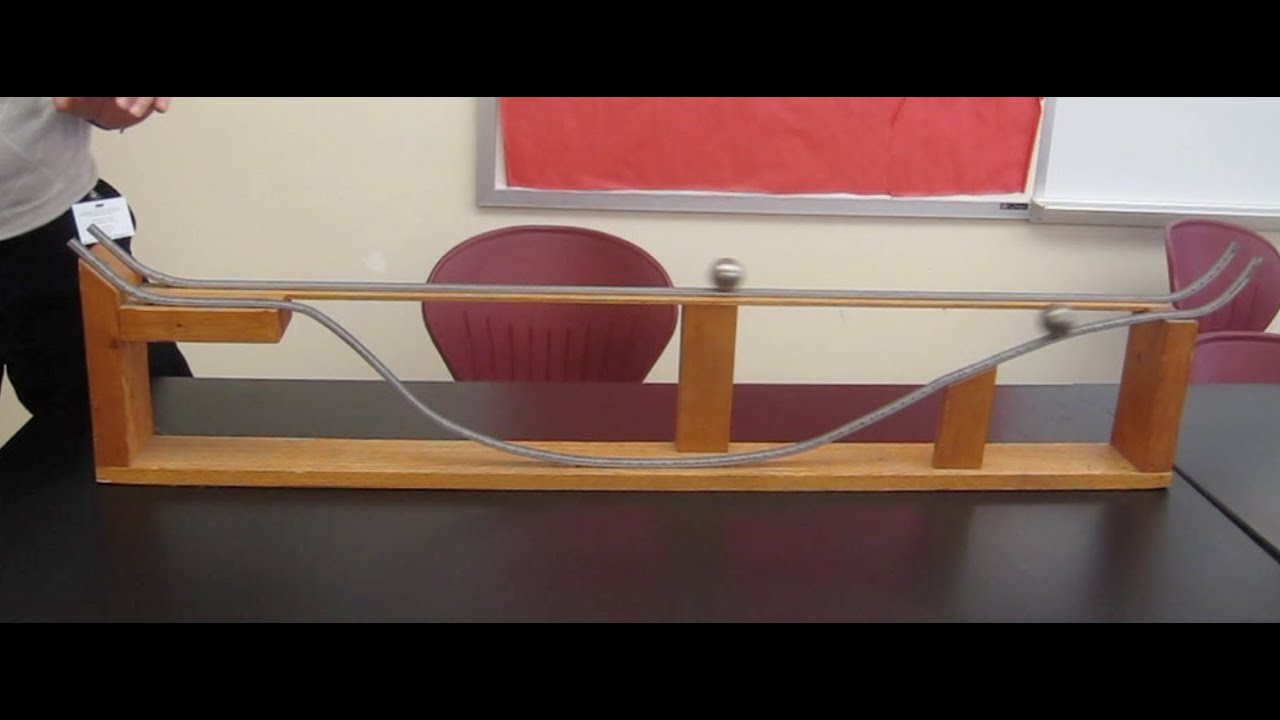
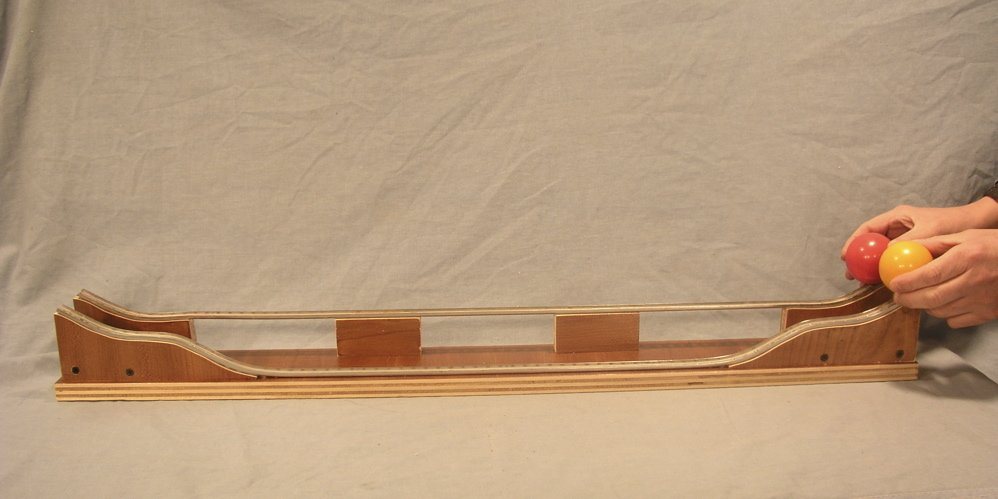
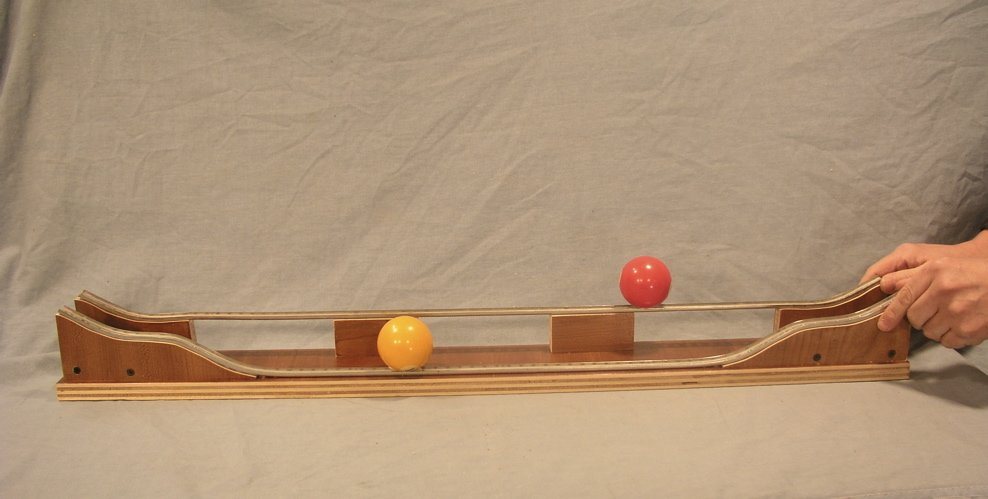
Two metal tracks start and end at the same height. One runs straight across; the other drops into a dip and climbs back out, making it about 5 percent longer. The ball on the low road always arrives first, a striking way to show how potential energy turns into speed.
Written from Bruce's original workshop handout. Bruce's final review of this plan is in progress.
What it shows
Two balls race across side-by-side tracks, and the one that takes the longer road through a dip wins every time.
Key ideas: potential and kinetic energy, conservation of energy, speed versus distance, rotational kinetic energy
Build it
Draw the first end support
Put masking tape on a plywood block and draw the end support freehand: a raised slope at the end that curves down to a level run, then continues down into the dip. All four slopes must end up identical, so take care with this first one.
Cut and copy the support
Cut the first support with a jigsaw, band saw or coping saw and sand the curve smooth. Use it as the pattern to trace and cut the second one, then clamp the two together and sand the curves until they match exactly.
Make the two short supports
Trace the same pattern onto the third and fourth blocks, but stop at the point where the curve would start down into the dip. These carry the straight track. Clamp all four together and sand until the shared slopes match.
Space the tracks
Decide which balls you will use and set the supports far enough apart that the balls cannot touch as they roll side by side. Cut a plywood cross block that holds one long and one short support at that spacing.
Assemble the end units
Clamp a long and a short support to the cross block with the back and bottom edges flush, and fasten them with wood screws, two per side. Build the other end the same way, making sure each support faces its partner.
Attach the low-road track
Start at one end. Bend the track to the upper slope and screw it to the support with small screws; the screws pull the track to the curve as you tighten them. Keep bending and screwing down into the dip. Do the same at the other end.
Mount on the base
Set the assembly on the plywood base. Drill pilot holes from underneath and drive wood screws up into the supports until the heads are flush with the bottom.
Attach the high-road track
Bend the second track to match the end slopes and screw it on. Cut two plywood blocks to hold its level run at a constant height in the middle and screw them to the base from underneath.
Trim and smooth
Cut off any track that hangs past the end supports with a hacksaw and sand the cut ends. Remove the tracks to sand, stain and varnish the wood if you like, then reattach them and run fine sandpaper along the track edges so the balls roll smoothly.
Race
Hold both balls at the top of one end and release them together. The ball on the low road pulls ahead in the dip and reaches the far end first.
How it works
Both balls start with the same gravitational potential energy and finish at the same height, so in the end neither has gained an advantage in energy. What differs is what happens in between.
When the low-road ball drops into the dip, it converts extra potential energy into kinetic energy and speeds up. It stays faster than the high-road ball for most of the trip, only slowing back down as it climbs out at the far end.
The low road is only about 5 percent longer, but the ball travels it much faster on average. Higher average speed more than makes up for the extra distance, so it arrives first.
The balls roll, so part of their energy goes into spinning. If a slope is so steep that a ball slips instead of rolling, it loses energy to friction and may not make it back up. Keep the climbs gentle enough for the balls to roll without slipping.
Using it
- Before releasing the balls, ask: which track is longer? Which ball will get to the other side first, and why? Have everyone commit to a prediction.
- Release the balls together several times so students can see the low-road ball pull ahead in the dip.
- Ask where each ball is moving fastest and slowest, and connect the answers to height.
- Switch the balls between tracks to show the result is not caused by the balls.
- Show the version with small hills in the low road and ask for predictions again.
Variations
- Quick version: cut a 2 ft piece of track for the high road and a piece about 4 in longer for the low road (don't cut it until it is bent). Cut a 2x4 into two end blocks: draw a line across the edge 2 1/4 in up, mark a point about 3/16 in lower on the other side, and cut the slight slope between them. Screw the straight track to both blocks with two small screws at each end. Bend the low-road track so it slopes down to the tabletop over about 5 1/2 in, runs along the table, and climbs back up over about 2 in at the far end. Trim and sand. Golf balls work well.
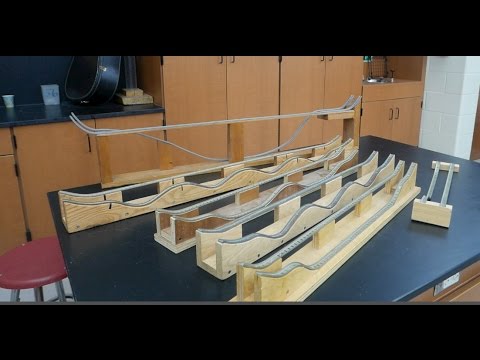
- Hilly low road: Bruce has made tracks with 1, 2, 3 and 4 humps in the lower road, each rising only to the height of the straight track. The hilly tracks still win, because wherever the ball is lower than the straight track it is moving faster. Draw a pattern for the hills, and use a C-clamp to help bend the track while screwing it down every few inches.
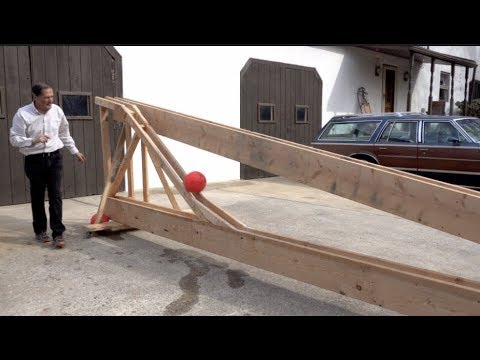
- Big drop: a version with a much deeper dip still gets to the other side first.
- Larger tracks: the design can be scaled up as long as the climbs stay gentle enough that the ball rolls without slipping.
Troubleshooting
More build plans
Activation Energy Track
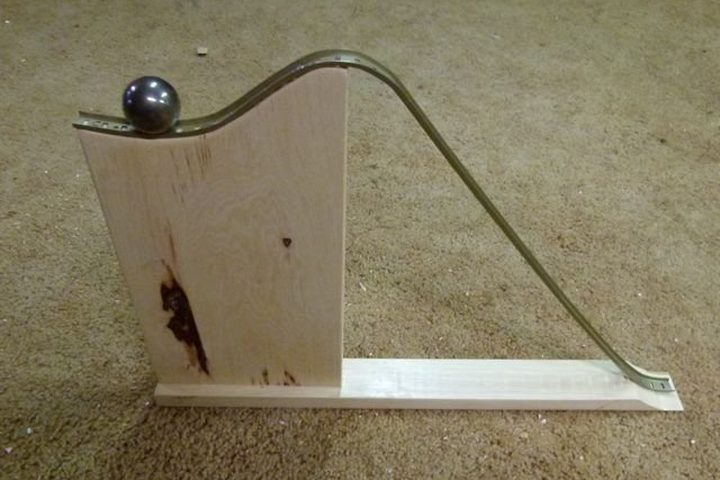
The ball sits up high, full of potential energy, yet it can't go anywhere until you lift it a little higher.

Fruit Racers
Pick a fruit, add wheels, and race it down a tilted table in a family-night challenge built on potential energy.
Rolling vs. Sliding Batteries
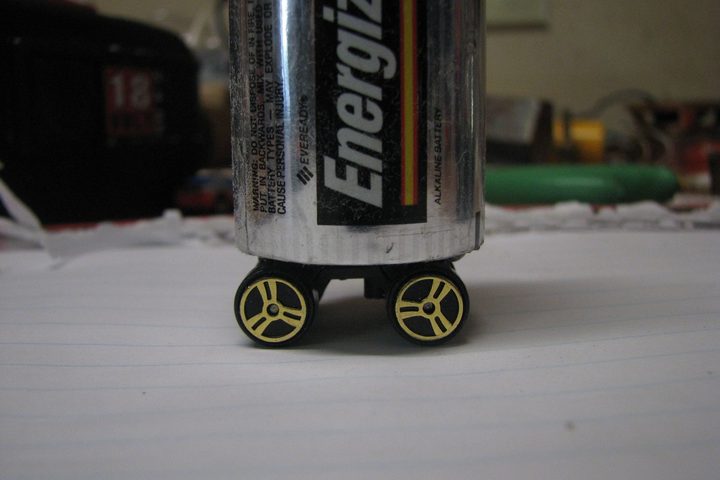
Two identical batteries race down a gentle slope: one rolls, one rides on tiny toy-car wheels. Most people bet on the wrong one.
© Bruce Yeany · Homemade Science with Bruce Yeany · youtube.com/@YeanyScience
Free for personal and classroom use. Please don't resell or republish. Build and use at your own risk; follow the safety notes and supervise children.