Build plans / Face vs. Face Profile Vase
Face vs. Face Profile Vase
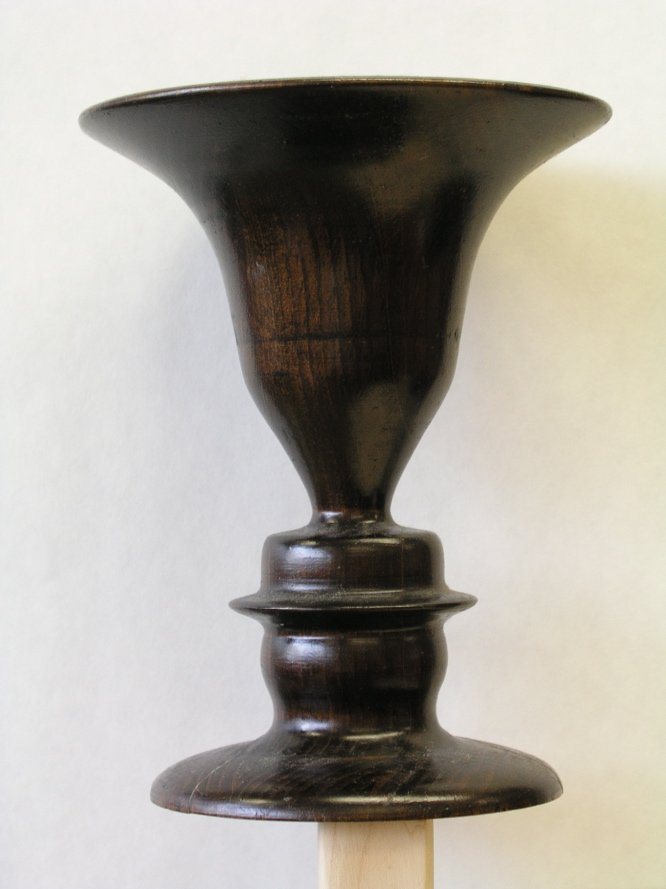
Rubin's vase is a classic figure-ground illusion. Bruce turned one on a wood lathe, using his own side profile as the guide, so the solid vase's outline forms two life-size faces. A no-lathe version lets students make the same illusion from a digital photo.
Written from Bruce's original workshop handout. Bruce's final review of this plan is in progress.
What it shows
Look at it one way and it's a vase; look again and it's two faces nose to nose, and the faces are yours.
Key ideas: optical illusions, figure and ground, perception, symmetry
Build it
Take the profile photo
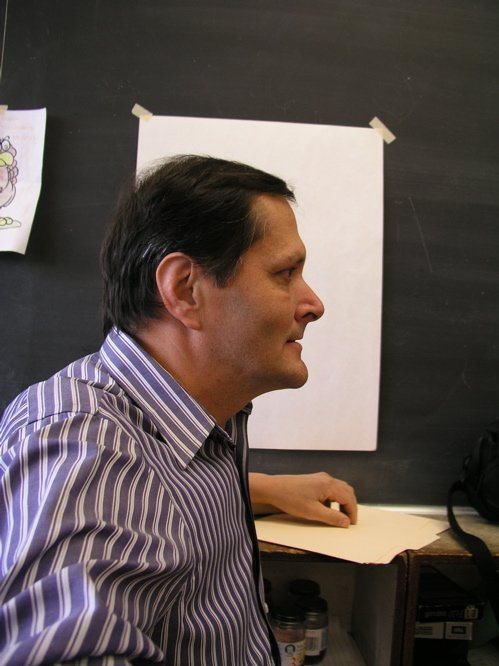
Photograph the person exactly side-on against a plain background, with the head level.
Print it life-size
Print the profile at actual size (measure from chin to forehead and scale the print to match).
Draw the center line
Draw a vertical line just in front of the tip of the nose. This will be the centerline of the vase. The vase is the space between the face and this line, so the nose makes the narrowest part of the stem; leave enough wood there for strength.
Make a template
Cut along the profile and transfer the shape to thin cardboard or hardboard, so you have a template whose edge is the face and whose straight side is the centerline. At every height, the distance from the line to the profile is the radius the vase must have there.
Rough-turn the blank
Mount the blank between centers and turn it to a cylinder slightly larger than the widest radius on your template.
Turn the profile
Mark the key heights (forehead, nose, lips, chin) on the spinning blank, set calipers to the radius at each mark, and turn down to them. Then blend between the marks, checking often against the template. Work slowly: as Bruce learned, once wood is removed, it cannot be added back.
Sand and finish
Sand smooth on the lathe, apply finish, and part it off.
Display it
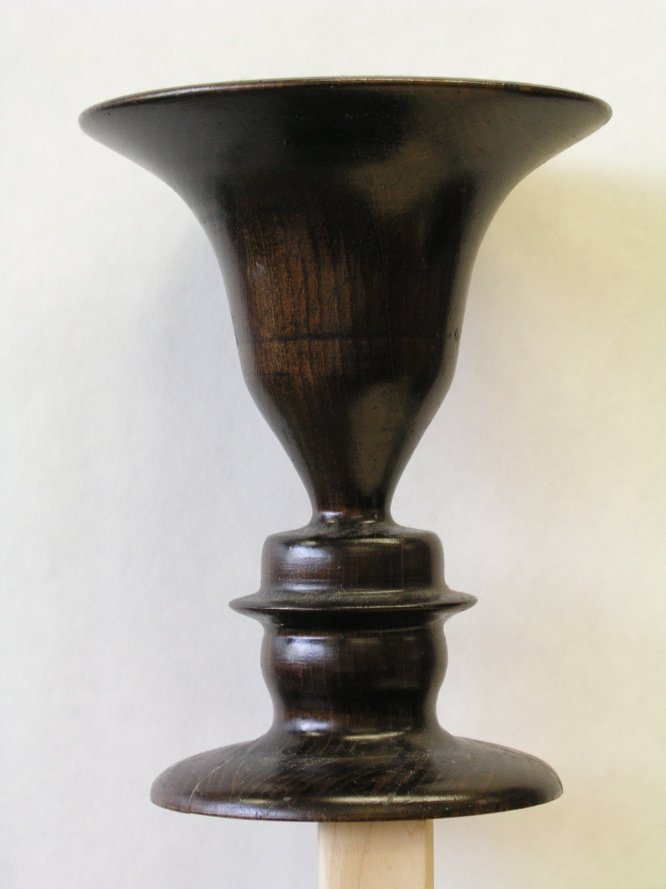
Set the vase in front of a light, plain background or photograph it as a dark silhouette on a white background, so viewers can flip between seeing the vase and the two faces.
How it works
Your brain sorts what you see into a 'figure' (the object) and a 'ground' (the background). In Rubin's vase the same outline is shared by both, so the brain can't settle on one answer and flips between a vase and two faces.
A turned vase is the same in every direction around its center, so its outline on the left is a mirror image of the outline on the right. If that outline is shaped like a face, you see two faces looking at each other.
The illusion works best with strong contrast, such as a dark vase against a light wall, because the eye has only the edge to go on.
Using it
- Show the vase and ask students to describe what they see before revealing the faces.
- No-lathe activity: students photograph their own profile, mirror it on a computer, and place the two halves nose to nose to create their own Rubin's vase picture.
- Discuss other figure-ground images and why the brain can't see both interpretations at once.
- Cut a flat version from plywood on a scroll saw for a simpler project with the same effect.
Variations
- Flat silhouette version: cut the vase shape (face profile mirrored) from 1/2 in plywood and paint it black.
- Use two different profiles, one on each side, for a 'face vs. face' portrait of two people (the turned vase can only have one, since it's symmetrical).
Troubleshooting
More build plans

Adjustable Angle Mirrors
Close the angle between two mirrors and one line on a card becomes three, five, seven, even eleven copies.
Water Lens Word Flip
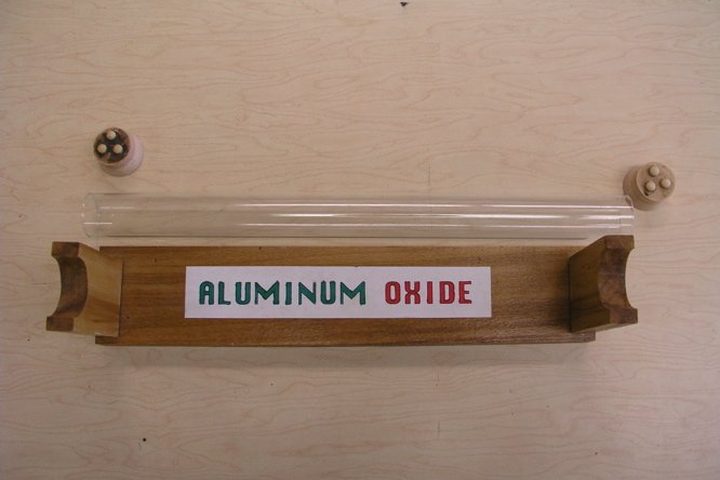
Fill a clear tube with water and one word on the sign turns upside down while the word next to it stays perfectly readable.

Classroom Wall Mirrors
Three mirrors on the wall, three different versions of you: magnified, shrunk, and repeated twenty-one times.
© Bruce Yeany · Homemade Science with Bruce Yeany · youtube.com/@YeanyScience
Free for personal and classroom use. Please don't resell or republish. Build and use at your own risk; follow the safety notes and supervise children.