Build plans / Rainbow Density Column
Rainbow Density Column
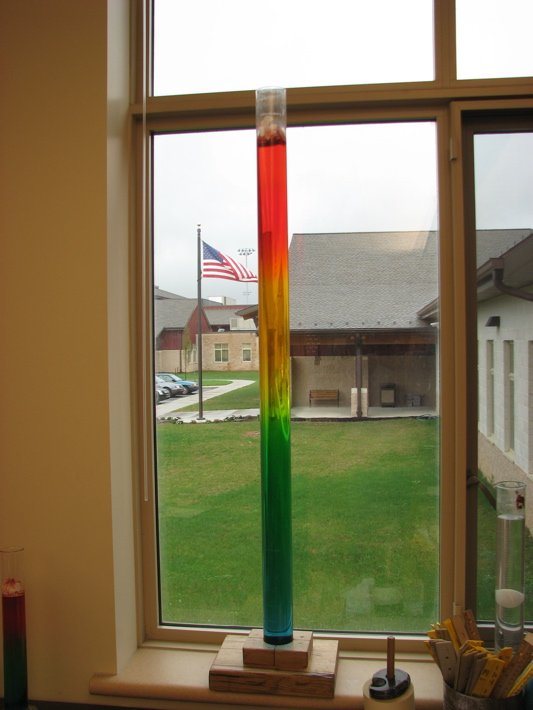
Six solutions with different amounts of salt are colored with food coloring and layered from saltiest to fresh. Because each layer is a little less dense than the one beneath it, the colors stay separate, making a bright, simple demonstration of density. Bruce's recipe comes in metric and kitchen measures.
Written from Bruce's original workshop handout. Bruce's final review of this plan is in progress.
What it shows
Six cups of colored salt water, poured carefully, stack themselves into a rainbow that holds its stripes.
Key ideas: density, solutions, concentration, layering of fluids
Build it
Measure the water
Put 100 ml of water (or 1/2 cup) into each of six jars and number them 1 to 6.
Add the salt
Add salt and stir until it dissolves: jar 1, 20 g (4 teaspoons); jar 2, 16.6 g (3.3 teaspoons); jar 3, 14 g (2.5 teaspoons); jar 4, 10.6 g (2 teaspoons); jar 5, 5 g (1 teaspoon); jar 6, no salt.
Add the color
Jar 1: 2 drops blue and 1 red (purple). Jar 2: 2 drops blue. Jar 3: 2 drops green. Jar 4: 2 drops yellow. Jar 5: 1 drop yellow and 1 red (orange). Jar 6: 3 drops red.
Pour the bottom layer
Pour jar 1, the saltiest, into the bottom of the tall container.
Layer the rest gently
Add each jar in order, 2 through 6, very slowly, letting the liquid run down the inside wall or over the back of a spoon held just above the surface. A turkey baster or large syringe gives even more control.
Let it settle
Set the column where it will not be bumped and observe the six bands from purple at the bottom to red at the top.
How it works
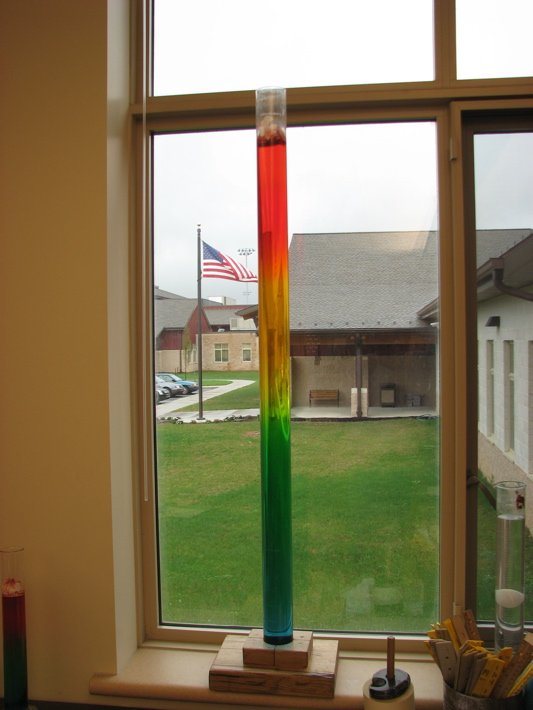
Dissolving salt adds mass to the water while increasing its volume only slightly, so salt water is denser than fresh water. The more salt, the denser the solution.
A less dense liquid floats on a denser one. Poured gently, each new layer rests on the layer below instead of mixing into it.
The layers are not permanent. Over hours and days, salt slowly diffuses from the saltier layers into the fresher ones and the sharp bands blur into a smooth gradient.
Using it
- Show the finished column and ask how six clear-looking liquids can stack in stripes.
- Give students the jars out of order and have them figure out the correct pouring order by testing small samples.
- Drop in a grape, a small piece of potato or a plastic bead and watch it float at a particular layer.
- Check the column the next day and the day after to see diffusion blur the boundaries.
- Measure the mass of 100 ml of each solution to calculate its density.
Variations
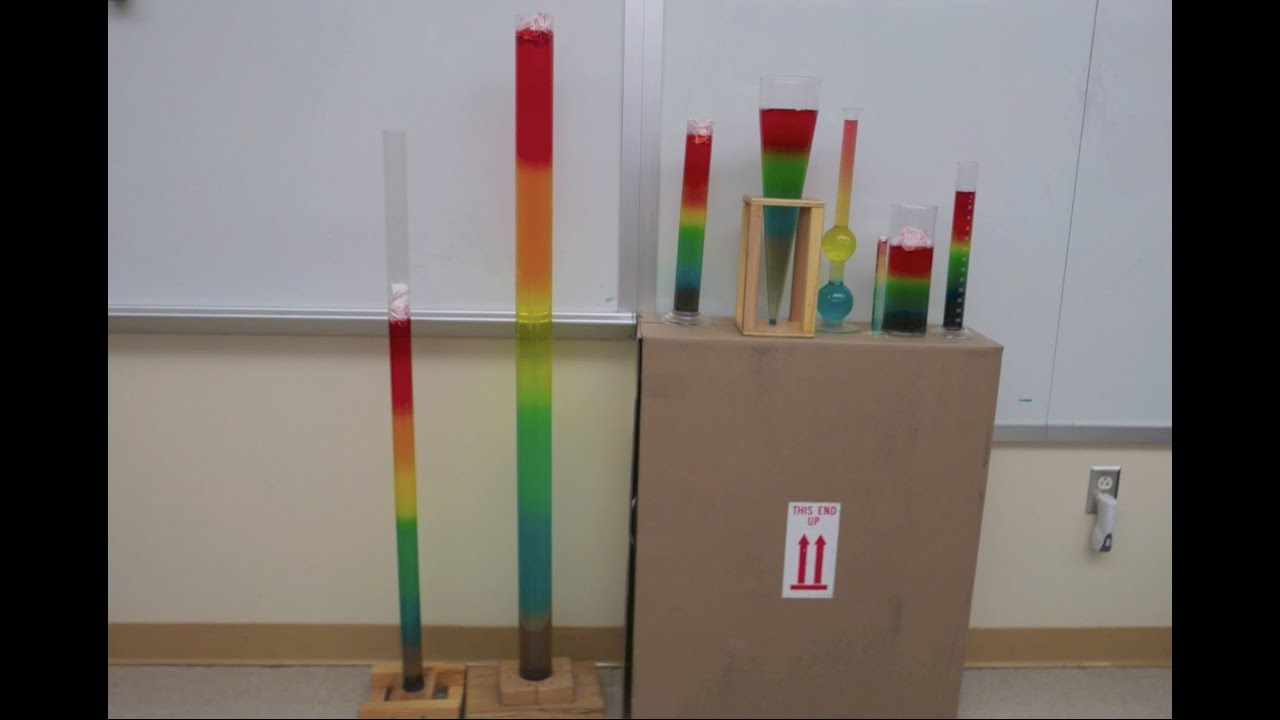
- Build the column in one of Bruce's tall tanks for a classroom-sized display; multiply the recipe to fill the tube, keeping the same salt-to-water ratios.
- Use sugar instead of salt, or layer different liquids such as honey, dish soap, water and oil.
Troubleshooting
More build plans
Chemical Dice
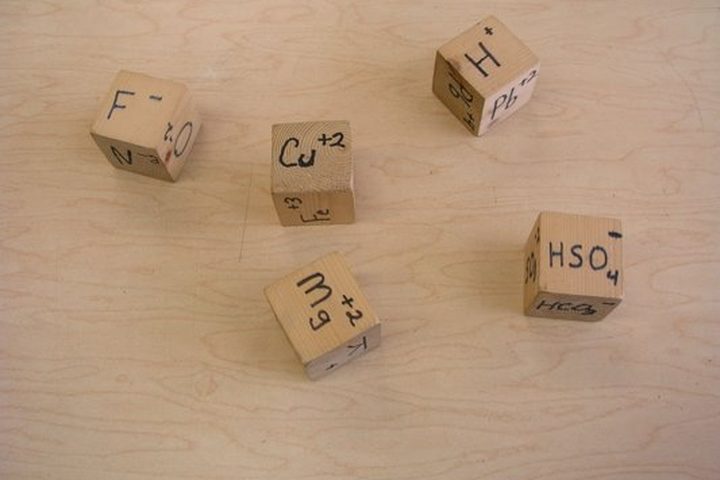
Roll a positive die and a negative die, and whatever comes up, write the compound's formula and name.
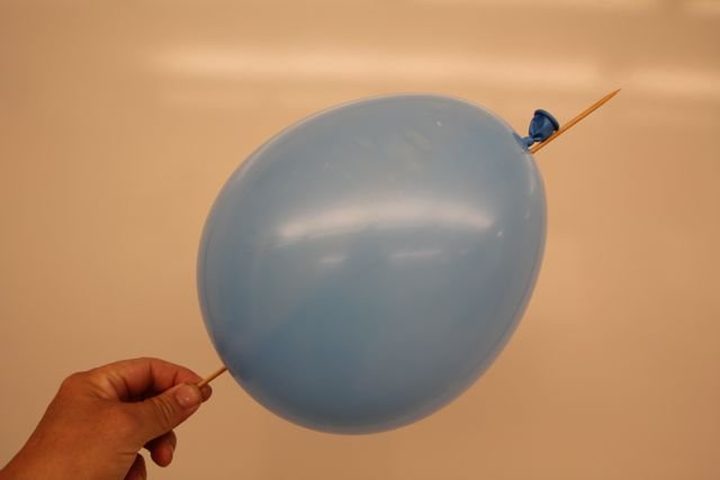
Poke a Polymer
Slide a sharp stick right through a balloon, or a dozen pencils through a bag of water, and nothing pops or leaks.
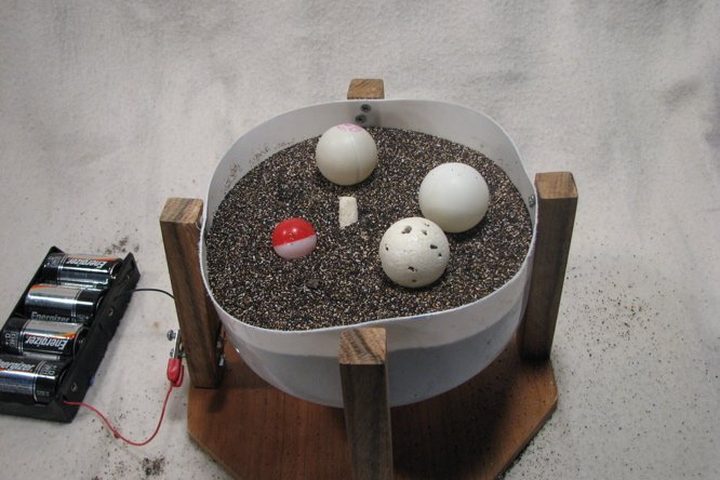
Buoyancy of Sand Vibrating Tub
Switch on the motor and buried ping-pong balls pop up through solid sand while steel balls on top sink out of sight.
© Bruce Yeany · Homemade Science with Bruce Yeany · youtube.com/@YeanyScience
Free for personal and classroom use. Please don't resell or republish. Build and use at your own risk; follow the safety notes and supervise children.