Build plans / Ramp Walking Bunny
Ramp Walking Bunny
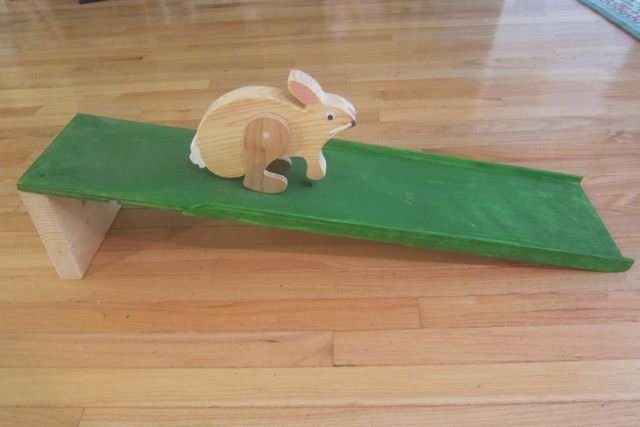
A pine bunny with one fixed front foot and a pair of back legs that swing on a dowel axle. On a ramp, its center of gravity shifts back and forth over its feet so it walks downhill on its own. It is a satisfying woodworking project and a clear demonstration of center of gravity, pendulum motion and energy transfer.
Written from Bruce's original workshop handout. Bruce's final review of this plan is in progress.
What it shows
Set this wooden bunny at the top of a gentle slope and it rocks, swings its back legs forward and hops its way to the bottom with no motor at all.
Key ideas: center of gravity, pendulum motion, potential to kinetic energy, friction, force components on an incline
Build it
Enlarge the pattern and attach it
Print the bunny pattern and enlarge it on a copier to the size you want. Tape the body pattern flat onto the 1 1/2 in pine.
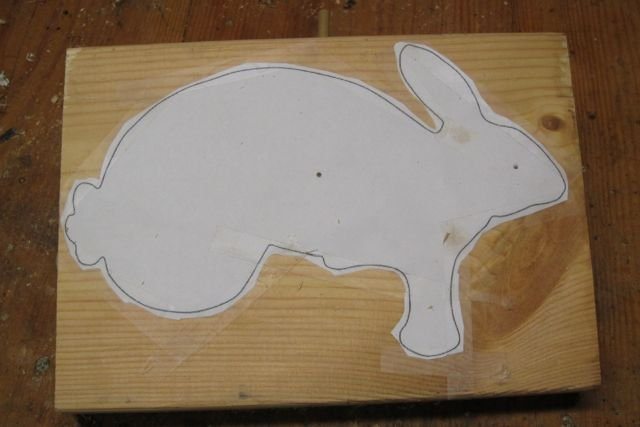
Drill the axle hole and cut out the body
Drill a 5/16 in hole through the body at the axle mark so the 1/4 in dowel turns smoothly without being sloppy. Then cut out the body on a band saw or jigsaw and sand all edges smooth.
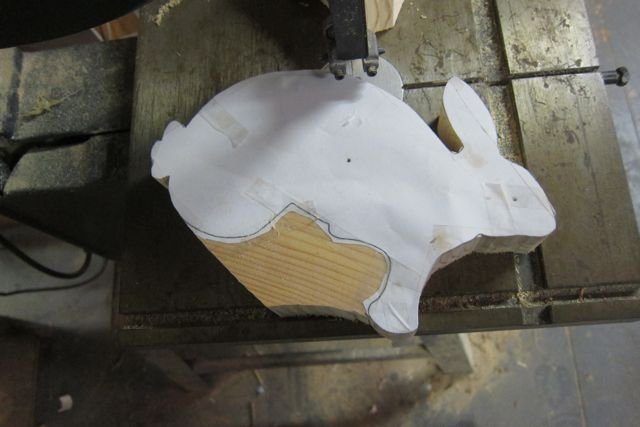
Lay out the back legs
Tape both leg patterns onto the thinner wood and cut them out. The two legs must end up identical, so cut slightly outside the line.
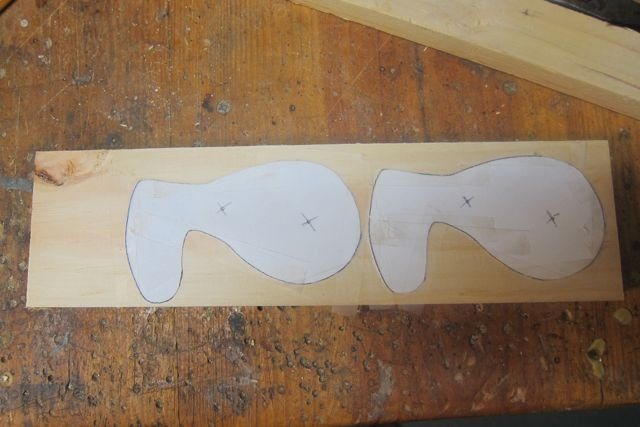
Drill the legs as a pair
Stack the two legs and drill the 1/4 in axle hole through both. Push a dowel through to keep them lined up, then drill the 3/16 in stop hole through both at once. Note: some printed copies of the pattern show 5/16 in and 3/8 in for these leg holes; the correct sizes are 1/4 in and 3/16 in.
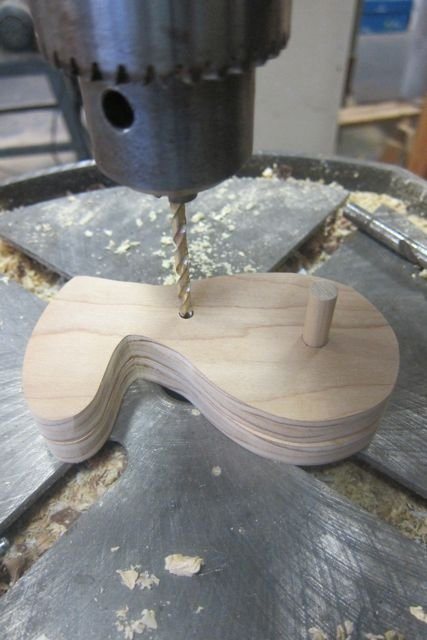
Sand the legs to match
With both dowels holding the pair together, sand the legs as one piece so their outlines, and especially their curved feet, are exactly the same.
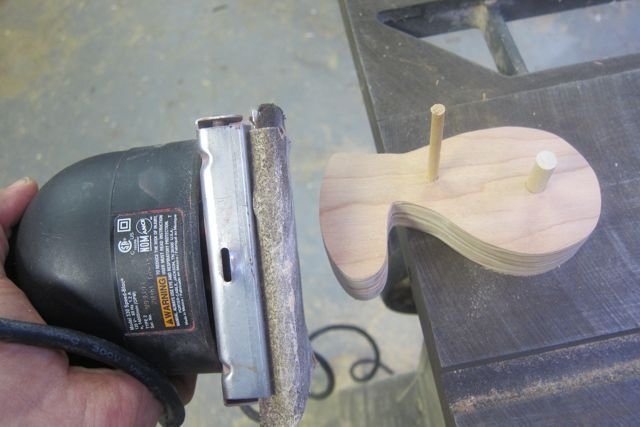
Finish the parts
Sand the body, legs and dowels smooth and give them a coat of varnish. Let everything dry before assembly.
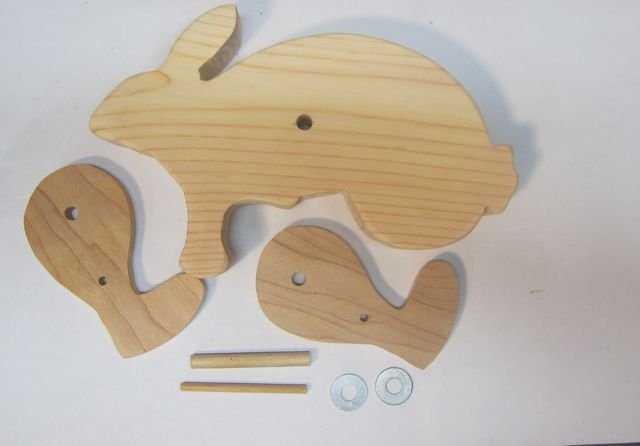
Glue the dowels into one leg
Glue the 1/4 in axle dowel and the 3/16 in stop dowel into one leg and let it dry. Slide a washer onto the axle dowel next to the leg.
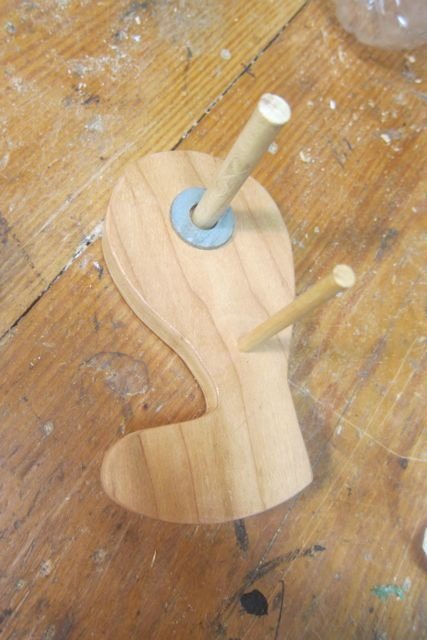
Fit the legs to the body
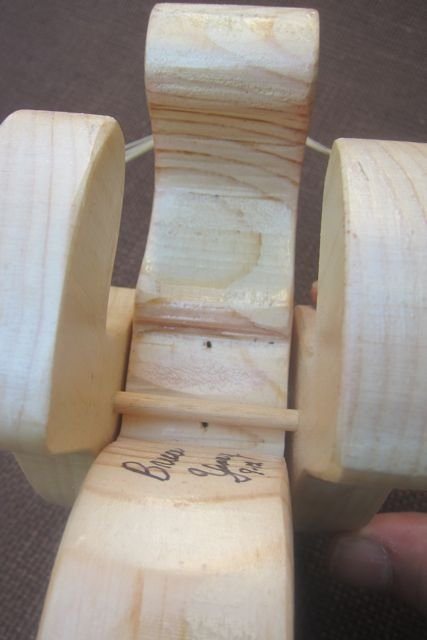
Pass the axle through the body, add the second washer, and press the second leg on without glue for now. The stop dowel rides in the notched belly area: the legs should swing freely about 1 in and be stopped by the dowel at each end. Sand the body wherever the dowel rubs.
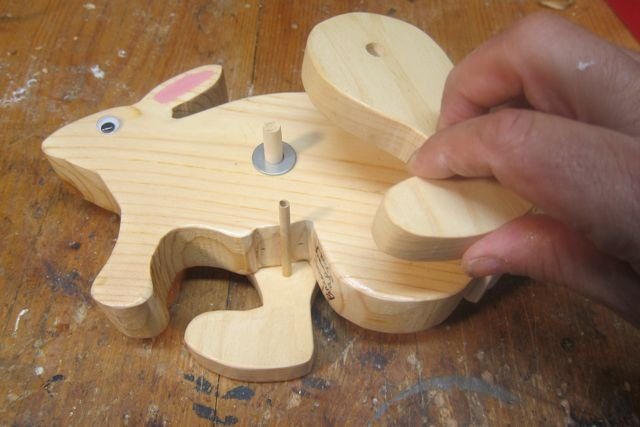
Check the balance
Hold the bunny upright by its legs. It should rotate backward, meaning the rear end is heavier. If the head dips forward, remove a little wood from the front or drive a small screw into the tail as a weight.
Test on the ramp, then glue
Try the bunny on the ramp and adjust until it walks all the way down. Then glue the second leg onto the dowels, keeping the fit loose enough that the legs still swing freely.
Give the feet grip
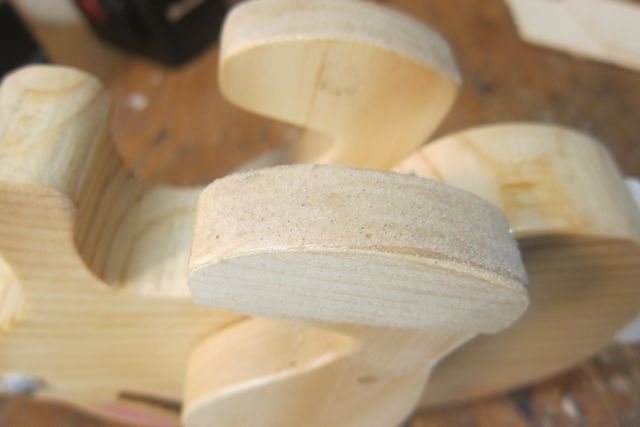
Brush varnish on the bottoms of the feet and sprinkle on a little fine sand. The rough surface keeps the feet from sliding instead of stepping.
Add the face
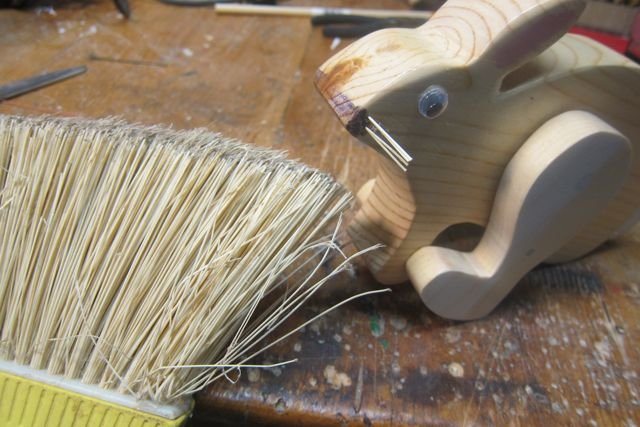
Paint eyes or glue on craft eyes. For whiskers, drill tiny holes at the nose, fold a few broom straws in half, dip the folded ends in glue, push them in and trim to length.
Build the ramp
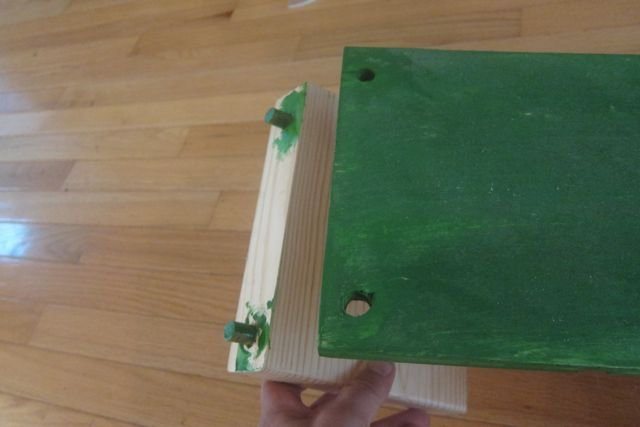
Paint a board and sprinkle fine sand into the wet paint for extra friction. Add rails along both sides so the bunny can't walk off the edge, and make the prop removable so the ramp stores flat.
How it works
The bunny stands on two curved surfaces: its fixed front foot and the pair of back legs. Only the back legs can move, and they can swing only between two stops. On a flat table the center of gravity sits over the back legs, so it just stands there. Tilt the surface and the center of gravity moves forward, so the bunny tips toward its front foot.
When the body rocks forward onto the front foot, the back legs are lifted off the ramp and swing forward like a pendulum until they reach the front stop. The body then rocks back, landing on the back legs farther down the slope. It rocks a little past them, settles onto its bottom, and tips forward again to repeat the cycle.
Each step lowers the bunny slightly. That loss of gravitational potential energy is what keeps it rocking and replaces the energy lost to friction and the small bumps of each landing. On a slope that is too steep it slides or tumbles; on one too shallow it runs out of energy and stops.
Friction matters as much as balance. The sanded feet and sandy ramp let the feet grip so the bunny steps instead of sliding.
Using it
- Set the bunny on a flat table, then on the ramp, and ask students where they think its center of gravity is in each case. Let them feel the difference by holding it.
- Raise and lower the ramp to find the shallowest and steepest angles at which the bunny still walks. Measure them with a protractor.
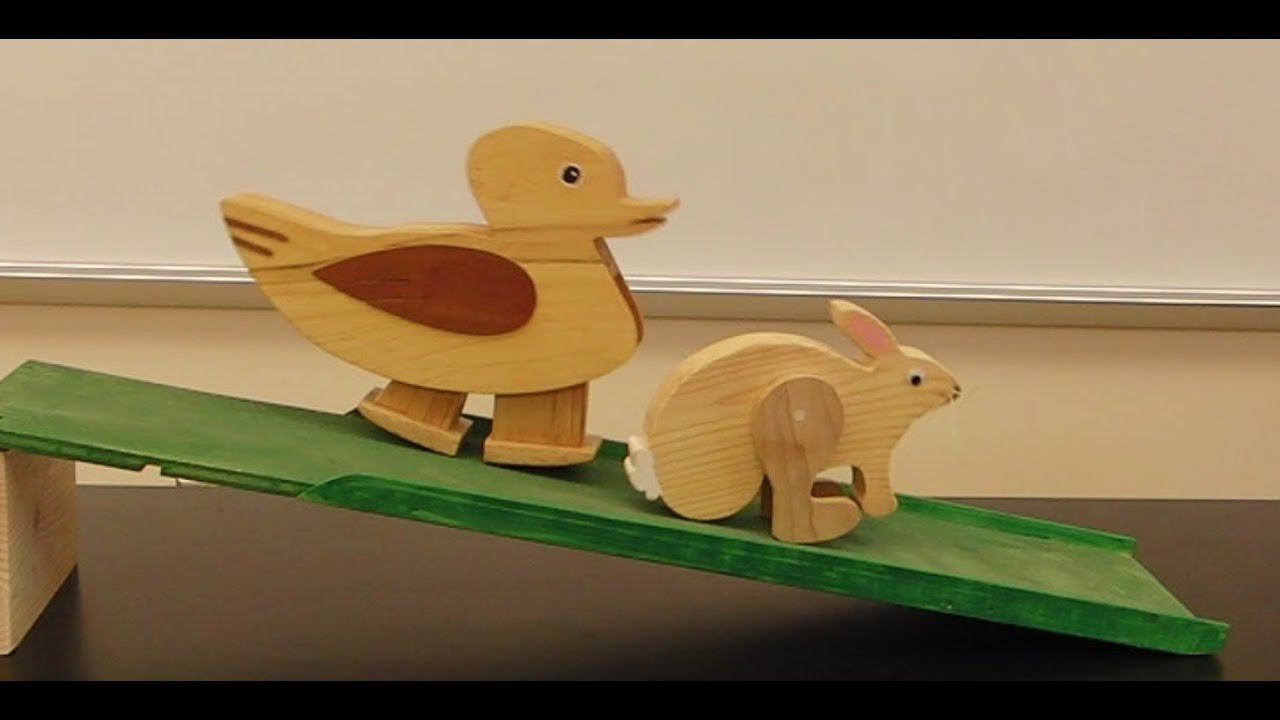
- Race the bunny against another walker (Bruce's bunny beats his wooden duck) and ask why one is faster.
- Weigh the walker and measure the angle at which it just starts to walk. The weight times the sine of that angle gives the force along the ramp needed to keep it moving, a good introduction to breaking a force into components.
- Challenge students to design their own animal walker once they understand the parts: a curved fixed foot, a swinging leg, and stops on each side.
Variations
- Big wooden duck: Bruce built an oversized version of the classic wooden walking duck, with a movable foot on a nail axle, a glued-in stop behind it and a front foot glued to the inner body. He uses an adjustable ramp so one ramp serves several walkers.
- Walking soda can and a clear-bodied walker that shows the leg movement.
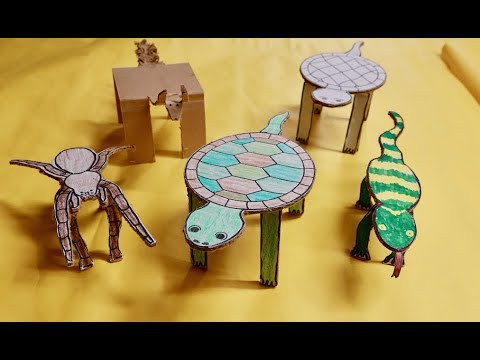
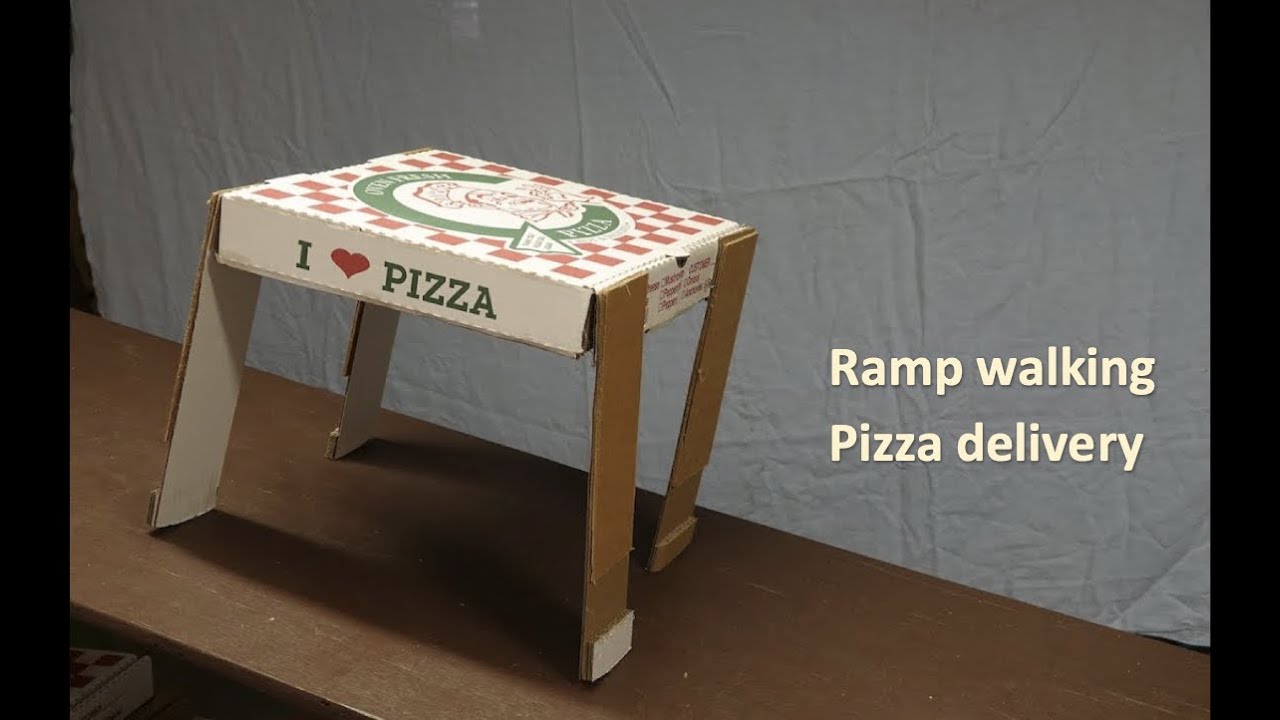
- Cardboard and cereal-box walkers: quick to make in class (see the Ramp Walkers experiment page).
- String-pulled walkers: two-legged plastic walkers can walk across a table pulled by a string that runs over the edge to a small hanging weight. As the walker nears the edge, the string pulls more downward and less forward, so the walker stops right at the edge.
- Bruce has thought about a turtle walker to race the bunny.
Troubleshooting
More build plans
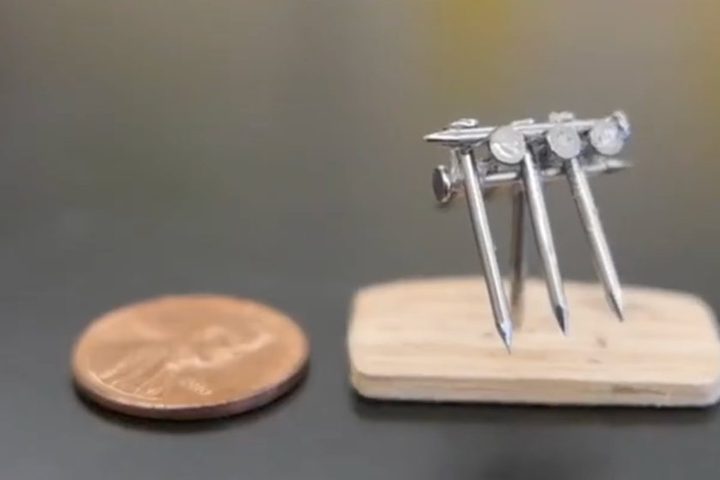
Balancing Nails Challenge
Twelve big nails balanced on one nail head looks impossible. Then Bruce doubles it.
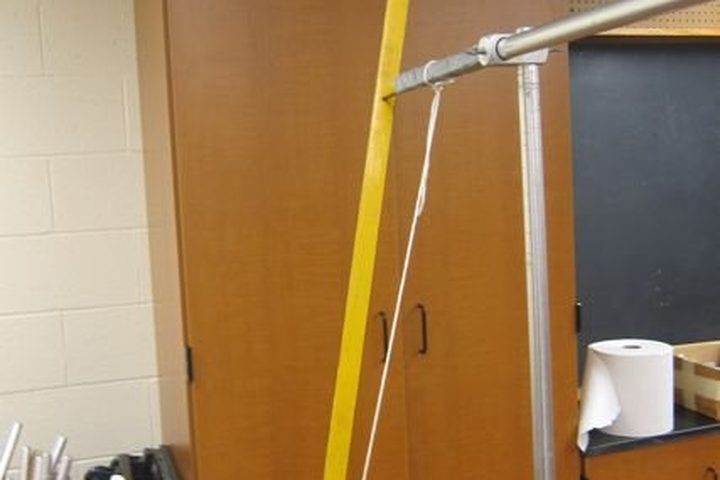
Bar Pendulum vs. Simple Pendulum
A swinging meterstick keeps the same beat whether it hangs from its end or from a point a third of the way down. Why?
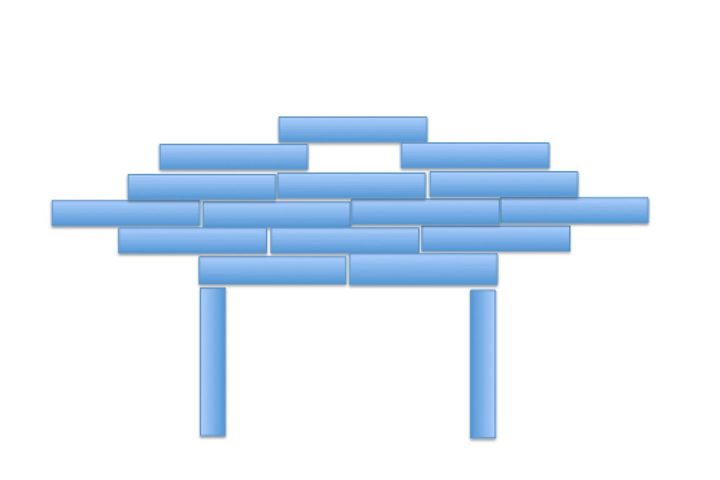
Block Stacking Challenges
How few blocks does it take to make the top block hang completely past the edge of the bottom one?
© Bruce Yeany · Homemade Science with Bruce Yeany · youtube.com/@YeanyScience
Free for personal and classroom use. Please don't resell or republish. Build and use at your own risk; follow the safety notes and supervise children.