Build plans / Rheostat Speed-Control Board
Rheostat Speed-Control Board
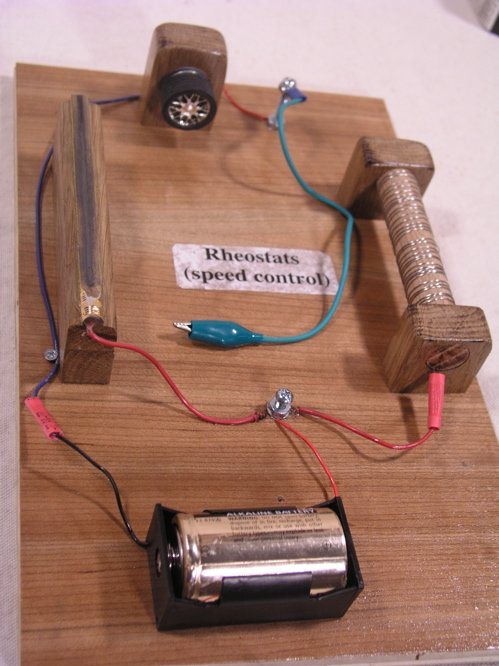
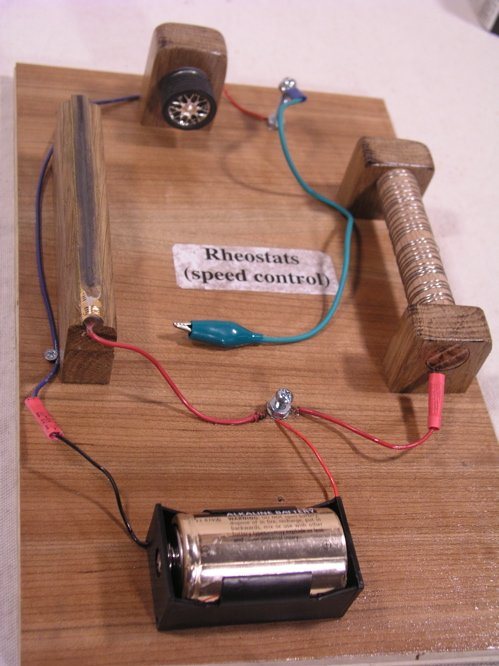
This board carries two homemade rheostats, a coil of resistance wire and the graphite core of a pencil split lengthwise, wired in series with a battery and a toy motor. Moving a clip along either one changes how much resistance is in the circuit, which changes the motor's speed. It shows what is going on inside a toy car's speed control or a light dimmer.
Written from Bruce's original workshop handout. Bruce's final review of this plan is in progress.
What it shows
Slide a clip along a coil of wire or a split pencil and watch a little motor speed up and slow down, just like a dimmer switch.
Key ideas: resistance, current, voltage, series circuits, variable resistors
Build it
Find the length of resistance wire you need
Before building, connect a battery, the motor and a long piece of resistance wire in series. Slide one connection along the wire and note how long a piece it takes to make a clear change in the motor's speed. That is the length to wind.
Notch the dowel
Cut a series of shallow notches along the dowel. They catch each turn of wire so the coil can be wound tightly without the turns touching each other.
Make the end supports
Drill a hole the size of the dowel into a piece of scrap wood, then cut the block off; make two. Drill a small hole in the dowel near one end, push the start of the wire through it, and slip on one support block.
Wind the coil
Wind the resistance wire tightly around the dowel, seating each turn in a notch. At the far end, drill another small hole through the dowel, pass the wire through to lock it, and fit the second support block.
Mount the coil
Decide where the coil goes on the board, drill pilot holes up through the base, and fasten the support blocks from underneath with wood screws.
Prepare the pencil rheostat
Cut a support strip the same length as the pencil and screw it to the base from underneath. Split the pencil lengthwise with a saw, or sand one side away on a belt sander, until a long stripe of graphite is exposed, then glue it to the support.
Connect to the graphite
Drill a small hole into the end of the pencil's graphite core, push a stripped wire into it so it touches the graphite, and glue it in place.
Wire the board
Solder the pencil's wire to one battery lead, and continue that same lead to one end of the resistance coil, joining it with a crimp connector. Extend the other battery lead to one terminal of the motor. Run the motor's second terminal to a bolt on the board.
Make the sliding lead
Crimp a ring terminal on one end of a wire and bolt it to the motor's bolt. Put an alligator clip on the other end. Touching the clip's tip to the coil or the graphite completes the circuit through more or less of the resistive material.
Test it
Touch the clip near the connected end of the coil or pencil and the motor should run fast; slide it away and the motor slows. Swap in a small bulb, or add one as a second load, to show dimming.
How it works
Resistance wire and graphite are both poor conductors compared with copper. The longer the stretch of either material the current must pass through, the greater its resistance.
The rheostat is in series with the motor, so the battery's voltage is shared between them. When the clip is close to the connected end, the rheostat has little resistance, the motor gets nearly the full voltage, and a large current flows. Slide the clip farther away and the added resistance cuts the current and takes a bigger share of the voltage, leaving less for the motor, so it slows.
The energy the rheostat takes from the circuit becomes heat in the wire or graphite. That is why simple rheostats waste energy, and why modern dimmers and speed controls use electronics that switch the power on and off rapidly instead.
Using it
- Ask students how a toy car's speed dial or a room's dimmer switch might work, then let them find out with the board.
- Compare the two rheostats: which gives finer control, and which needs a longer path to make the same change?
- Swap the motor for a bulb and slide the clip slowly to show dimming.
- Have students sketch the circuit and mark where the current goes for different clip positions.
- Add a meter (if you have one) across the motor to show its voltage dropping as the clip moves away.
Variations
- Use a small bulb instead of the motor, or mount both on the board with a choice of loads.
- Make a pencil-only version as a quick student activity: a split pencil, a battery, a bulb and two clip leads.
- Try pencils of different hardness (HB, 2B, 6B) and compare how much they dim the bulb.
Troubleshooting
More build plans
No-Magnet Motor (Double-Coil Motor)
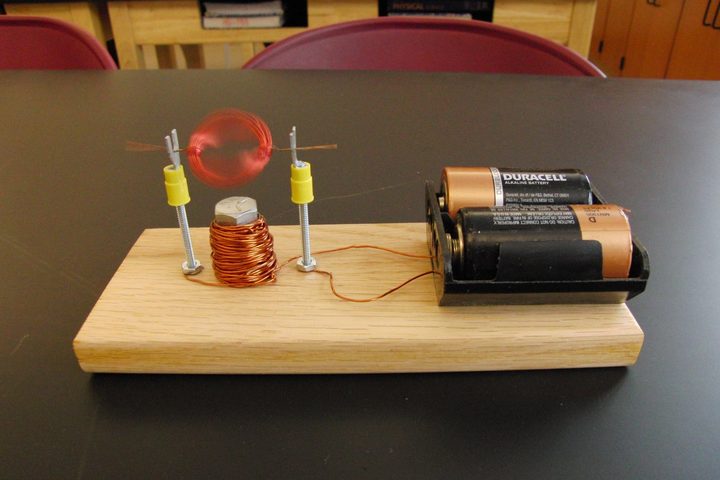
Students who have built the classic coil-and-magnet motor are always surprised that it still spins when the magnet is swapped for a coil of wire around a bolt.
Tangent Galvanometer
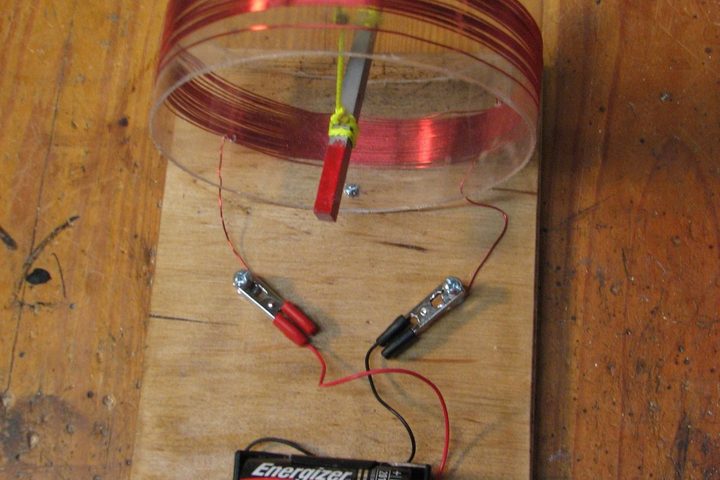
Clip on one wire and a hanging bar magnet swings to face across a ring of copper wire; reverse the battery and it spins all the way around.
Circuit Demonstration Boards
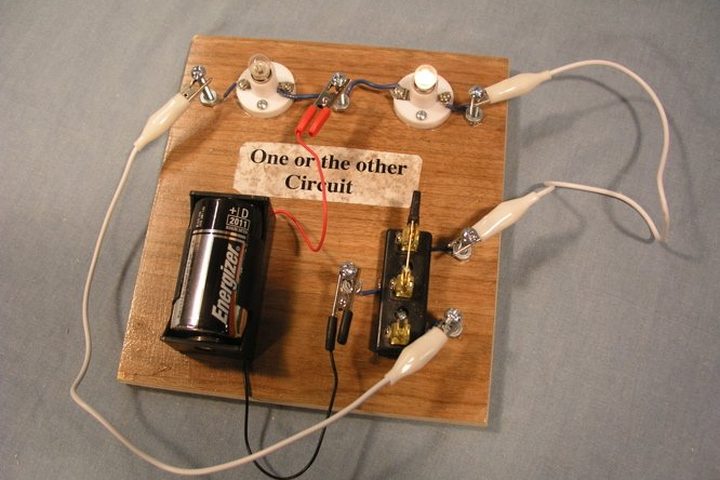
Seven small wooden boards turn abstract circuit diagrams into bulbs that students can light, dim and puzzle over with their own hands.
© Bruce Yeany · Homemade Science with Bruce Yeany · youtube.com/@YeanyScience
Free for personal and classroom use. Please don't resell or republish. Build and use at your own risk; follow the safety notes and supervise children.