Build plans / Plastic-Strip Solar Motor
Plastic-Strip Solar Motor
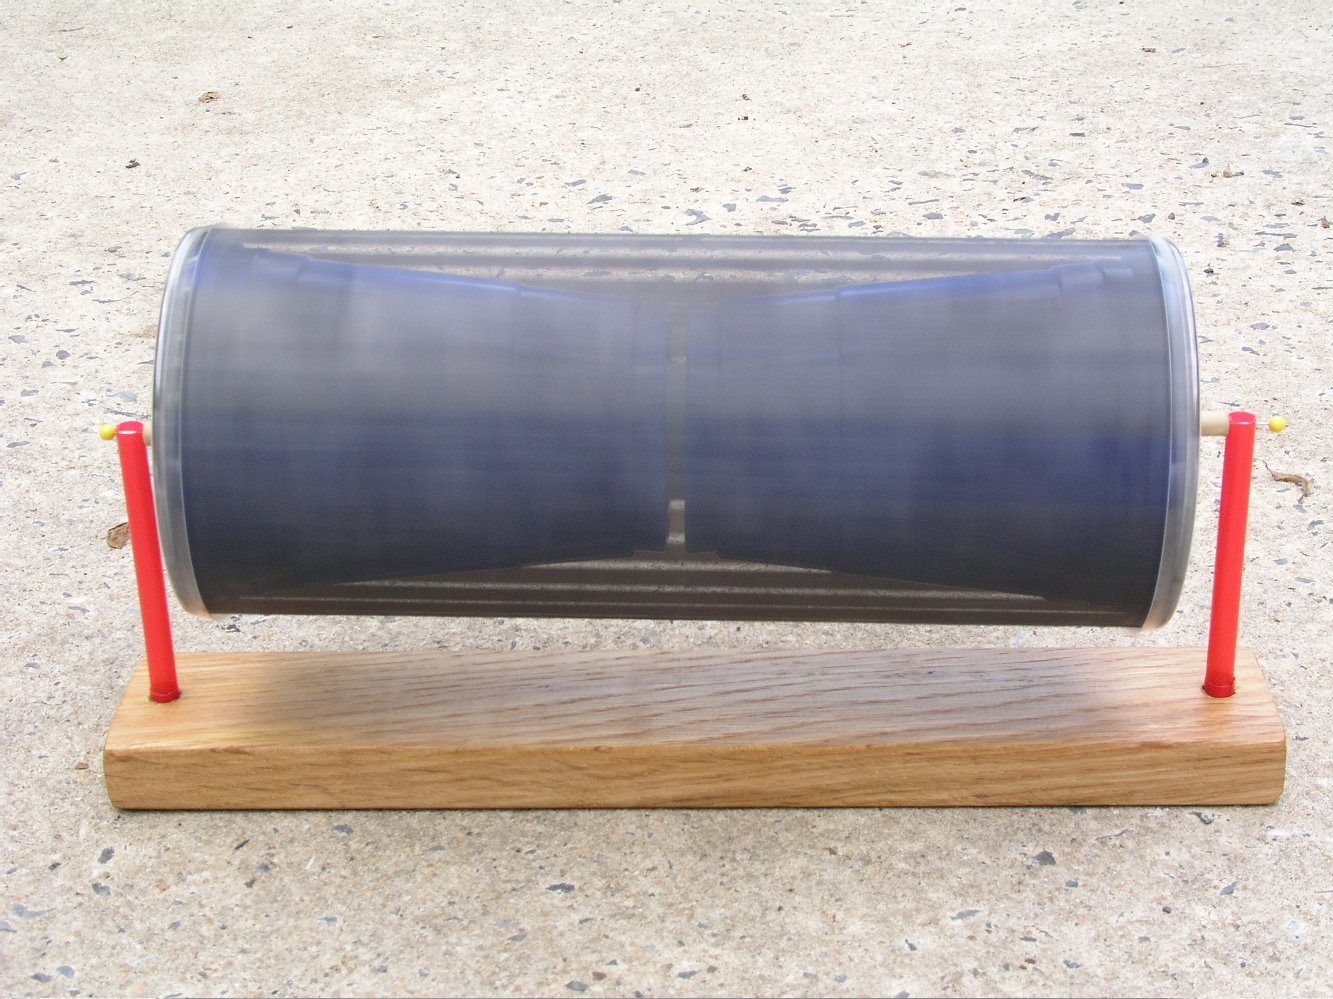
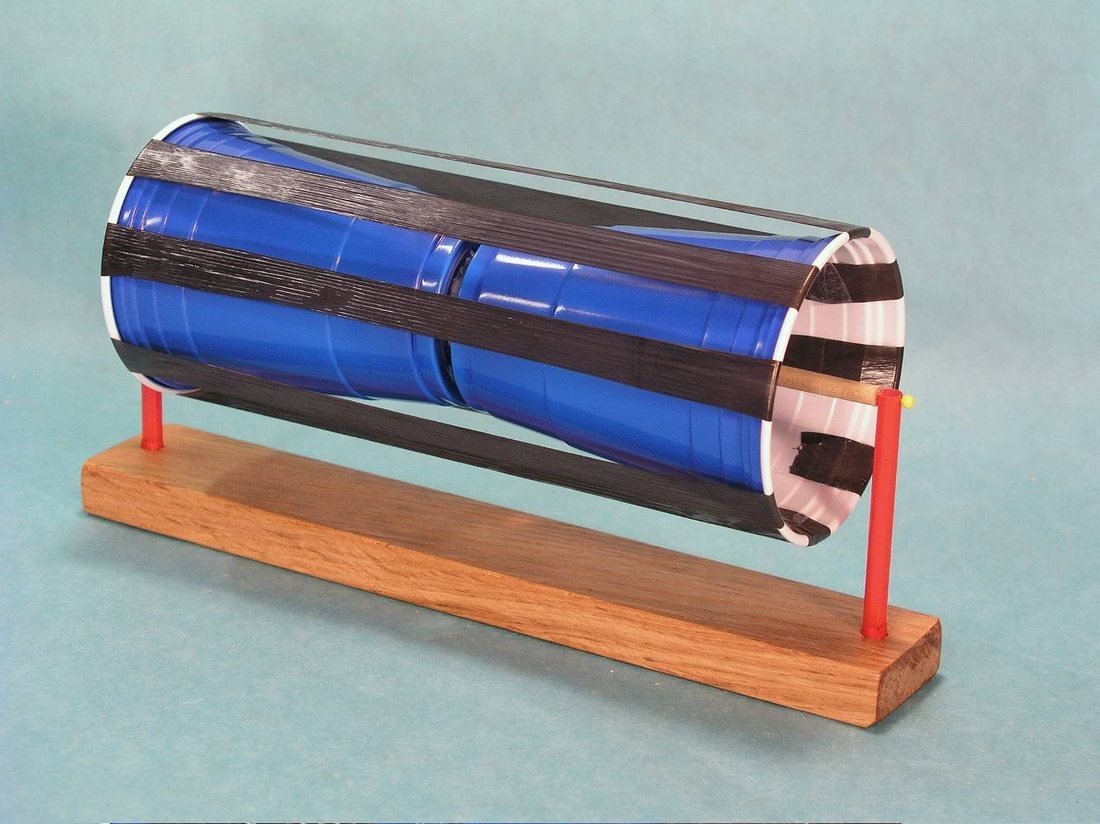
Sixteen thin strips of stretched black trash bag join two plastic cups into a drum that turns on a dowel axle. When the strips on top warm up, they shrink, the drum becomes top heavy and rolls over, and new strips move into the light. In full sun it can reach about 65 RPM, a memorable way to show sunlight being turned directly into motion.
Written from Bruce's original workshop handout. Bruce's final review of this plan is in progress.
What it shows
Put two plastic cups wrapped in stretched trash-bag strips in the sun and they start spinning on their own, with no batteries, solar cells or wires.
Key ideas: solar energy, polymers, thermal contraction, center of gravity, work and power
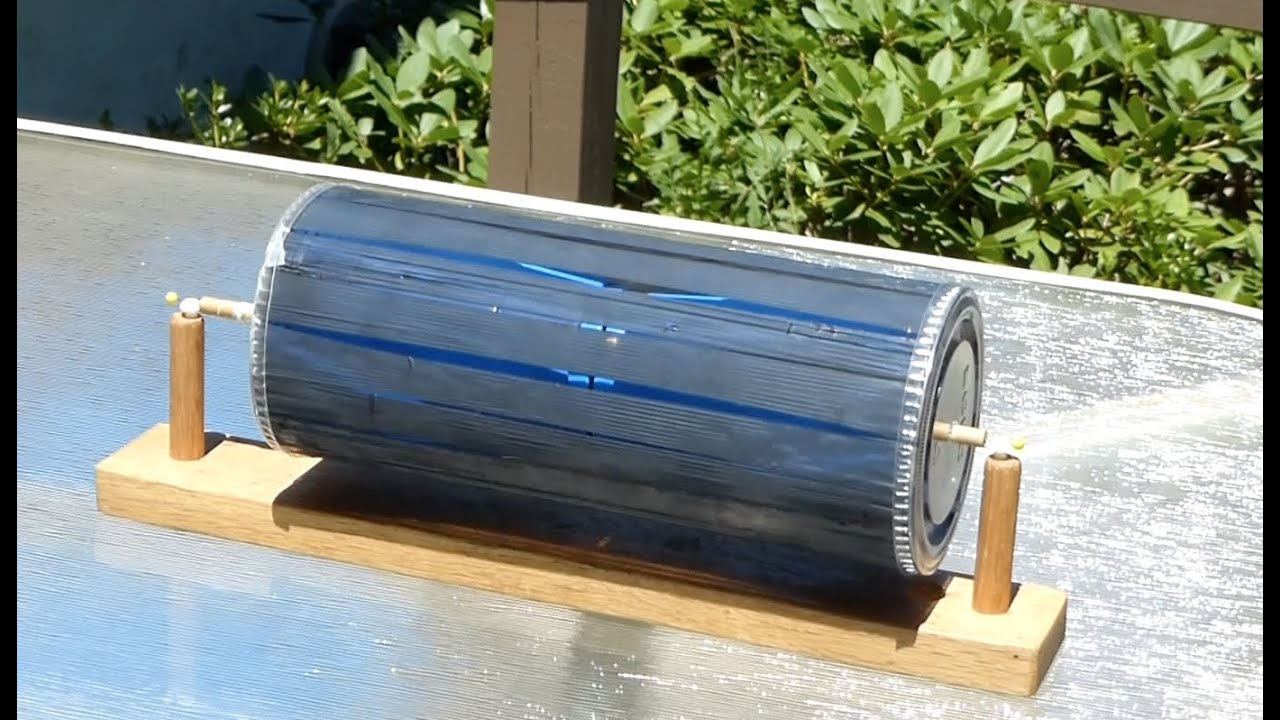
A version of this device appears in If You Build It, They Will Learn (NSTA Press).
About the bookBuild it
Make the base
Cut and sand a 3 in x 13 in base. Drill two holes about 1/2 in deep and 11 1/4 in apart, and stand the support tubes or straws in them. The 11 in dowel should fit loosely between them; trim it if it is tight. File a small notch in the top of each support to cradle the pin pivots.
Drill the dowel ends
Clamp the dowel in a vise or in a block with a 1/4 in hole and drill a tiny pilot hole in each end so the pins won't bend going in. A straight pin with its point clipped off, chucked in the drill, makes a fine bit this small.
Make holes in the cups
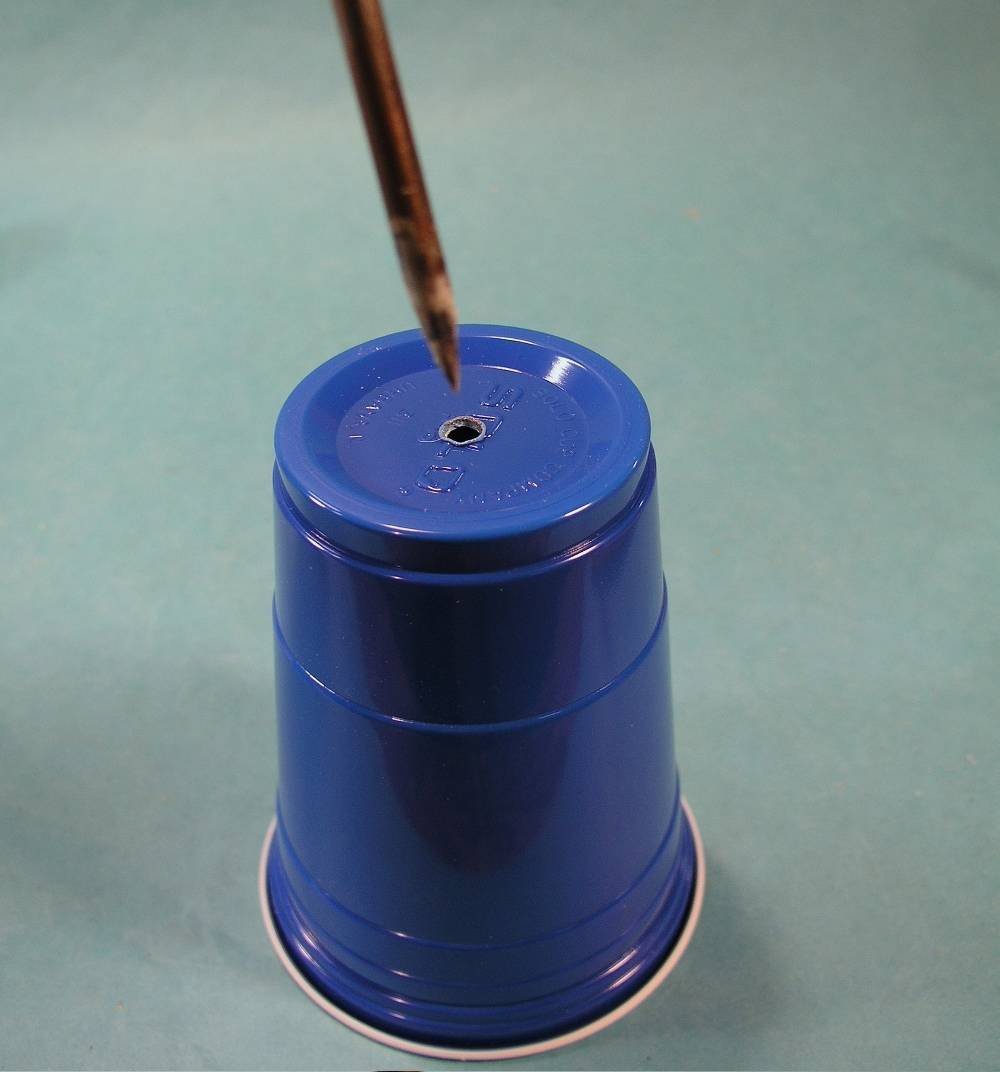
Mark the center of each cup bottom by tracing the dowel end, then make a 1/4 in hole. Drill bits tend to tear thin cups. Bruce melts the hole with a heated nail (adult job; see safety notes).
Fit the first push nut
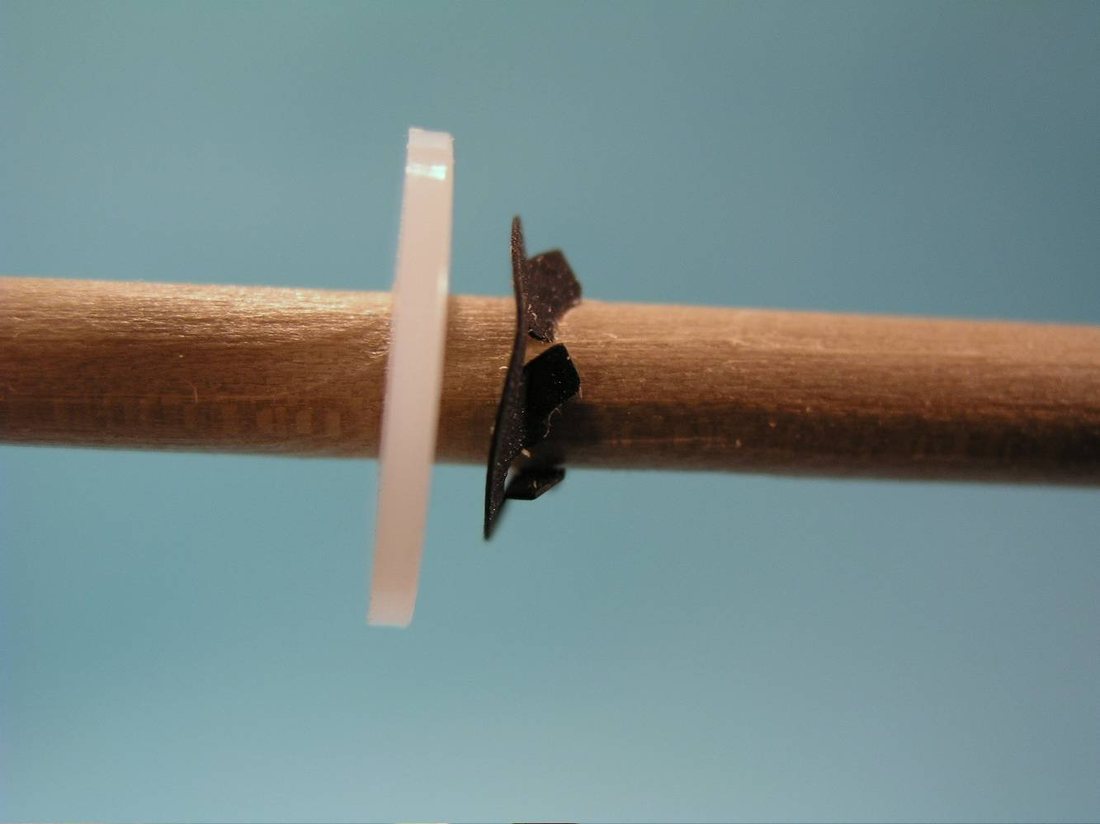
Force a push nut and then a washer onto the dowel. Hold the dowel against a cup to position them so the dowel will stick out about 1/2 in past the cup's mouth.
Cut the foam spacer
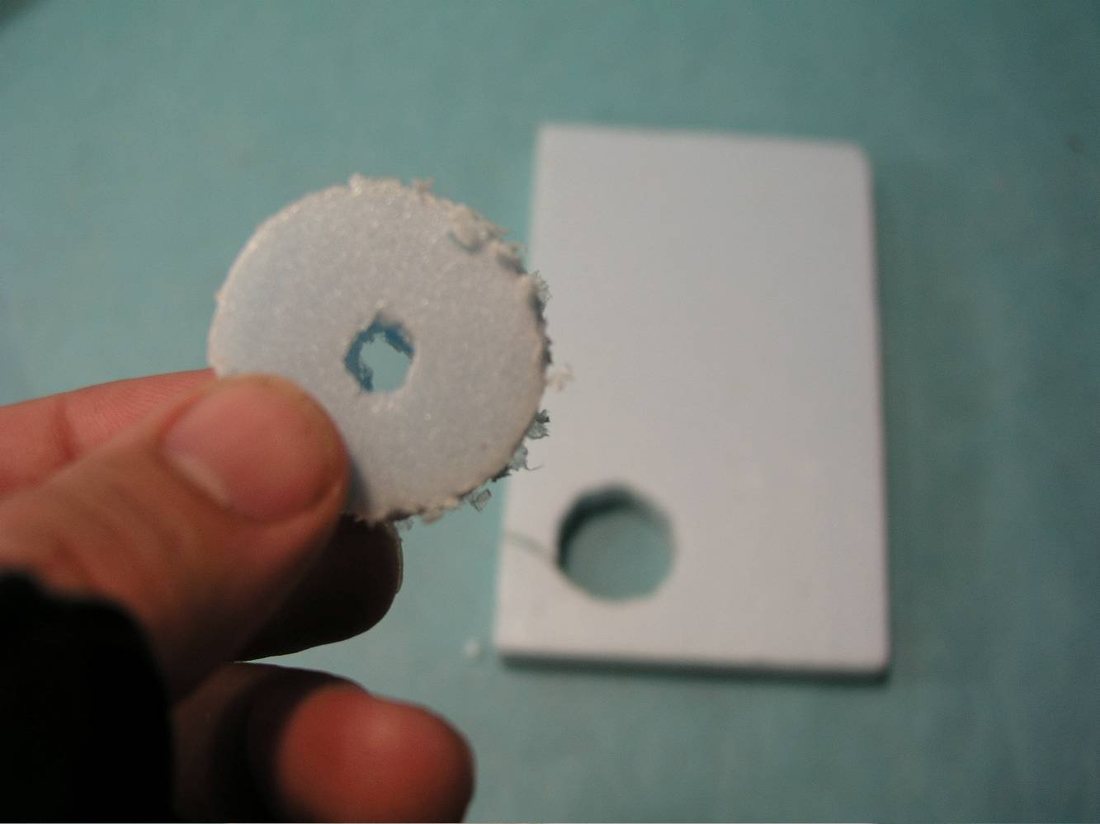
Cut a 1 in diameter foam disk with a 1/4 in center hole. It keeps the cup bottoms 1/4 to 1/2 in apart.
Assemble the cups
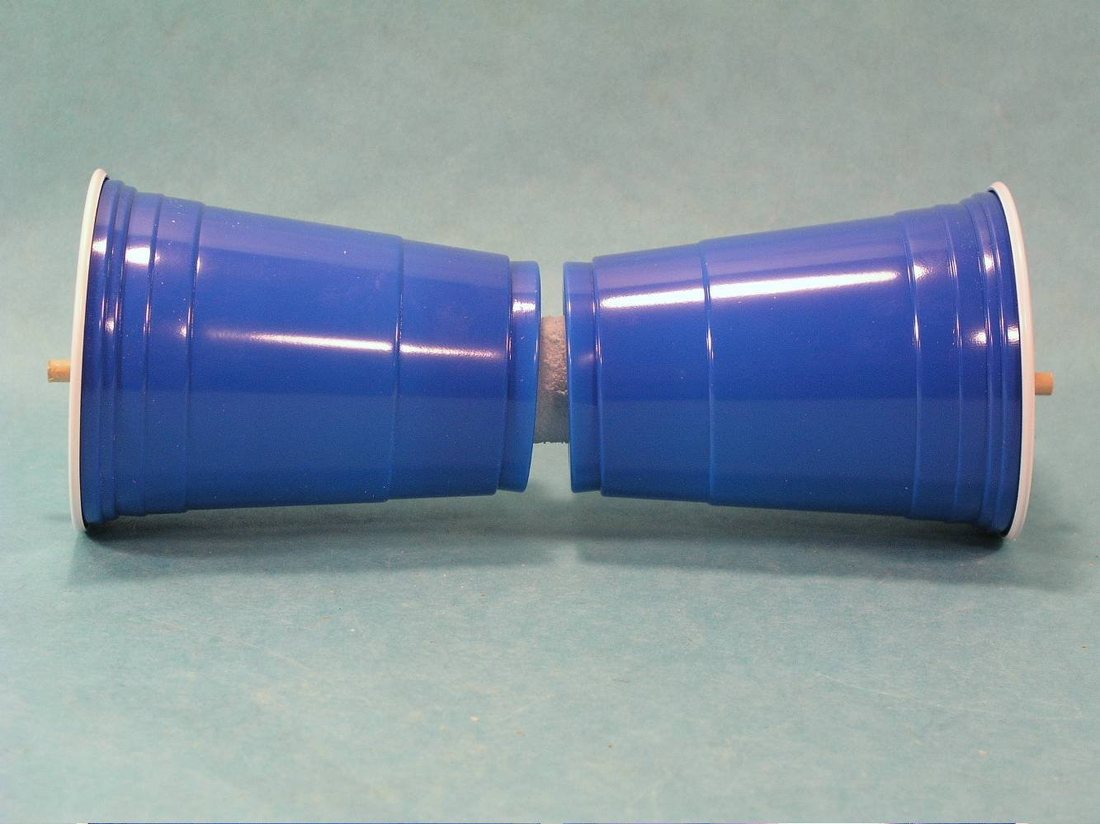
Slide on the first cup, the spacer and the second cup, bottom to bottom. Check that the dowel sticks out equally from both cups. Push nuts only slide one way, so if it is uneven, take everything off and reposition the first nut.
Lock the assembly
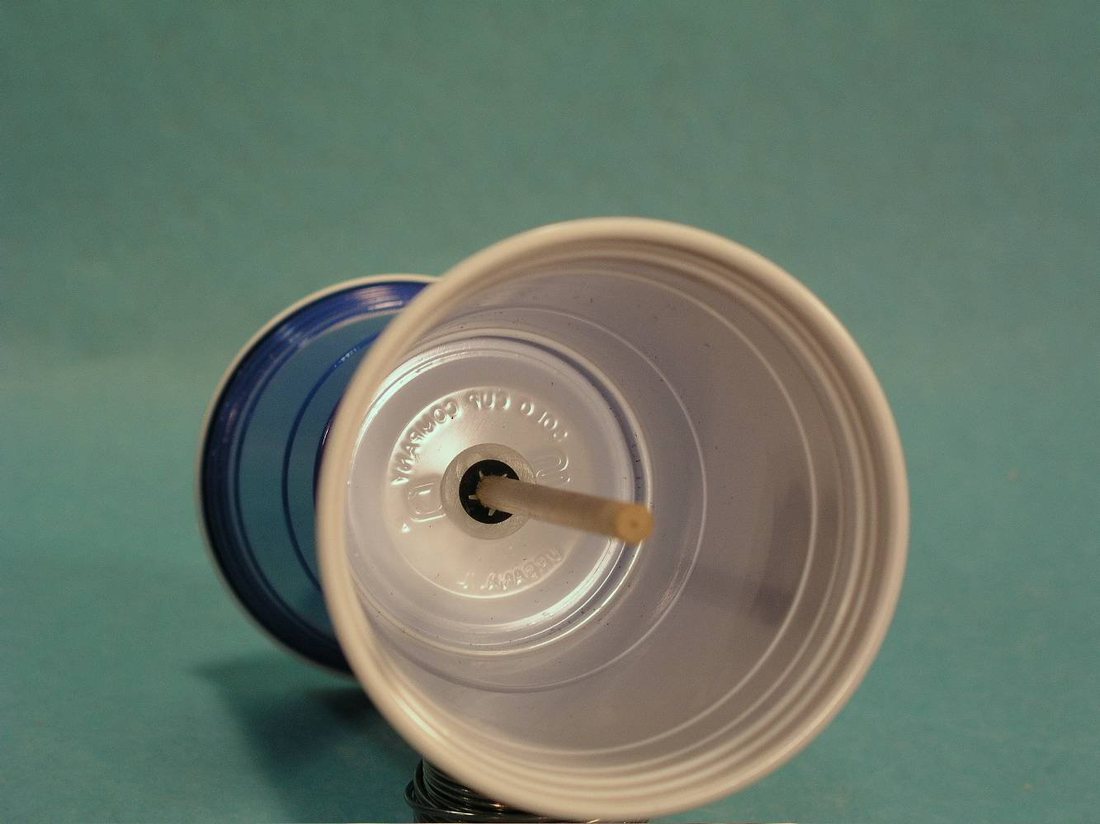
Add the second washer and push nut and press the nut firmly against the cup bottom with a 5/16 in tube (or six pencils bundled around the dowel). Press from both sides so both nuts are tight.
Add the pin pivots
Push a pin into each end of the dowel and clip off any excess. Set the drum on the supports. It should turn freely without the dowel rubbing the supports.
Cut the strips
Cut about 20 strips across the trash bag (parallel to its top), 1 1/2 in wide and about 4 in long. Cut clean, smooth edges: nicks make the strips tear when stretched.
Stretch the strips
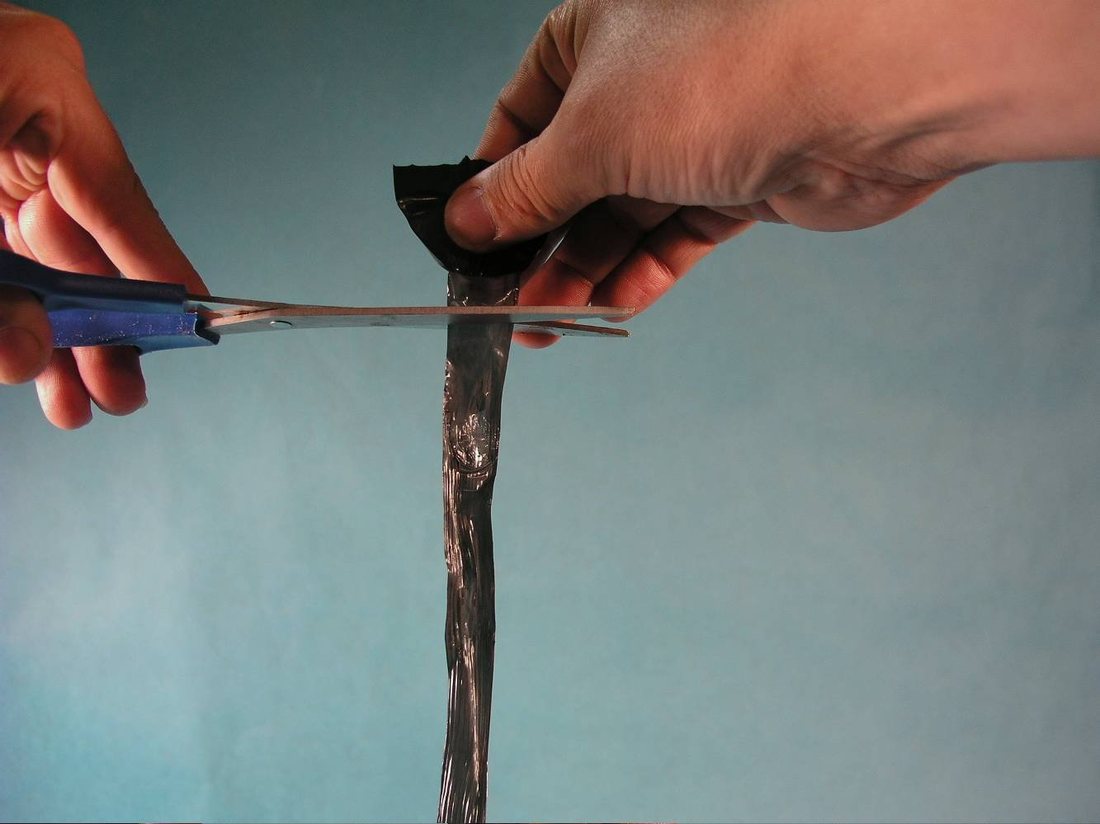
Hold a strip at each end and pull slowly and firmly. It thins and stretches to four or five times its length, like taffy. Stop before it breaks.
Attach the first two strips
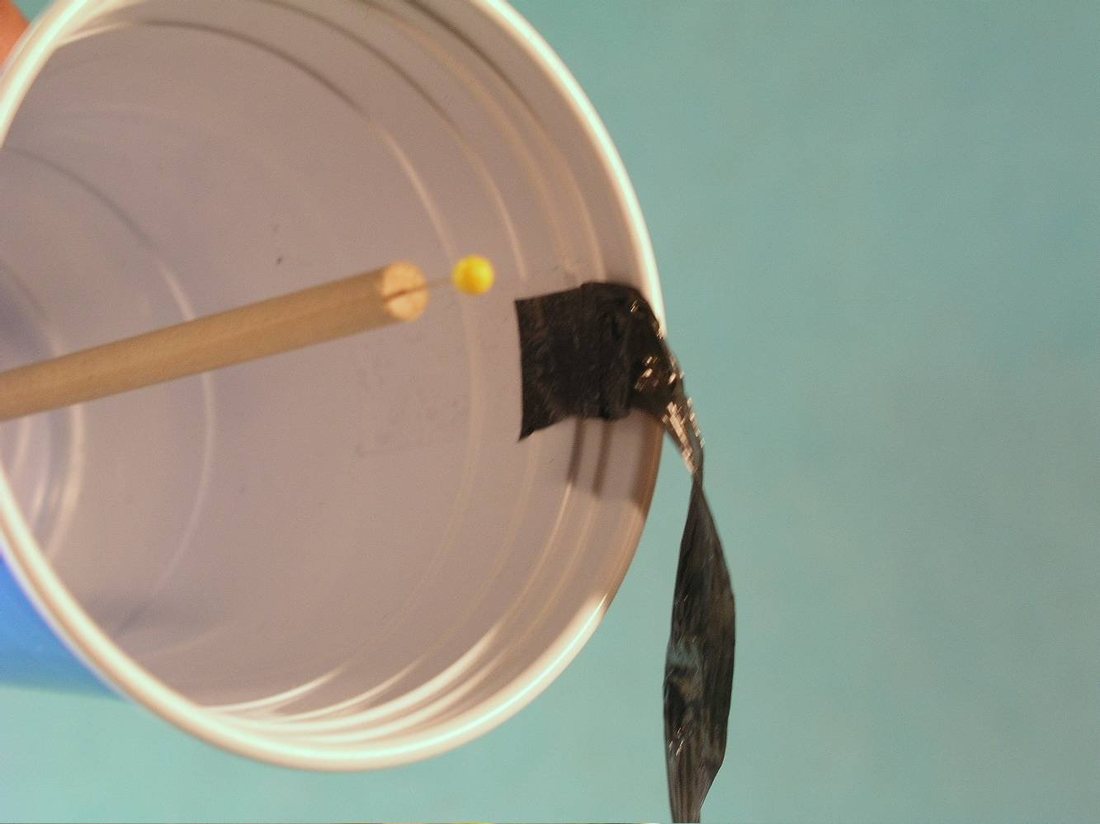
Tape one end of a strip about 1 in inside the rim of the first cup, run it across to the other cup, cut it with 1 in to spare and tape it inside. It should be snug, not tight. Put the second strip directly opposite, tight enough to re-center the cups.
Add the rest in balanced order
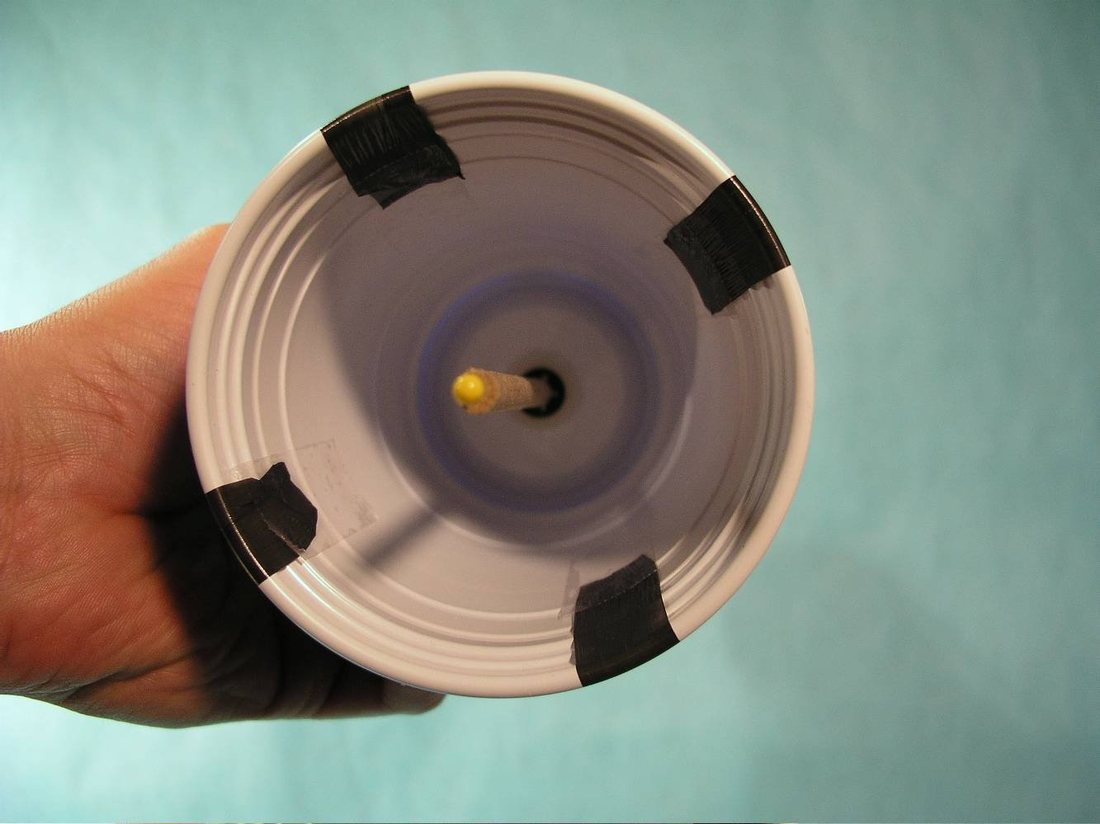
Add strips three and four halfway between the first two, then keep filling the gaps on opposite sides until there are 16. After every few strips, set the drum on the stand: if one side always rolls to the bottom, loosen and re-tape the strips on the light side.
Lock the strips with the lids
Cut out the center of each lid, leaving a 1 in rim, and press the lids onto the cups over the taped strip ends.
Fine-tune the balance
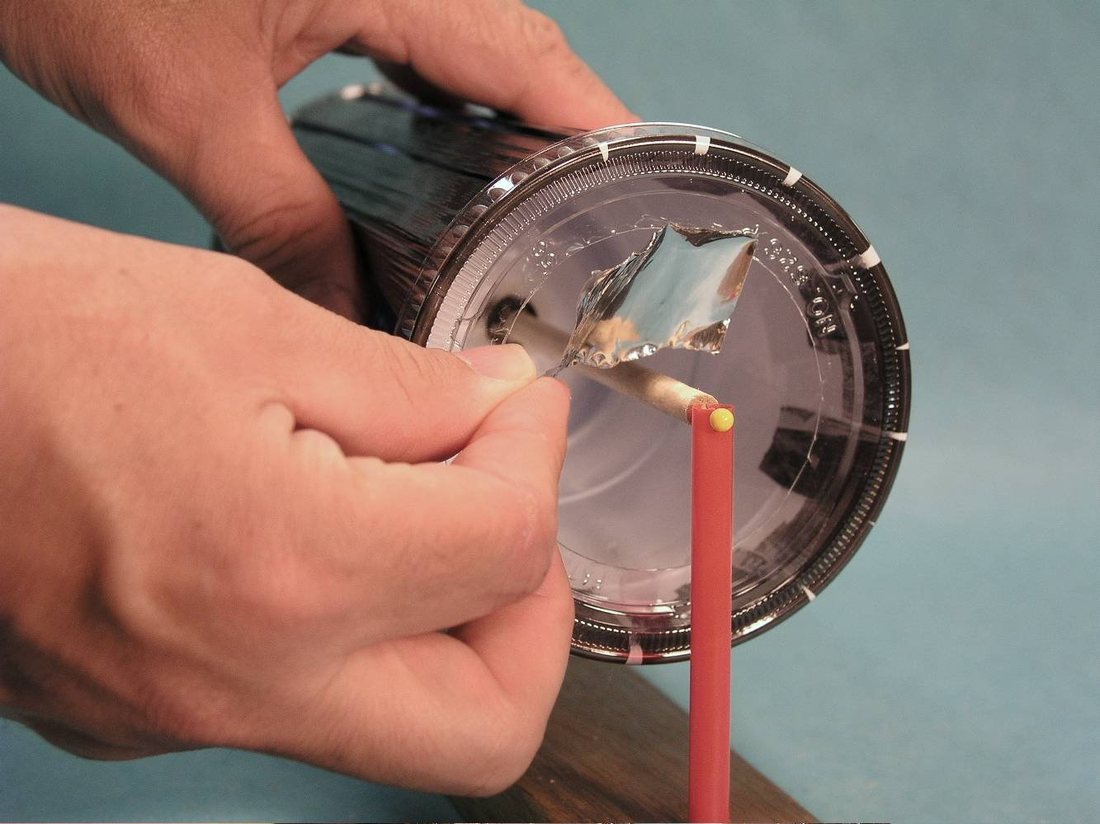
Turn the drum and let go. If it always stops with the same side down, stick small bits of foil inside the cups on the side that ends up on top. Keep adjusting until the drum stays wherever you leave it.
Test it
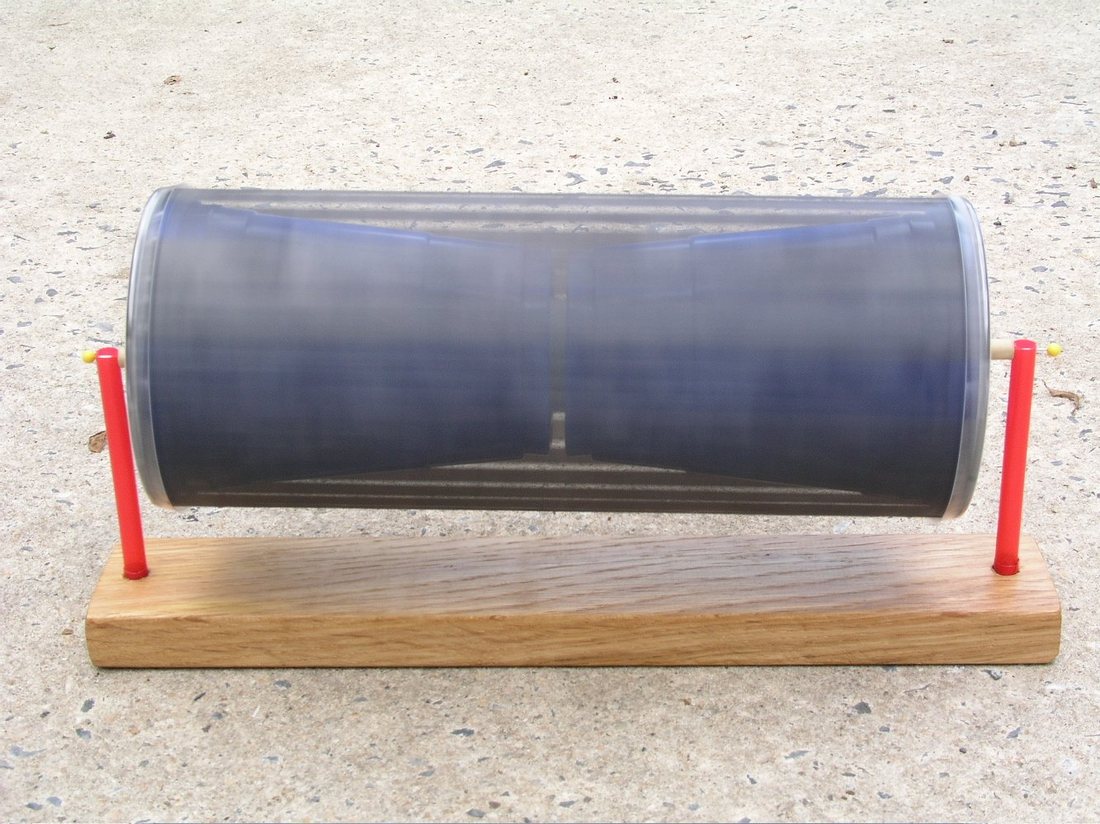
Put it in bright sunlight, or about 5 to 6 in from an incandescent bulb. If it doesn't start right away, give it a gentle push. Store it off its stand so it doesn't develop a heavy side.
How it works
Trash bags are made of polyethylene, a polymer made of very long chain molecules. Stretching a strip pulls those tangled chains into line. When a stretched strip is warmed, the chains tend to curl back up, so the strip shrinks instead of expanding like most materials.
The black strips on top of the drum absorb sunlight and warm up. As they shrink, they pull the rims of the cups slightly toward each other on that side. The change is too small to see, but it shifts mass and makes the top of the drum a little heavier than the bottom.
A top-heavy drum on an axle rolls until its heavy side is at the bottom. That brings fresh, cool strips into the light, which then shrink in turn, so the drum keeps turning as long as the light shines.
The motor turns light energy into thermal energy in the black plastic, and then into motion. Its power output is tiny, about 1.5 millionths of a horsepower, but it can be measured.
Using it
- Pass around stretched strips and let students warm one gently near a lamp to watch it shrink.
- Tape a paper clip to the top of a balanced drum to show what 'top heavy' does, then ask how the strips could do the same thing.
- Ask why the strips are black, and predict whether a clear bag would work. Test strips of different colors, brands and thicknesses.
- Use mirrors to direct more sunlight onto the top strips. Bruce's motors have reached about 86 RPM this way.
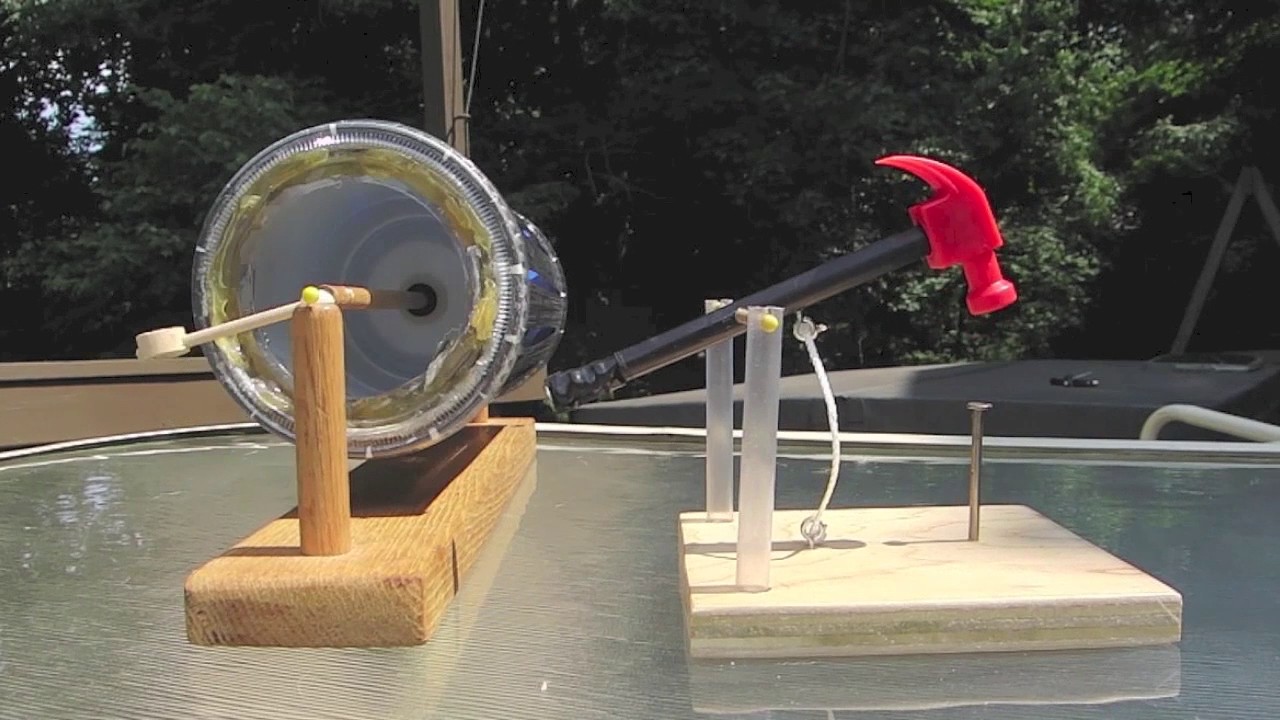
- Measure power: tie a string to an extended axle, let the motor lift a few paper clips about half a meter, and divide the work (weight times height) by the time in seconds to get watts. Divide by 746 for horsepower.
Variations
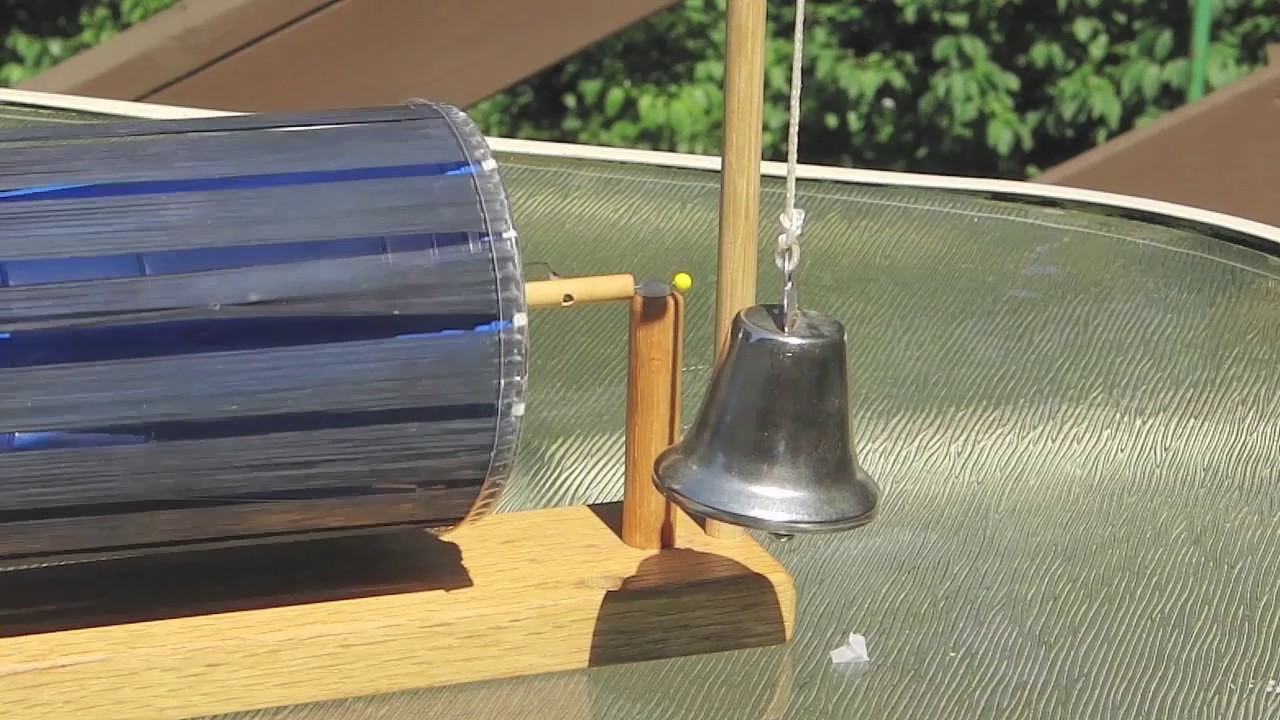
- Sunshine alarm: a flexible plastic arm with a nut on the end, attached to the axle, rings a small bell hung from a post at the end of the base.
- Rainbow spinner: a faceted plastic cabinet knob on the end of the axle throws moving spots of color around a sunny room.
- Flywheel: wrap a ring of heavy wire around a lid and hot glue it on. It does not make the motor faster, but it helps it do small jobs. It also makes balancing fussier.
- Giant motor: Bruce built a much larger version from two 5 gallon buckets with the strips held on by duct tape.
Troubleshooting
More build plans
Activation Energy Track
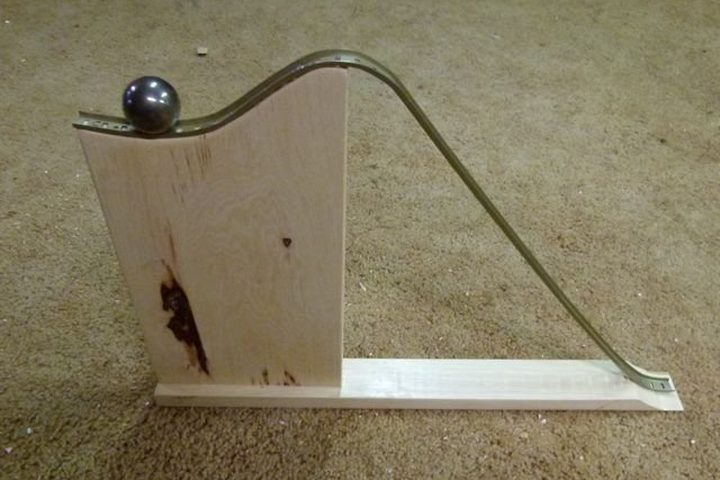
The ball sits up high, full of potential energy, yet it can't go anywhere until you lift it a little higher.

Fruit Racers
Pick a fruit, add wheels, and race it down a tilted table in a family-night challenge built on potential energy.
Rolling vs. Sliding Batteries
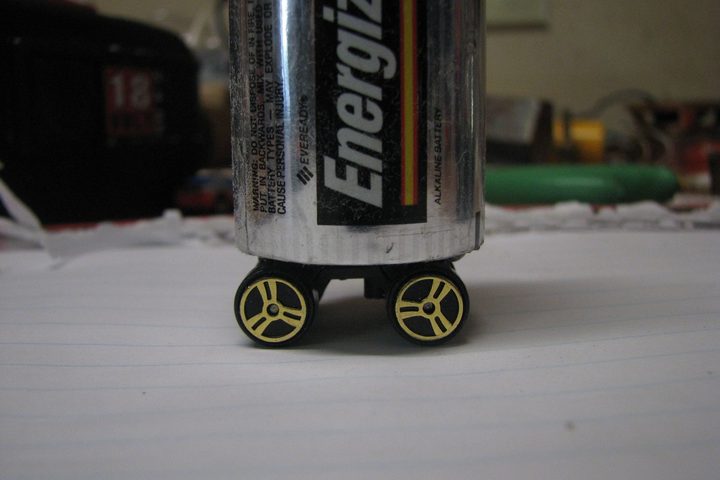
Two identical batteries race down a gentle slope: one rolls, one rides on tiny toy-car wheels. Most people bet on the wrong one.
© Bruce Yeany · Homemade Science with Bruce Yeany · youtube.com/@YeanyScience
Free for personal and classroom use. Please don't resell or republish. Build and use at your own risk; follow the safety notes and supervise children.