Build plans / Standing Wave Gadget
Standing Wave Gadget
A small motor with an off-center weight on its shaft is housed in a PVC plug and hung from the bottom of a long string. Its wobble sends waves up the string that reflect from the top support; adjust the length and the string locks into a clean standing wave with distinct nodes and antinodes. It is cheap enough to build one per lab group and supports both a quick demonstration and real measurements of wave speed.
Written from Bruce's original workshop handout. Bruce's final review of this plan is in progress.
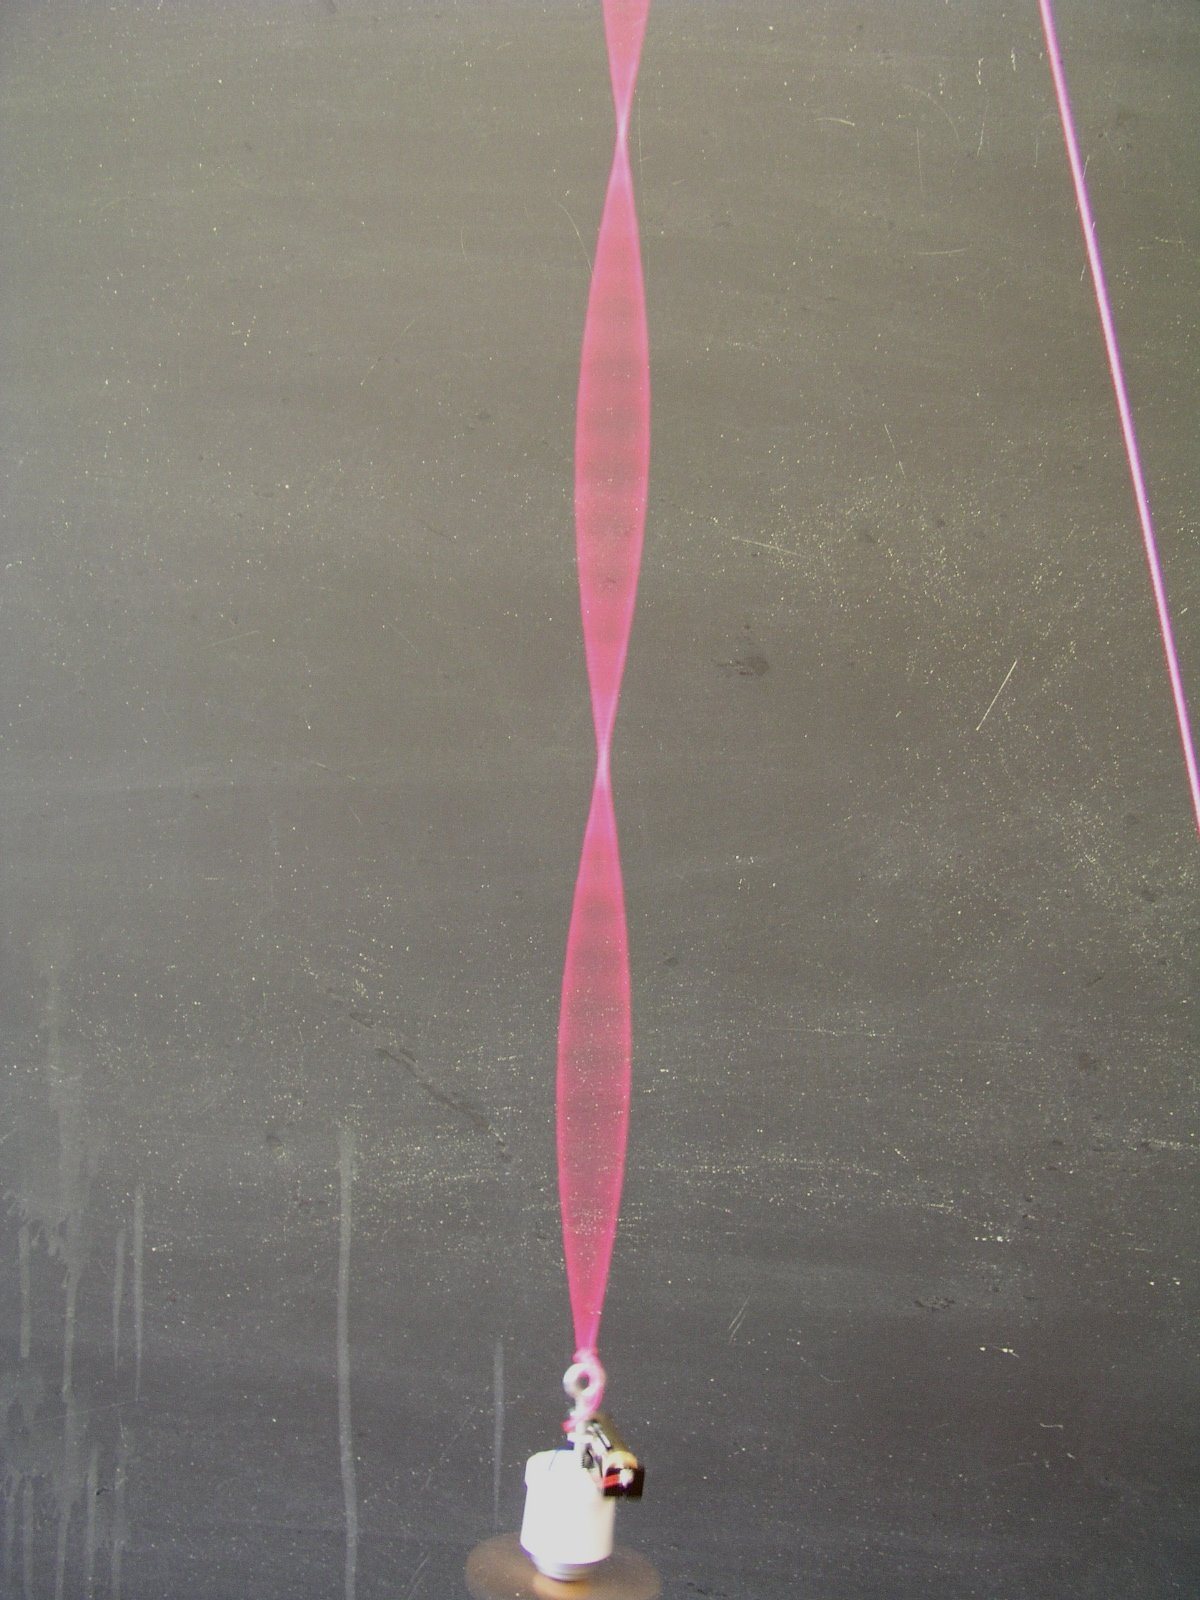
What it shows
A one-battery motor hanging on a string turns a plain cord into a row of glowing, motionless loops.
Key ideas: standing waves, nodes and antinodes, harmonics, wave speed, tension, linear density
Build it
Drill the eyebolt hole
Drill a hole in the center of the closed end of the PVC plug, one size smaller than the eyebolt, so the bolt can be screwed in tightly.
Drill a wire hole
Drill a second, smaller hole toward the side of the plug's closed end. The motor wires will come up through it.
Mount the battery holder
Set the battery holder on top of the plug beside the center hole. Drill two holes through the holder, then drill matching 1/16 in pilot holes down into the plug wall, and fasten it with two #4 x 1/2 in screws.
Install the eyebolt
Thread both nuts onto the eyebolt and screw it into the center hole. The space between the nuts will later hold washers or slotted weights.
Seat the motor
Feed the motor's wires up through the side hole and push the motor into the open end of the plug, shaft pointing down. If it is loose, wrap a little tape around it for a tight fit.
Wire it up
Trim the battery-holder leads short. Solder one motor wire to each battery-holder lead (add a slide switch in one lead if you like). With no switch, you turn it on and off by inserting and removing the battery.
Make the off-center weight
Drill a hole near one end of the wood strip so it is a tight push fit on the motor shaft, and press it on. Extra holes at different spots let you change the speed and size of the wobble.
Hang and test
Tie the string to the eyebolt and hang the gadget from a high support, or hold the string a foot or two above it. Switch it on, let it settle, then slowly lengthen the string until a steady standing wave appears.
How it works
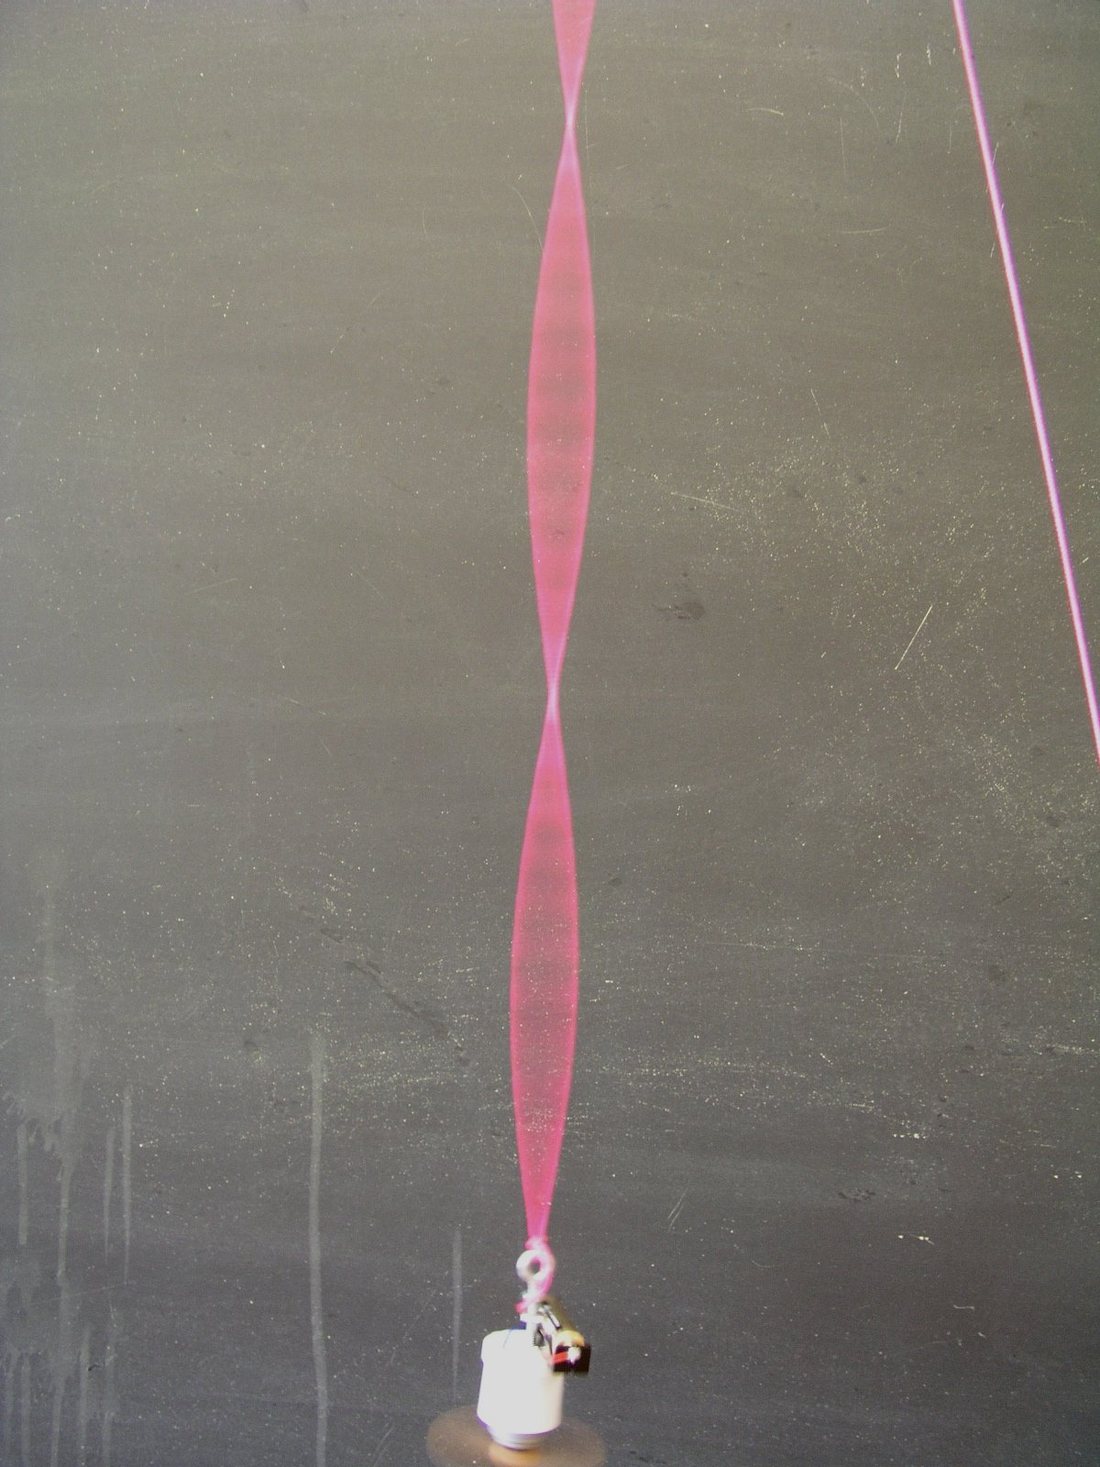
The spinning off-center weight makes the bottom of the string wobble many times a second. Each wobble sends a wave up the string. At the top support the wave reflects and travels back down, overlapping with the new waves coming up.
At most lengths the up-going and down-going waves jumble together. At certain lengths they line up so that some points always cancel (nodes) and the points halfway between swing widely (antinodes). That steady pattern is a standing wave. Adjacent nodes are half a wavelength apart.
Wave speed on a string depends on tension T and mass per length mu: v = sqrt(T / mu). Here the tension is simply the weight of the hanging gadget. Wave speed also equals frequency times wavelength, v = f x lambda. Adding weight raises the speed, so with the same motor frequency the wavelength gets longer and you need more string for the same number of loops.
Using it
- Demonstration: lengthen the string slowly and count how the number of antinodes steps up, from one to more than twenty with a stairwell or ceiling hook.
- Tension: set up four antinodes (two full wavelengths), measure node-to-node distances, then clamp washers between the eyebolt nuts and measure again.
- Frequency: move the wood weight to a different hole, or change the weight on the shaft, and compare wavelengths.
- Linear density: try different strings or cords and compute mu = mass / length for each.
- Two-way check: weigh the gadget to get T, compute v = sqrt(T / mu), then measure f with a strobe or photogate and lambda from the string and compare with v = f x lambda.
- With a strobe light in a darkened room, the string can be made to appear to rotate slowly or freeze.
Variations
- Use a small nylon bolt with two nylon nuts on the shaft as the off-center weight; removing or moving a nut changes the frequency. If you remove a nut, tape it to the housing so the total weight (and tension) stays the same.
- Shock cord instead of string: its linear density changes as it stretches. Mark two points on the slack cord, measure them again when stretched, and divide the slack linear density by the stretch ratio.
Troubleshooting
More build plans
Balloon Fog Horn
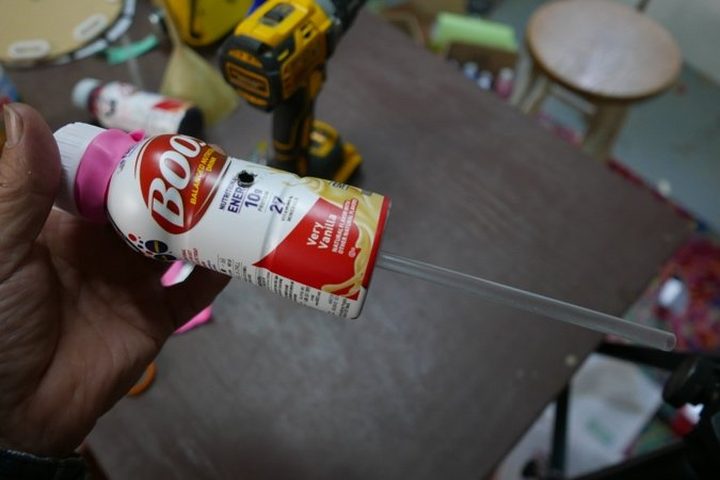
Blow into a little plastic bottle and it lets out a deep, buzzing honk like a ship in the fog.
F.A.K.E.D. Resonance Pendulums
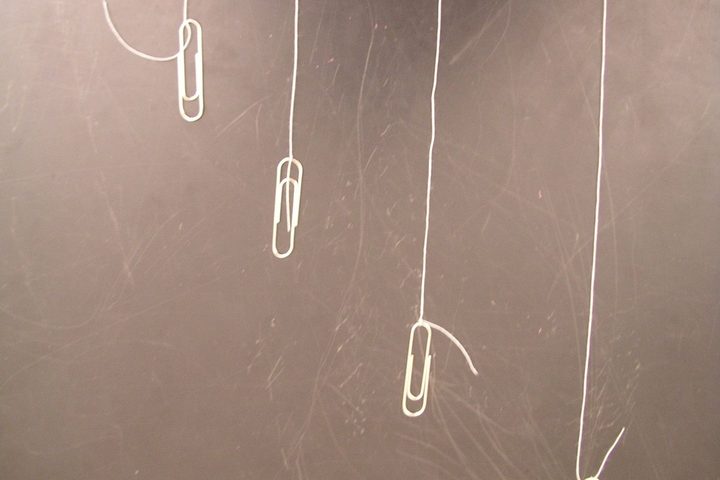
Ask the class to move just the orange ball with their minds, and watch it swing while the other three hang nearly still.
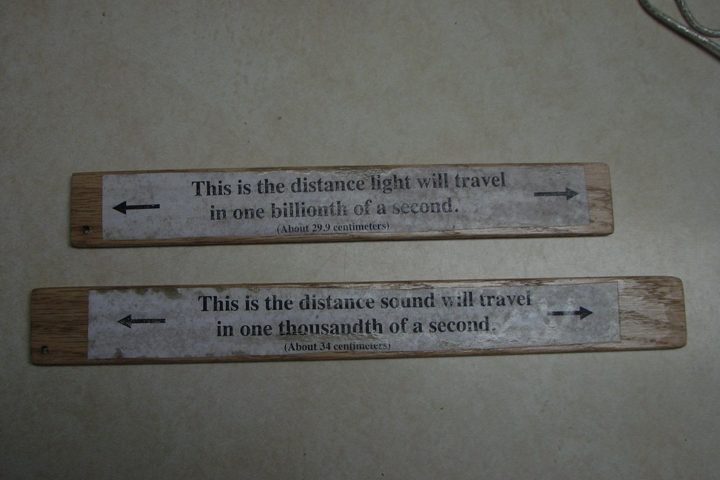
Nanosecond of Light and Millisecond of Sound Sticks
Two sticks of almost the same length: one shows a billionth of a second of light, the other a thousandth of a second of sound.
© Bruce Yeany · Homemade Science with Bruce Yeany · youtube.com/@YeanyScience
Free for personal and classroom use. Please don't resell or republish. Build and use at your own risk; follow the safety notes and supervise children.