Build plans / Tabletop Trebuchet
Tabletop Trebuchet
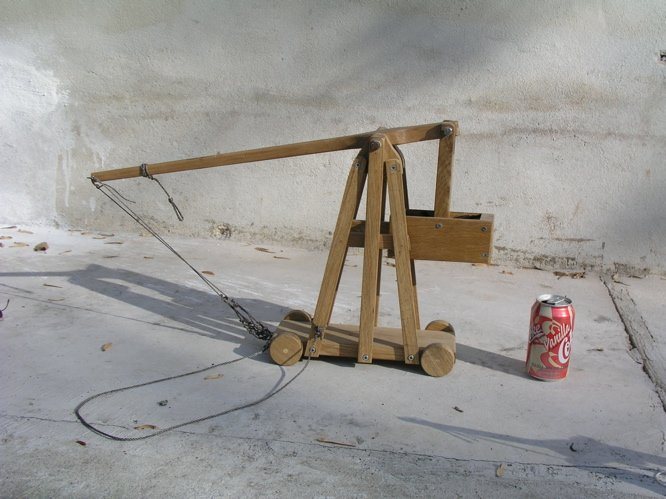
This is the small trebuchet Bruce's eighth graders built with hand tools: a counterweight first-class lever on a wheeled base, with a duct-tape sling and a string-and-paper-clip trigger. It brings levers, energy transfer and projectile motion together, and it makes a great design competition.
Written from Bruce's original workshop handout. Bruce's final review of this plan is in progress.
What it shows
A half-kilogram counterweight swings a long arm and a string sling to fling a rubber ball across the room, just as medieval siege engines did.
Key ideas: first-class lever, potential and kinetic energy, projectile motion, launch angle
Build it
Cut the base
Cut the base block 4 in wide by 11 in long from 3/4 in plywood or solid wood.
Cut the two supports
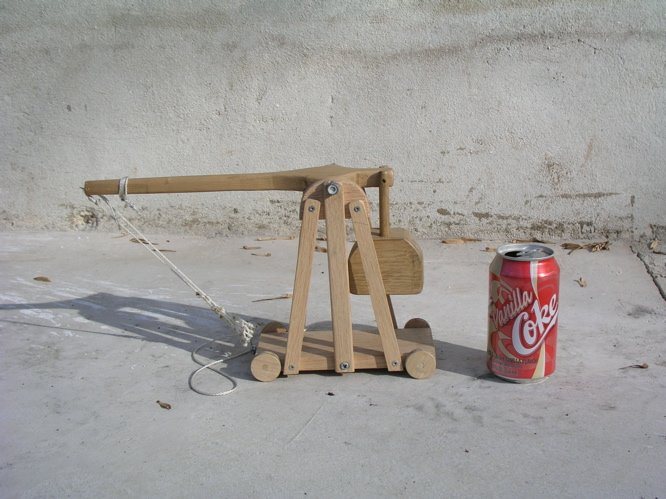
Draw a support 12 in tall that is 6 in wide at the bottom and narrows to 1 in at the top. Draw both side by side to save material, cut them out, tape them together and sand them as a pair so they match. If you want the open-frame look, drill a starter hole through both and cut out the centers with a saber saw while they are still taped and clamped in a vise.
Drill the axle holes
With the supports still taped together, drill a 5/16 in hole near the top through both. The axle dowel should turn freely in these holes. Then separate and sand the pieces.
Mount the supports
Center one support on the side of the base, level with its bottom edge, drill three pilot holes and screw it on with the heads flush. Fit the second support on the other side, slide the 5 in axle through both to check that it is straight, level and square, and then screw it on.
Make the spacer blocks
Drill a 5/16 in hole through a 1 1/2 in wide strip of wood, then saw across the middle of the hole so each piece has half a hole in its end. Tape the two pieces together and cut them to a matching shape. Screw one to the inside of each support so the half-holes sit against the axle. They keep the arm centered and should leave about 1 in between them.
Add the wheels
Drill 1 in deep holes in each corner of the base edge, glue in 5/16 in dowels, and cut each off 1/2 in longer than a wheel is thick. Slide on the 2 in wheels, drill a small hole through each axle just outside the wheel, and push in a toothpick peg; snap off the excess with pliers. Wheels let the frame roll forward during the throw, which Bruce found adds about 30% to the distance.
Build the throwing arm
Drill a 5/16 in hole across the 5 in hub block, 3 1/2 in from one end, and glue the 5 in axle dowel through it. Drill a second hole into the end of the block nearest the axle and glue in the 16 in dowel so the tip is 16-17 in from the axle. The short end, 3 1/2 in from the axle, carries the counterweight, giving a long-to-short ratio of about 4.5 to 1.
Add the release pin and hooks
Drill a 1/16 in hole in the tip of the arm and tap in a small nail. Cut it off 1/4 in from the wood and bend it up about 30 degrees, pointing away from the hub. Screw a small eye hook into the arm about 1 in from the tip, and an eyebolt into the short end of the hub to hang the counterweight.
Make the sling
Tie a short string to a 30 in string so the two knots are about 4 in apart. Cut a 3 in piece of duct tape, slit 1 in into each end, and overlap the slit flaps to form a little cup. Lay the strings across the sticky side, fold the tape over them, and cover with a second slit piece. Close the pouch around a marble and warm it with a hair dryer so it cools in a closed shape.
Attach the sling
Tie a small loop in the sling about 14 in from the center of the pouch and slip it over the bent nail. Tie the other end to the eye hook near the tip. The pouch should hang down from the arm tip; the length is a starting point you will adjust later.
Build the trigger
Screw two small eye hooks into the base, close together. Cut a paper clip in half, bend a small circle in one end, and tie a 3 ft cord to it. Tie a loop in a short string, wrap its other end three or four times around the arm and tie it, so that with the arm pulled down (nail just touching the base) the loop sits between the two eye hooks. Slide the paper clip through both eye hooks and the loop to lock the arm.
Load and launch
Hang the counterweight, cock and lock the arm, and lay the sling out along the base toward the back with the projectile in the pouch. Clear the area, stand to the side, and pull the cord to release.
Tune the throw
You want the projectile to leave at about 45 degrees. If it flies too low (released too late), straighten the release pin a little or lengthen the sling. If it goes too high, bend the pin a little more. Change one thing at a time and record each result.
How it works
A trebuchet is a first-class lever. The axle is the fulcrum, the heavy counterweight sits on the short end and the projectile rides on the long end. When the counterweight drops a short distance, the tip of the long arm, about four to five times farther from the axle, swings through a much larger arc and moves much faster.
Energy flows from the gravitational potential energy of the raised counterweight into the motion of the arm and sling. The sling acts like an extra joint that whips around the arm tip, adding even more speed to the projectile.
As the arm swings up, the sling loop slides off the angled nail and lets go. The angle of the nail and the length of the sling decide when that happens, and therefore the launch angle. On level ground and ignoring air resistance, about 45 degrees gives the longest throw.
Wheels let the whole frame roll forward as the counterweight falls, so less energy is wasted rocking the base and more goes into the projectile.
Using it
- Hold a distance or accuracy competition with every team using the same counterweight (Bruce uses a 1/2 kg mass) or the same total machine weight.
- Measure launch distance as you change one variable: counterweight mass, sling length, pin angle or arm ratio. Graph the results.
- Calculate the potential energy lost by the counterweight and compare it with the kinetic energy of the projectile to estimate efficiency.
- Compare throws with and without wheels.
- Have students research how full-size trebuchets were built and used, then design their own.
Variations
- Bruce's desk model, with a 1/2 lb counterweight, throws wrapped chocolate candies about 25 ft.
- A larger version with a 4 lb counterweight throws 1 in balls about 75 ft (use soft balls and a large, empty field).
- Replace the square hub with a 3/4 or 1 in round dowel and skip the shaping.
- Cut the top of each support off just above the axle hole so the arm lifts straight out for adjustments.
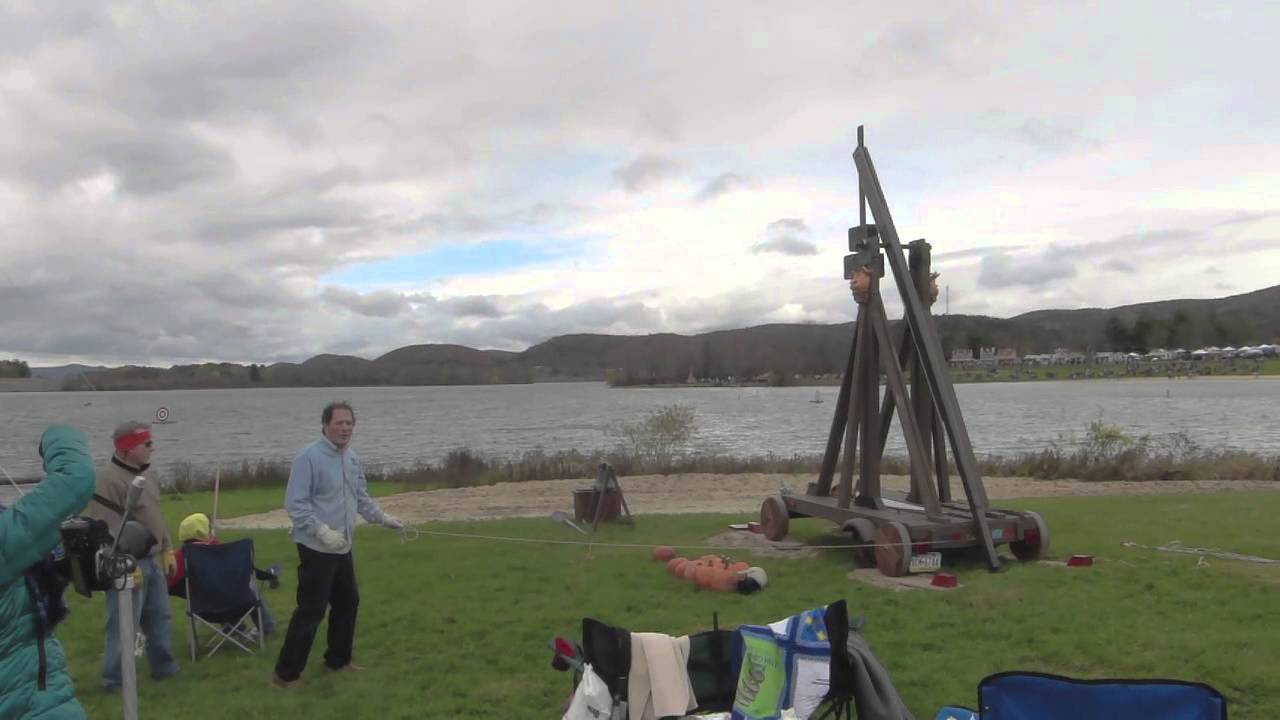
- Bruce also builds full-size pumpkin-throwing trebuchets for Punkin Chunkin competitions; see the video.
Troubleshooting
More build plans
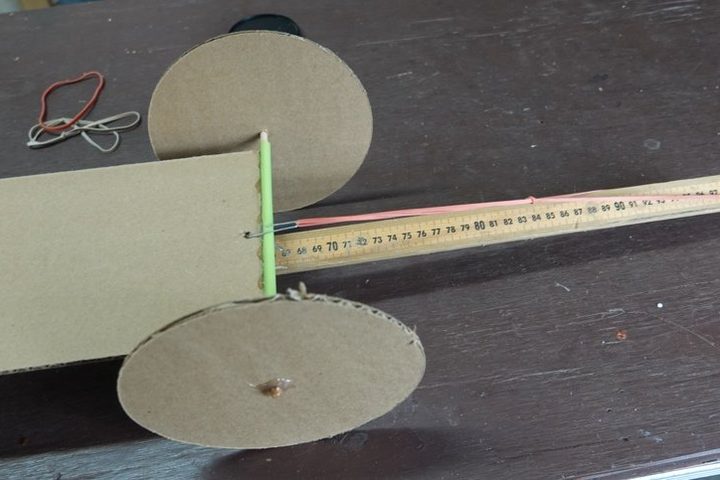
Cardboard Rubber Band Car
A shipping box, a few straws and a rubber band become a car that can roll more than 20 feet, and with giant wheels, more than 100.
Classroom Pulley System (Small-Load Version)
Lift the same bucket of sand with one pulley, then two, three and four, and feel the pull get easier while you measure exactly what it costs you in rope.
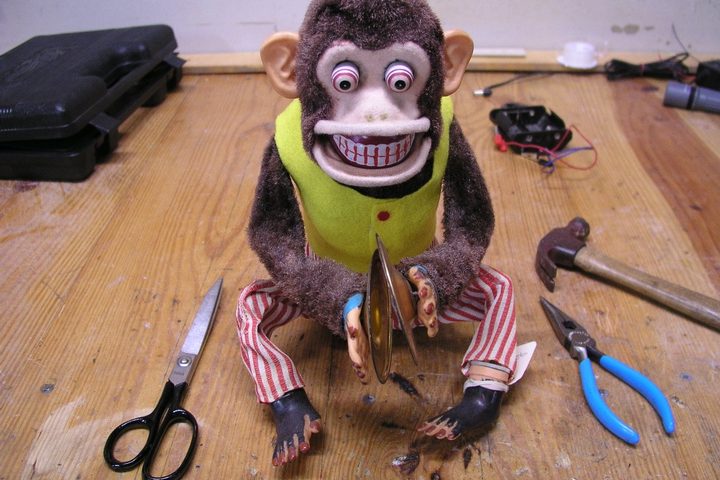
Toy Dissection Lab and Display
Take apart a broken toy to find the gears, levers and cams hiding inside, then put it back together as a see-through display.
© Bruce Yeany · Homemade Science with Bruce Yeany · youtube.com/@YeanyScience
Free for personal and classroom use. Please don't resell or republish. Build and use at your own risk; follow the safety notes and supervise children.