Build plans / Tall Clear Demonstration Tanks
Tall Clear Demonstration Tanks
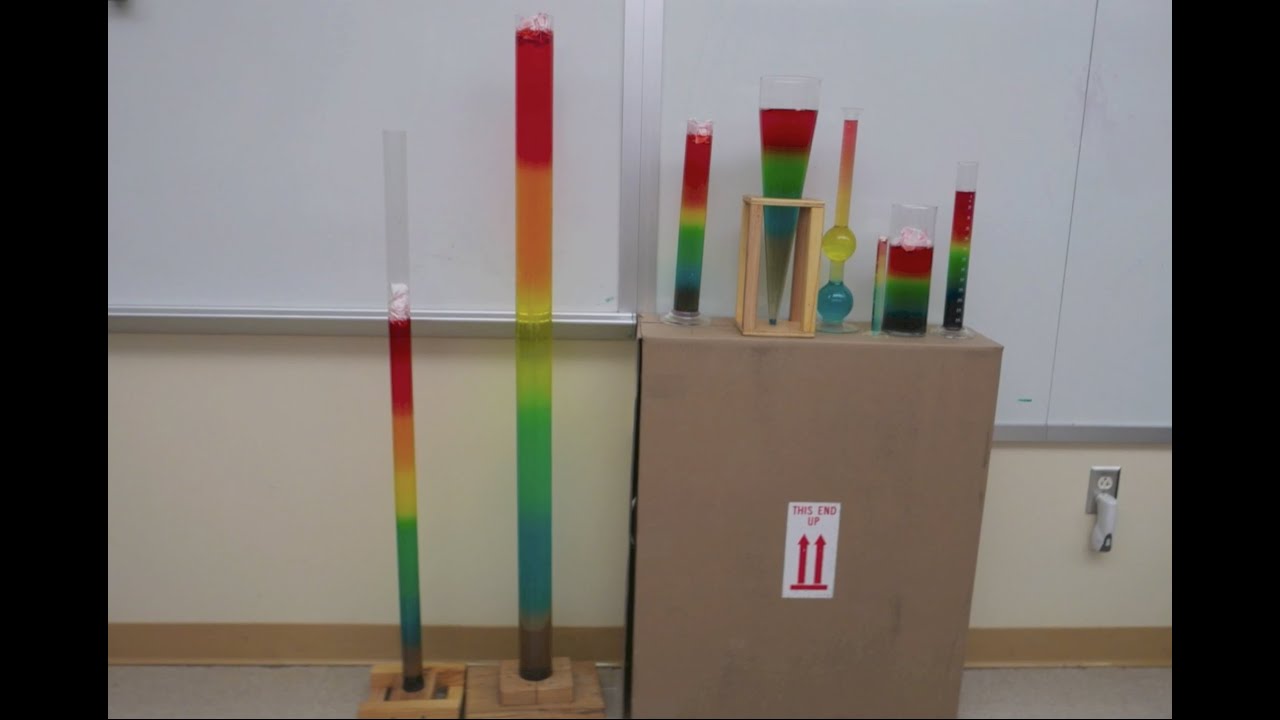
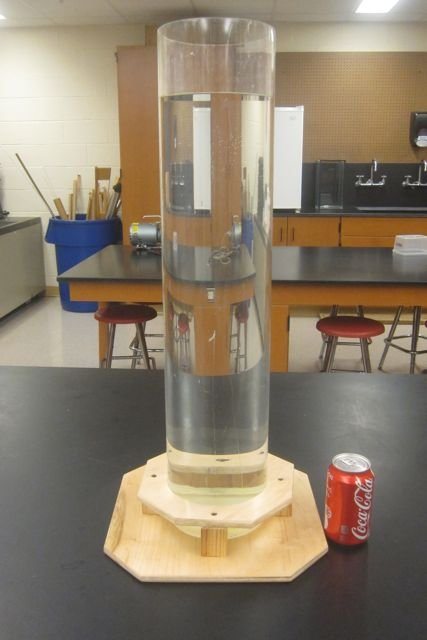
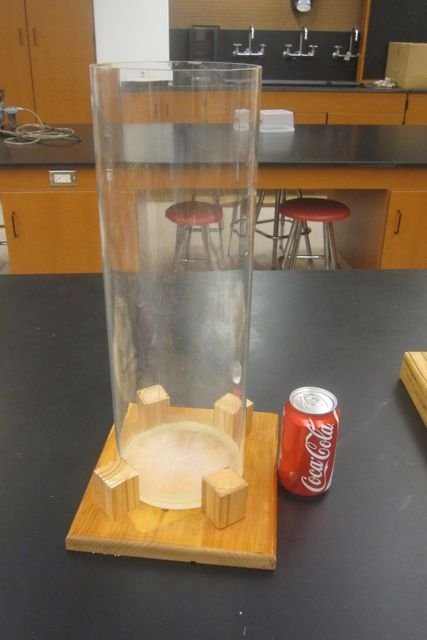
Ordinary aquariums are too short and wide for many demonstrations, so Bruce built his own tanks from clear plastic tubing with a plastic disk epoxied into the bottom and a sturdy wooden base. His four range from 6 inches wide by 20 inches tall to 2 3/4 inches wide by 58 inches tall, and they make density columns and Cartesian divers visible from across the room.
Written from Bruce's original workshop handout. Bruce's final review of this plan is in progress.
What it shows
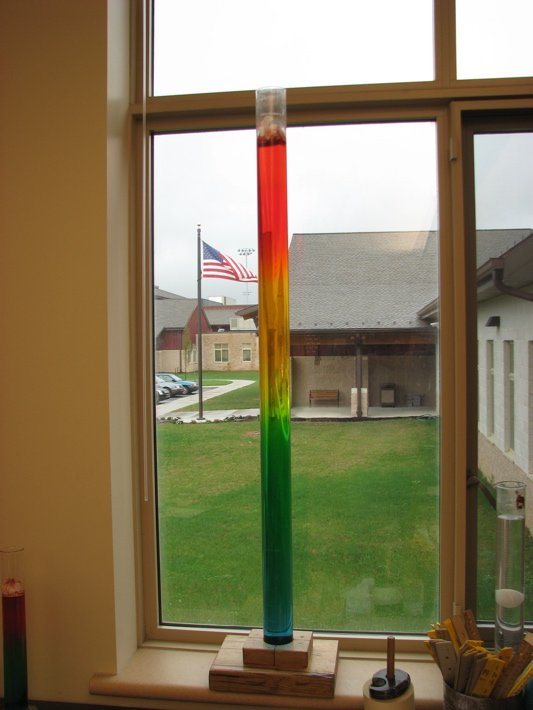
A five-foot column of rainbow water in the classroom window starts with a plastic tube and a disk of epoxied plastic.
Key ideas: density, buoyancy, water pressure, Cartesian divers
Build it
Choose the tubing
Pick a diameter and height for your demonstrations. Wider tubes suit divers and floating objects; narrow, tall tubes make striking density columns.
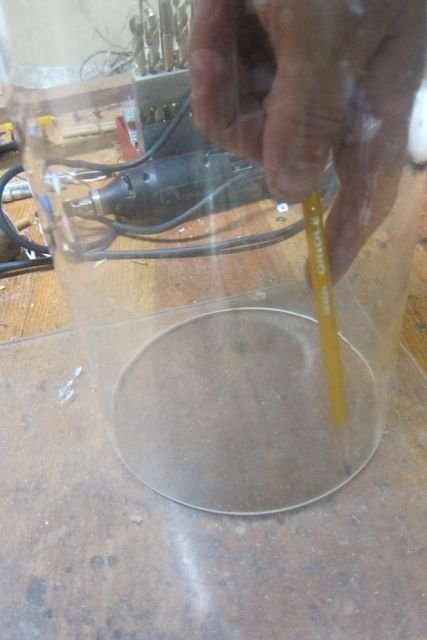
Trace the bottom disk
If you can reach inside, trace the inside of the tube onto the 1/4 in plastic sheet. If the tube is too long, press its end down hard on cardboard to make an indented circle and use that as a pattern.
Cut the disk
Cut out the disk with a jig saw, scroll saw or band saw, staying just outside the line, and sand to the line.
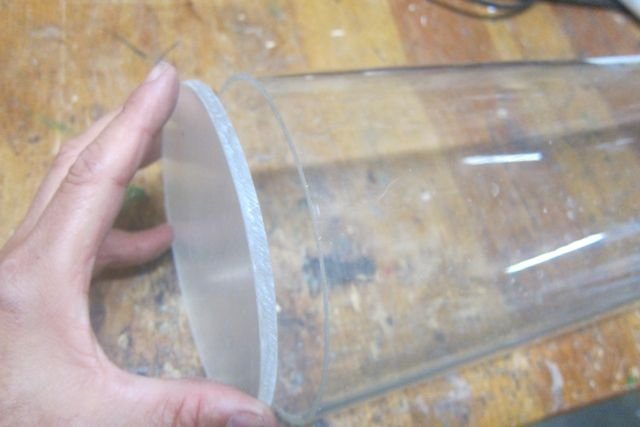
Check the fit
The disk should slide snugly into the end of the tube but not be tight. A forced fit can crack the tube.
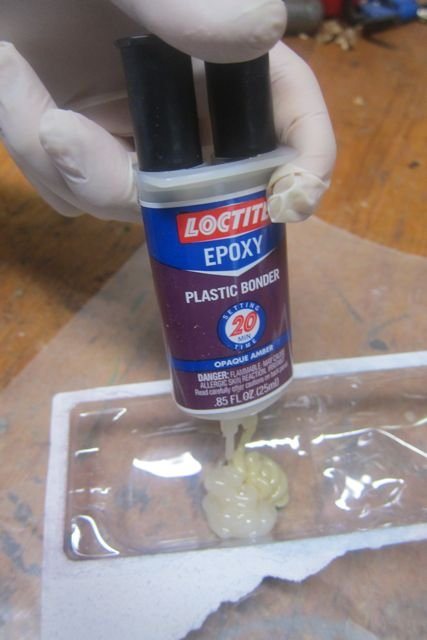
Mix the epoxy
Mix the two-part plastic epoxy on a disposable surface, following the package directions.
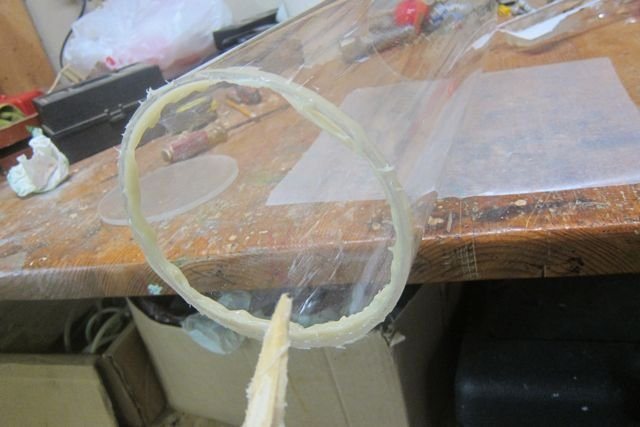
Apply the glue
With a stick, spread most of the epoxy around the inside edge of the tube end, and a little around the edge of the disk.
Seat the disk
Push the disk into the tube until its bottom is even with the end of the tube. If you can reach, smear the glue around the inside seam to seal it.
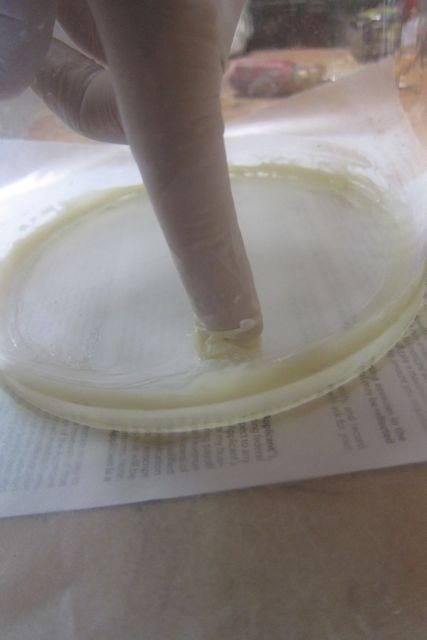
Let it cure flat
Stand the tube on wax paper on a flat surface so the bottom stays even while the glue hardens. Epoxy will not stick to the wax paper.
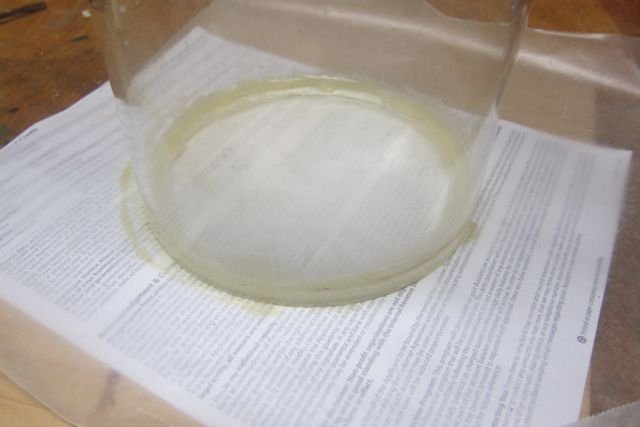
Clean up wet glue
Wipe any stray epoxy off the tube with a petroleum-based cleaner while it is still wet; once it hardens it is much harder to remove.
Finish the bottom
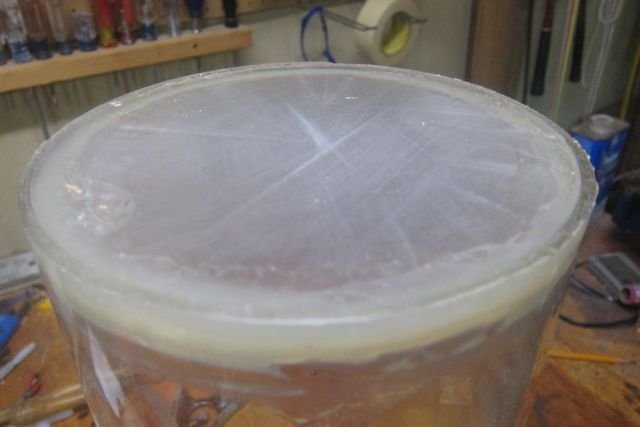
When the epoxy is fully hard, sand off any excess on the bottom so the tank sits flat.
Build a base
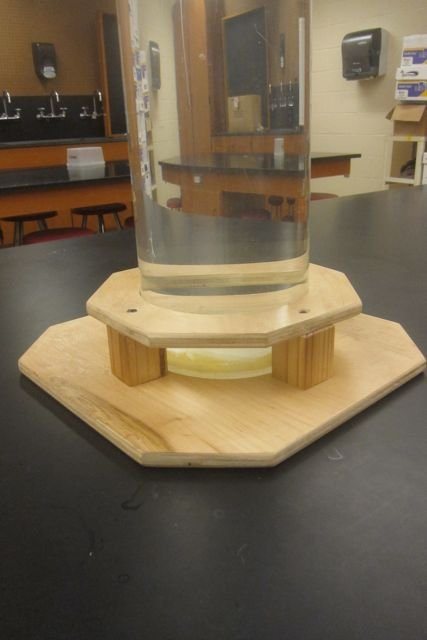
Make a wide wooden base with blocks that surround the bottom of the tube, so the tank can be lifted out but cannot tip. Taller tubes need wider, heavier bases.
Leak test
Fill the tank with water in a sink or outdoors and let it stand for a day before using it in class.
How it works
A tall, narrow tank stretches layers of different-density liquids into long, easy-to-see bands, so a density column becomes visible from anywhere in the room.
Water pressure increases with depth, about 0.43 pounds per square inch for each foot. A deep tank makes that change large enough to drive a Cartesian diver: as pressure rises, the air bubble inside the diver is squeezed, the diver becomes denser than the water, and it sinks.
The bottom joint must hold the weight of the water and the pressure at the bottom. Plastic-to-plastic epoxy makes a strong, waterproof seal because both parts expand and contract together.
Using it
- Build a rainbow density column in the tallest tube and display it in a sunny window.
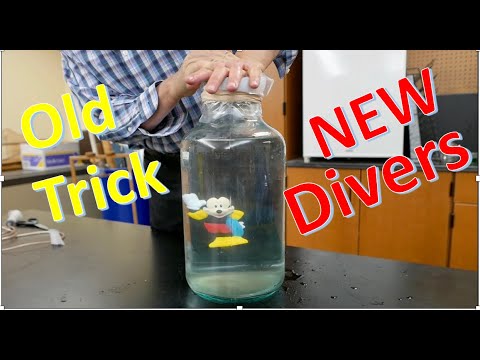
- Use a wide tank for Cartesian divers, including large homemade divers and remote-controlled divers.
- Drop objects of different density, such as a grape, an egg or a plastic toy, into a salt-water gradient and watch where they come to rest.
- Have students calculate the water pressure at the bottom of each tank from its height.
Variations
- Bruce fitted one tube with a plastic cap at the top, sanded to a funnel-like angle so a rubber stopper seals well, and uses it with a vacuum pump for a coin-and-feather fall demonstration. Vacuum work needs tubing rated for it and eye protection, so it is not covered in these steps.
- Make a short, wide version for a classroom diver tank before attempting a tall one.
Troubleshooting
More build plans
Air-Powered String Shooter
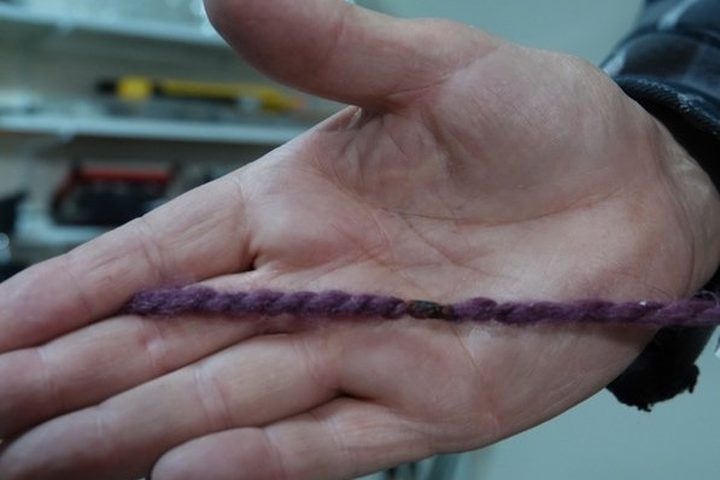
A loop of yarn shoots out of a PVC pipe and snakes through the air in a self-supporting arc, driven by nothing but a shop vac's exhaust.
Balloon in a Bottle
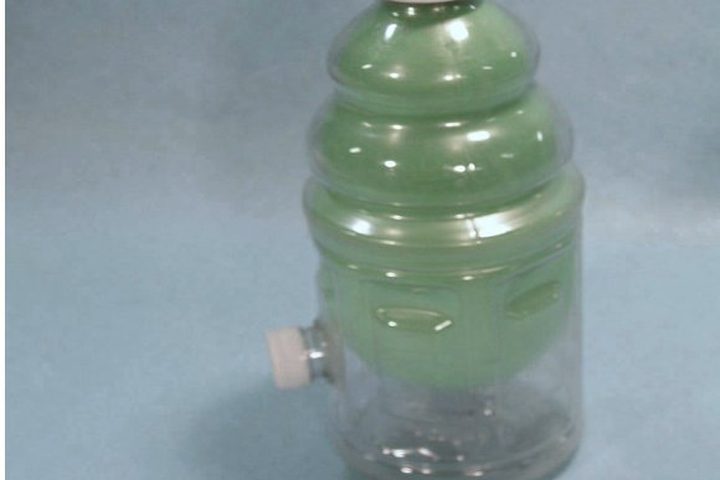
Blow up a balloon inside a bottle and it stays inflated with its mouth wide open.
Cartesian Diver Collection
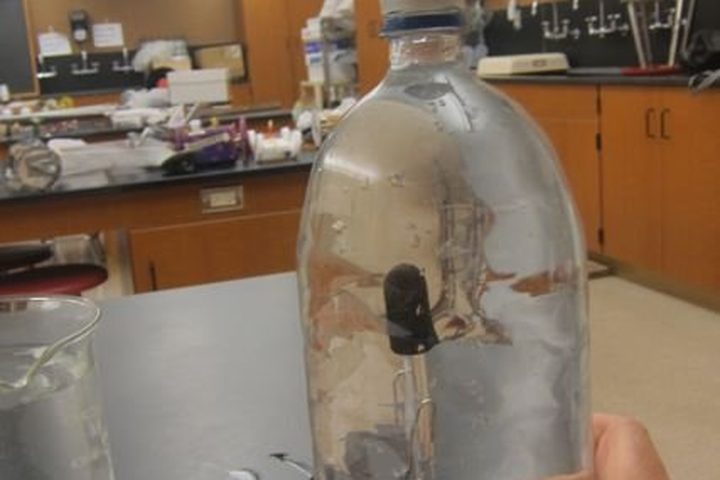
Squeeze a sealed bottle and a little diver sinks on command; let go and it floats back up.
© Bruce Yeany · Homemade Science with Bruce Yeany · youtube.com/@YeanyScience
Free for personal and classroom use. Please don't resell or republish. Build and use at your own risk; follow the safety notes and supervise children.