Build plans / Toy Motor Speaker
Toy Motor Speaker
Instead of a coil and magnet, this speaker uses an ordinary toy DC motor as its driver. The music signal makes the motor's shaft twitch back and forth, and a short dowel carries those tiny movements to the middle of a foam plate, which pushes on the air. Bruce gives two builds, an easy cardboard version and a sturdier wooden one, plus a 'bite stick' that lets you hear music through your jawbone.
Written from Bruce's original workshop handout. Bruce's final review of this plan is in progress.
What it shows
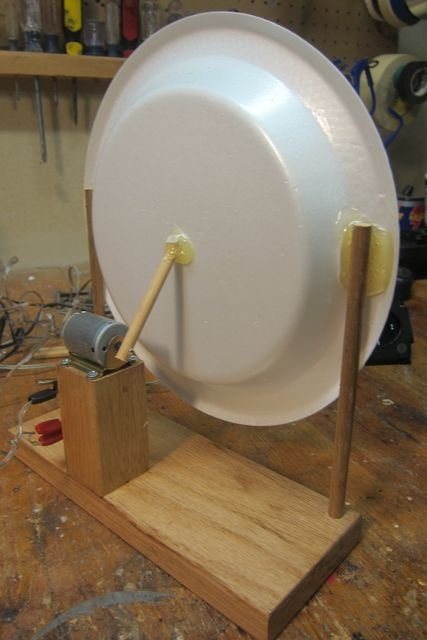
A cheap toy motor already has a coil and magnets inside, so hook it to an amplifier and it will play music through a foam dinner plate.
Key ideas: sound waves, vibration, electromagnetism, motors, speakers, bone conduction
Build it
Fit the dowel to the motor
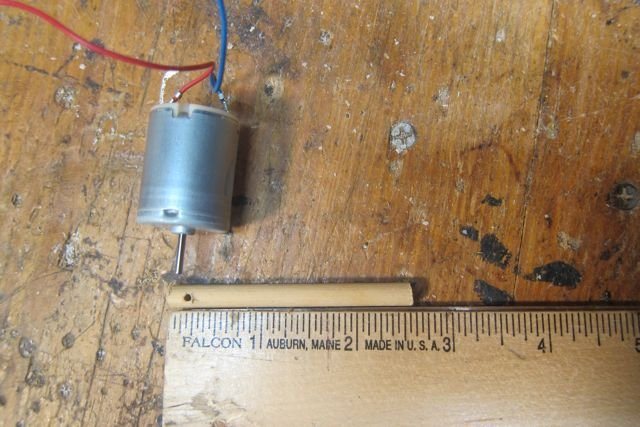
Drill a small hole in one end of the 3 in dowel so it pushes tightly onto the motor shaft. If you use a pencil instead, twist a small drill bit or nail into the eraser by hand to make a pilot hole first, or the eraser will split.
Test the driver
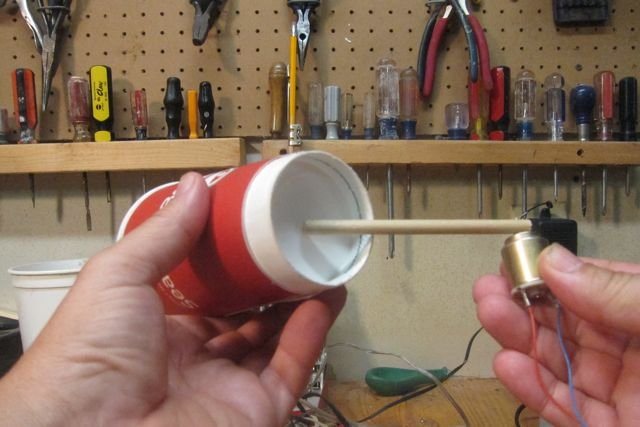
Connect the motor to the amplifier and play some music. You will hear faint sound from the motor. Hold the motor and touch the end of the dowel to the bottom of a plastic cup, and the music becomes clearly audible.
Cardboard version: cut the base
Cut a cardboard square about the size of the plate, with a 3 in tab sticking out from two opposite sides. The tabs will fold up to hold the plate.
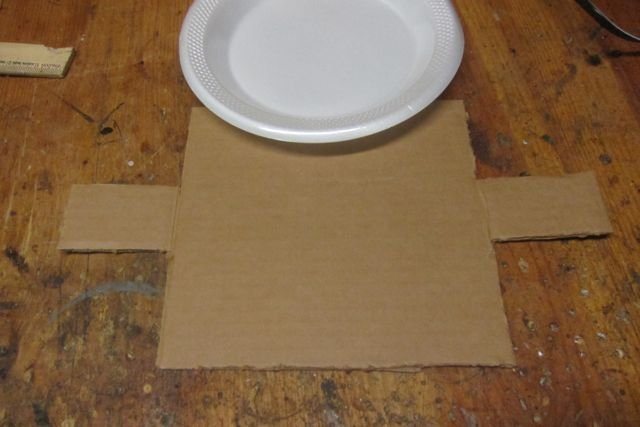
Glue down the motor
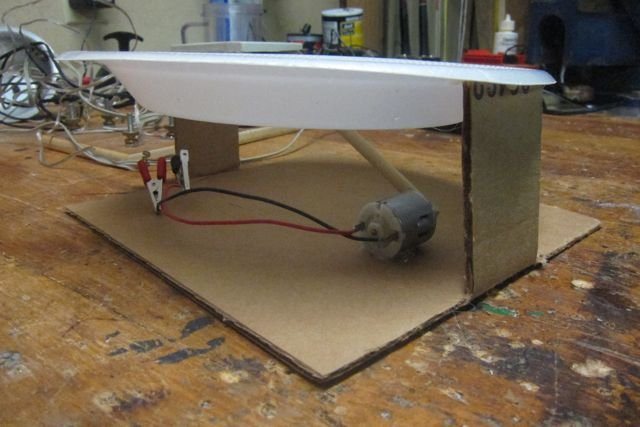
Place the motor so the end of its dowel sits near the center of the cardboard, angled up toward where the plate will be, and hot glue the motor down.
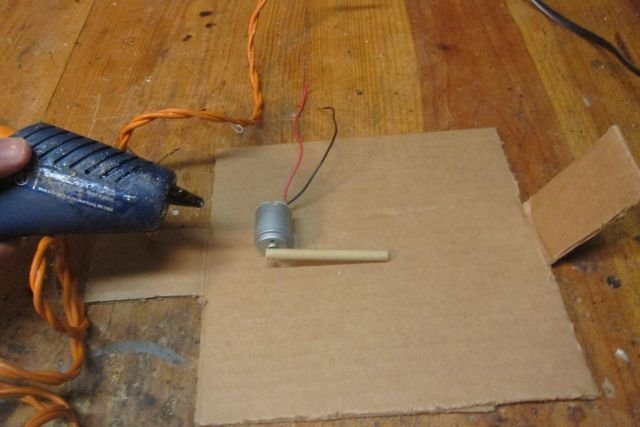
Attach the plate to the tabs
Fold up one tab, put hot glue on its top edge and quickly press one side of the plate into it. Repeat with the other tab. Use only a little glue, since too much will melt the foam. It is fine if the plate wobbles now.
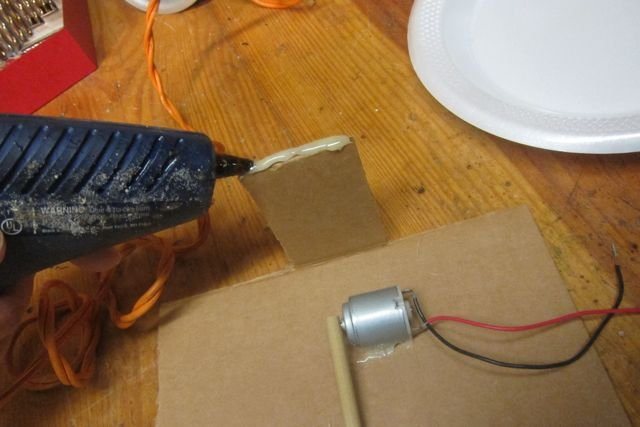
Glue the dowel to the plate
Turn the assembly over so the dowel rests against the middle of the back of the plate. Straighten everything, put a dab of hot glue on the plate and press the end of the dowel into it. Once the glue sets, the plate is stable.
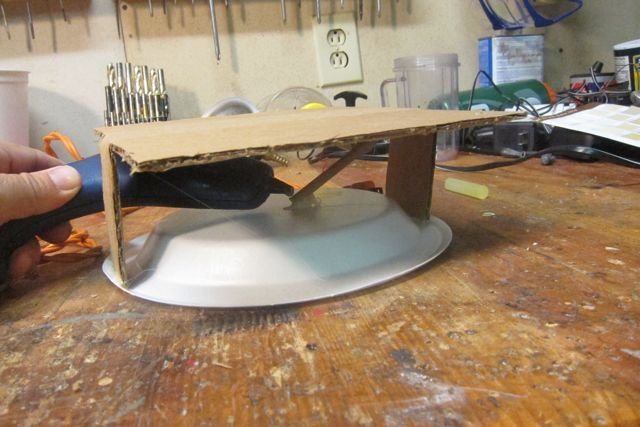
Wood version: mount the motor
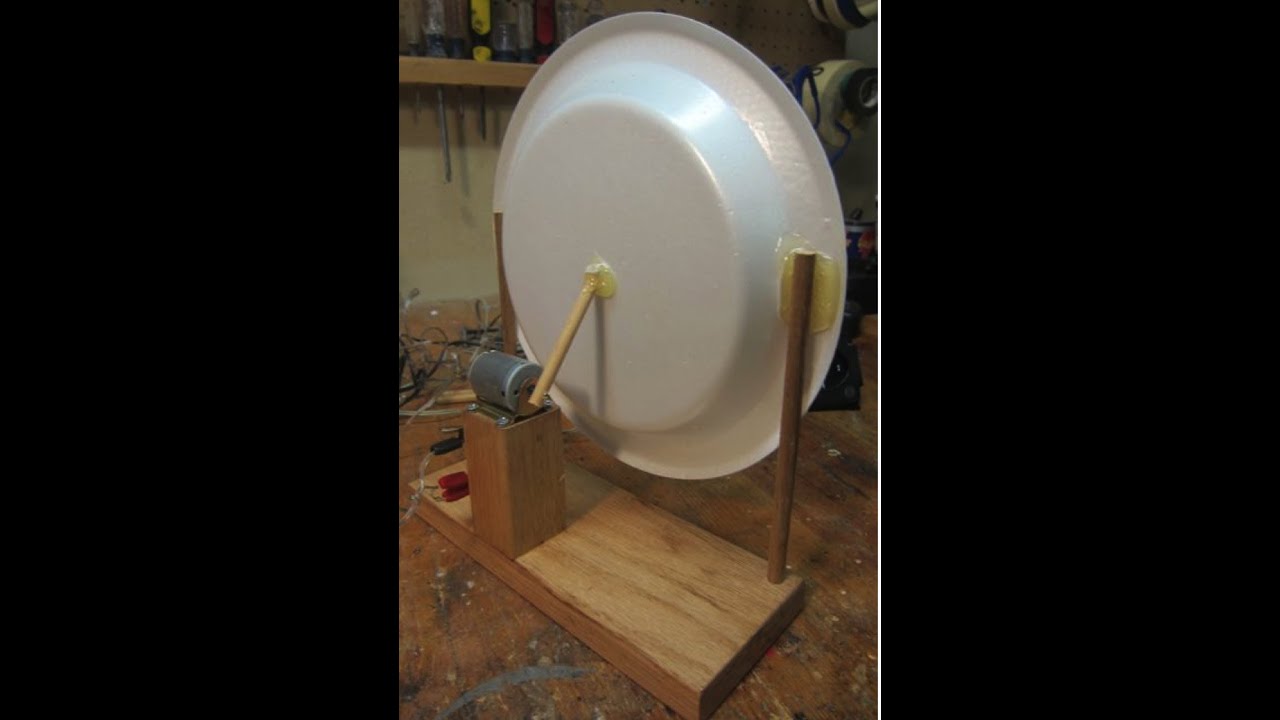
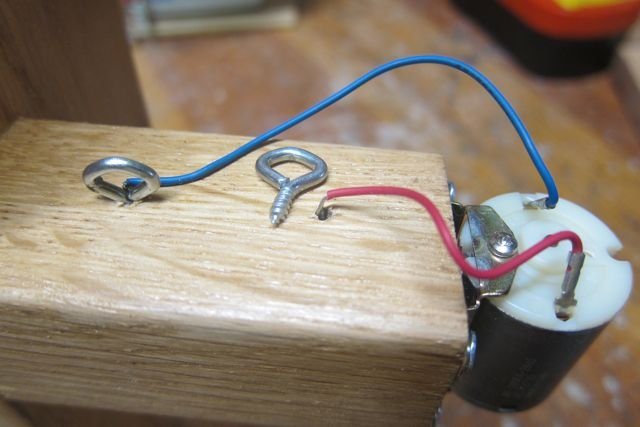
Center the 2 in block on the 4 x 8 in base so the motor's dowel will reach the middle of the plate, mark it, and glue or screw it down from below. Hot glue the motor on top of the block, or use its mounting bracket. Fasten the motor leads to two eye screws in the side of the block as terminals.
Wood version: add the plate supports
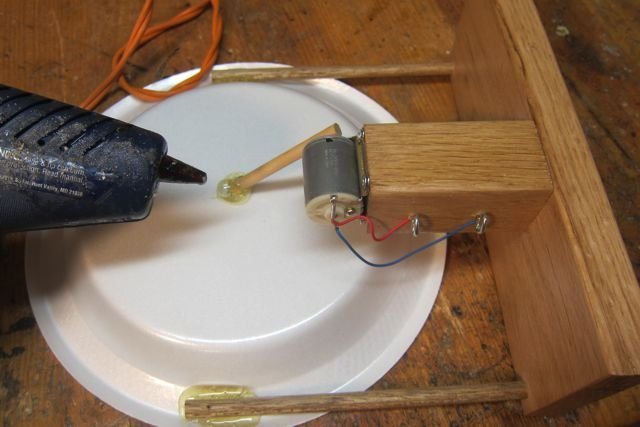
Drill holes for the two 7 in dowels so they hold the plate up with its center level with the motor's dowel. Lay the plate face down, glue the support dowels to its back, then glue the motor's dowel to the center of the plate at an angle of roughly 20-30 degrees.
Connect and listen
Clip the speaker wires to the motor leads (or terminals) and to the speaker outputs of the amplifier. Start with the volume low and turn it up gradually.
How it works
Inside a toy motor, the spinning part (the armature) is wrapped with coils of wire, and permanent magnets surround it. A music signal is an electric current that changes direction and strength hundreds or thousands of times a second.
Each change in the current makes the armature's coils push or pull against the magnets, giving the shaft a tiny twist one way or the other. The shaft never gets a chance to spin; it just twitches in time with the music.
The dowel carries those twitches to the center of the foam plate. The large, light plate pushes and pulls on a lot of air, creating the pressure waves we hear as sound. The motor alone moves too little air to be heard well, which is why the plate makes such a difference.
The sound is not high-fidelity; Bruce compares it to an old tube radio. The motor is designed to spin, not to vibrate evenly across all frequencies.
Using it
- Play music through the bare motor, then touch its dowel to a cup, a box, a tabletop or a window. Ask: which surfaces make it loudest, and why?
- Compare the toy-motor speaker with the coil-and-magnet foam plate speaker.
- Bite stick: push the dowel or pencil onto the motor shaft, slip a fresh drinking straw over it, and gently bite down on the straw while music plays at low volume. The sound travels through your jaw and skull to your inner ear, bypassing the eardrum, and people next to you can barely hear it. Some hearing aids use the same bone-conduction idea.
- Ask students to explain how a device built to make motion can also make sound, and whether a speaker could work as a microphone or generator in reverse.
Variations
- Use a short pencil instead of the dowel, pushing the motor shaft into the eraser.
- Experiment with the angle between the dowel and the plate; Bruce found roughly 20-30 degrees worked best.
- Try paper plates, plastic cups, or a foam bowl as the cone.
Troubleshooting
More build plans
Balloon Fog Horn
Blow into a little plastic bottle and it lets out a deep, buzzing honk like a ship in the fog.
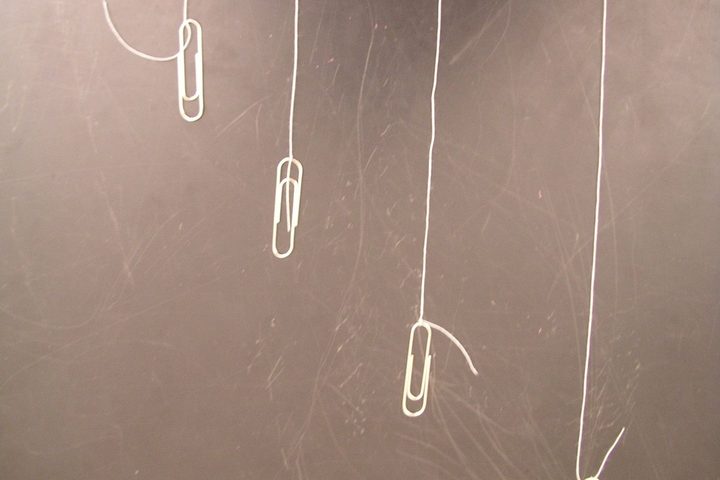
F.A.K.E.D. Resonance Pendulums
Ask the class to move just the orange ball with their minds, and watch it swing while the other three hang nearly still.
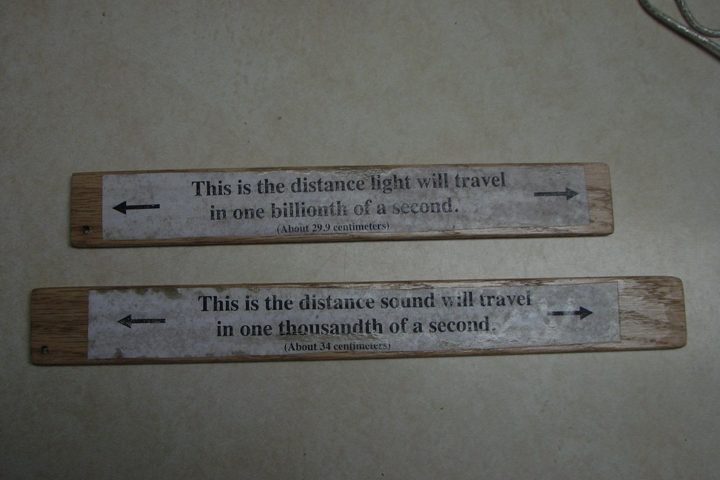
Nanosecond of Light and Millisecond of Sound Sticks
Two sticks of almost the same length: one shows a billionth of a second of light, the other a thousandth of a second of sound.
© Bruce Yeany · Homemade Science with Bruce Yeany · youtube.com/@YeanyScience
Free for personal and classroom use. Please don't resell or republish. Build and use at your own risk; follow the safety notes and supervise children.