Build plans / Trammel of Archimedes
Trammel of Archimedes
Two tapered wooden slides run in crossed grooves on a square base, both pinned to a single handle. Turning the handle sends each slide back and forth along its groove, always slipping past the other at the center. It is a satisfying desk toy, an ellipse drawer, and a lever that keeps switching between first class and second class as it turns.
Written from Bruce's original workshop handout. Bruce's final review of this plan is in progress.
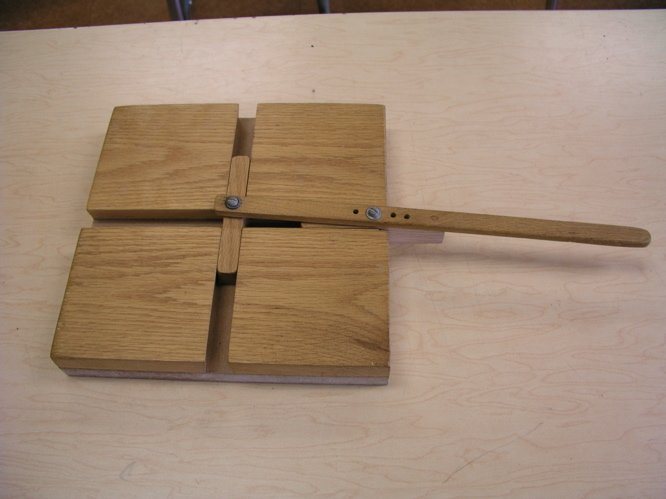
What it shows
Crank the handle as fast as you like: the two sliding blocks race toward each other and never collide.
Key ideas: levers, lever classes, ellipses, linkages, mechanisms
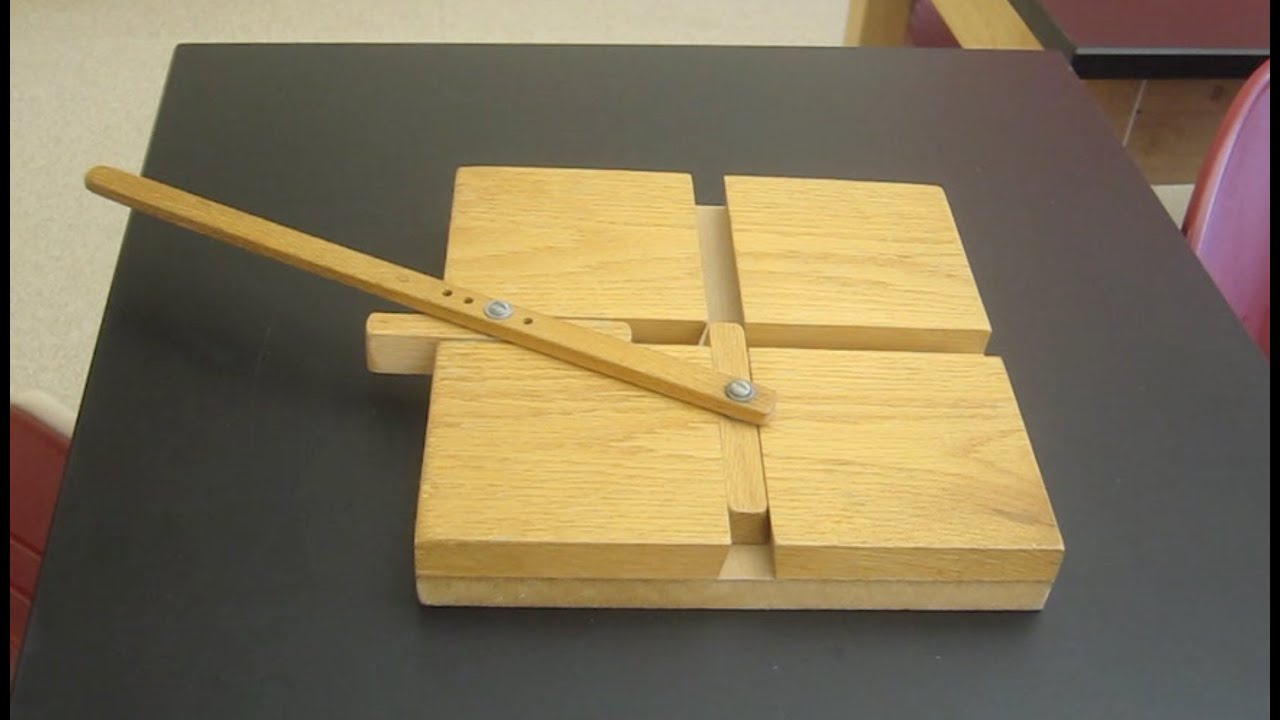
Build it
Cut the base
Cut a square base, about 10 1/2 in on a side. The size is flexible; scale everything else to match.
Cut the slides
Cut two slides with a tapered (dovetail) cross section, about 1 in wide at the bottom and about 1/2 in wide at the top. Make each the same length as one of the plates.
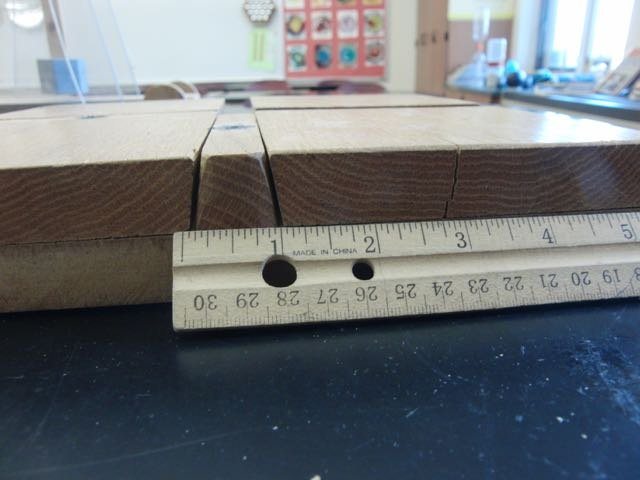
Cut the plates
Cut four square plates. Bevel the two inside edges of each plate at the same angle as the slides, so that neighboring plates form a dovetail groove that traps a slide.
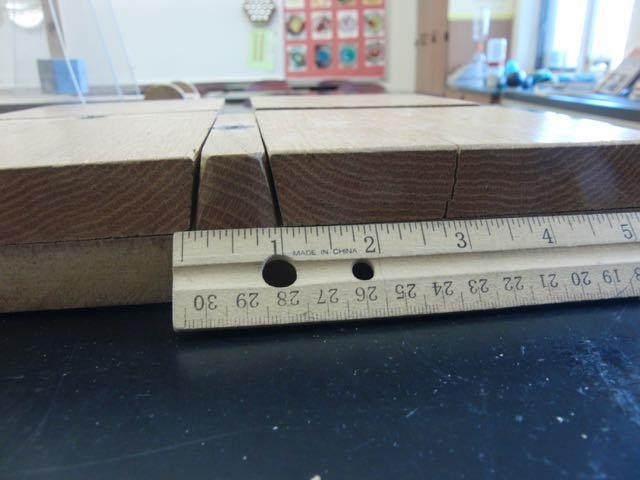
Lay out the grooves
Arrange the four plates on the base so they leave two grooves crossing at right angles in the center. Test-fit the slides: they should glide freely without lifting out.
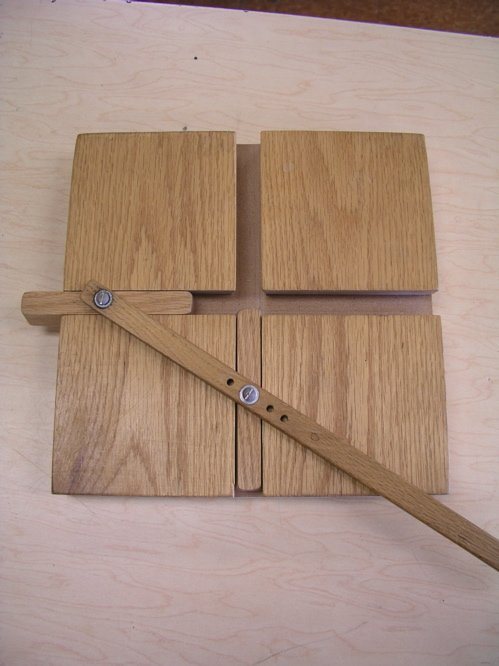
Fasten the plates
Screw each plate down from underneath the base, checking the slide fit as you go.
Make the handle
Cut the handle about 14 in long. Drill a pivot hole near one end, then a row of holes farther along so you can experiment with different spacings.
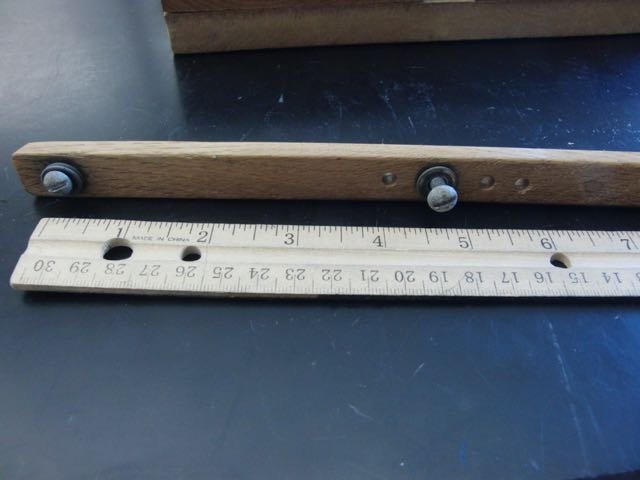
Add the knob
Fasten a wooden knob to the far end of the handle as a grip.
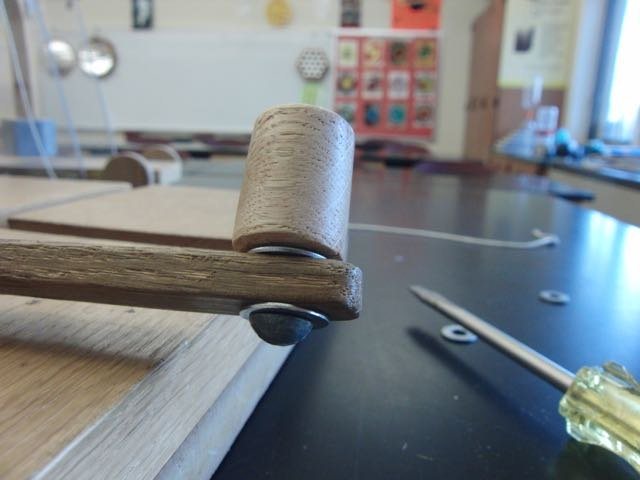
Drill the slides
Drill a hole in the center of each slide for its pivot screw.
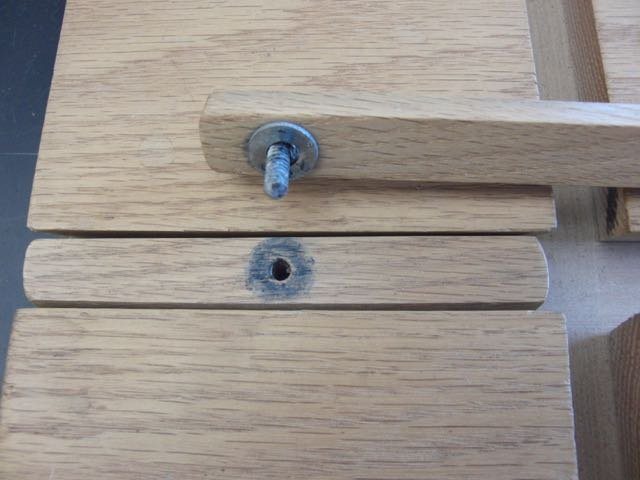
Attach the slides to the handle
Screw each slide to the handle through a metal washer, one slide at the end hole and the other at one of the row of holes. Leave the screws just loose enough to pivot freely.
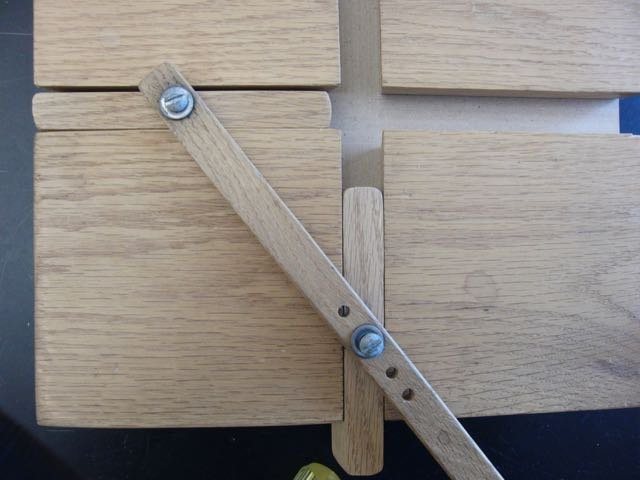
Test
Place one slide in each groove and turn the handle. Adjust screw tightness and sand any tight spots until it runs smoothly.
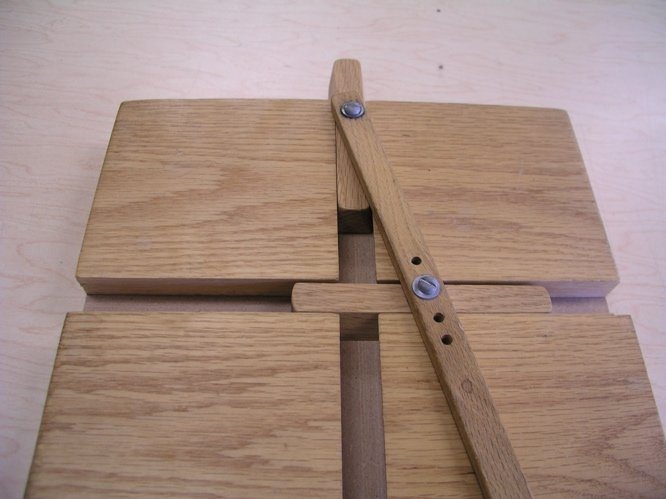
How it works
Each slide can only move along its own straight groove. Because both are pinned to the same rigid handle, a fixed distance apart, when one slide reaches the center the other is at its farthest point. They take turns crossing the center, so they never meet.
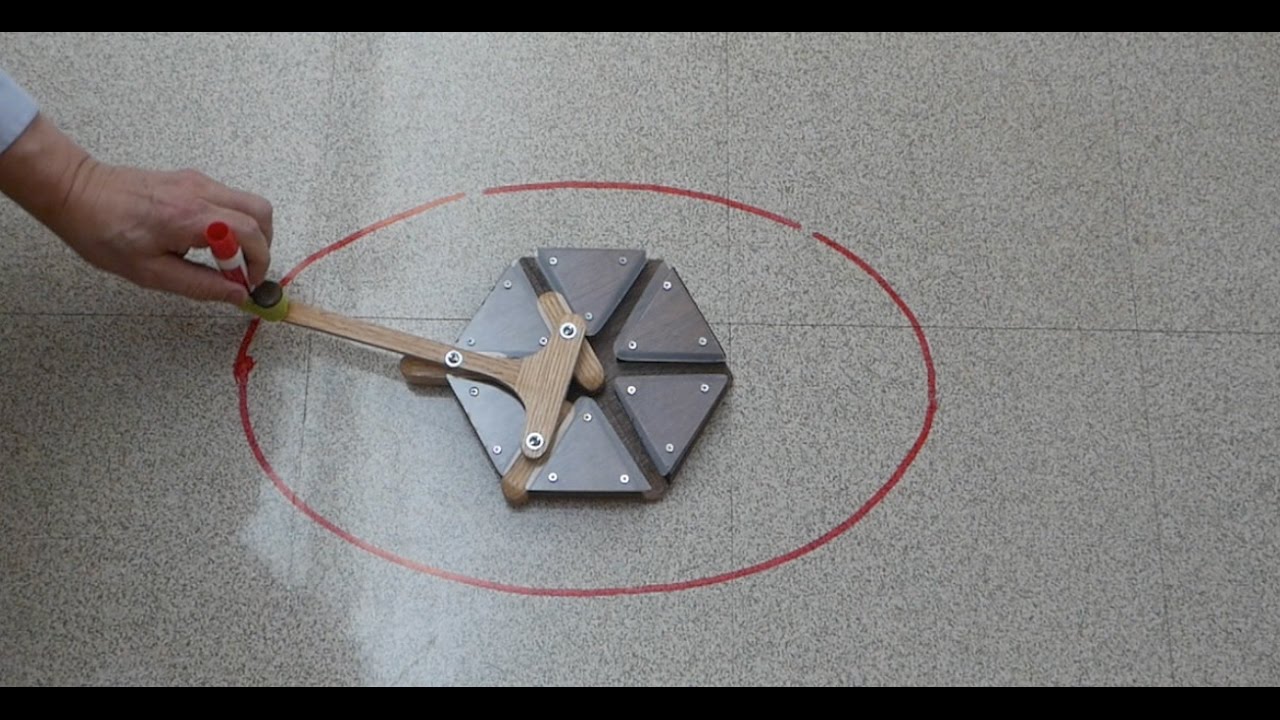
Every point on the handle traces an ellipse as it turns. The ellipse's two radii are set by how far that point is from each pivot, which is why changing the pivot holes changes the shape of the path. Used with a pencil, the mechanism is called an ellipsograph.
The handle also works as a lever. As it turns, the slides change roles between pivot (fulcrum) and load, so at some moments it acts as a first-class lever (fulcrum between effort and load) and at others as a second-class lever (load between fulcrum and effort).
Using it
- Turn it slowly and ask students to explain why the slides never collide.
- Tape a pencil to the knob end over a sheet of paper and draw an ellipse. Change the pivot hole and compare the shapes.
- Pause at different positions and have students identify the fulcrum, effort and load, and the lever class.
- Use it as a puzzle object: what is it for? Bruce admits it does nothing useful, which is half the fun.
Variations
- Build it larger or smaller; the base size is not critical.
- Machines with more than two shuttles exist; Bruce has worked on a six-shuttle version.
Troubleshooting
More build plans
Cardboard Rubber Band Car
A shipping box, a few straws and a rubber band become a car that can roll more than 20 feet, and with giant wheels, more than 100.
Classroom Pulley System (Small-Load Version)
Lift the same bucket of sand with one pulley, then two, three and four, and feel the pull get easier while you measure exactly what it costs you in rope.
Toy Dissection Lab and Display
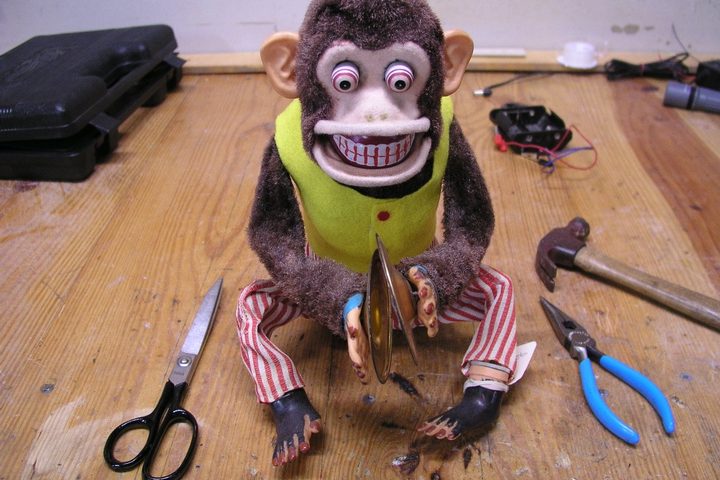
Take apart a broken toy to find the gears, levers and cams hiding inside, then put it back together as a see-through display.
© Bruce Yeany · Homemade Science with Bruce Yeany · youtube.com/@YeanyScience
Free for personal and classroom use. Please don't resell or republish. Build and use at your own risk; follow the safety notes and supervise children.