Build plans / Giant See-Through Tumbling Toy
Giant See-Through Tumbling Toy
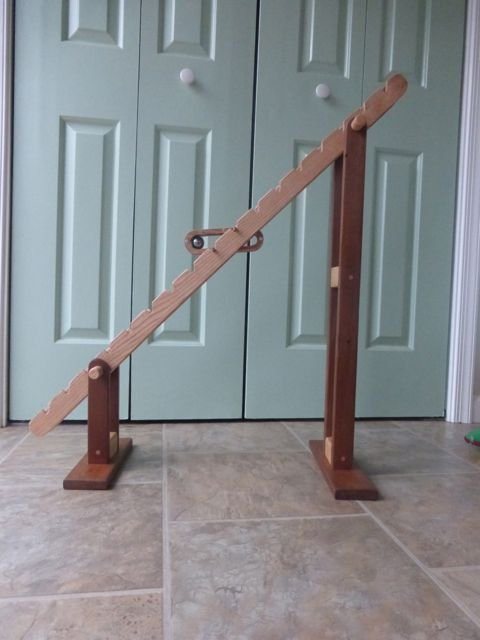
The traditional tumbling toy hides its rolling ball inside a wooden tube. This large classroom version stands 30 inches tall and has clear plastic sides, so students can see how the ball's movement shifts the center of gravity and keeps the body flipping from peg to peg. Swappable bodies (a single steel ball, an hourglass of BBs, or a tube of liquid soap) change the rhythm.
Written from Bruce's original workshop handout. Bruce's final review of this plan is in progress.
What it shows
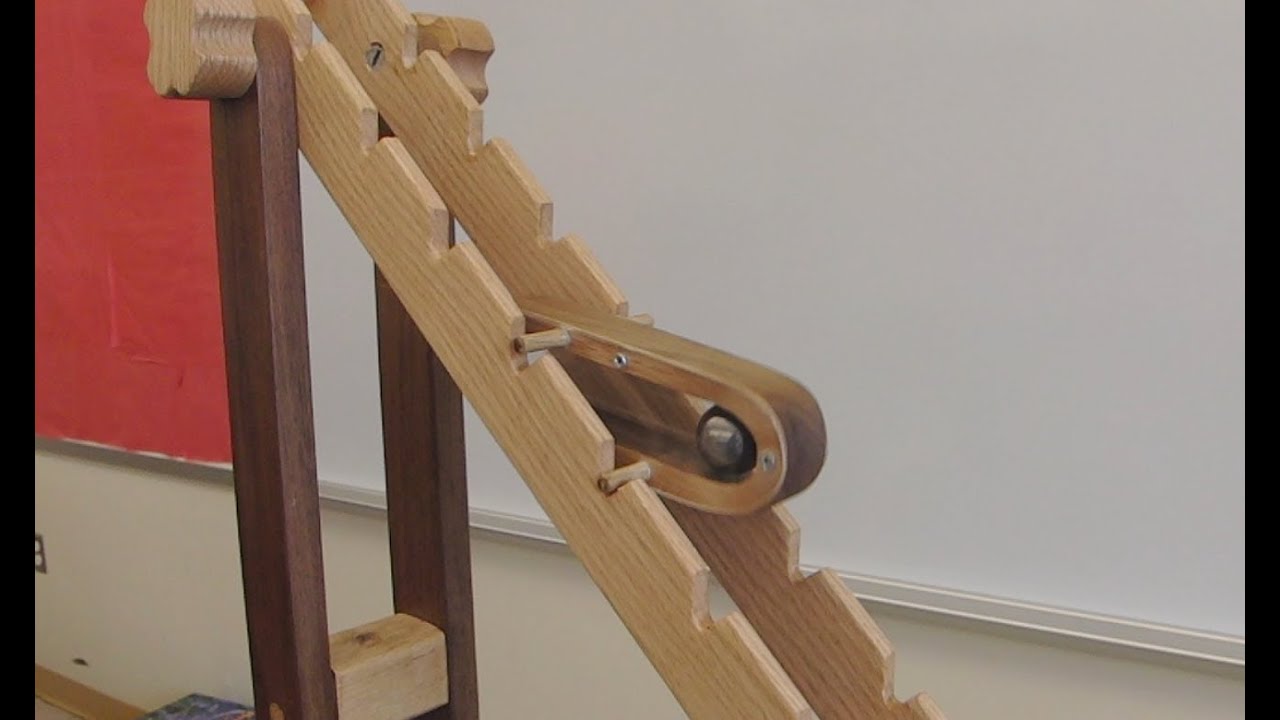
A wooden body somersaults end over end down a pair of notched rails, and the clear sides let everyone watch the steel ball inside that makes it happen.
Key ideas: center of gravity, torque, rotation about a pivot, potential to kinetic energy
Build it
Size the body to the ball
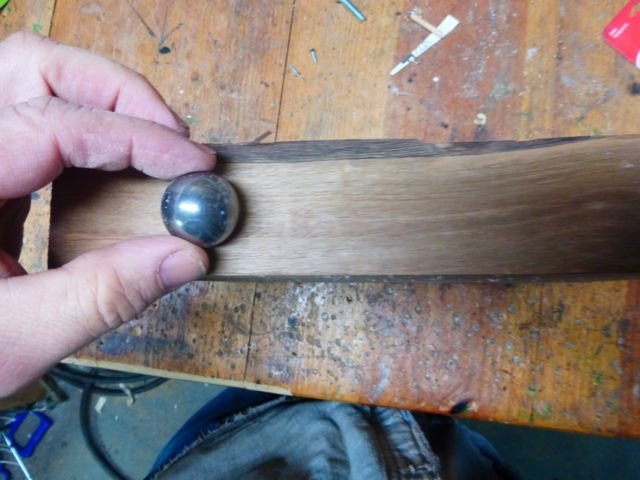
The body must be slightly wider than the ball and about 1 in taller. For a 1 in ball, Bruce's body is 6 in long with an inside chamber about 5 1/4 in long.
Cut out the chamber
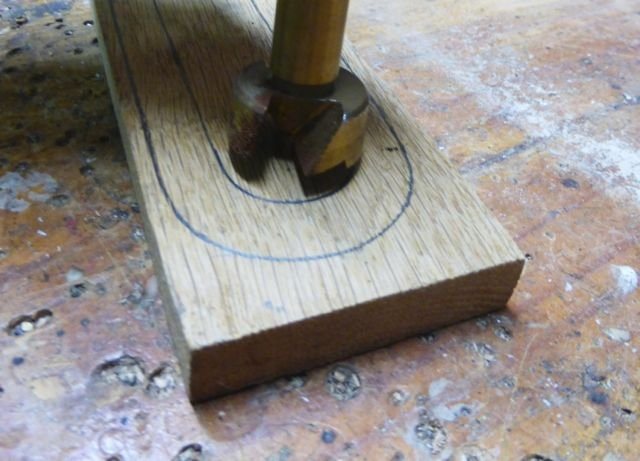
Draw the rounded outline and the inner chamber on the wood. Drill out each end of the chamber with a bit the size of the ball, then remove the wood in between with a jigsaw. Cut the outside shape and sand it smooth.
Make the clear sides
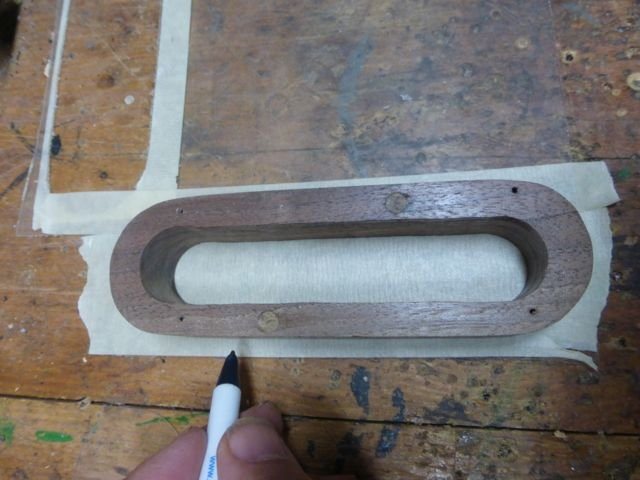
Trace the body onto two pieces of clear plastic. Leave the masking film or a layer of masking tape on the plastic so the line is easy to see, then cut them out.
Enclose the ball
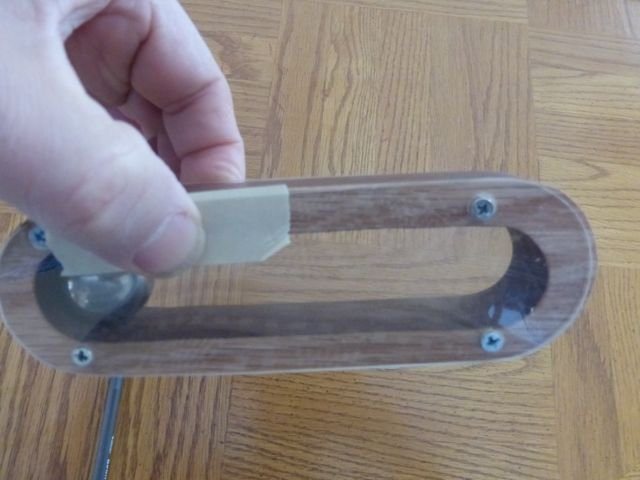
Put the ball in the chamber and screw a plastic side on each face of the body.
Find the peg position
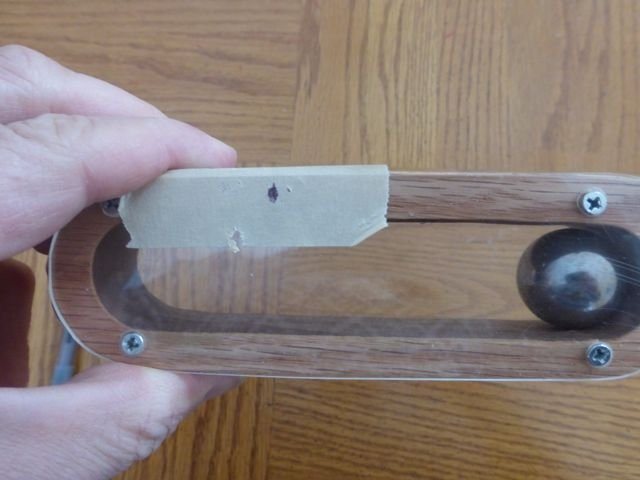
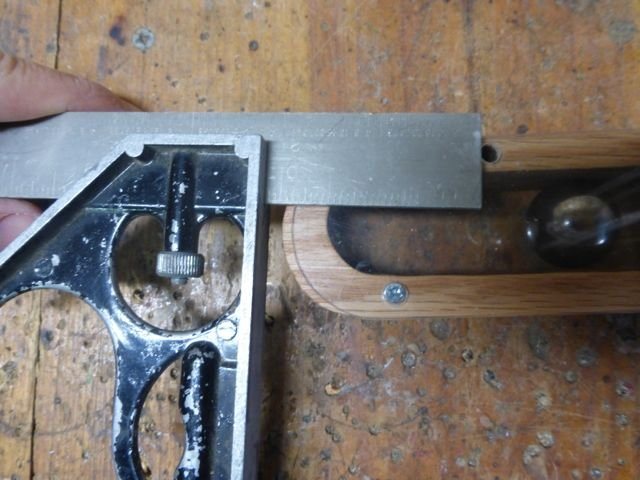
Tape over the approximate peg spot near one end and balance the body there on a finger with the ball resting in that short end. Move the spot until the long, empty side is just slightly heavier than the short side holding the ball. Mark it carefully and test several times.
Drill the two peg holes
Drill a 1/4 in hole all the way through at the mark. Measure the same distance from the other end, on the opposite side, and drill the second hole.
Glue in the pegs
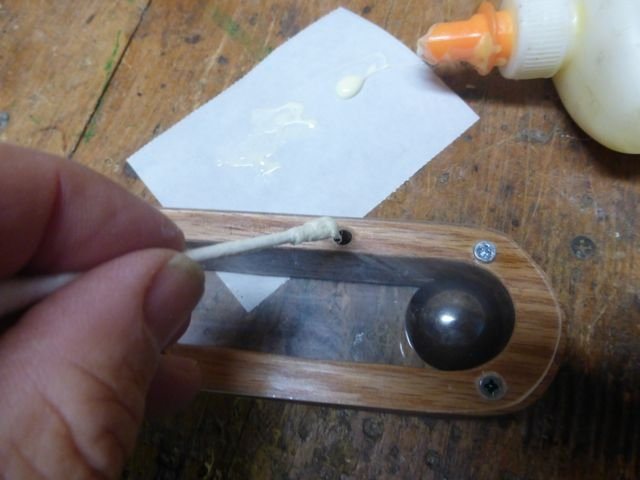
Use a cotton swab to coat the inside of each hole with glue and push in the 1/4 in dowel pegs so they stick out evenly on both sides.
Make a notch-spacing jig
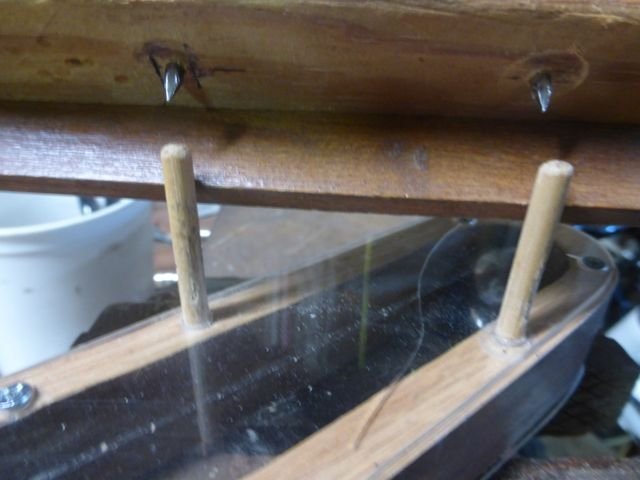
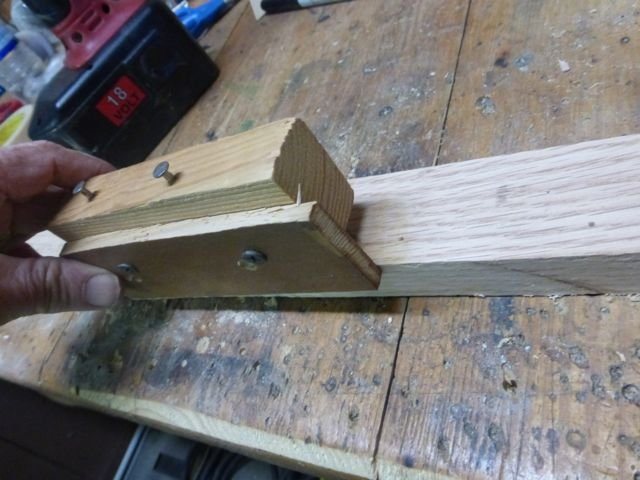
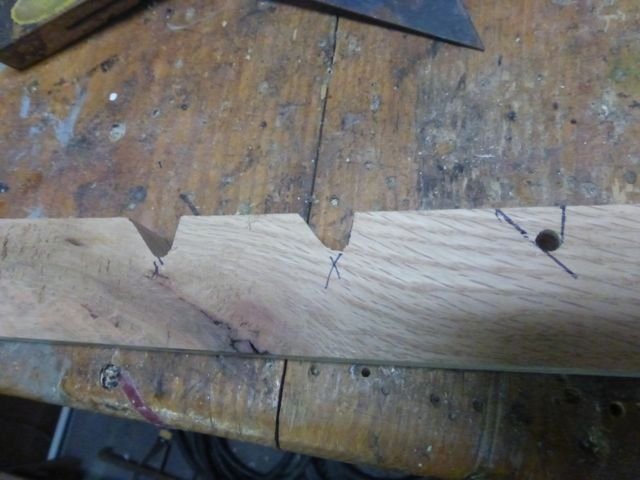
Every notch on the rails must be the same distance apart. Mark that spacing on a scrap of wood and drive two nails through it at the marks. Screw a second strip to the scrap as a depth guide against the edge of the rail stock.
Mark the notches
Work on the full 1 in thick board so both rails are made at once. Press the jig to mark the first hole, move the first nail into that mark, press again to mark the next, and work down the whole board.
Drill and cut the notches
Drill a 1/4 in hole at each mark so the pegs seat in a rounded bottom. Draw lines from the edge of the board to each hole and cut the notches with a saber saw. Sand them, then rip the board lengthwise into two matching rails 1/2 in wide.
Build the bases
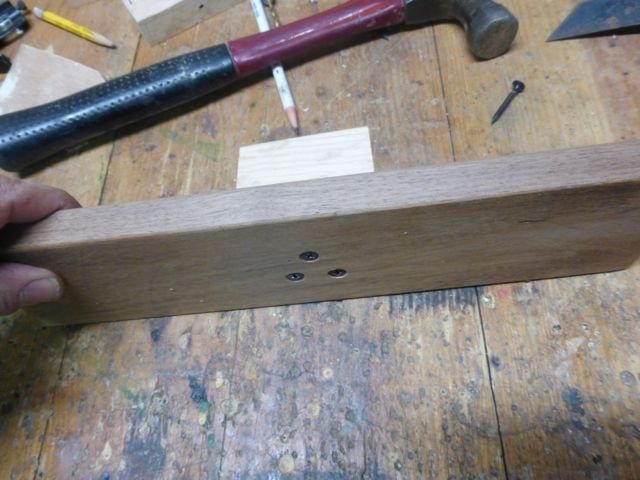
Each base is a board about 10 in x 3 in with a block screwed on from underneath. Make the block just wide enough to hold the rails slightly farther apart than the body is thick.
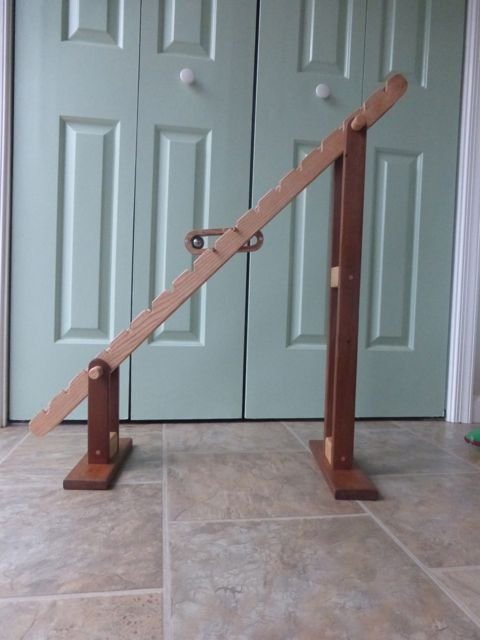
Set the rail angle by testing
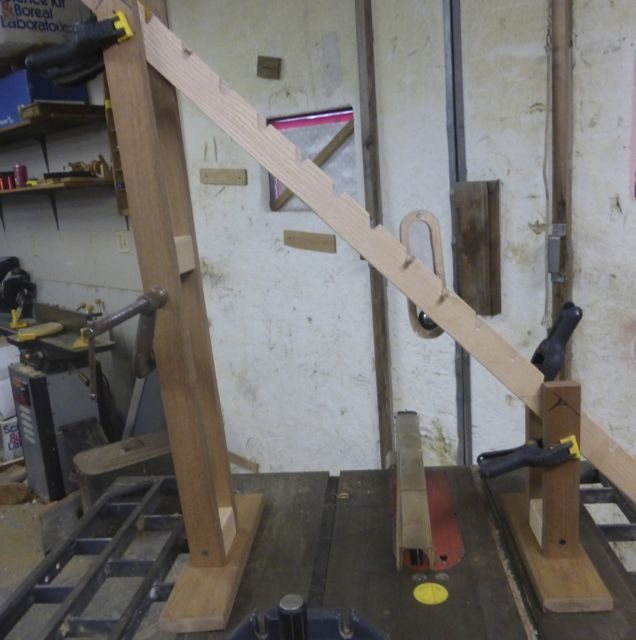
Clamp the rails to temporary uprights and try the body at different angles until it tumbles steadily but not too fast. The low end must be high enough that the body never hits the floor. Mark the final positions while clamped.
Drill the rails together
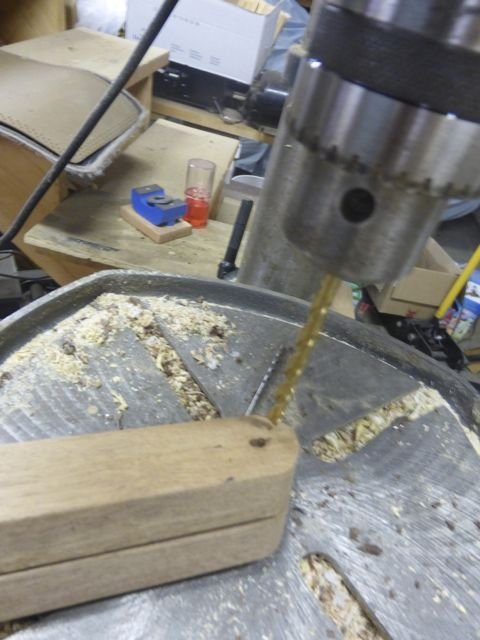
Tape the two rails together and drill the bolt holes through both at once so they match exactly. Brace the tall upright with a second block halfway up.
Bolt it together
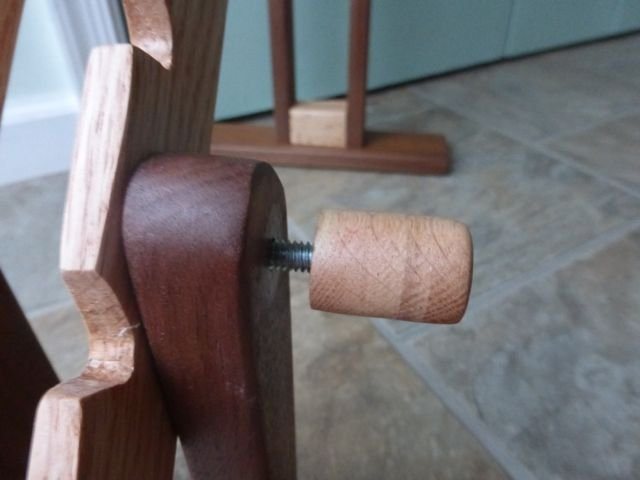
Countersink the holes on the inside faces so the bolt heads sit flush and can't catch the body. Instead of metal nuts, use short dowel pieces drilled one size smaller than the bolt; twist them on to tighten.
Final test
Set the body upright in the top notch and let it go. Bruce drilled two sets of holes in the tall upright: the upper set makes a steeper track and a quicker tumble, the lower set a slower one.
How it works
Standing upright on its lower peg with the ball at the top, the body has a high center of gravity that is not directly over the peg. Gravity produces a torque that turns the body over around that lower peg.
As the body swings past horizontal, the chamber tilts downward and the ball rolls to the other end. That end now hangs below the peg, so the body keeps swinging, and the other peg drops into the next notch down the rails.
The peg that was the pivot is now the upper peg, the ball is at the bottom, and the body swings back up past upright. The cycle repeats, with the support switching from peg to peg each half turn.
Each flip lowers the body one notch. The gravitational potential energy lost on the way down is what drives the motion and makes up for friction at the pegs.
Using it
- Ask students to predict what would happen if the ball were glued in place, then show them the clear body and let them explain why the moving ball matters.
- Pause the toy at each stage and have students mark where the center of gravity is relative to the supporting peg.
- Switch the rails between the upper and lower holes and time the trip down. Discuss why a steeper track runs faster.
- Compare bodies: a single steel ball, an hourglass of BBs, and a tube of liquid soap. Which one tumbles most smoothly and why?
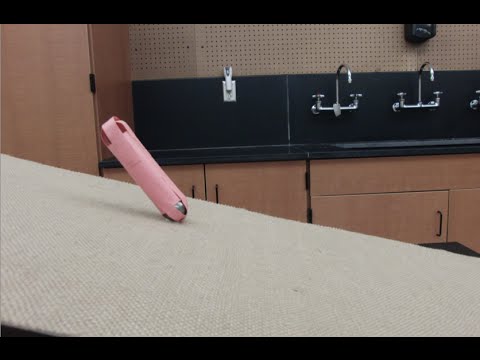
- Have students build a small paper or soda-bottle tumbler (see the Tumbling Toy experiment page) and then compare it with this large version.
Variations
- Hourglass tumbler: replace the single ball with a load of BBs in an hourglass-shaped chamber for a cascading effect. Small wood pieces inside slow it even more, but can jam the BBs and stop the toy.
- Liquid tumbler: replace the ball with a clear tube of liquid dish soap. It takes about 20 seconds to drain to the other end, so each step is very slow.
- Traditional small toy: under a foot tall with a hidden ball, made from a hollow wooden tube.
Troubleshooting
More build plans
Balancing Nails Challenge
Twelve big nails balanced on one nail head looks impossible. Then Bruce doubles it.
Bar Pendulum vs. Simple Pendulum
A swinging meterstick keeps the same beat whether it hangs from its end or from a point a third of the way down. Why?
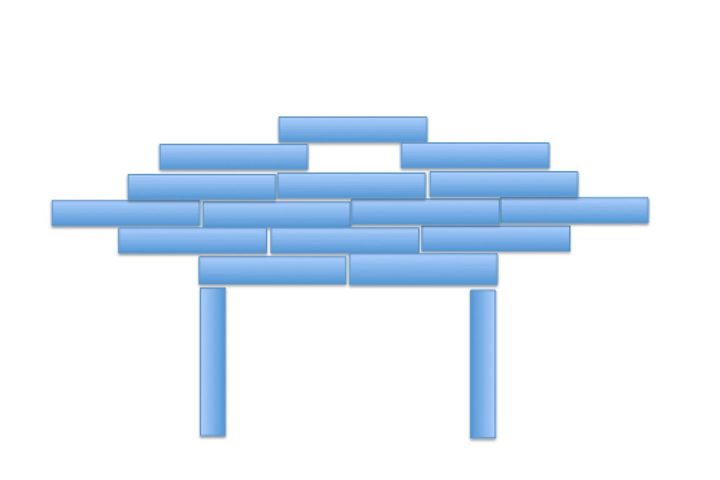
Block Stacking Challenges
How few blocks does it take to make the top block hang completely past the edge of the bottom one?
© Bruce Yeany · Homemade Science with Bruce Yeany · youtube.com/@YeanyScience
Free for personal and classroom use. Please don't resell or republish. Build and use at your own risk; follow the safety notes and supervise children.