Build plans / Chladni Plate Speaker Driver
Chladni Plate Speaker Driver
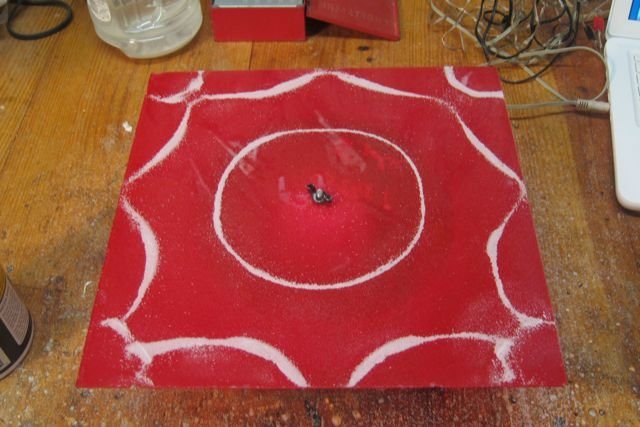
A plate is bolted to a foam mount glued onto the cone of an ordinary speaker, so the speaker itself shakes the plate. As the frequency changes, salt or sand gathers along the lines that are not moving (the nodes), revealing a new pattern at each resonance. Commercial wave drivers cost $200 or more; this one uses a discarded speaker, a foam ball and a milk jug.
Written from Bruce's original workshop handout. Bruce's final review of this plan is in progress.
What it shows
Sprinkle salt on a plastic sheet, dial up a tone, and watch the grains rush into sharp geometric patterns.
Key ideas: standing waves, nodes and antinodes, resonance, frequency, vibration modes
Build it
Fit the foam mount
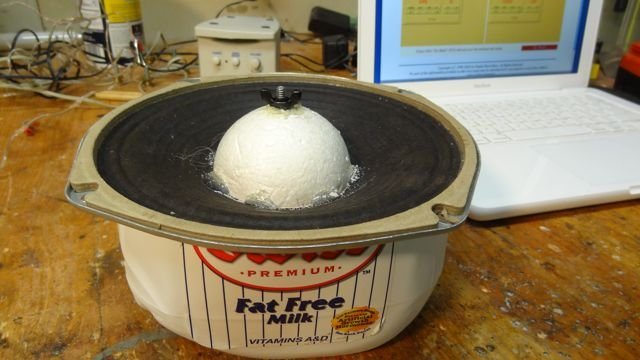
Cut the foam ball in half (or trim a block of foam) so it sits in the bottom third of the speaker cone, around the dust cap.
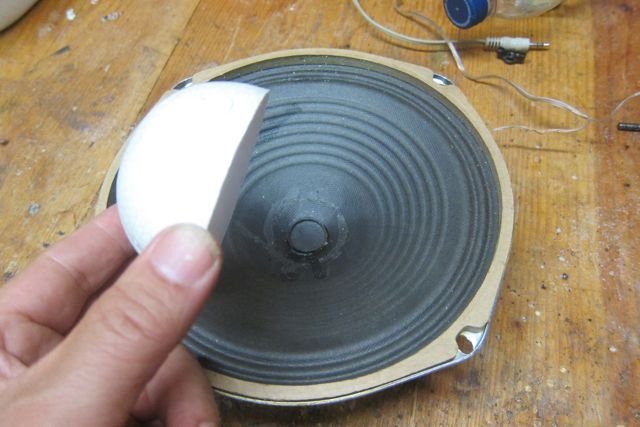
Glue the foam to the cone
Run a modest bead of hot glue where the foam meets the cone. Bruce uses only enough to hold it, so the speaker can be reclaimed later.
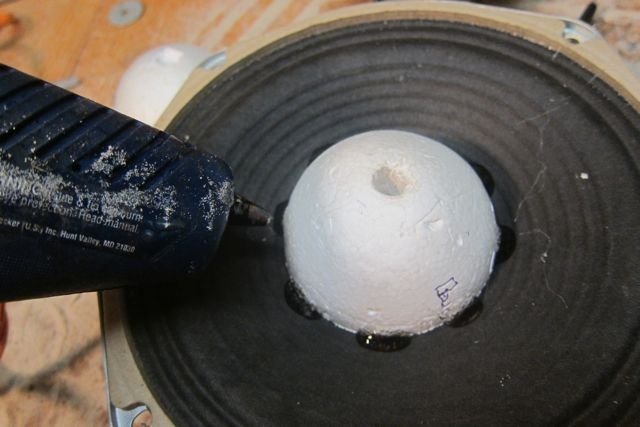
Set the bolt in the foam
Make a hole in the top of the foam a little larger than the bolt. Add hot glue a little at a time, since too much at once melts the foam; a splash of water cools it quickly, then dry it and add more. Push the bolt in head-down and keep adding glue until the hole is filled.
Add the washer
With the last layer of glue, press a washer onto the top of the foam around the bolt. The plate will sit on this washer and be clamped down by the wing nut.
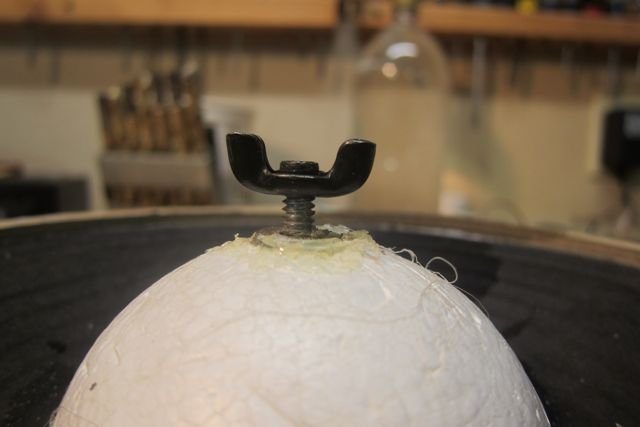
Attach leads
If the speaker has no wires, solder an 8 in wire to each terminal (or attach them with connectors).
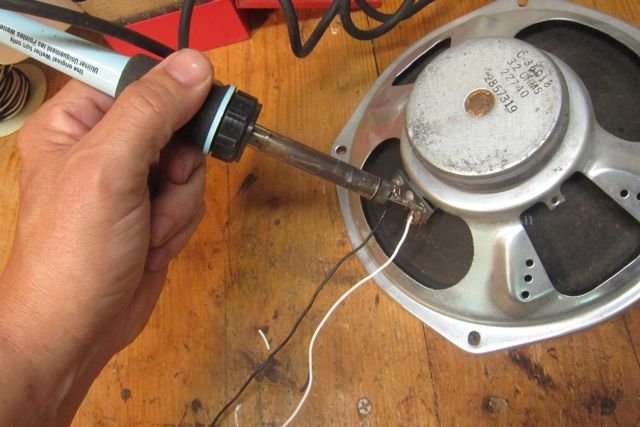
Make the stand
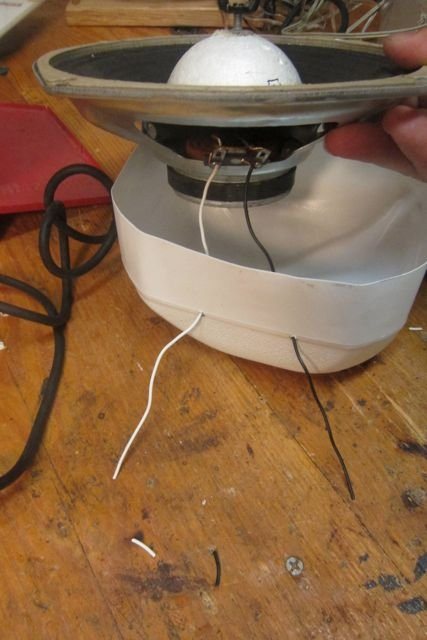
Cut the bottom off a gallon milk jug. Melt or poke two small holes in the side for the speaker wires, using a soldering iron tip or a hot glue gun nozzle (adult job). A hair dryer or a little WD-40 removes the label.
Seat the speaker
Thread the wires through the holes and set the speaker magnet-down in the jug. Because it rests loosely, you can tilt it back and forth until the plate sits level.
Prepare the plates
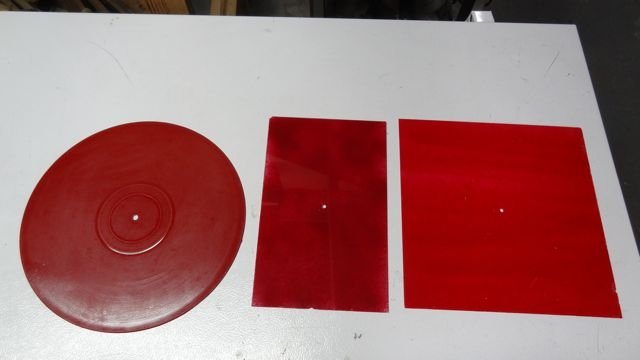
Cut plates about 10 x 10 in to start, then try other sizes and shapes such as a circle or a guitar-shaped soundboard. Drill a hole in the exact center for the bolt.
Finish the plates
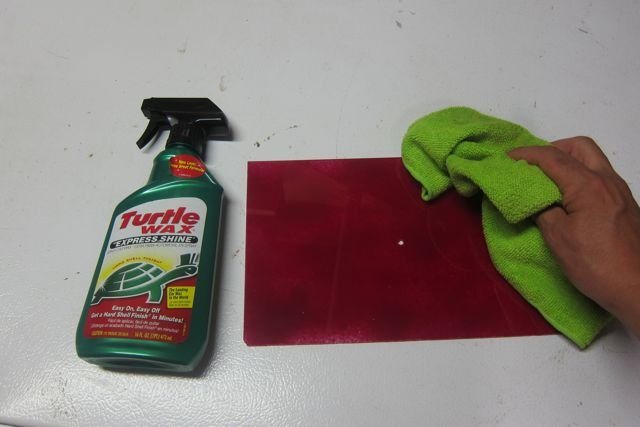
Paint the underside of clear plastic a bold color so the white salt stands out, then polish the top with car wax so the grains slide easily.
Connect the electronics
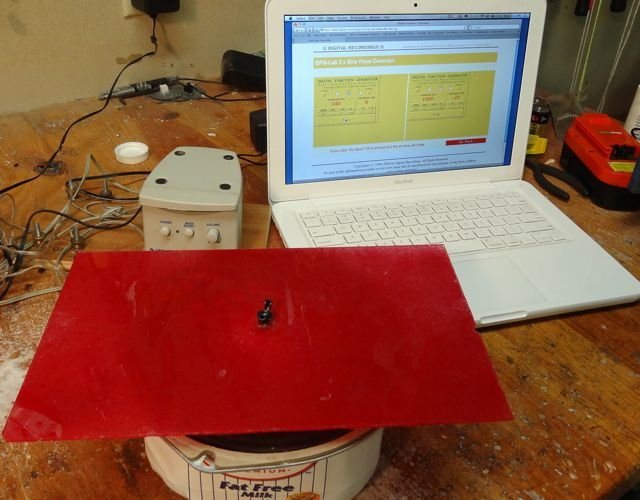
Run the tone generator into the amplifier input with an adapter cable, and connect the driver to the amplifier's speaker output. Bruce made his speaker lead from an old cable with the right plug for the back of his stereo.
Mount a plate and test
Place a plate on the washer, tighten the wing nut, and level it. Sprinkle salt evenly, start near 50 Hz with the volume low, and raise the frequency 1 to 10 Hz at a time until a pattern snaps into place.
How it works
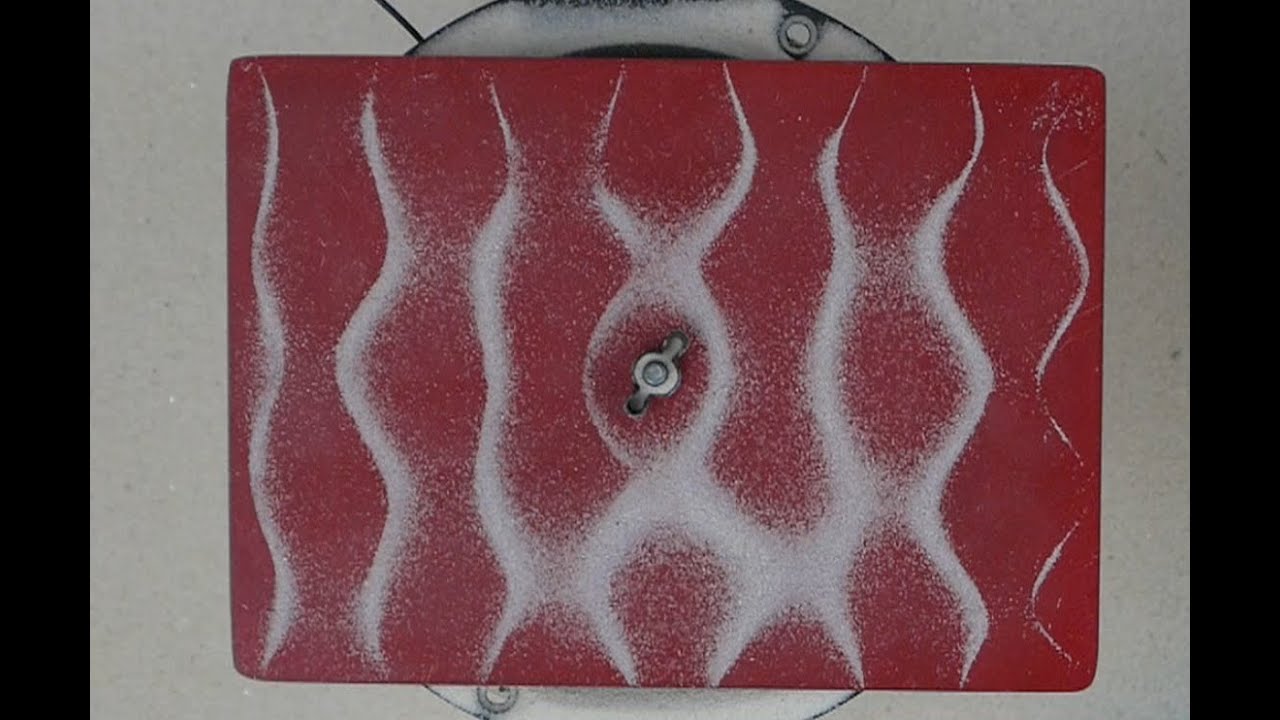
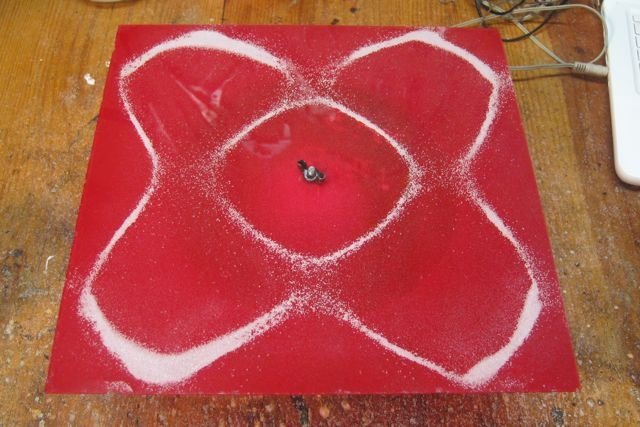
A thin plate can vibrate in many different shapes, called modes. Each mode happens at its own natural frequency. When the driver shakes the plate at one of those frequencies, the plate resonates and settles into a standing-wave pattern.
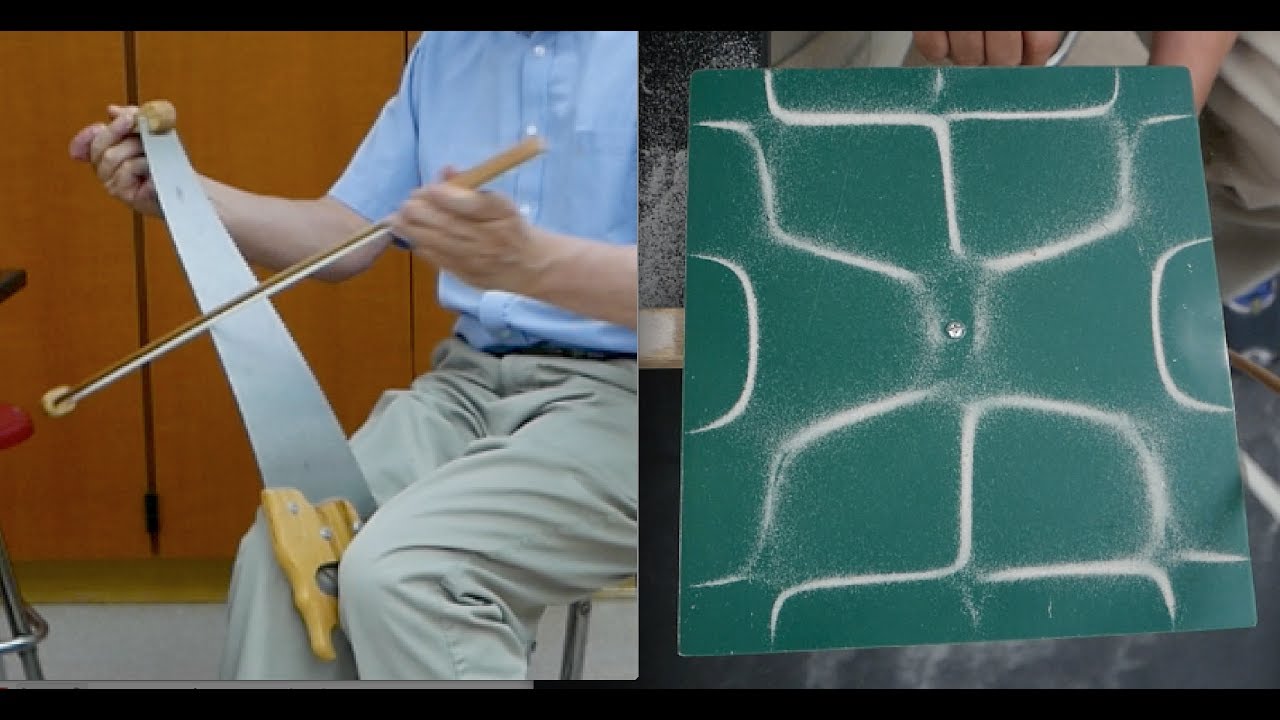
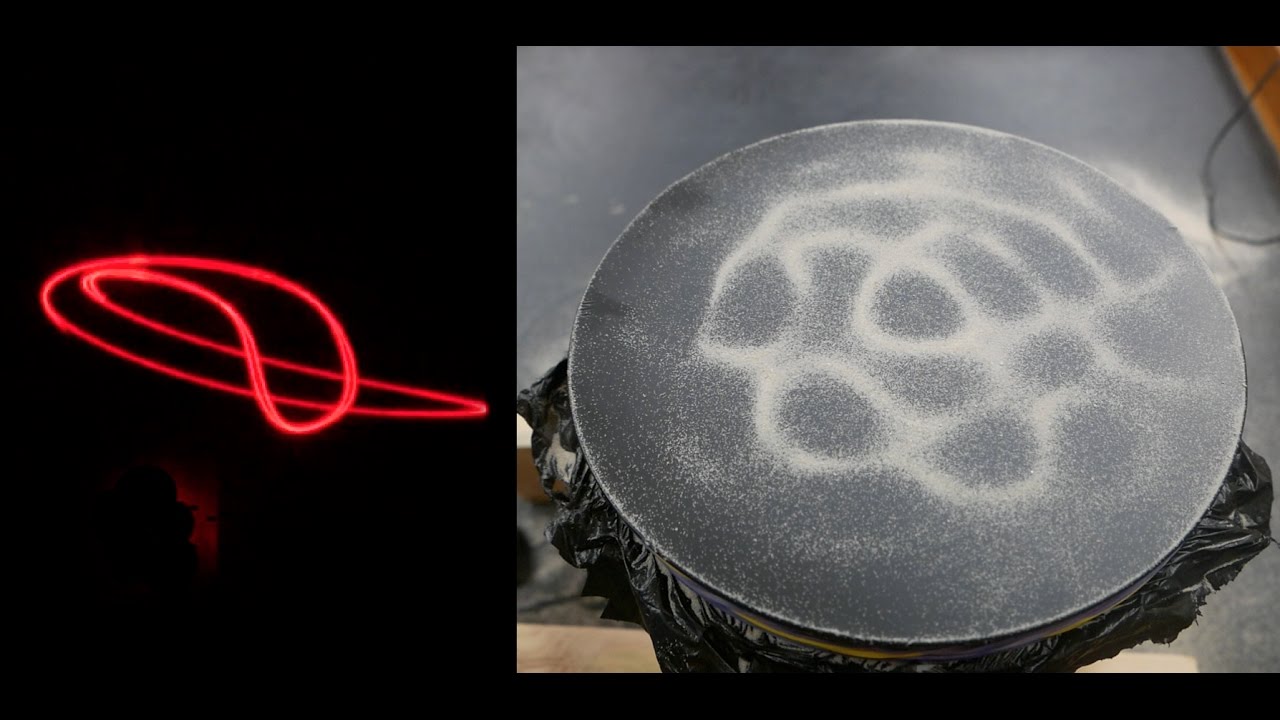
In a standing wave some regions move a lot (antinodes) and some lines barely move at all (nodes). Salt on a vibrating region is bounced around until it lands somewhere quiet, so the grains collect along the nodal lines and draw a map of the vibration.
Higher frequencies produce modes with more nodal lines, so the patterns become more detailed as you turn the frequency up. Between resonances the plate barely responds and the salt just jitters. Ernst Chladni first showed these figures around 1787 by bowing the edge of a metal plate with a violin bow.
Using it
- Sweep slowly upward from 50 Hz and have students sketch each pattern and record its frequency.
- Ask students to predict where the salt will end up before you turn the tone on, then discuss why it gathers where the plate is still.
- Compare plates of different sizes, shapes and materials at the same frequency.
- Connect the patterns to musical instruments: guitar and violin makers study the same modes in their soundboards.
- Keep the volume as low as possible; the driver also acts as a loudspeaker, so short bursts are kinder to everyone's ears.
Variations
- Plates cut from an old vinyl record: Bruce painted one to fill in the grooves and sanded it smooth with rubbing compound.
- Light sheet metal, about 24 gauge (roughly 1/64 in thick). Cut it carefully so it stays flat.
- Instrument shapes such as a guitar or violin face.
- Bruce built a small portable amplifier for workshops by mounting the amplifier board from a yard-sale set of computer speakers on a wooden base.
Troubleshooting
More build plans
Balloon Fog Horn
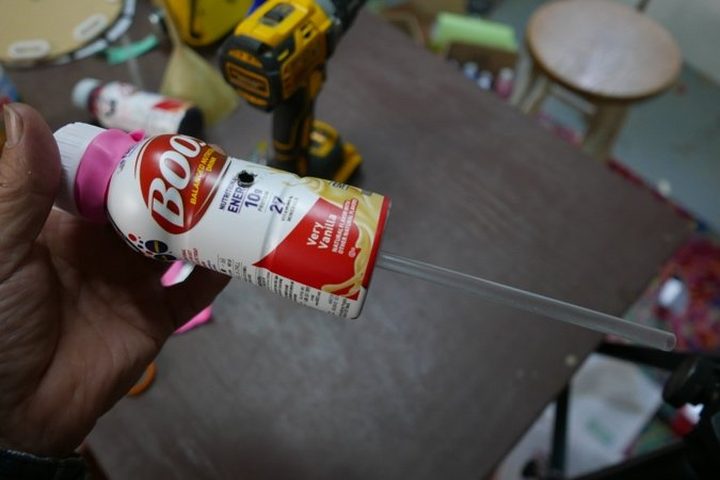
Blow into a little plastic bottle and it lets out a deep, buzzing honk like a ship in the fog.
F.A.K.E.D. Resonance Pendulums
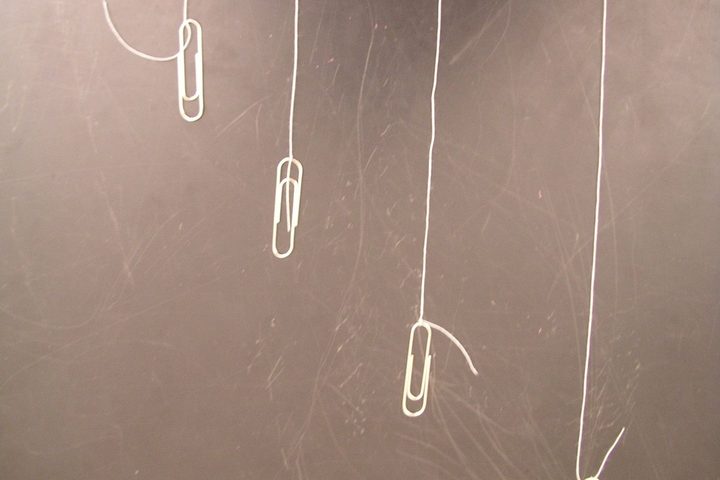
Ask the class to move just the orange ball with their minds, and watch it swing while the other three hang nearly still.
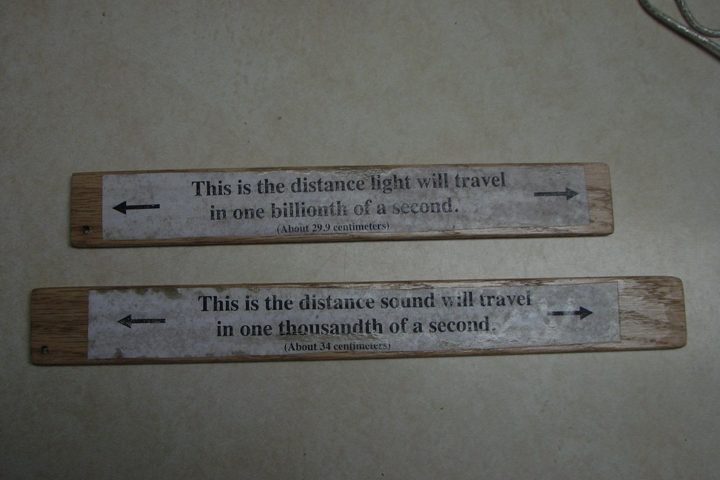
Nanosecond of Light and Millisecond of Sound Sticks
Two sticks of almost the same length: one shows a billionth of a second of light, the other a thousandth of a second of sound.
© Bruce Yeany · Homemade Science with Bruce Yeany · youtube.com/@YeanyScience
Free for personal and classroom use. Please don't resell or republish. Build and use at your own risk; follow the safety notes and supervise children.