Build plans / Foam Plate Speaker
Foam Plate Speaker
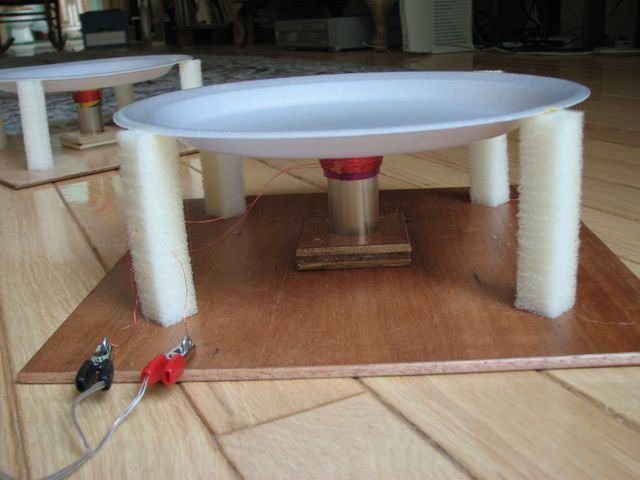
This is a real moving-coil loudspeaker built from kitchen materials: a coil wound on a cardboard tube is glued to the back of a foam plate, and the plate floats on soft foam legs so the coil slides over a strong neodymium magnet. Wired to an amplifier, it plays surprisingly loud music. The same coil-and-magnet pair can also turn a trash can, a box or a door into a speaker.
Written from Bruce's original workshop handout. Bruce's final review of this plan is in progress.
What it shows
Fifty feet of thin copper wire, a cereal-box tube and a strong magnet make a foam dinner plate loud enough to hear from the next room.
Key ideas: speakers, electromagnets, magnetic force, sound waves, compression and rarefaction, phase
Build it
Make the spacer ring
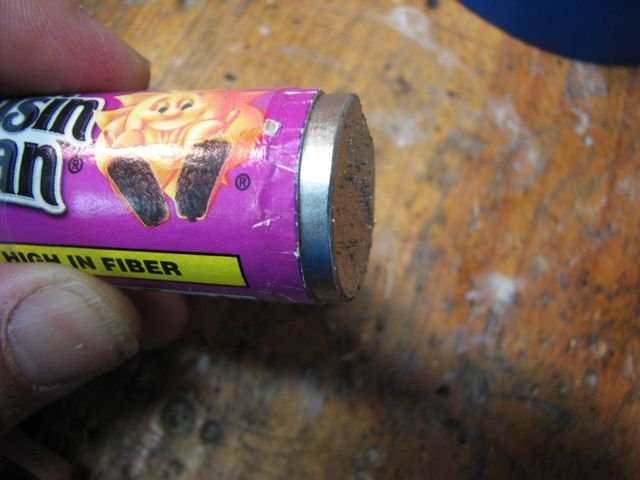
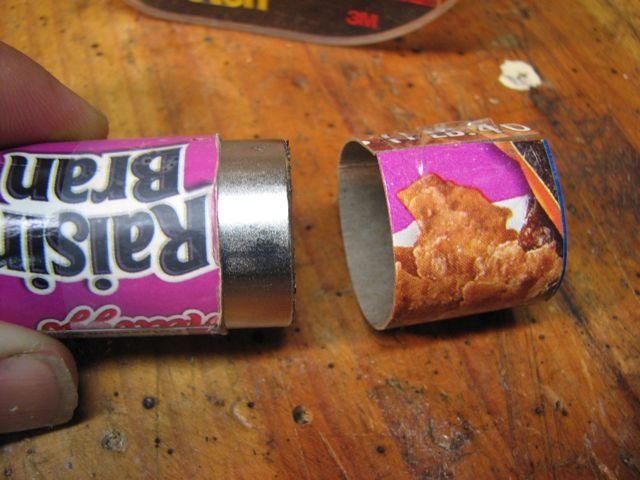
Cut a strip of thin cardboard that wraps exactly once, snugly, around the magnet and tape it into a ring with plastic tape. This first ring is only a spacer and will be thrown away; it makes the coil form slightly larger than the magnet so it can slide freely.
Cut the coil-form strip
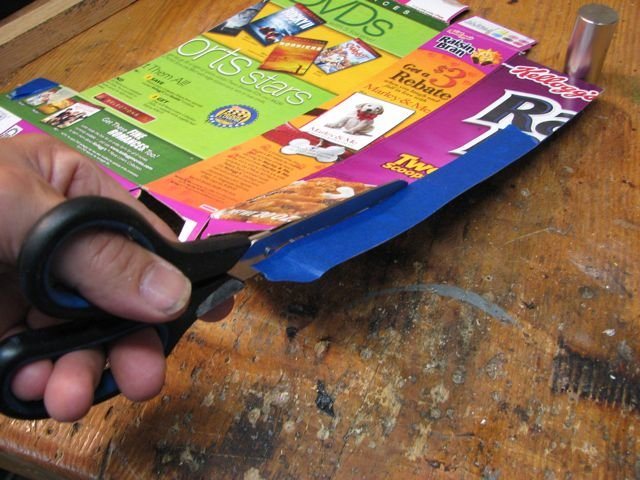
Lay 1 in masking tape on the cardboard as a guide and cut a strip exactly 1 in wide, long enough to wrap once around the spacer ring. Cut carefully: if the edges are uneven, the finished tube will sit crooked and rub on the magnet.
Form the second ring
Wrap the 1 in strip around the spacer ring (still on the magnet), trim it for a tight single loop and tape it closed. Slide it off to check that it is round and its edges line up; make a new one if it is crooked.
Wind the coil
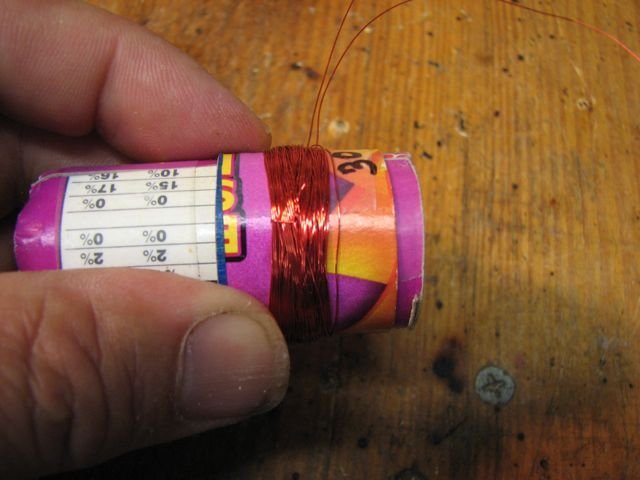
Put the second ring back over the spacer. Leaving the first 10 in of wire free, wind the 32 gauge wire tightly around the ring until about 10 in remain, and twist the ends to hold it. Run a bead of hot glue across the windings, or cover them with plastic tape, so they cannot unravel.
Mount the magnet
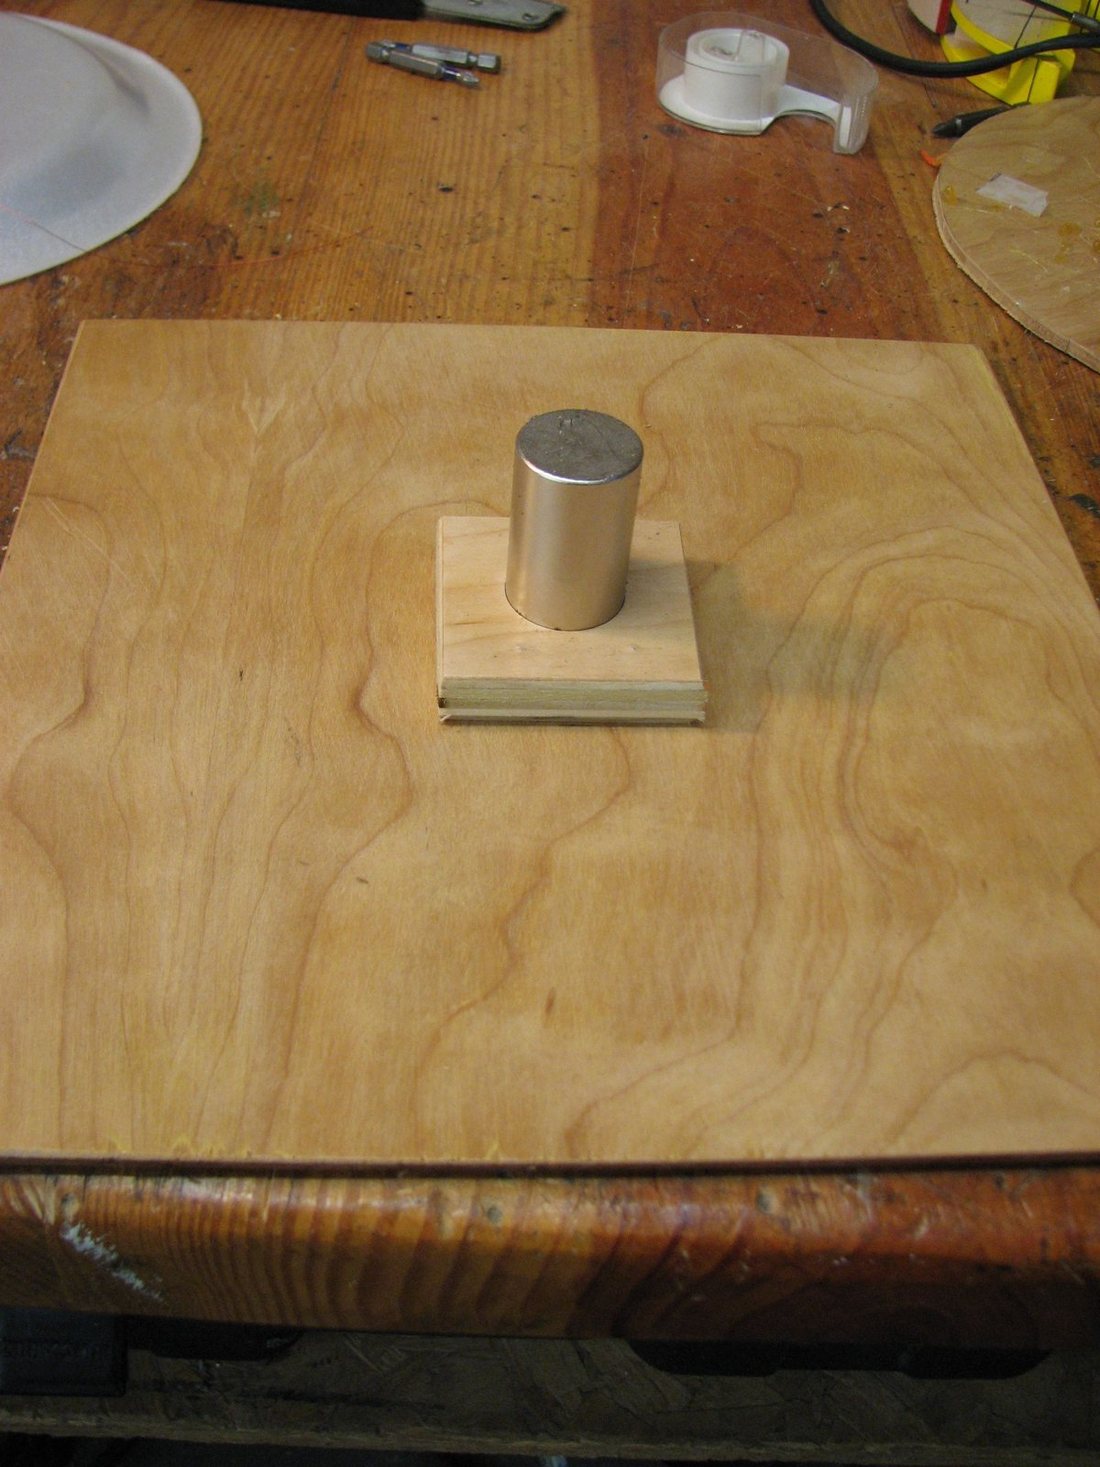
Drill a 1 in hole in the 2 x 2 in block so the magnet fits snugly, and glue or screw the block to the center of the base from underneath. Or simply glue the magnet to the center of the base.
Glue the coil to the plate
Remove the spacer ring. Glue the coil, open end down, to the center of the back of the foam plate with four small dabs of hot glue. Too much glue will melt the foam.
Sand the wire ends
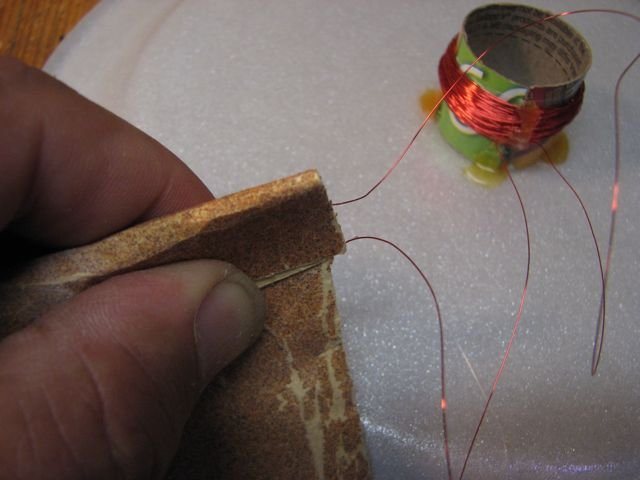
Sand the enamel off the last inch of each coil lead. The enamel is an insulator; if you skip this, the speaker will not work.
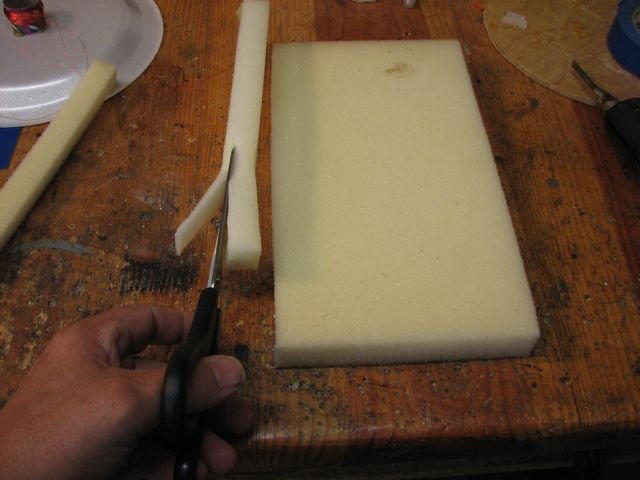
Cut the foam legs
Measure from the base to the plate's rim with the top of the magnet sitting one-third to halfway up inside the coil; this position gives the loudest sound. Cut four 1/2 in square legs of soft foam to that length.
Attach the legs
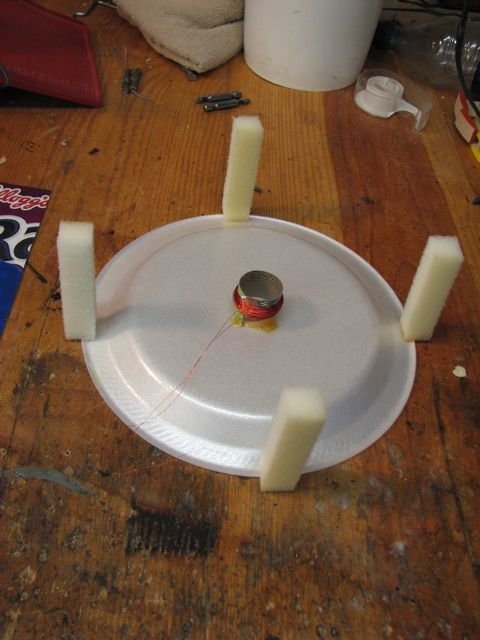
Hot glue the legs to the underside of the plate rim with small dabs. Set the plate over the magnet, check the coil height and that the legs are straight, then glue the legs to the base one at a time. You can leave them unglued if you want to take the speaker apart.
Route the leads
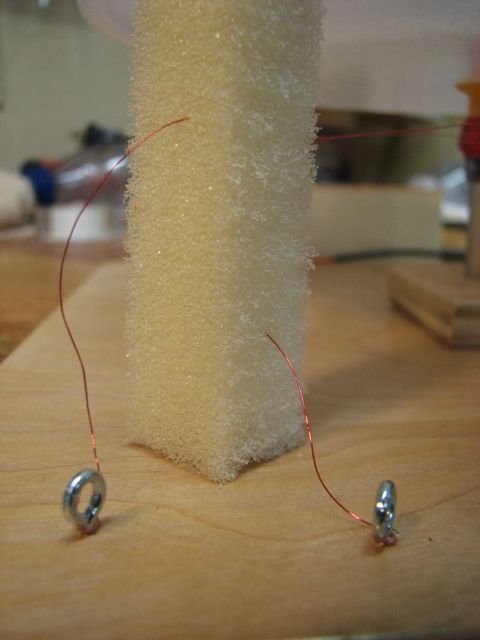
Run the coil leads loosely to one leg, keeping them apart and clear of the plate; threading them through a foam leg holds them neatly. Wrap the sanded ends around two eye screws in the base.
Connect and play
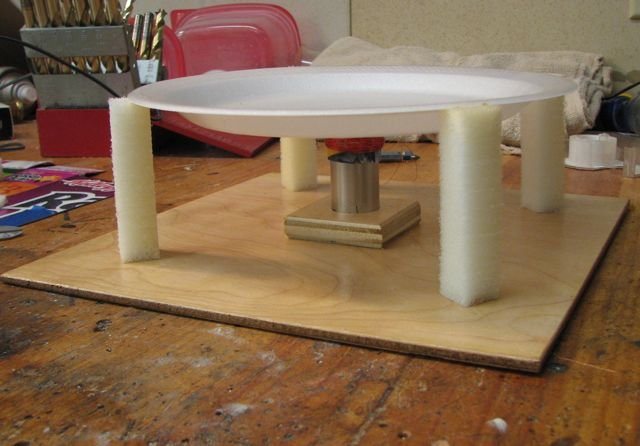
Clip speaker wire from the eye screws to the speaker outputs of an amplifier. Start at low volume and turn it up gradually.
How it works
The coil on the back of the plate is an electromagnet. The amplifier sends it a current that reverses direction in step with the music, so the coil's north and south ends keep swapping. As they do, the coil is alternately pulled down onto the permanent magnet and pushed away from it, carrying the plate with it.
The moving plate pushes the air in front of it into compressions and pulls it into rarefactions. These pressure waves travel to your ear as sound. A bigger, lighter cone moves more air, which is why a plate works far better than the coil alone.
You can see the principle with a single battery: touch it briefly to the leads and the plate jumps in or out and stays there; reverse the battery and it moves the other way.
An open-backed plate is inefficient. While its front pushes air out, its back pulls air in, and the two opposite waves partly cancel, especially at low frequencies. That is why real speakers are mounted in boxes. The same cancellation happens between two speakers wired 'out of phase'.
Using it
- Battery test: momentarily connect a single AA cell and let students watch the plate move in or out. Reverse it and ask them to explain the difference.
- Stereo phasing: build two speakers. Use a battery to see which way each plate moves, and label the leads + and - so that both move outward with the same battery connection. Play music with them in phase and then out of phase, and listen to the bass disappear.
- Hold a sheet of cardboard against the back of the plate, or put the speaker on a box, and listen for the change in low notes.
- Compare magnets: try a weaker magnet, or place the coil higher or lower on the magnet, and judge the loudness.
- Compare the foam plate speaker with the toy motor speaker.
Variations
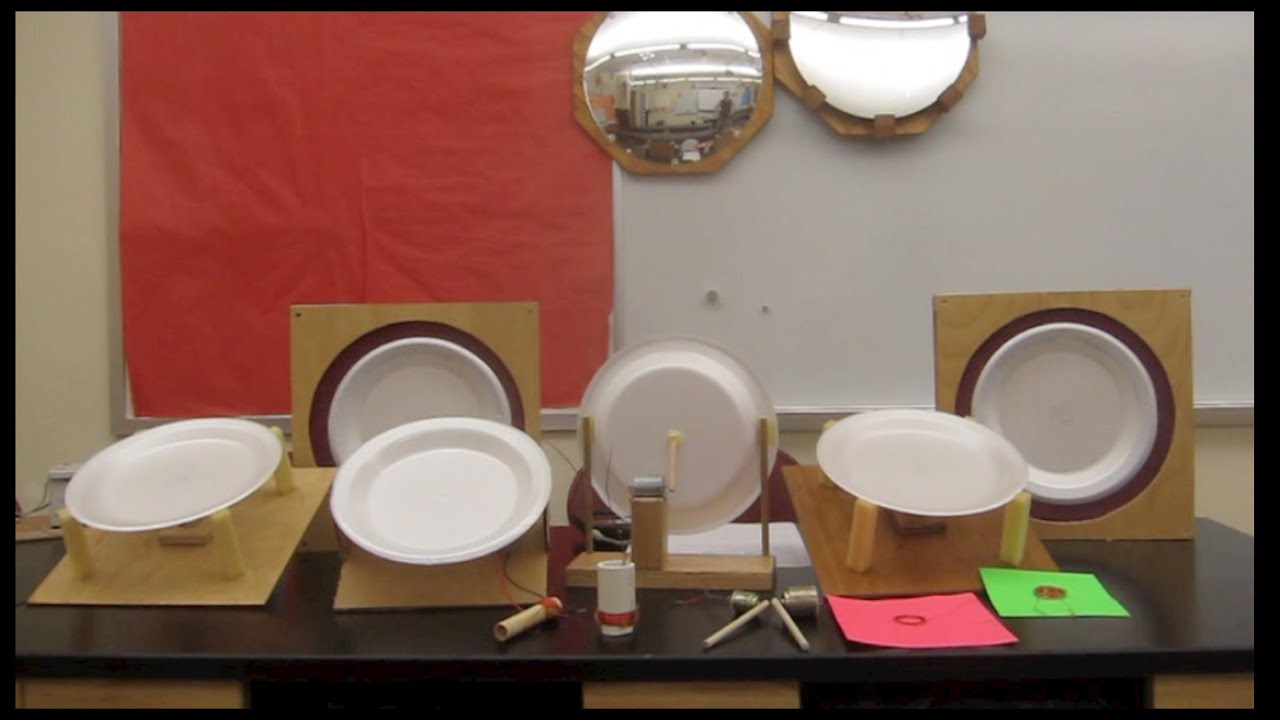
- Surface speaker: wind the same 50 ft coil on a short length of PVC pipe (or a rolled-and-taped heavy paper tube) that the magnet slides into snugly but freely, and seal the windings with hot glue. Stick the magnet to a steel surface, or glue it to a thin surface such as a trash can, cardboard box or door. With the amplifier playing, bring the coil over the magnet and the whole surface becomes the speaker.
- Boxed speaker: Bruce glued a foam plate to cloth stretched over a hole in a plywood front, as a step toward a fully enclosed speaker.
- Foam soup bowls make good cones, but avoid gluing them to crinkly foam packing material, which rustles as it moves.
- For a private 'listen through your jaw' speaker, use the toy-motor bite stick rather than putting a strong magnet near anyone's mouth.
Troubleshooting
More build plans
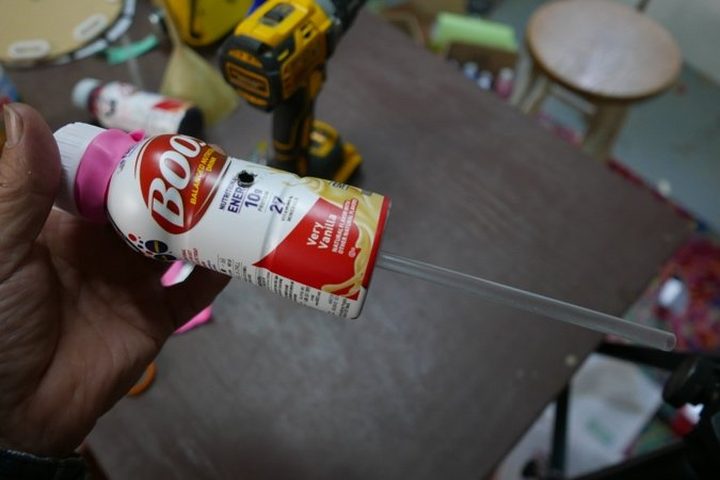
Balloon Fog Horn
Blow into a little plastic bottle and it lets out a deep, buzzing honk like a ship in the fog.
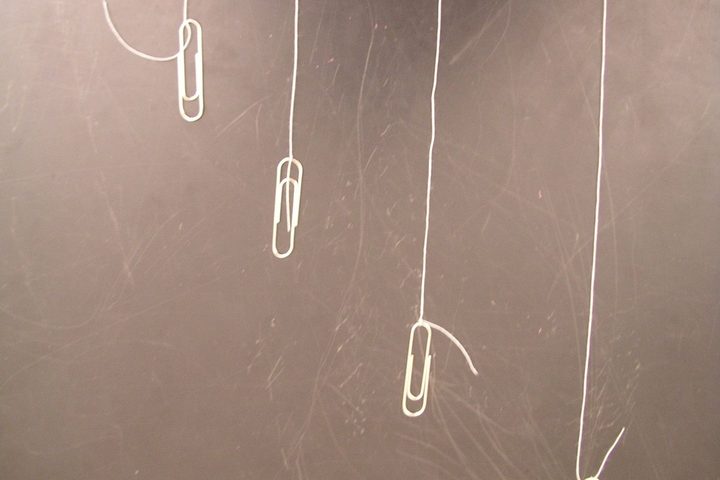
F.A.K.E.D. Resonance Pendulums
Ask the class to move just the orange ball with their minds, and watch it swing while the other three hang nearly still.
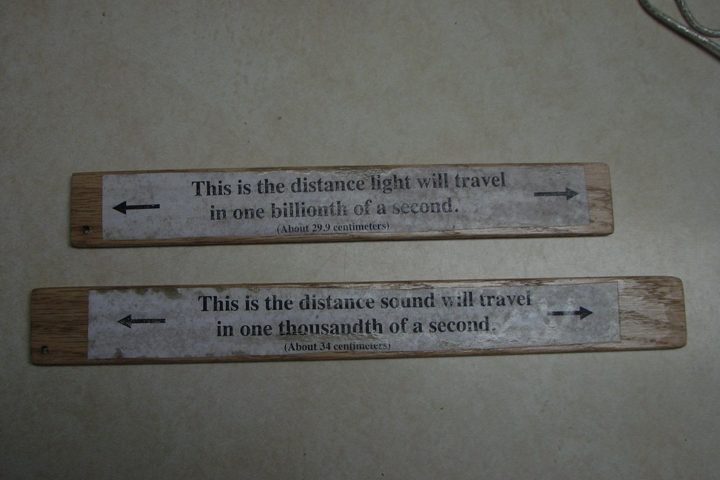
Nanosecond of Light and Millisecond of Sound Sticks
Two sticks of almost the same length: one shows a billionth of a second of light, the other a thousandth of a second of sound.
© Bruce Yeany · Homemade Science with Bruce Yeany · youtube.com/@YeanyScience
Free for personal and classroom use. Please don't resell or republish. Build and use at your own risk; follow the safety notes and supervise children.