Build plans / Tantalus Cup
Tantalus Cup
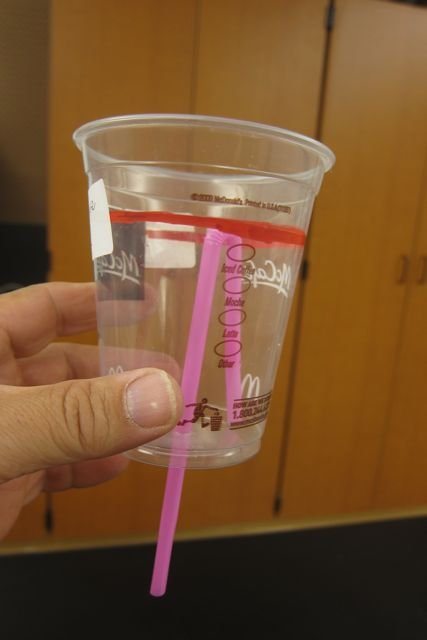
A Tantalus cup looks like an ordinary cup, but a bent straw hidden inside forms a siphon. Below the red line it holds water normally; fill it any higher and the siphon starts and empties the entire cup. It takes a plastic cup and two bendy straws and is a perfect lead-in to how siphons work.
Written from Bruce's original workshop handout. Bruce's final review of this plan is in progress.
What it shows
Fill it past the red line and the whole cup drains away through its own bottom.
Key ideas: siphons, air pressure, gravity, potential energy
Build it
Gather the materials
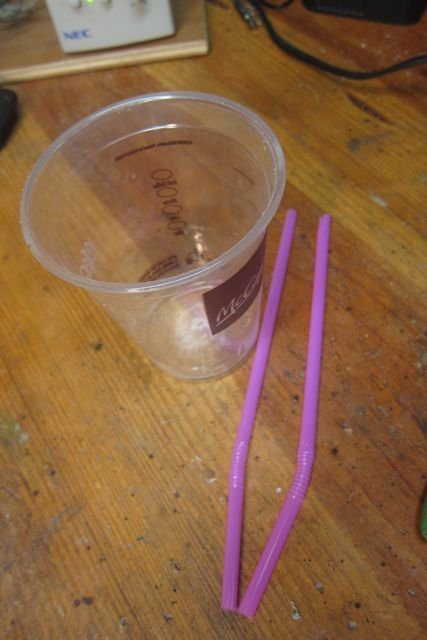
You need a plastic cup, two bendy straws, and a drill with a bit slightly smaller than the straw.
Drill the cup
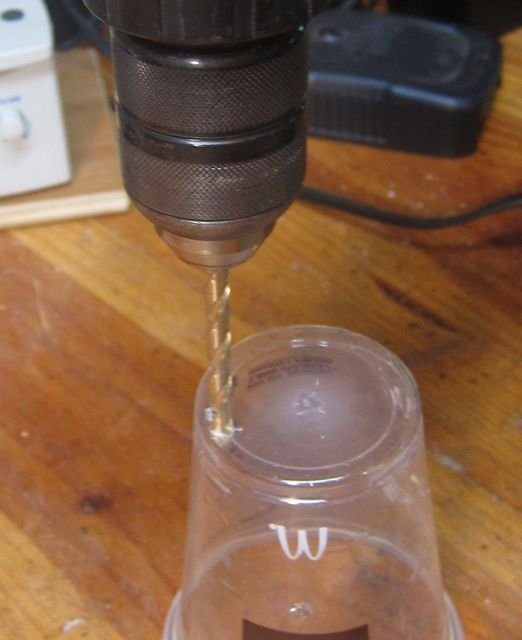
Drill a hole in the bottom of the cup slightly smaller than the straw's diameter, so the straw will be a tight fit. It can go in the center or near the edge.
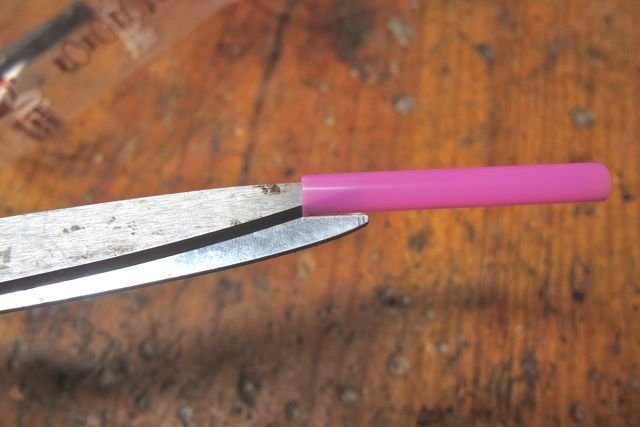
Slit the short end
On the first straw (the siphon straw), cut a slit about 3/4 inch long into the short end above the bend.
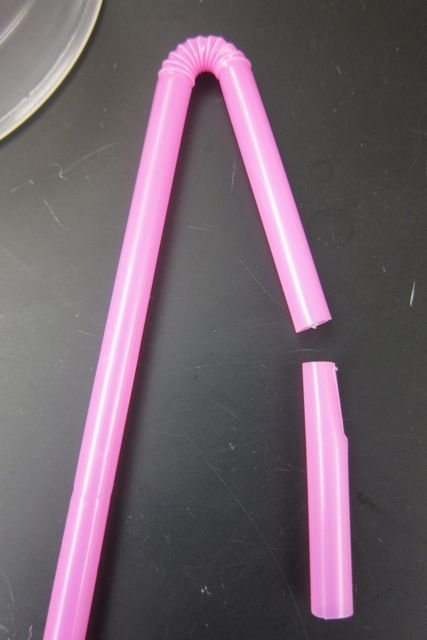
Add an extension
Cut a piece from the second straw and push it into the slit end of the siphon straw. This lengthens the short leg so it will reach almost to the bottom of the cup.
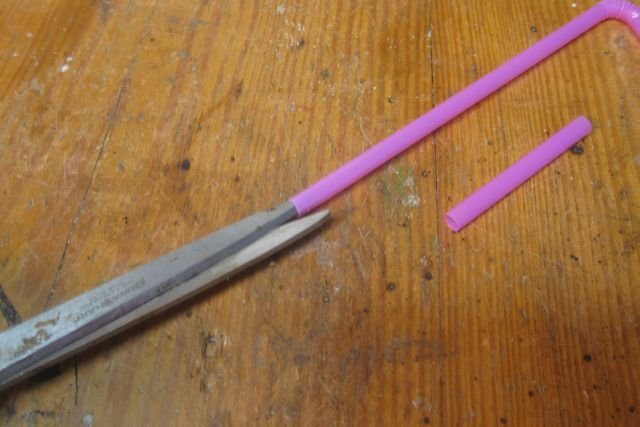
Point the long end
Cut the long end of the siphon straw at an angle so it is easier to start through the hole in the cup.
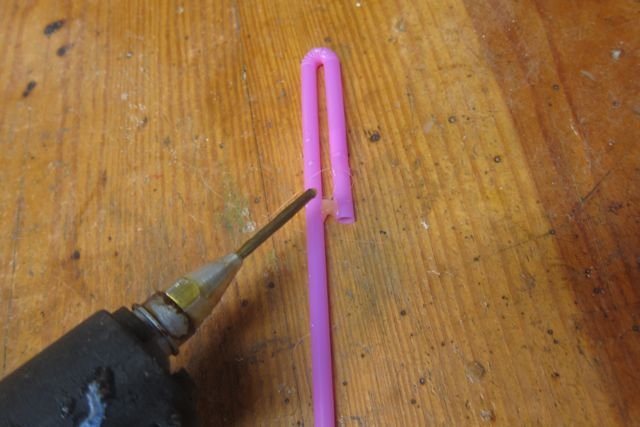
Secure the joint
Put a spot of hot glue on the joint between the straws, or wrap it with a rubber band. This is optional but keeps the straw from coming apart.
Install the siphon
From inside the cup, push the long end down through the hole until the bend sits below the cup's rim and the short leg nearly touches the bottom. If it leaks, seal around the straw with hot glue or try a smaller hole in a new cup.
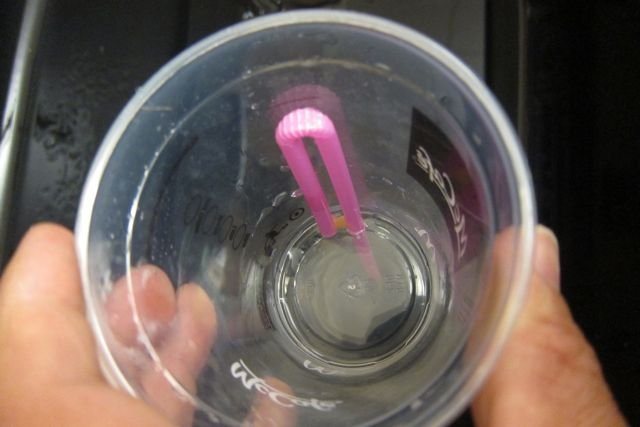
Paint the red line
Mark a red line around the cup level with the top of the straw's bend, and add a sign: 'Do not fill above the red line!'
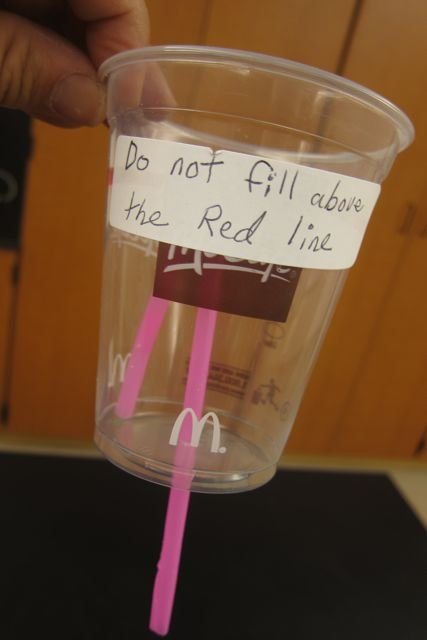
Test it
Over a sink, fill the cup below the line; it holds water. Then fill it past the line and watch it drain completely.
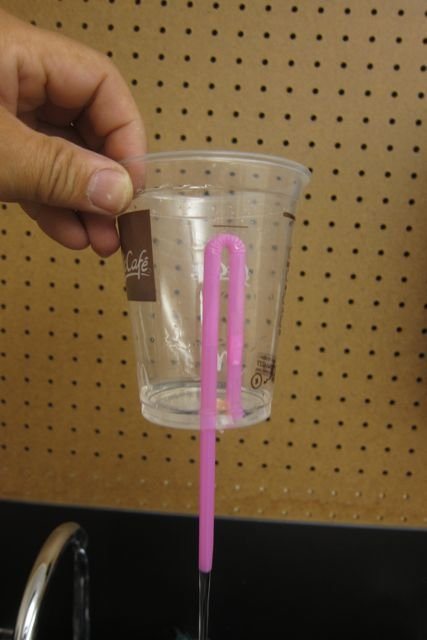
How it works
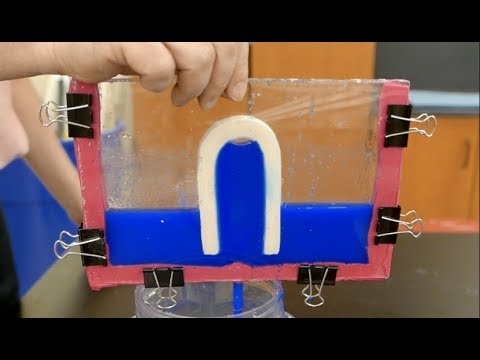
The bent straw is a siphon. As long as the water is below the top of the bend, it simply sits in the short leg at the same level as the water in the cup, and nothing happens.
Once the water rises above the bend, it flows over the top and down the long leg, filling the whole straw. Now the column of water in the long leg outside the cup is taller than the short leg inside. Gravity pulls that longer column down, and air pressure pushing on the surface of the water in the cup pushes more water up the short leg to replace it.
The flow continues as long as the outlet is lower than the water surface in the cup, so the cup drains until the water level drops below the end of the short leg and air gets in. Water flows from the higher level to the lower one, from higher to lower potential energy. In principle, air pressure can push water up a siphon as much as about 33 feet above the water surface.
Using it
- Set the cup out with its sign and see who cannot resist adding a little more water.
- Have students research the Greek myth of Tantalus and explain why the cup is named after him.
- If the cup is only half full, how can you start the siphon without adding more water? (With the straw at the edge, tilting the cup works.)
- Once the siphon is running, can you stop it? Will it start again on its own?
- Use it to launch a full siphon lab: which way does water flow when both ends are in buckets, and what happens when the levels are equal?
Variations
- Tantalus bucket: Bruce made a five-gallon bucket version with PVC pipe, with the drain pipe ending flush with the bucket bottom so it sits flat. Students washed glassware in it, then started the siphon to empty it neatly into the sink instead of splashing it.
- Placing the straw near the side of the cup lets you start the siphon by tilting the cup when it is almost full.
Troubleshooting
More build plans
Air-Powered String Shooter
A loop of yarn shoots out of a PVC pipe and snakes through the air in a self-supporting arc, driven by nothing but a shop vac's exhaust.
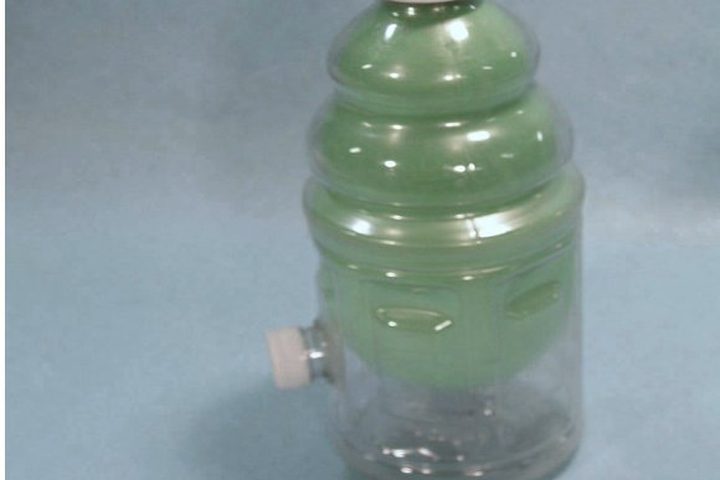
Balloon in a Bottle
Blow up a balloon inside a bottle and it stays inflated with its mouth wide open.
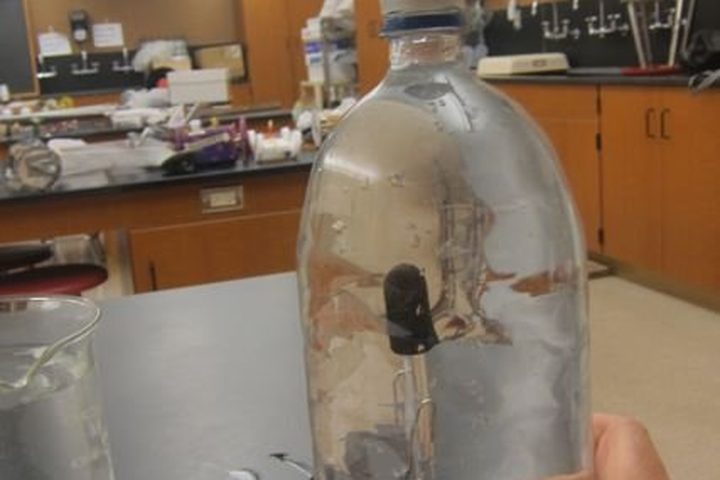
Cartesian Diver Collection
Squeeze a sealed bottle and a little diver sinks on command; let go and it floats back up.
© Bruce Yeany · Homemade Science with Bruce Yeany · youtube.com/@YeanyScience
Free for personal and classroom use. Please don't resell or republish. Build and use at your own risk; follow the safety notes and supervise children.