Experiments / Hero's Fountain
Hero's Fountain
How can a fountain run with no pump?
Pour one cup of water into a bowl and a fountain springs up out of the middle of it, with no pump, no batteries and no plug.
Based on Bruce's demonstration in the video below.
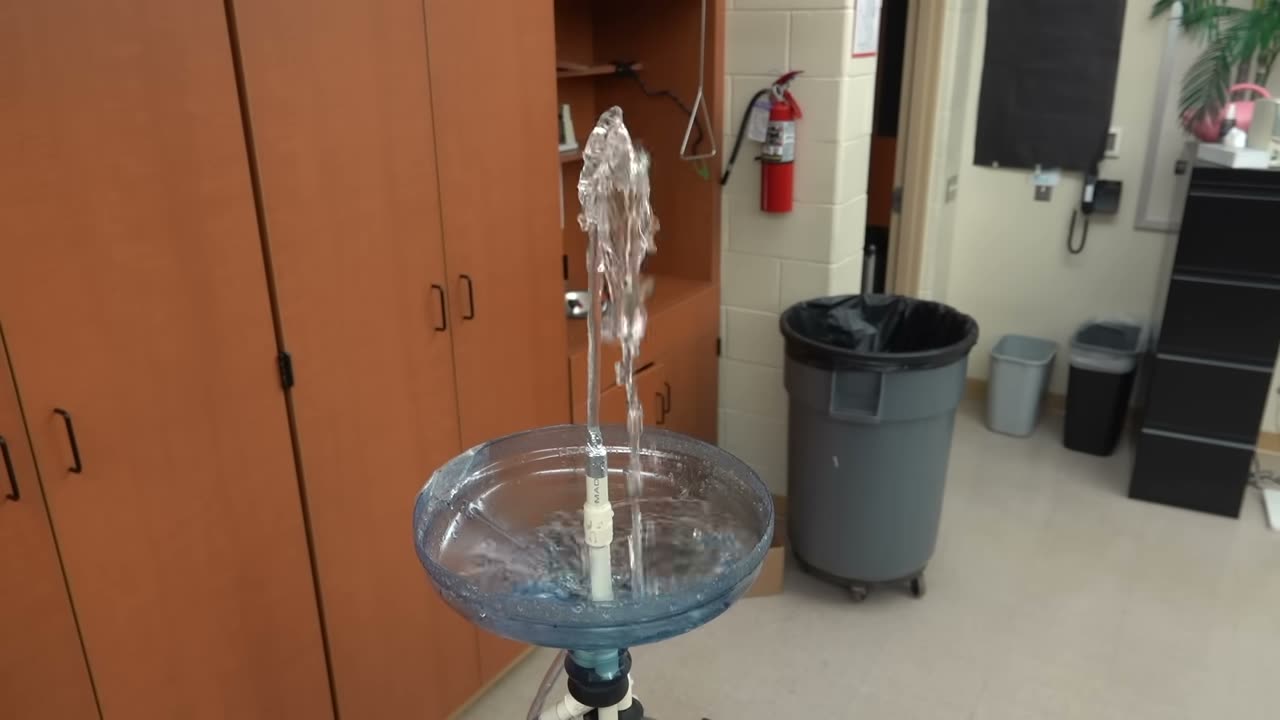
You'll connect three soda bottles with tubing to make a fountain first invented almost 2,000 years ago by Hero of Alexandria. Water shoots up higher than the bowl it falls into, yet nothing is plugged in. The secret engine is a bottle of squeezed air.
“The system does lift the water a little bit higher, but the net result is the water ends up at a lower potential position.”
Build it
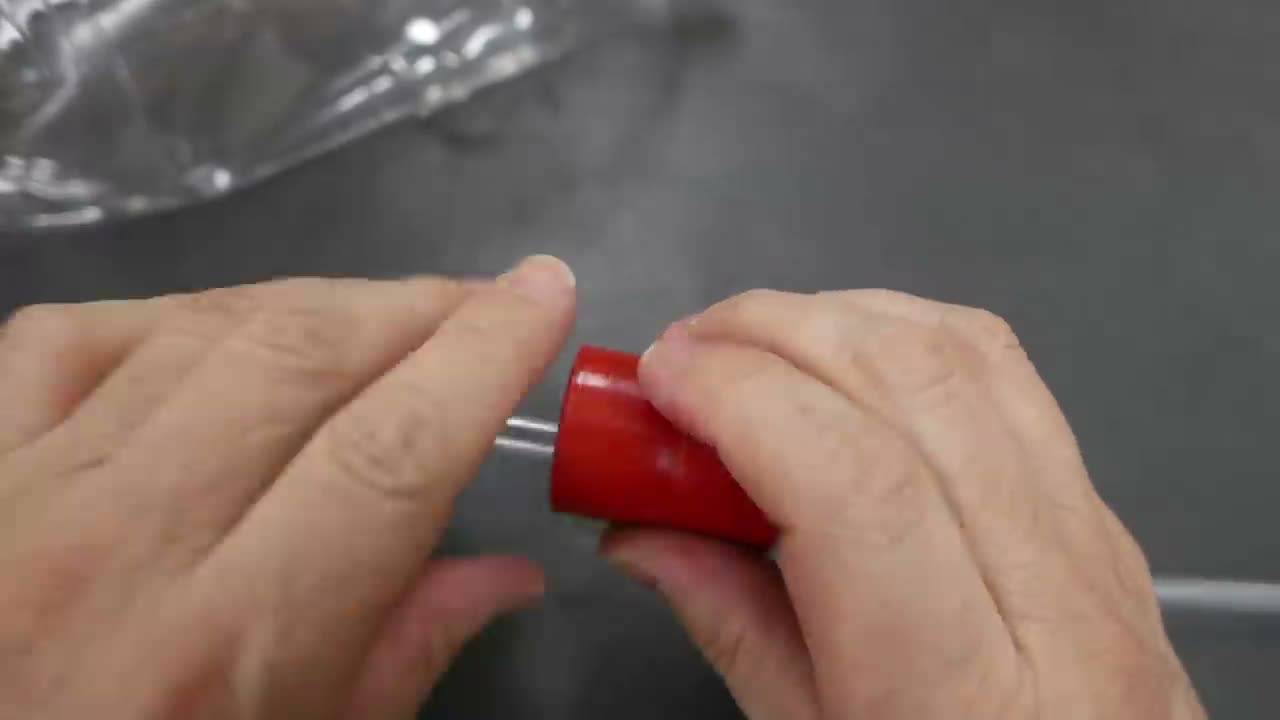
Grown-up: Cut the top third off one bottle and tape over the cut edge. Turn it upside down and it becomes a funnel-shaped catch basin, called the basin from here on.
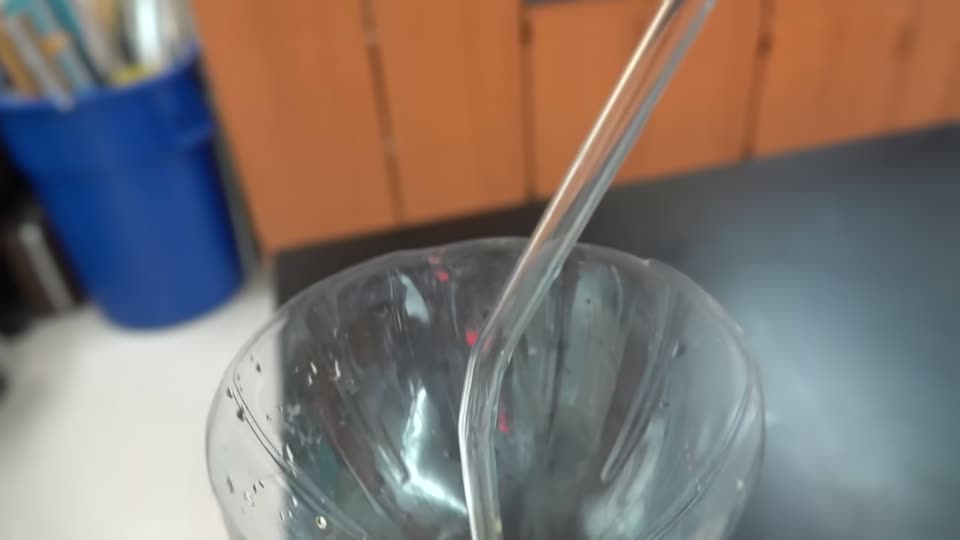
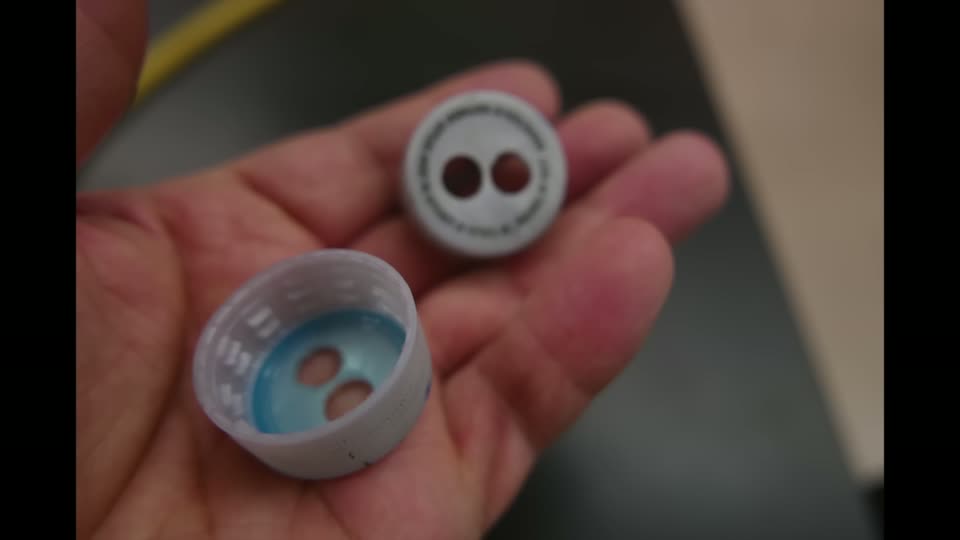
Grown-up: Drill two holes in each of the three caps, holding each cap with pliers or a clamp. Make the holes a little smaller than the tubing so the tubes fit tight and don't leak.
Grown-up: Cut the rigid tubing into six pieces: 2 long pieces that reach almost to the bottom of a bottle, 1 nozzle piece about 6 inches (15 cm), and 3 short pieces about 2 inches (5 cm).
Push the nozzle piece and one short piece through the basin's cap. The nozzle should stick up a few inches inside the basin. The short piece should sit flush (level) with the inside of the cap so water can drain out.
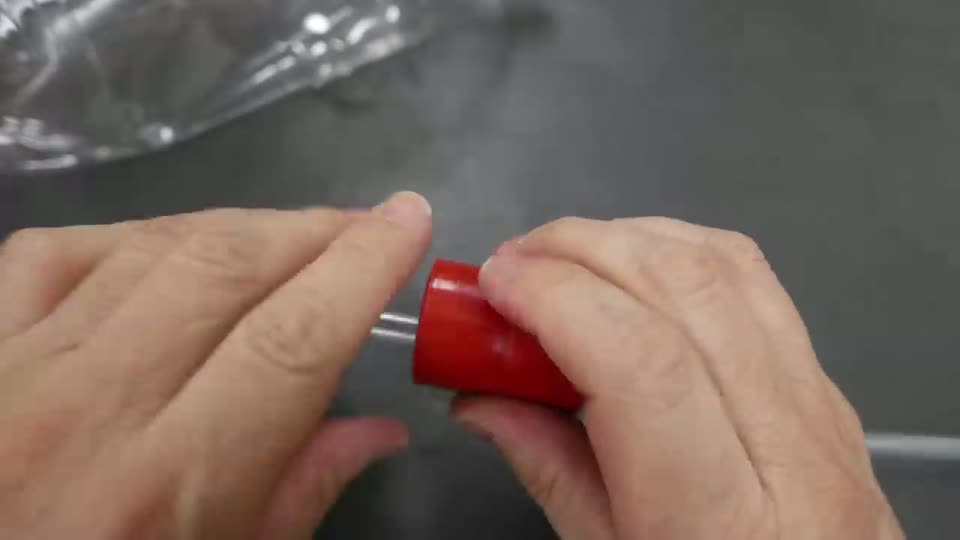
Push one long piece and one short piece through each of the other two caps. The long piece hangs down inside the bottle; the short one just pokes through.
Grown-up: Seal around every tube, on both sides of each cap, with hot glue. Let it cool.
Join the caps with three pieces of flexible hose: basin drain to the long tube of the floor bottle, floor bottle's short tube to the supply bottle's short tube, and the supply bottle's long tube to the basin's nozzle.
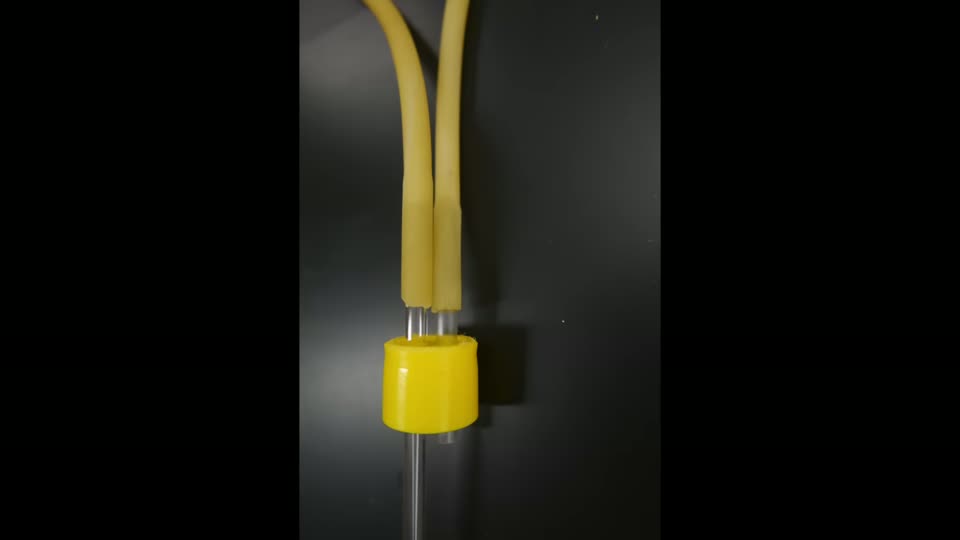
Fill one bottle about three-quarters full with water and a few drops of food coloring. This is the supply bottle. Screw on its cap (the one whose long tube leads to the nozzle), then screw the floor-bottle cap onto an empty bottle. Turn the bottles, not the caps, so the hoses don't twist.
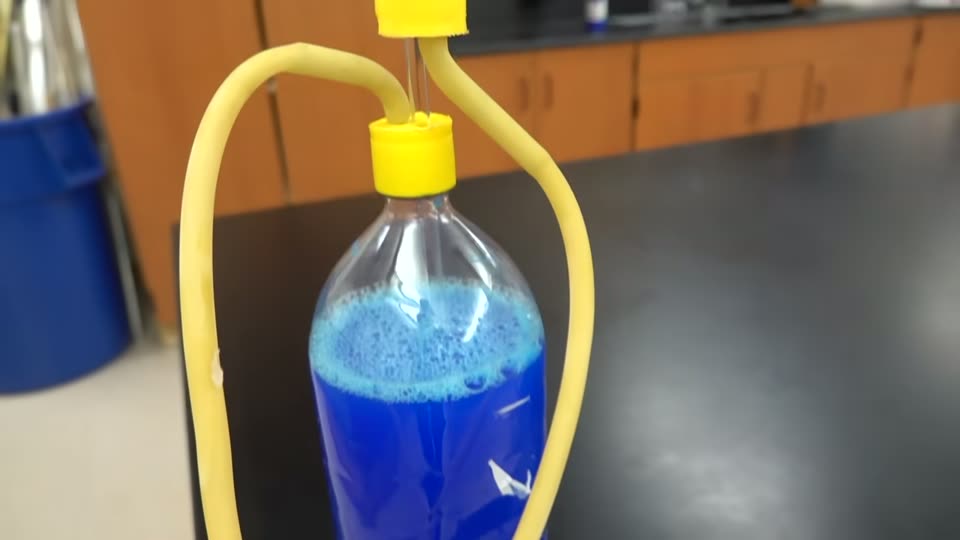
Set the heights: screw the basin onto its cap and prop it up highest on a jar or books, put the supply bottle a little lower, and stand the empty floor bottle down on the floor.
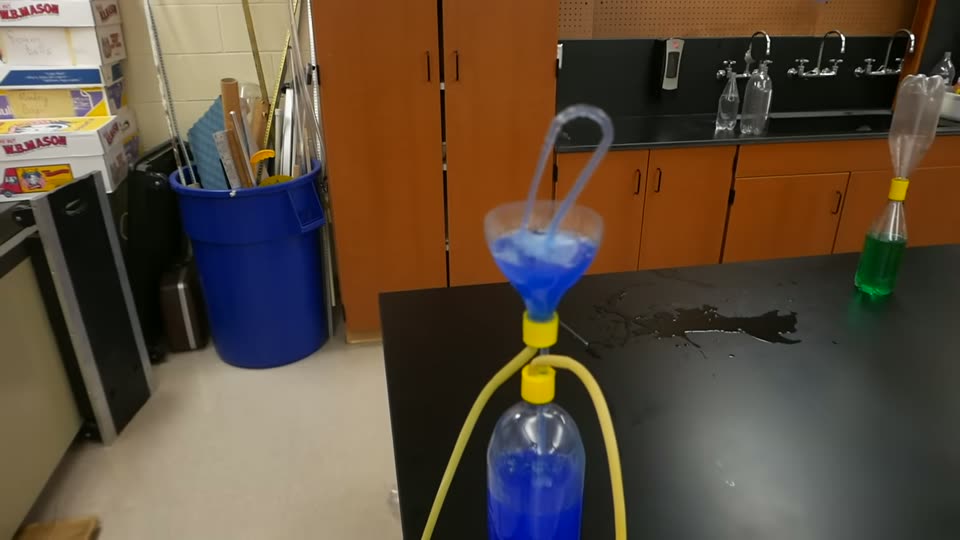
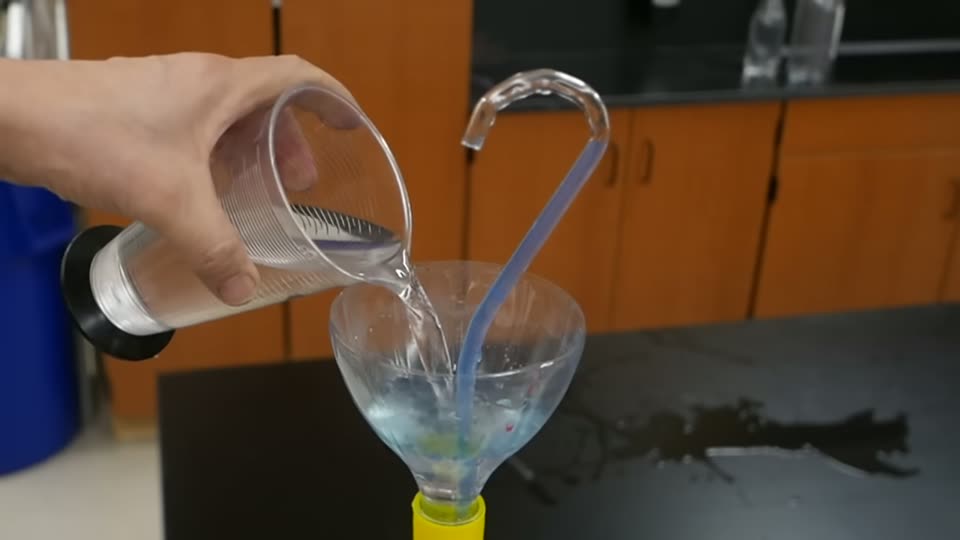
Prime it: pour about a cup of water into the basin. The water drains down into the floor bottle, and after a few moments the fountain starts.
Try it & notice
What's going on?
For young scientists
Water falls from the basin down into the floor bottle. That bottle is sealed, so the water has to squeeze the air that is already inside it. Squeezed air pushes back hard. Scientists call that push pressure.
The squeezed air has only one place to go: up the hose into the supply bottle. There it presses down on the colored water, and the water's only way out is up the long tube and out the nozzle. That's your fountain.
It isn't magic and it doesn't run forever. Falling water is the engine. When the supply bottle runs dry, or the floor bottle is lifted so the water can't fall far, the fountain stops. Overall, the water always ends up lower than where it started.
For grown-ups & teachers
Hero's fountain dates to Hero of Alexandria in the first century AD. It is a closed air loop between two bottles. Water falling a height h from the basin into the lower bottle compresses the trapped air until its pressure is roughly the weight of that water column (P ≈ ρgh, about 1 psi for every 2.3 feet of drop). The same pressure acts on the surface of the supply bottle, so it can push water up to roughly the same height h above the supply bottle's water level.
The common misconception is perpetual motion. The fountain does lift water above the basin, but every bit of water ends up in the lowest bottle, so the system as a whole loses gravitational potential energy. As it runs, the lower bottle fills (the drop shrinks) and the supply level falls (the lift grows), so the jet slowly gets shorter. Friction in the tubes and the nozzle take a bit more. It stops when the supply runs out or the levels reach equilibrium.
Lifting the lower bottle above the basin is a neat test of the idea: with no drop there is no pressure, and the fountain dies at once. Put it back down and it starts again.
To extend it, measure jet height against the drop from basin to floor bottle (use stairs for bigger drops) and graph it. Or connect it to the bonus video, where Bruce's fountain inside a bottle runs on the same pressure difference between two sealed bottles.
NGSS performance expectations
- 5-PS1-1 Develop a model to describe that matter is made of particles too small to be seen.
- MS-PS3-2 Develop a model to describe that when the arrangement of objects interacting at a distance changes, different amounts of potential energy are stored in the system.
- 3-5-ETS1-2 Generate and compare multiple possible solutions to a problem based on how well each is likely to meet the criteria and constraints of the problem.
Science words
Tips from 41 years of teaching it
Bruce has been building water-and-air fountains since about 1988, and one of them grew into a product of his own. Here's what he learned.
- Bruce checked the '1 psi for every 2.3 feet of water' rule with a pressure gauge on the bottom of a long water-filled hose: lifted 17 feet up a stairwell, it read just under 7 psi against the 7.3 psi he predicted.
- Use plastic bottles for any pressure build like this. Bruce warns never to use ordinary glass containers, because they can shatter.
- The 'fountain inside a bottle' started as a student build: two straws, two soda-bottle caps and tape, and Bruce says they worked quite well.
- In Bruce's own two-bottle connector, each straw has six small holes. Air escaping up from the lower bottle carries water in through the tiny holes and up the straw, the same trick an aquarium air-bubble filter uses to move water.
- To catch drips under a small water demo, Bruce cuts the bottom off a 2-liter bottle and uses it as a tray.
Around 1988 Bruce combined two ideas, the bubbling air of a fish-tank filter and Hero's fountain, into a fountain that runs again every time you flip the bottles over. His students first built them from straws, caps and tape; then he made about 20,000 by hand from modified tornado tubes before having his own connector molded. The first molded parts shrank as they cooled and about 1 in 5 had to be thrown out, until a redesign that removed material from the center got the success rate to 99.9%.
More to try
- Run the same rule in reverse: fill a plastic bottle with water, plug it with a stopper that has a short tube through it, and attach a 3-foot (1 m) hose that hangs down into a bucket of water. As water falls down the hose, the pressure inside drops and the air outside crushes the bottle. Lift the bottle higher and it crushes more.
Make it a challenge
Five-gallon giant
Bruce scales it up with two 5-gallon water jugs, rubber stoppers, a big plastic bowl as the basin and a PVC pipe nozzle. The result is a much bigger fountain.
Rubber-stopper version
Bruce's original build uses two-hole rubber stoppers instead of drilled caps, with a nozzle made from glass tubing or a cut plastic dropper.
Shape the stream
Bruce makes a tiny nozzle tip from aluminum foil to narrow the stream. Try different tips and see which one gives the tallest jet.
Fountain inside a bottle
Tape two caps together top to top, drill two holes through them, and push in two straws that have small holes cut near one end (holes-end inside the caps). Screw on a full bottle and an empty one, flip it, and a bubbling fountain appears inside.