Experiments / Do-Nothing Machine
Do-Nothing Machine
Why do the two sliders never crash?
Crank the handle as fast as you like: two sliders race through the same crossing again and again and never bump into each other.
New home version. Bruce's original demonstration is in the video; these home instructions were adapted for this site and are still being test-built.
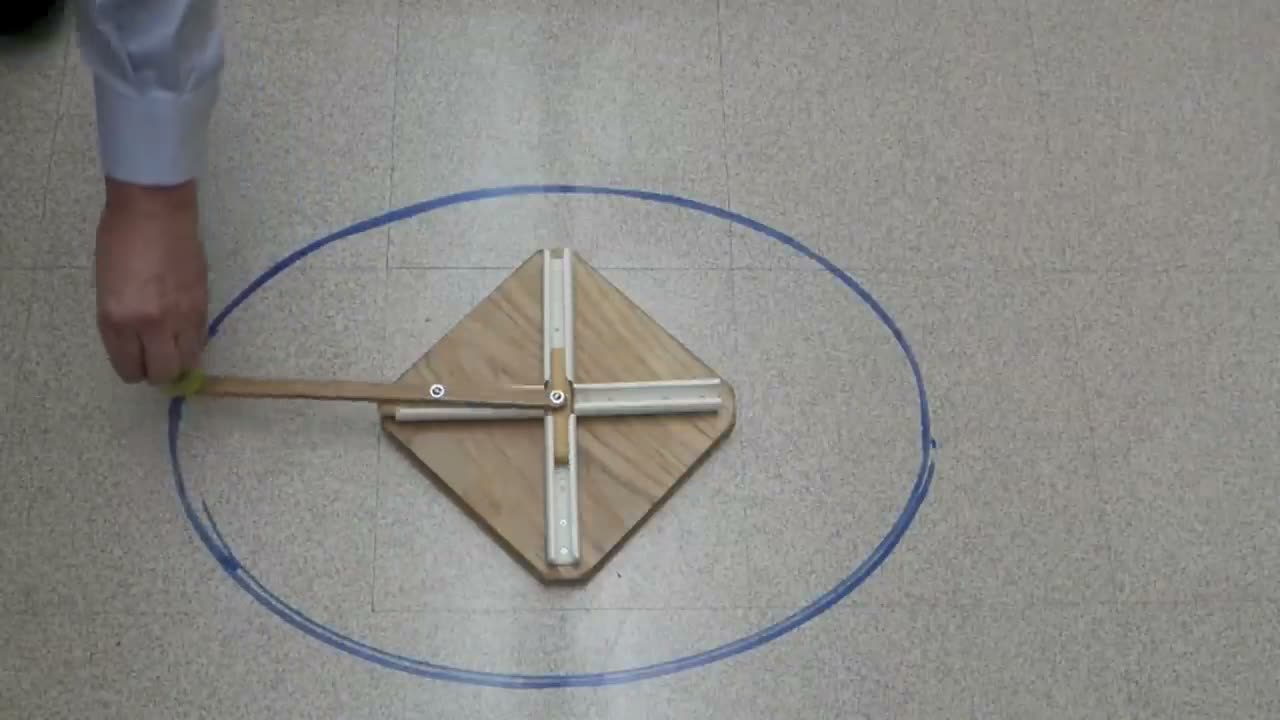
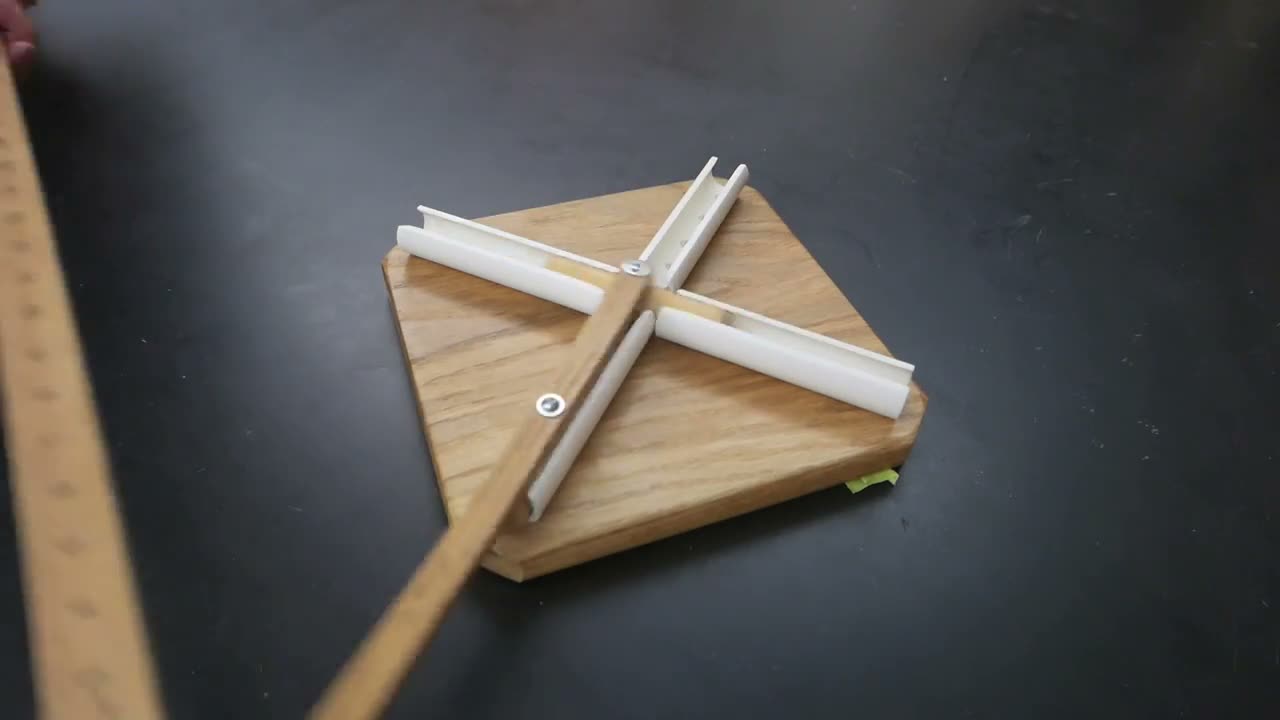
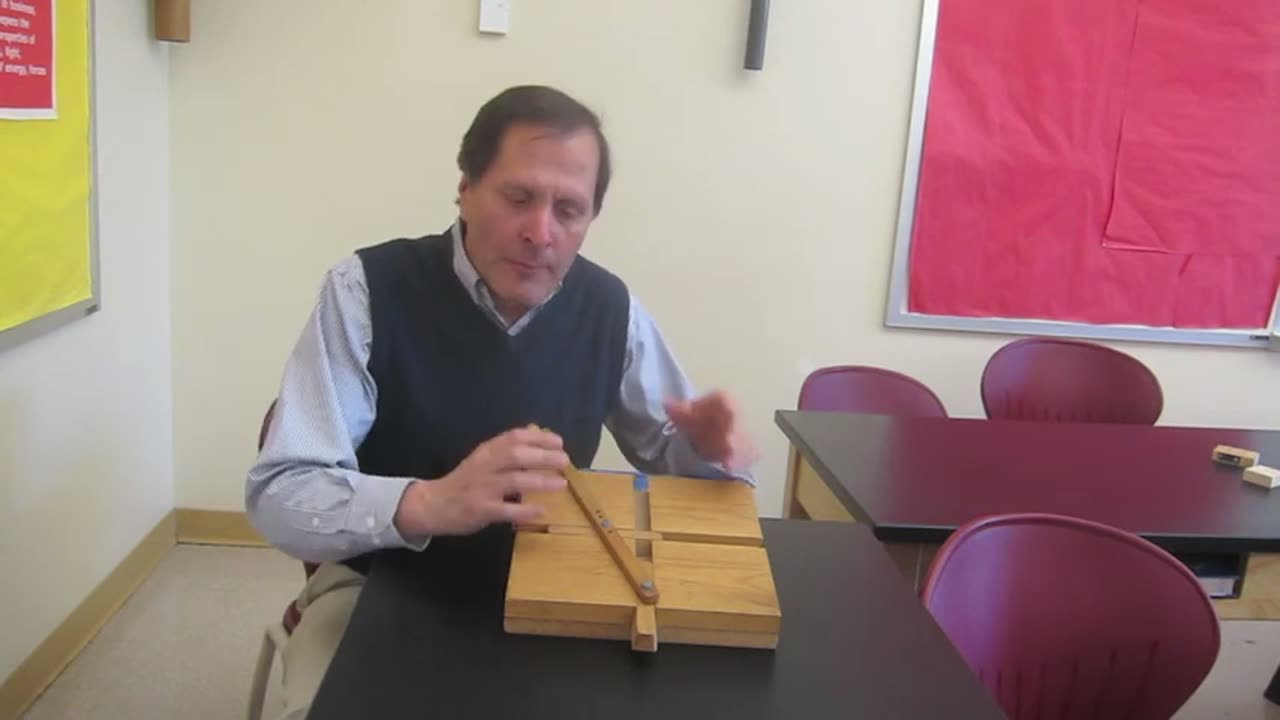
You'll build a cardboard and foam-board version of the trammel of Archimedes, a gadget people also call the do-nothing machine. Two sliders run in slots that cross in a plus sign, both pinned to one handle, and however fast you crank, they take turns through the middle without ever colliding. The end of the handle also draws a perfect oval. Bruce's wooden version needs power tools, so it has its own detailed build plan; this one needs only a craft knife and glue.
“The word trammel means that these pieces are confined to a particular path that they can travel.”
Build it
Grown-up: Cut a 10-inch (25 cm) square of corrugated cardboard with the craft knife and ruler. This is the base.
Grown-up: Cut four 4 1/2-inch (11.5 cm) squares of foam board, plus two sliders that are 7/8 inch wide and 2 inches long (about 2 x 5 cm).
Glue one foam square into each corner of the base. Use the 1-inch spacer strip to leave two even 1-inch (2.5 cm) channels between them that cross in the middle like a plus sign. These channels are the tracks.
Cut four 4 3/4-inch (12 cm) squares of cereal-box cardboard with scissors.
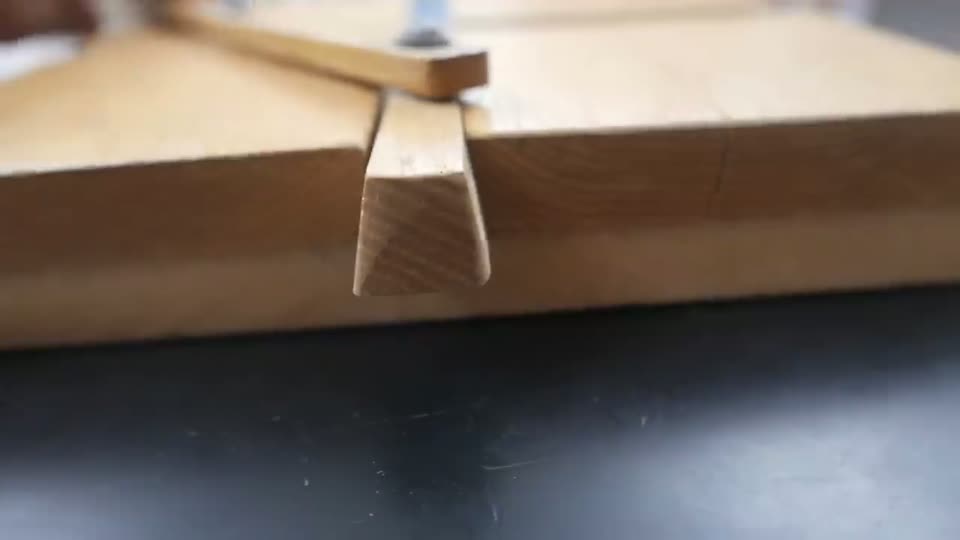
Glue a cereal-box square on top of each foam square, lined up with the outside corner. Each one hangs about 1/4 inch over the edge of the channel, leaving a 1/2-inch (1.3 cm) slot down the middle (use the 1/2-inch spacer). The overhang is what will keep the sliders from popping out. Let the glue dry.
Push a brass fastener up through the middle of each slider from underneath, so the legs stick up. Press the round head flat into the foam and cover it with a piece of clear tape.
Grown-up: Drill or poke two small holes in the paint stick: one about 1 inch (2.5 cm) from one end, and the second 3 inches (7.5 cm) farther along. The other end of the stick is your handle.
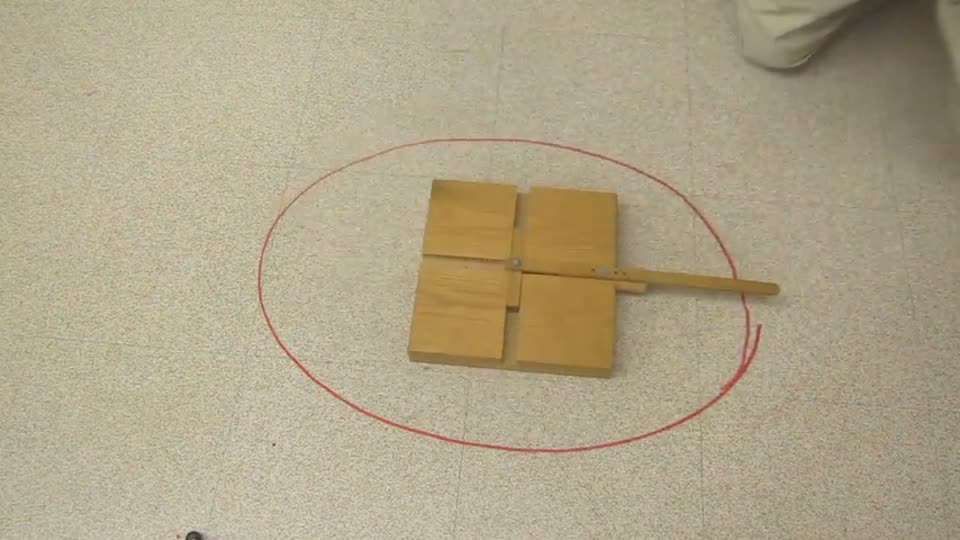
Slide each slider into a different track from its open end at the edge of the board, legs sticking up through the slot. Push one slider to the center crossing and the other about 3 inches out along its own track.
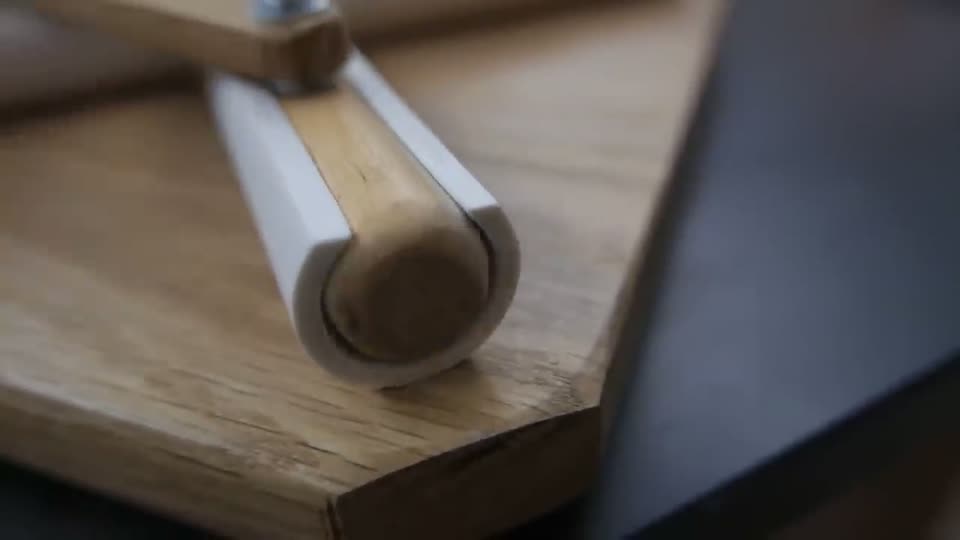
Lay the stick on top, poke each pair of fastener legs up through a hole, and fold the legs flat. Keep them loose enough that the stick turns freely.
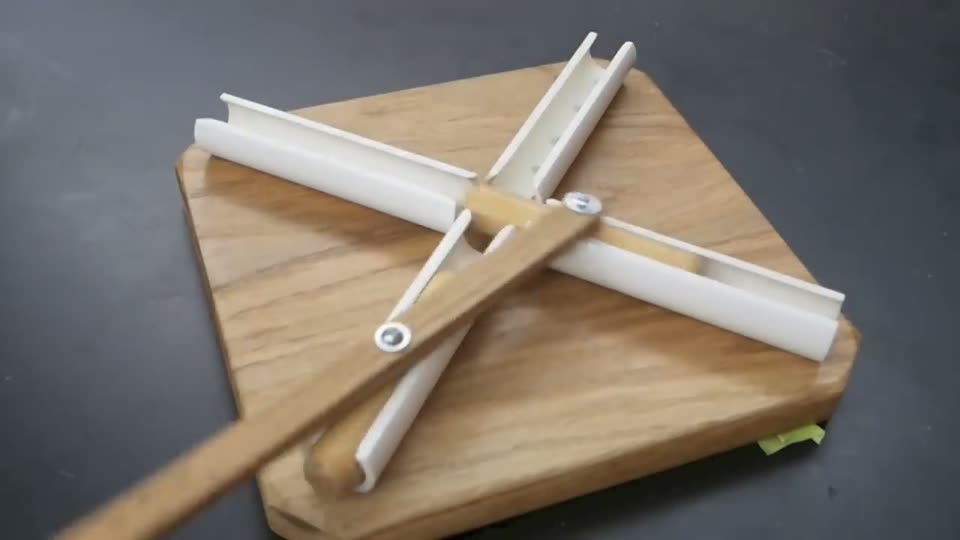
Hold the base down with one hand and turn the handle end of the stick around in a big circle. Watch the two sliders take turns through the middle.
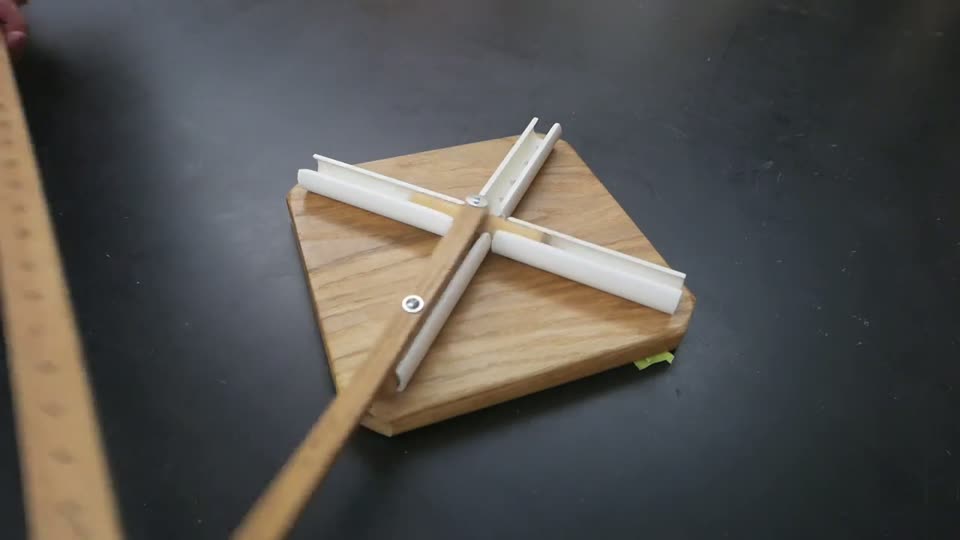
Try it & notice
What's going on?
For young scientists
Each slider is trapped in its own straight track. A trap like that is called a trammel. The stick holds the two sliders exactly 3 inches apart, and the crossing in the middle is only about 1 inch wide. So whenever one slider is in the crossing, the other one has to be 3 inches away, out in its own track. They can only take turns.
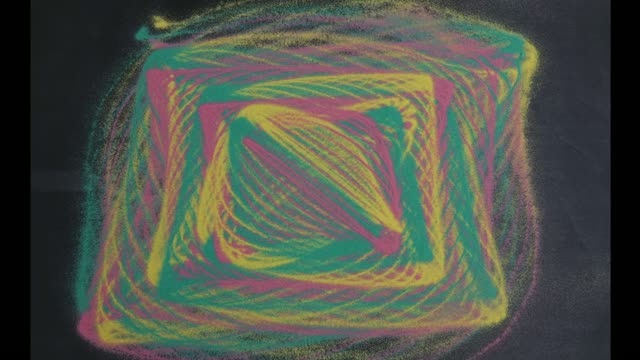
The end of the handle draws an oval, which mathematicians call an ellipse. It is long one way because the handle end is farther from one slider than from the other. That is why the machine is also called an ellipsograph: an ellipse drawer.
The stick is also a lever. When one slider stops for an instant at the end of its trip, it works as the fulcrum (pivot point). If the stopped slider is the one at the end of the stick, the other slider is the load in the middle, like a wheelbarrow: a second-class lever. If the stopped slider is the middle one, the pivot is in the middle, like a seesaw: a first-class lever. As you crank, the stick keeps switching between the two.
For grown-ups & teachers
A trammel is any mechanism whose parts are confined to fixed paths. Here two sliders (Bruce calls them shuttles) are constrained to perpendicular lines and joined by a rigid link of fixed length d (3 inches on this build). Their positions are x = d cos θ and y = d sin θ, so when one sits at the crossing, the other is a full distance d away. With a 1-inch crossing and 2-inch sliders, any spacing above about 2.2 inches guarantees they never meet, whatever the speed. Bruce notes he has never found any reference connecting Archimedes to the device; the classical name for the same idea is the trammel or ellipsograph.
Any point P on the link, or on its extension (the handle), traces an ellipse whose semi-axes equal P's distances to the two pivots. On this build the handle end is about 11 inches from the end pivot and about 8 inches from the middle pivot, so it draws an oval roughly 22 x 16 inches; the long and short widths always differ by twice the pivot spacing. The point exactly midway between the pivots traces a circle of radius d/2. Woodworkers use the same geometry in oval-cutting router jigs. Bruce also shows the string-and-two-pins method, which works for a different reason: the sum of the distances from any point on an ellipse to the two foci is constant.
The lever interpretation, Bruce's classroom framing, comes from the link's instantaneous center of rotation, which lies at the corner of the rectangle formed by the two sliders and the crossing. When a slider is at the end of its stroke and momentarily at rest, the instant center sits on that slider, so it is the fulcrum. If that is the slider at the end of the stick, the load (the other slider) is between fulcrum and effort: second class. If it is the middle slider, the fulcrum is between load and effort: first class. In between, the instant center is off the stick entirely, which is a nice discussion point for older students.
Misconceptions: kids often assume the sliders dodge each other by luck or timing, so cranking faster should cause a crash; the fixed link makes collision geometrically impossible. Extensions: change the pivot spacing and measure how the oval changes; compare the trammel's ellipse with a string-and-pins ellipse; or look at Bruce's three-shuttle version, where the tracks are 120 degrees apart and the result is the same ellipse.
NGSS performance expectations
- 3-PS2-2 Make observations and/or measurements of an object's motion to provide evidence that a pattern can be used to predict future motion.
- 3-5-ETS1-2 Generate and compare multiple possible solutions to a problem based on how well each is likely to meet the criteria and constraints of the problem.
Science words
Tips from 41 years of teaching it
Bruce first wrote up his trammel in 1982 as a classroom puzzle called 'What class lever?' Here's what his notes say.
- Bruce used the trammel as a lever puzzle more than a toy: stop the handle at different spots and ask which class of lever it is right now. In his notes it alternates between first class and second class.
- The shape of the slide is what holds it in. On his wooden version the slides taper from about 1 inch at the bottom to about 1/2 inch at the top, and the plates are cut at the same angle. Your cereal-box overhang does the same job.
- Bruce drilled several holes in his handle, because the machine works at more than one spacing and that leaves room to experiment.
- He put a metal washer between each wooden slide and the handle, so the moving parts don't rub wood on wood.
- Size isn't critical: his base is about 10 1/2 inches square, but it can be made larger or smaller to whatever size is convenient.
When Bruce wrote up the trammel, he admitted he had no idea what its purpose was. He decided it had a certain amusement factor, worked as a lever lesson, and drew an ellipse as a nice math bonus. In his notes, fast or slow, the one bar never collides with the other.
More to try
- Bruce's 7th graders designed and built a compound machine: a toy or device using at least three simple machines to do a useful task, with one mechanical advantage they could calculate. Can you turn your do-nothing machine into a do-something machine?
Make it a challenge
Change the spacing
Ask a grown-up to add another hole 1/2 inch past the middle hole and move one fastener there. Draw the oval again on the same paper. Is it fatter or thinner?
String-and-pins ellipse
Bruce's other way to draw an oval: push two push pins into paper on a corkboard or thick cardboard, drop a loop of string around them, and pull a marker around inside the loop. Move the pins farther apart and the oval gets long and narrow.
Find the major axis
In part 2, Bruce shows a trammel with three shuttles on tracks 120 degrees apart and asks which one moves along the major (long) axis. Watch it slowly and see if you can tell.
Two is better than one
Build a second machine and crank one with each hand, the way Bruce does at the end of his video.
More from Bruce